
CB 175 - Coffee machine BOMANN - Free user manual and instructions
Find the device manual for free CB 175 BOMANN in PDF.
| Product type | Espresso machine with steam wand |
| Brand | Bomann |
| Model | CB 175 |
| Power supply | 230 V, 50 Hz |
| Functions | Espresso, cappuccino, hot water |
| Coffee type | Ground coffee |
| Included filters | Filter for 1 cup and filter for 2 cups |
| Filter holder | With special lever for removing used filter |
| Warming plate | Yes, for preheating cups |
| Steam wand | Swiveling, for frothing milk |
| Water tank | Removable, capacity not specified |
| Drip tray | With grid and level indicator (red float) |
| Safety | Overflow protection, water level indicator in drip tray |
| Indicator lights | POWER (on) and READY lights |
| Controls | On/off button, rotary function selector, water/steam button |
| Maintenance | Parts washable in warm soapy water; do not put in dishwasher |
| Steam wand cleaning | Clean immediately after use; soak if dry deposits |
| Warranty | 24 months from date of purchase |
| Included accessories | Filter holder, two filters (1 and 2 cups), measuring spoon (not mentioned but standard) |
| Intended use | Household use only |
Frequently Asked Questions - CB 175 BOMANN
User questions about CB 175 BOMANN
0 question about this device. Answer the ones you know or ask your own.
Ask a new question about this device
Download the instructions for your Coffee machine in PDF format for free! Find your manual CB 175 - BOMANN and take your electronic device back in hand. On this page are published all the documents necessary for the use of your device. CB 175 by BOMANN.
USER MANUAL CB 175 BOMANN
General Safety Instructions
- Read the operating instructions carefully before putting the appliance into operation and keep the instructions including the warranty, the receipt and, if possible, the box with the internal packing.
- The appliance is designed exclusively for private use and for the envisaged purpose. This appliance is not fit for commercial use. Do not use it outdoors (except if it is designed to be used outdoors). Keep it away from sources of heat, direct sunlight, humidity (never dip it into any liquid) and sharp edges. Do not use the appliance with wet hands. If the appliance is humid or wet, unplug it immediately. Do not put it in water.
- When cleaning or putting it away, switch off the appliance and always pull out the plug from the socket (pull on the plug, not the cable) if the appliance is not being used and remove the attached accessories.
- Never leave the appliance unsupervised. To protect children from the dangers posed by electrical appliances, make sure that the cable is hanging low and that children do not have access to the appliance.
- Check the appliance and the cable for damage on a regular basis. Do not use the appliance if it is damaged.
- Do not try to repair the appliance on your own. Always contact an authorized technician. To avoid the exposure to danger, always have a faulty cable be replaced only by the manufacturer, by our customer service or by a qualified person and with a cable of the same type.
- Use only original spare parts.
- Pay careful attention to the following "Special Safety Instructions".
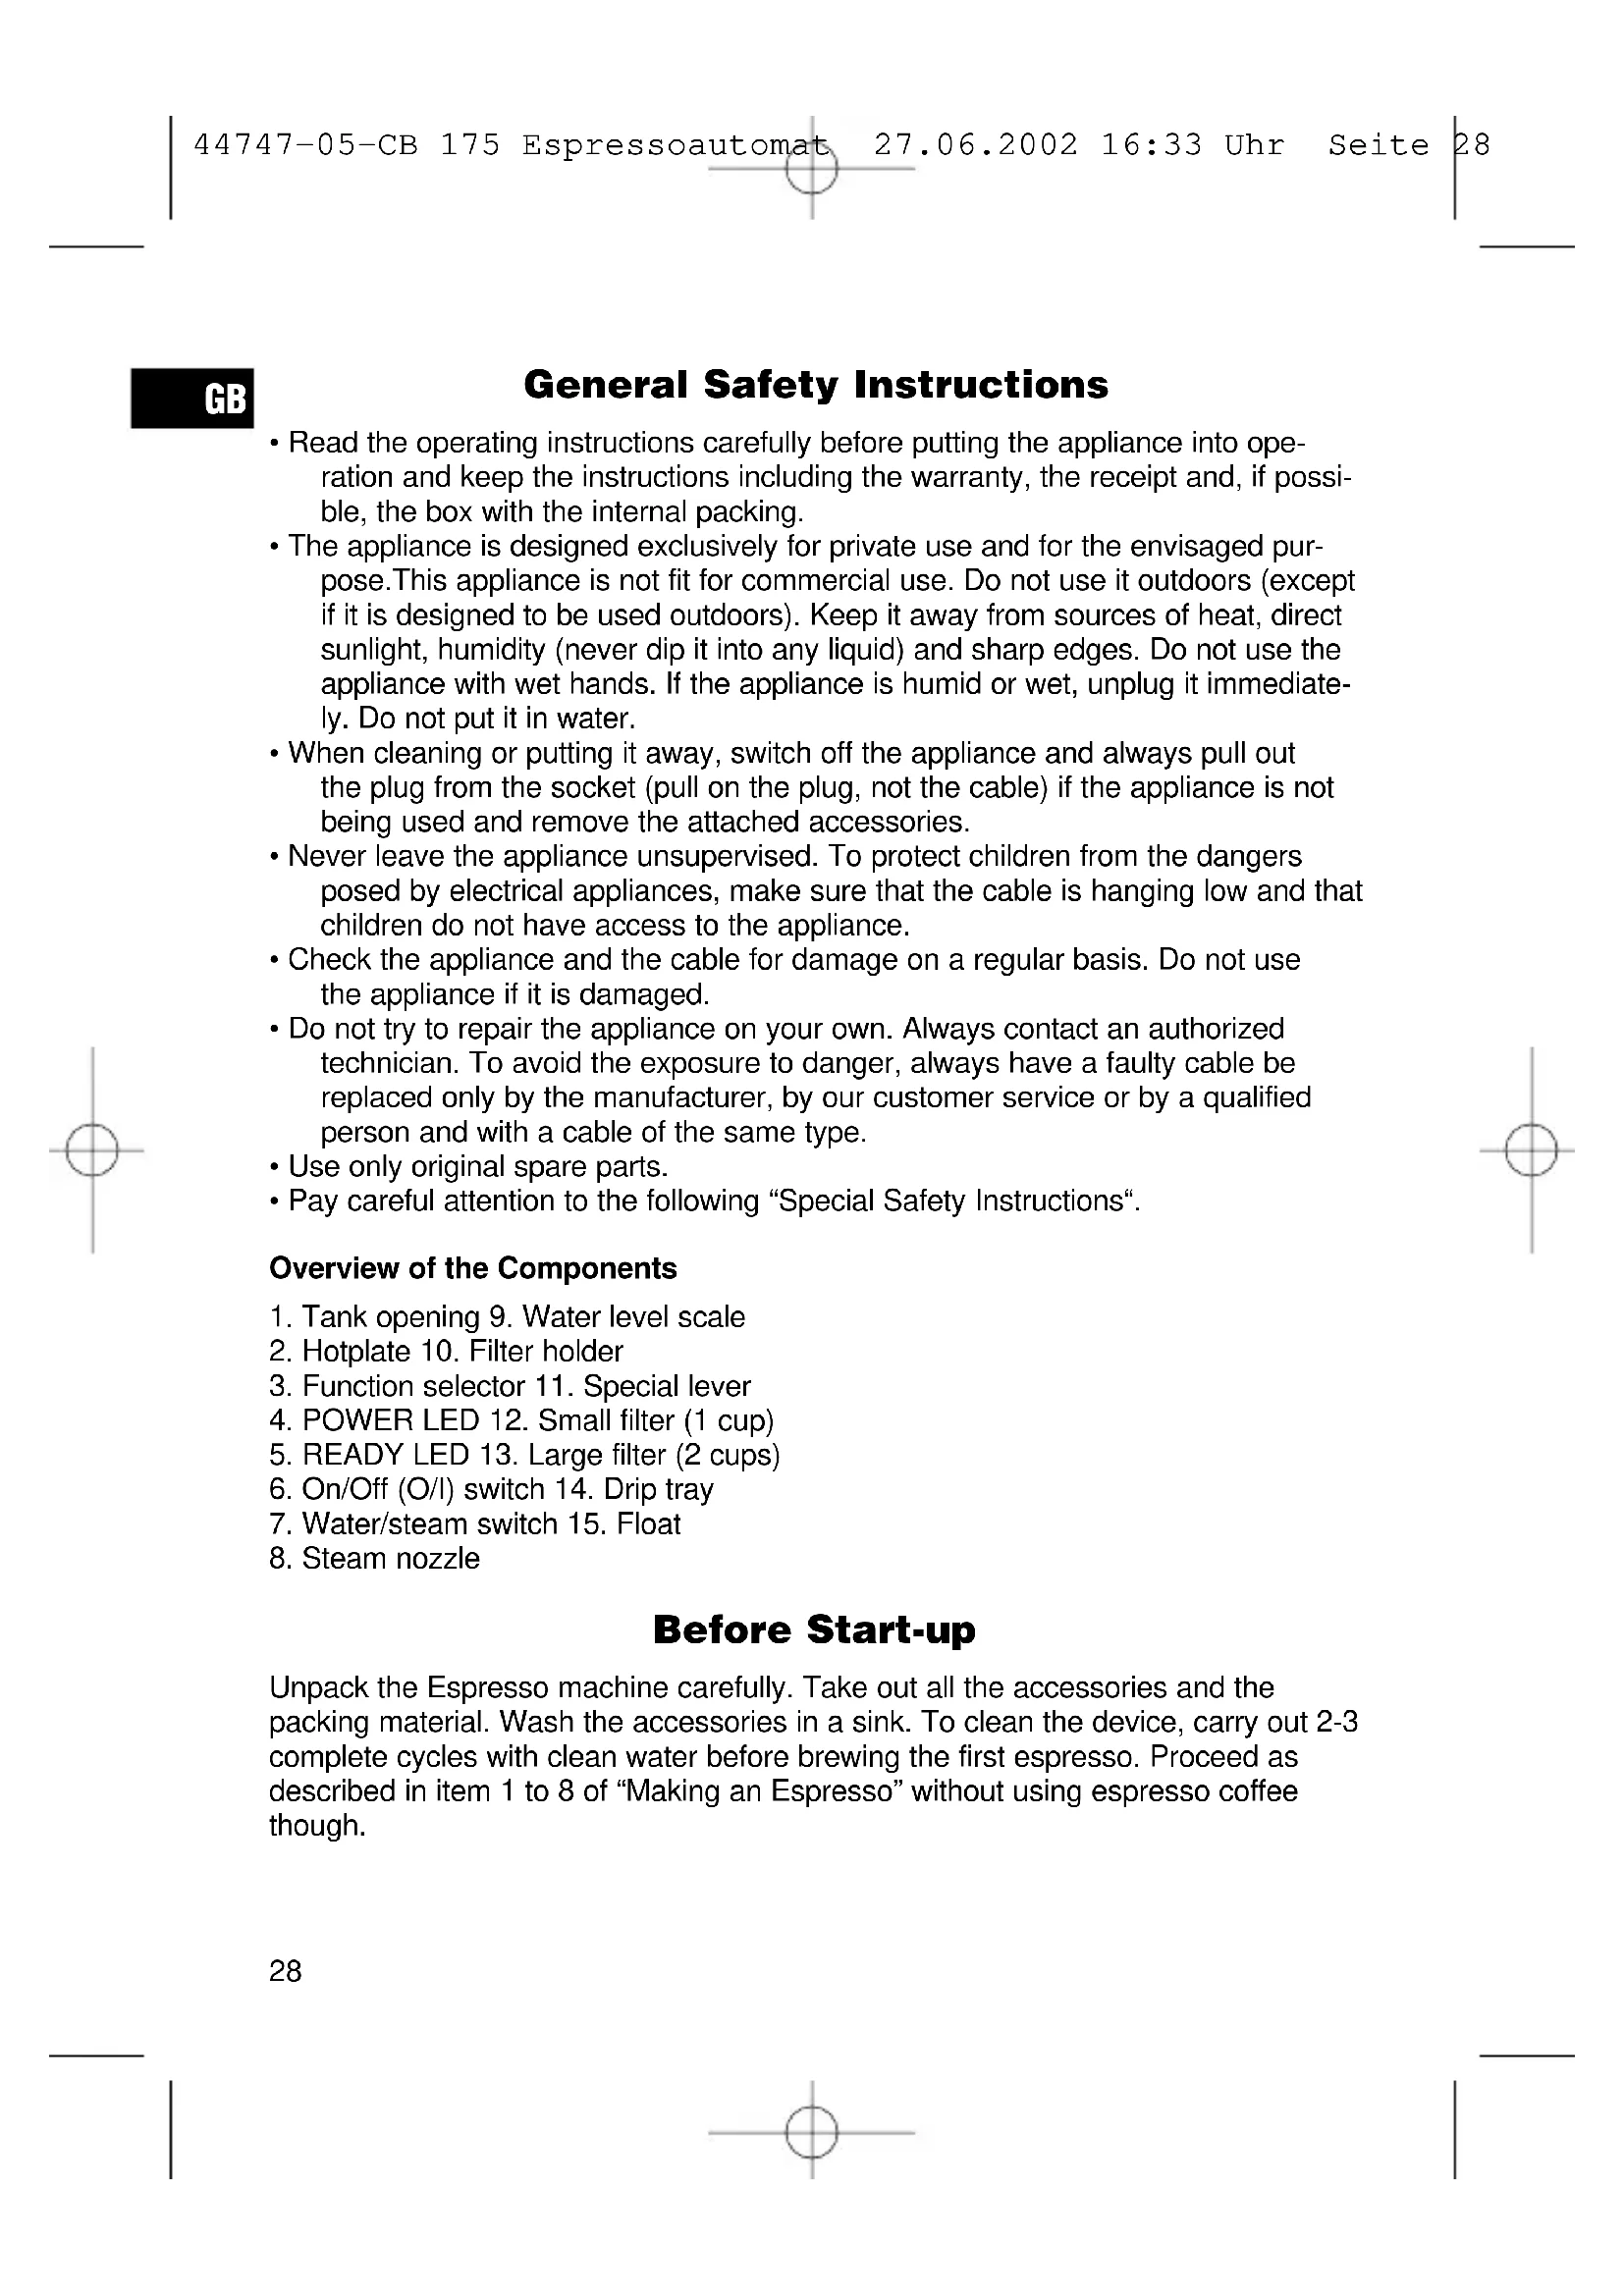
Overview of the Components
- Tank opening 9. Water level scale
- Hotplate 10. Filter holder
- Function selector 11. Special lever
- POWER LED 12. Small filter (1 cup)
- READY LED 13. Large filter (2 cups)
- On/Off (O/I) switch 14. Drip tray
- Water/steam switch 15. Float
- Steam nozzle
Before Start-up
Unpack the Espresso machine carefully. Take out all the accessories and the packing material. Wash the accessories in a sink. To clean the device, carry out 2-3 complete cycles with clean water before brewing the first espresso. Proceed as described in item 1 to 8 of "Making an Espresso" without using espresso coffee though.
Making a Espresso
- Connect the machine to a correctly installed 230V 50 Hertz safety socket.
- Ensure that the on/off switch (O/I) (6) is in the O position.
- Place the draining grid in the indentation of the draining tray.
- Open the lid and remove the water tank by the handle.
- Fill the required amount of fresh clear water into the tank.
- Release the filter holder (10) by turning the handle to the left (INSERT).
- Place the filter (12 or 13) into the filter holder (10). Now add one to two level measuring spoons of coffee. Distribute the coffee evenly and press the coffee powder lightly with a measuring spoon or other spoon. The aim of pressing the coffee powder with the spoon is to distribute it evenly in the coffee bowl rather than compressing it. We recommend a flat surface plunger. Ensure that the filter holder is firmly fixed in the percolating head.
- In order to preheat your espresso cups, place them on the warming plate (2) above the percolating head.
- Switch the machine on using the on/off switch (O/I) (6). The control lamps (4+ 5) located on the right and left in the function control light up.
- When the water has reached the required temperature, the control lamp (5) on the right-hand side (READY) switches off. Note: if the control lamp lights up again before percolation is finished, the water temperature is no longer high enough. Turn the function selection switch (3) to O and wait for the lamp to go out again. You can now continue preparing the espresso.
- Remove the espresso cup(s) from the warming plate (2) and place them under the percolating head.
- Turn the function switch (3) to the symbol showing the espresso cup.
- The espresso is now ready and is poured into the cup(s).
- When percolation is finished, turn the function switch (3) back to the O position.
- Switch the machine off using the on/off switch (O/I) (6).
- After brewing wait for a few seconds before removing the filter. Turn the handle of the filter holder from right to left. Pay attention to the steam! To remove the used coffee, hold the filter by using the special lever (11) on the handle in the relevant position. Turn the filter holder (10) and knock out the used coffee. Remove the filter holder (10) after making an espresso. By doing so, you will extend the service life of the rubber seal in the brewing head. To make other espressos, fill the coffee bowl (12 or 13) with coffee powder again and carry out the brewing procedure as described above.
GB
Making a Cappuccino
To make a cappuccino, you must first make an espresso. Proceed as described under "Making an Espresso" from steps 1 to 13. To froth the milk, proceed as follows:
- Make sure that the function selector (3) is in O position.
- Swing the steam nozzle (8) out so that you can position the container (please use a heat-resistant container) comfortably under the nozzle.
- Fill the container up to a 1/3 with fresh cold milk (warm, hot or stale milk does not froth).
- Switch the steam function switch (7) on.
- Dip the steam nozzle (8) slightly below the surface of the milk in the container and turn the function selector (3) to the left (Steam symbol).
- Move the container slightly up and down. Once the milk reaches the desired volume, you can warm the milk more by lowering the steam nozzle (8) to the bottom of the container. Do not make the milk boil or the froth will be ruined.
- Turn the function selector (3) back to the O position and switch the device off with the On/Off (O/I) (6) switch.
- Scoop out the froth into the espresso. Add liquid milk. A cappuccino is usually composed of 1/3 coffee, 1/3 hot milk and 1/3 frothed milk.
Your cappuccino is now ready. Improve the flavor by adding some cinnamon or chocolate powder.
Hot Water
You can even use the Espresso machine to make tea, hot drinks and meat soups. Make sure that the tank has enough cold water.
- Switch on the device with the On/Off (O/I) (6) switch. Both LED's (4 + 5) to the left and right of the function selector light up.
- Switch the steam function button (7) to the liquid symbol.
- Swing the steam nozzle out so and position a heat-resistant container under the steam nozzle.
- When the READY LED (5) is off, the water has reached the right temperature and the function selector (3) can be turned to the left to Steam position.
- The hot water now flows into the container.
- Once this procedure is over, Turn the function selector (3) back to the O position and switch the device off with the On/Off (O/I) (6) switch.
Cleaning
After frothing milk, the steam nozzle is to be immediately cleaned from all milk residues.
If the milk dries, it becomes difficult to remove. Soak the steam tube in a container with water over night so that the milk residue softens. Place a heat-resistant container full of water under the nozzle so that the nozzle is dipped in the water. Turn the
function selector to Steam position. Wipe the steam nozzle with a moist cloth to remove the milk residue before it hardens. The water tank, drip tray, drip tray cover, filter, filter holder and the hotplate can be washed by hand in a sink with warm water. Do not use abrasive detergents. Wash the parts regularly. If the filter's holes are clogged, clean it with a fine brush.
Do not wash the machine.
Never wash the parts or accessories in a dishwasher. The drip tray has an overflow protection. A red-marked "float" is found in the tray. The more water the drip tray contains, the higher the float rises. To empty the tray you can remove the drip tray completely and lift the grid.
This appliance conforms with the CE directives for radio interference suppression and low-voltage safety and has been built to meet current safety requirements. Subject to technical changes without prior notice!
Guarantee
We undertake to guarantee the appliance sold by our company for 24 months as of the date of purchase (cash receipt).
During the life of the warranty we shall provide for the repair or replacement of the appliance owing to material or manufacturing defects absolutely free of charge.
Proof for the warranty is provided by the purchase document. The replacement and repair will not be performed free of charge without this proof of purchase.
Should the warranty be valid, please consign the complete appliance in its original packing together with the cash receipt to your local dealer.
You are not entitled to the replacement of the appliance owing to broken glass parts and faulty accessories. However, said parts will be replaced free of charge. In this case only the faulty accessory needs to be ordered without sending back the whole appliance!
The cleaning, servicing and replacement of wear parts are not covered by this warranty and hence are to be paid for.
The warranty is terminated in case of handling on the part of Third parties.
After the warranty
Once the warranty has expired, repairs can be carried out by specialized technicians or repair services against the payment of the service.
PL
PnroToBJIeHne KoΦe-3cnppecco
- BctaBbTe BnIky B pO3eTky C hAnpJxKeHneM cTeN 230 V, 50 Hz, yCTaHOBJIeHHyIO B COOTBeTCTBUN C npeDnCaHnA M.
- Y6eIITecb B TOM, yTo nepeKIOUaTeJIb "O/I" ("BKJ/BblIKJI") (6) HaxoIITcB NOLOXKeHH "O" ("BbIKJ").
- BcTaBbTe cetky-kanneynobnteIb ByrnybneHne noDoHa (14).
- OtkpoIte KpbIuKy I BbHbTe 3a pyUky BOJAnOH 6aUOK.
- HanoJIHnTe BOJrHOI 6aOcK Heo6xoIIMbIM KOJIuYeCTBOM CBExKoI, YNCTOJ BOJbl.
- Pa36bokpyuTe IepkaTeIb nIbTpa (10), nobepHyB pyKoRTky BJeBO (INS-ERT).
- BcTaBbTe fInbTp (12 nnn 13) B depXaTeIb (10). HacbIbTe B hero Ondny nIi DBe n3MepnteHbIe loxKmoIOToro KoFe, 6e3 rOpKn. PacpeJeIte KoFe paBHomepHo no fInbtpu n CJIeRka npndaBnTe ero npn NOMOUI n3MepnteHbHOJ loxKn IINI neCTNkA. Cmblc 3ToT npOceDpyI leXHT He B TOM, yTObI yNIOTHnTb nopOwOK, a CKopee B TOM, yTObI paBHomepHei pacpeJeINbE rO no fInbtpy. PeKOMeHdyETc NOlb3OBaTbc pIoCKIM neCTNKOM. PpocLeJeITe 3a TEM, yTObI depXaTeIb fInbTp a NlOTHO CnDEI B KINPTINbHOI rOIOBKe.
8.Дяпологрева кофейньх чашек IX MOЖно NOCTaВИТь Ha ПЛNTКУ-гpeЛКY (2),pacnoLOXKeHHyIO Ha,I KINЯТиьHО rOJOBKoI. - Bклioчnte KoфeBapky,нжав Ha BbIKIOUaTeIb "BKЛ/BblKJI" ("O/I") (6). KOntrpoJIbHbIe IamNoCuN (4+5) cnpaba n CJIeBa OT NepeKlIOUaTeIЯ ржIMOB pa6OTbI NaHHaIOT CBETNTbcr.
- KaK TOnbKO BODa HArpeETcA Do Heo6xOJIMoT TeMnepaTypbI, KOHTpOJIbHaj lamNoUka (5) "TOTOBHOCTb" ("READY") c npabOi CTOpONbI NOTyxHet. PnpMeuHne: ecn 3Ta KOHTpoJIbHaj lamNoUka 3aRopITcB O BVpeMnpoUecca 3aBapINBaHnI, TO 3TO YBJIeTcR npN3HaKOM TORO, UTO BODa HarpeJaCb Do HyXHoI TeMnepaTypbI. B 3Tom CInyae NOBepHInTe nepeKIIIOuAteIb pexIMoB pa6Otbl (3) B nIoJoxHe "O" n IooJxInTe, Ioka lamNoUka ONrTb NOTyxHet. NocJe 3TORO MoXHO npOdoJXInTb npNROTOBJIeHne KoΦe-3cnpecco.
- ChnMnte KofoeHyIO(bie) yauKy(u) c nnTkn-rgpeKn (2) n noctabBte ee(nx) NOI KINPTNJIbHyIO rOJOBky.
- Повернite посяклочаелpeхимов pa60ты (3) Ha cIMBOJ vaшкиэспесо.
RUS
- Готовыкофе-эспессн haunhaet noctynatb B nooctabneHHyO(bie) YAшky(n).
- ПО OKOHУАн Иnpоцудрьп NOВЕРНITE NepeKJIIOUaTeJB peXIMOB pa6OТыобразно в положене "O".
- BbIKIOHTe KofoEBapky, HaxaB Ha BbIKIOUaTeIb "BKJ/BbIKJI" ("O/I") (6).
16.пөрэнтм, кak chять дөрхаел b φильтpa, поождente HeCKоьko cekyнд. Повернite рукову дөрхаел b φильтpa срра haileBO. Oсторжно давени! Дя тOTO, улбы удаиь кофснHyю ryш, Heobxodmo npindepxakb φильtp b erо noloxehn пр nOMOUs CneuaJIbHoro pbuha ra (11). OTberнite дөрхаел b φильтpa (10) и выкогOTITE n3 Hero KoфснHyю ryш. Посл epinrroTOBlenna Kофe-эсрccCO Bcergda ChIMaHTe dөрхаел b φильтpa. 3TmСamblmnpoДNeBaETcspOK clyxkbpe3HOBО npokJaDNK KINЯТИьнOH roJOBKN. Дя пriroTOBlenna cIedyIOUeN nopuzn Kофe-эсрccO habOLHNTe KофeHbIbФильtp (12 nln 13) moJToBM Kофe n 3abapnte erO, кak оTO sbilo onncaHO BViSe.
PnroToBJIeHne KoΦe-KaPPuHNO
Дя пи��OTOBlenя кофe-калпунно Heo6xODnmo Chaayala npinrOToBtB Kofoe3cnpecco. ПОТOMу cIeDyIte chauana pyHKTam 1-13 rIabbl "PpInrOToBlenie Kofe-3cnpecco".Дя BCHeHbAHnia Heo6xODmOrO Дя Кофe-Калпунно MOLOka noCTynaiTe cIeDyUoiM O6pa30M.
- Y6eIITecb B TOM, yTO nepeKJIIOuAteIb peXIMOB pa6Otbl (3) HaxoIITcB NOJIOXEHIN "O".
- OTBepHnTe napOBoe conNo (8) B cTOpOHy. B 3ToM nIoJoxeHnn nOd Hero yIooHo IoNCTaBnTb YaUkY (IOXaJIyNcTa, IOnb3yInTeCb JxapocToiKoI nocuDo).
- HanolHnTe YaIky Ha 1/3 CBexHM, XOLOdHbIM MOJOKOM (TeIIOe, rOpraee nn He CCBexKee MOJOKo He BCpeHNBaetc).
- Haxmte Ha KhoNky noaH npa (7).
- Onyctnte napoBoe cOnNo B YaUkCy C MoJOKOM TaK, YTO6bI OHO HaxOJINOCb NOI cAMoI NOBepxHocTbIO MOLOKa I NOBepHInTe NepeKJIuOaTeJIb peXIMOB pa60tBI (3) BJIeBO (Ha CNMBOL npa).
- CnErKa npInOdbImaIte n OnyckaiTe yaukCy c MOJOKOM. KOrda doctaToHoe KOJIInHeCTBO MOLOKA BCNeHITcra, HarpeiTe erO Do Heo6XoIMoI TEMnepaTypbl, OnyCTNb NapOBoe cOnllo (8) Do camoro dHa yauKn. He DOBODITE MOLOKO DO KNHeHna, 3TO YHNHTOxNT O6pa3OBaBswUOC neHy.
- ПовернITE поеклочаел b peximob paobtbl (3) obpaTHO B noLoxehne "O" n BbIKIIOHTe KofoEBapky, haxab Ha BbIKIOUaTeIb "BKJI/BbIKJI" ("I/O") (6).
- C nOMOJIbIIO JIoKn CO6epNTe NeHy C MOJOKa I nepeJIOXbTe ee B YauKy C KOΦe-3cnpcecco.Добавte TyaJa Xe HEMHOrO rOpJYeRO MOnoka. KaK npaBnIO, KOΦe-KaIIpyuHNO COCToNT Ha OdHy TpeTb N3 KOΦe, TpeTb rOpJYeO n TpeTb BCNEHeHHoro MOnoka.
KoFe-kaIpyuHIO rOtOBO. IIO BKycy, eRo MoXHO IocbInaTb KOpUeNJIIN TepTbIM 10OKoJaIOM.
Topyaa Boda
RUS
Припомоши 3спразбco-Kофеваркmoхнoc ЛergкостьВСКИРТБВODу Дя 3аВариBaHЯч,пriгOTOBлe"HЯ ГорЧИХ HanNTKOB IIN 6yЛьНов. ПроверTe, HaxODITcЯ NВ BODЯHOM bayke DoCTaTOUHoe KOLIYeCTBO BODbl.
- BклioчITE KofoeBapky,нжав Ha BbiklIOUaTeIb "BKЛ/BblKJI" ("O/I") (6). KOntpoJbHbIe IamnoKn (4+5) cnpaba n CJIeBa OT nepeKJIIOUaTeIЯ ржIMOB pa60tbl NaHHaIOT CBETNTbcr.
- YctaHOBIne KhoNky nepeKJIIOUaTeIa npa (7) Ha cIMBOJ "KnIDKOCTb".
- OTBepHnTe npoBOe cOIIIO B CTOpOHy I NOIcTAbbTe IOD Hero YaShKy n3 JapocToKOro MaTePnAna.
- KaTToJIbKO BOJa HaRpeETcA Do Heo6xOJIMoT TemnepaTypbI, KOHTpoJIbHa JAmnoUka (5) "TOTOBHOCTb" ("READY") c npaBoi CTOpOnbI nOTyxHET. NObepHInTe nepeKIOuataIbe peKIMOB pa60tbl (3) BNeBO Ha CmBOr "nap".
- Topraya Boda Naunhaet NoctynaB NOCTabJeHHyU YaShky.
- ПО OKOHан И рpoцдурbl IOBepHnte nepeKJIIOUaTeJb peXIMOB pa6Otbl OБраTHO B NOLOXeHne "O"и ВьIKJIIOUHTe KOΦeBaPky, HabaB Na BvIKJIIOUaTeJb "BKЛ/BblKЛ" ("O/1") (6).
UcTka
Iocne BCnEHBaHnM OJOKa Heo6xOIMo He3aMeiNTbHO ONUCTNtB napOBoe COJIIO OT npIKIneBwero MOJOKa.
EcIIMMOLOKIO npIKUNIT K CONLY,TO erO TpydH OUNCHTb.B 3OMClyuae
3AMOHTe Tpy6ky napOBORO cOJa Ha HOyB NOCyde C BOJO,ДЯ pa3MgYHeHJ.
POnCTaBBte NOJ napOBoe cONNo YaWKy I3 XapocToKOro MaTePNaJIa
HaONJIENHHUO BODOI IN ONyCTnTE B HeE napOBoe cONIO. NOBepHInTe
IpeKIIouaTeJB pEXIMOB pa6OtBJ HA cIMBOJ "nap".NocLe 3Toro npOTpIte
napOBOE cONIO BnaXHOI TprNKOH, YTO6bl ydaJIHT b npIKINBEWNe OCTaTKI
MOJIOKA.BoJHOH 6aOK, NOdoH, cETKY-KanJeYIOBNTeJIb, fNlBtp, DePKaTeJIb
fNlBTPa II NNITKy-rrEJKy IpOMOIte BpyHyIO B TeTIOM MOIOSeM pactBOpe. He
IprIMEnIte CNlbHOMIoUShne cpeDCTBa.MoITe BCE Detaln peRyJrphO. B
Clyuae,ecJIIN nepΦopauJg PhNJbTPa 3a6BeTcR,IpOChTHe erO UeTKOJ C
MRAKIM, TOHKIM BOPCOM.
Camy KoΦeBapKy He MbITb.
HnB KOem Cnyae He MoIte DeTaN KoΦeBapKn NIN PpINHaIeXHOCTN KHei B NOcyDOMOKe. KoΦeBapKa He rOITcra IJRA NOcyDOMOKn. POnIOH KoΦeBapKn OChaueH 3aunTHbIM pncno6oblenm EOT nepenolHEny. B npeJeH qactn POnDOHa HaxoNTcra KpacHbI "nonlAbOK". Yem BoJIbe BObl B nOdoHe, TEm BBIIe BCnIbIbAet nonlaBok. IJr TORO, UTObI cInTB BOy, BByhTe nOdoH N3 KoΦeBapKn uYdaJIte N3 Hero CETKy-KanIeYNoBHTeJIb.
RUS
3TOT np60p COOTBETCTBye TnpeKtNBAM CE no NCKpo3aunte n TEXHKe 6e30NaCHOCTN Dn Hn3KOBOJbTHbIX np60pOB; OH CkOHCTpynpOBaH B COOTBETCTBn C HOBeuMMn PpeDncaHnMaM No TEXHKe 6e30NaCHOCTN. Mbl OcTabIeM 3a Co6oI npaBO Ha TexHnueckne n3MeHeHnra!
TapaHTnA
В т ueни rapaHTnHOrO cpoKaMbI 6ecnlaTHO yCTpaHIM BCE HeIOCTaTKN I NOJOMKn, KOTOpbIe BO3HnKJI N O BnHE 3aBOJa-N3rTOBNTeJIЯ, nPoBeJa peMOHT IIN 3aMeHy npi6opa.
DOKyMeHOM dIra rapaHTn CnyxNt KaccOBbI ueK. Be3 npeIbYBHeHna 3TOrO DOKyMeHToA beCnIaTHbI peMOHT nII 3aMeHa npu60pa HeBO3MOXHbl.
B clyae noIOMKn npnbopa npocm BepHyb ero B mara3nH B noJHO KOMJIeKTAuIN N oprHnHaIbHOY naKOBKe, npINOxN B KACCObbl Yek.
Pa36nToe CTeKIO IINI DeEeKTHbIE PpHAnDJIeXHOCTN He ABJIAOTcI NOBOOM dIa 3AmHeI npIbopa, a 6ydyT 6ecPnAtoHO pncIaNbI B3aMeH Ha DeEeKTHbIE. B TaKnx Cnyaax HeO6xOIMo 3aKa3bIBaTb TOnbKO DeEeKTHbIE PpHAnDJIeXHOCTN, a He NocblaTb BeCb PpNbOp Ha 3aMeHy!
Iop rapaHTnIO He nonaIoT: YnCTKa, TexOCMOTp Nn 3aMeHa TpyuxcJ deTaJIe np6opa, OHI DeJaIOTc3a DOnOJIHnTeIbHyIO ONlaTy.
TapaHTnA TepeETc npBckpbITn npnbopa nocToPOHHmN liuamn.
По Okончанн rapаHTи
IIO nCTeueHn cpoKa rapaHTn npnbOp MOxHO cdaTb Ha peMOHT B CpeuHa3nPoBaHHbIMaRa3HN IIN peMOHTHyO MaCTepCKyU 3a ONlaTy.
EviKcObnYic a0phaaiac
- i npoooxn autc Tc oynie c xepiioou tnc ouokeu ncs oac, npotou akota th eoet yia npwtn opa oe aitoupya. DuAaTe Tc oynie c autc c ma zi e to deltio eyyunonc, tv anodxi nyopac kal, kata duvatotnta, to xaptokiBwTio u e Tnv eoWTEpiKn ouokeuagia tnC ouokeu nC.
Xpnooioite Tn oukeun oac anokkietika kai mov yia idwtkouc
OKoouc kai katapuozovta tpo. H oukeun autn dve npoipzetai yia
EpiXepnoiaKxpon. Mn xnpoonoieTc Tn oukeun oac otov eLuep
Xwpo (ektoc av n oukeun autn npoBlenta iya efapoyn kai otov
eUepeo Xwpo katw ao opioevc npounoeic). PooataeUeTe Tn
oukeun aoc ano uynlcc thepokpaoe, aeon nlaikn aktivoBoia,
Uypaia (m npuBizTe Tn oukeun oac kata kaveva tpono meoa euypa)
kai ano aixnpceakmuec. Mn xnpoonoieTc Tn oukeun oac me uypa
xepia. Otav n ouokeun oac bpaxei n unootei enidpaon uypaiac, byaIte
aewc to peuatoanntn Tnc ano tnv npica tou nAektpikou pEuupatoc.
Mn baZTE ta xepia oac meo ase vepo. - Θετετη Σιακευήσας εκτος λειουργίας και βγαζετε πάντοε το ρεματολήπητη Σις από την πρία του ἀλεκτρικόν ρεματος (πιανοντά γία το σκόπο auto το ρεματολήπη, χωρίς τραβηγμα από το καλώδιο), ὄτavirus χρησμοποιειε πλέον τη συακευήσας, ὅτavirus θέλετεν α φαρμόσετε δίαφopa aξεσουύρ, ὅτavirus θέλετεν α τήν καθαρίσετε, ὅτavirus προκύψει μία βλάβη.
Mny afnvETe note va aeitoupyei n ouokevn oac xwpi c ouyxpovn eTIPNO. Ia va npoataeUoTE ta naia ano touc kivduvoC nEKTPIKOW uOKeuW, povtiE TE wOte To kaawio iac ouokenus va mny KpEmuai KaT W ELEUHPO, KaOH C EINOC KAI OOTe va n Hmnpouv Ta naia va niaoouv TOn ouokuH. - Eλεγχετε Νισουκεύη σας και ηλεκτρίο της καλώδιο κατικά διαστήμata, γιν αλιπιοτωνετε ἔγκαίρα πιθανες βλαβες. Μη θετετε Π Σουκεύη σας Ελειουργία, ὄταν ἀχει UNOθει μία βλαβη.
Mn npobaivte ano movl oac oe eniioopthetaic nsc uokueun cac, aaaa napabiote tnv oe nepinwoei c baaewv eva eliku evo texvitn. Ia va mnu npokuov kivouol, penei va yivetai n avikataoataon evoc xaouevou nektpikou kalwoiou mvo e vaaaloo kataalno kalwio, onou tnv epyaia autn npenla va tnv kavei movo to epyootaoio kataokunc n unnpesia ma c oepic nlaatiac, n evac elikuv evoc texvitnc.
Xpnoiopoioite anokklootika kai mvo yvnoia aEooap tou i o u KataokEunC. - , παρακαλούμε, προσθή στις ακόλουθες "Eiδικές οβηγίες aσφαλείας ...".
GR


Brand : BOMANN
Model : CB 175
Category : Coffee machine