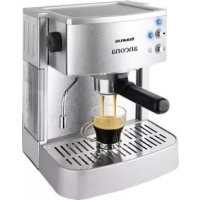
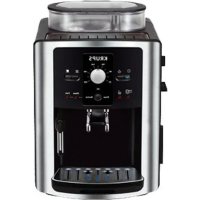
Ancona - Coffee machine TAURUS - Free user manual and instructions
Find the device manual for free Ancona TAURUS in PDF.



| Product type | Espresso coffee machine with steam nozzle |
| Brand | Taurus |
| Model | Ancona |
| Dimensions (W x D x H) | 30 x 25 x 35 cm |
| Weight | 5 kg |
| Power supply | 220-240 V ~ 50/60 Hz |
| Power | 1100 W |
| Water tank capacity | 1,2 L |
| Pump pressure | 15 bars |
| Coffee types usable | Ground coffee and pods (ESE) |
| Main functions | Espresso coffee preparation, hot water dispensing, steam production for cappuccino |
| Included accessories | Portafilter, filter for ground coffee, filter for pods, measuring spoon, water filter |
| Materials | Plastic and stainless steel |
| Maintenance and cleaning | Regular cleaning of removable parts with clear water; descaling recommended every 6 to 12 weeks with specific Taurus Decal product |
| Safety | Automatic shutdown in case of overheating, overcurrent protection, mandatory grounding plug |
| Spare parts and repairability | Spare parts available through authorized technical service; replaceable water filter |
| Warranty | 2 years |
| General information | Household use only; compliance with European Low Voltage and EMC directives |
Frequently Asked Questions - Ancona TAURUS
User questions about Ancona TAURUS
0 question about this device. Answer the ones you know or ask your own.
Ask a new question about this device
Download the instructions for your Coffee machine in PDF format for free! Find your manual Ancona - TAURUS and take your electronic device back in hand. On this page are published all the documents necessary for the use of your device. Ancona by TAURUS.
USER MANUAL Ancona TAURUS
natural_image
Line drawing of a coffee machine with control panel and side-mounted stand (no text or symbols)


natural_image
Color bar with grayscale gradient and a crosshair symbol at the bottom (no text or labels)


natural_image
Color bar with grayscale gradient and a crosshair symbol at the bottom (no text or labels)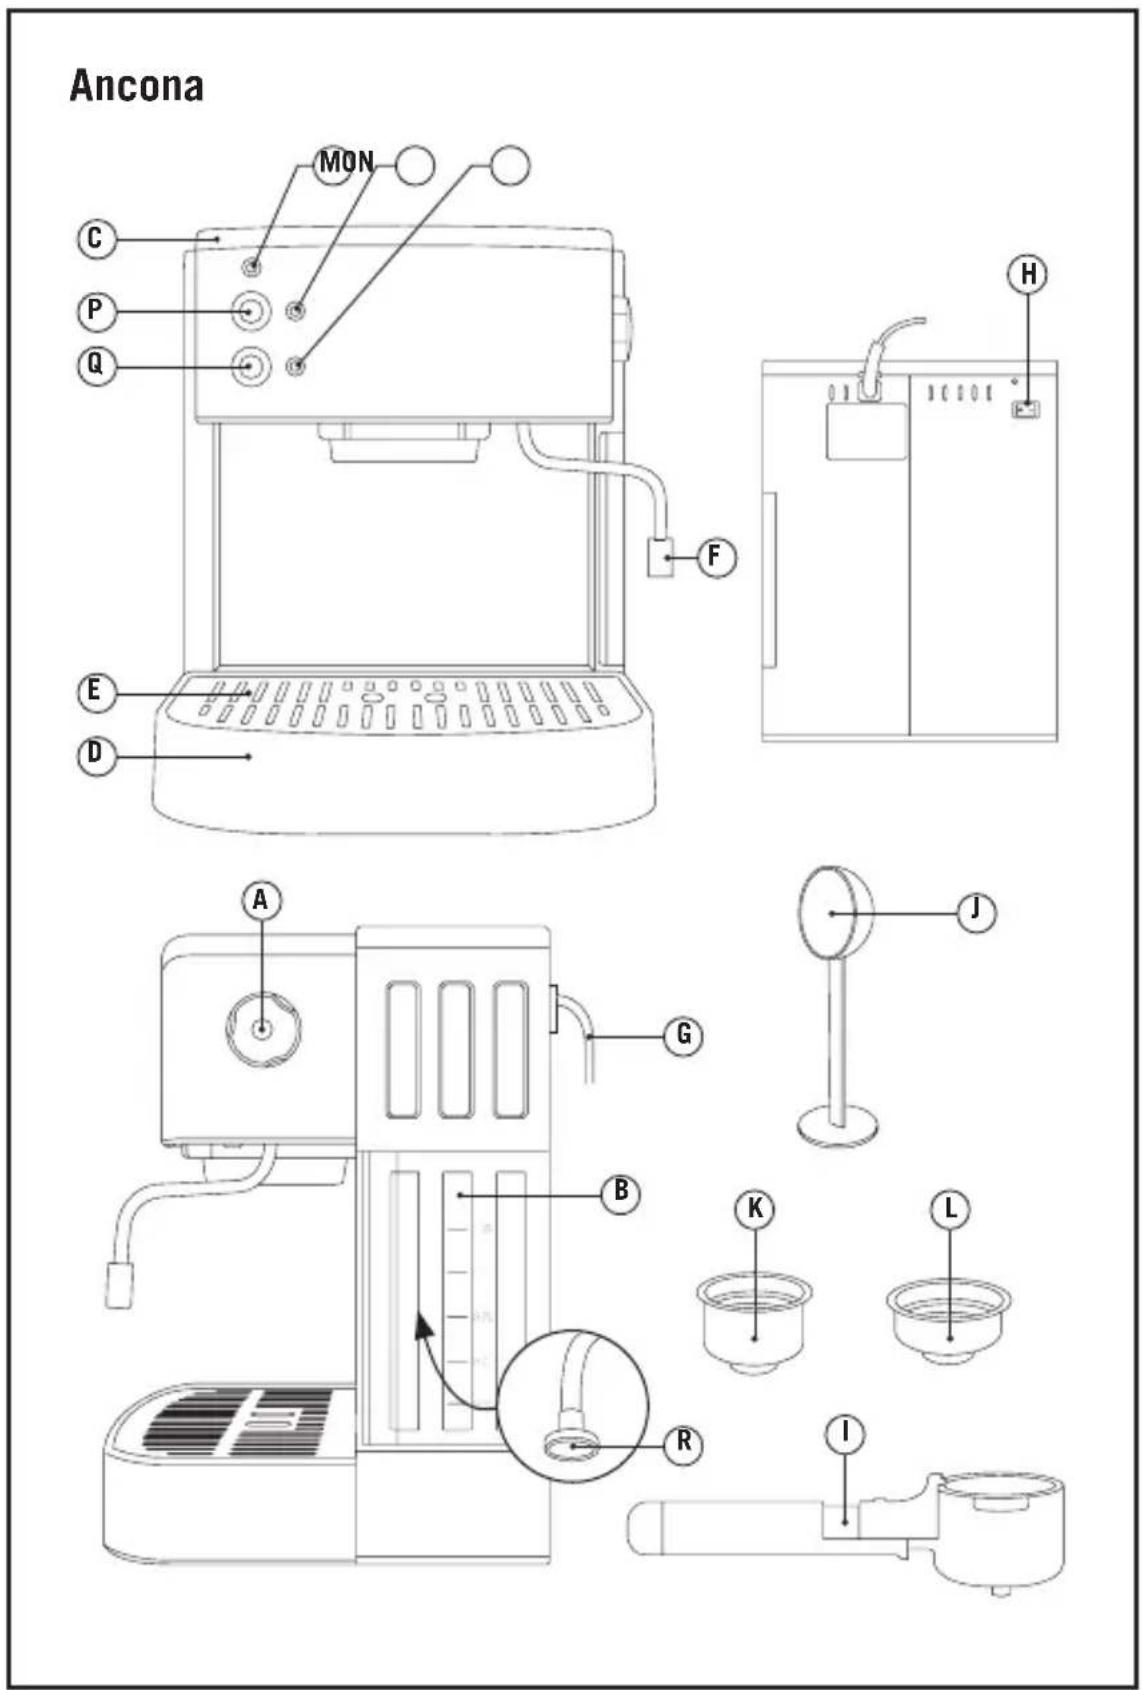
Español
Cafetera espresso Ancona

natural_image
Color palette bar with grayscale shades and a black horizontal bar at bottom, no text or symbols presentnatural_image
Color palette bar with grayscale gradient and a black horizontal bar at bottom, no text or symbols presentnatural_image
Color calibration bar with grayscale and RGB color swatches, no text or symbols presentnatural_image
Color calibration bar with grayscale and RGB color swatches, no text or symbols presentEspresso coffee-maker Ancona

Dear customer,
Many thanks for choosing to purchase a TAURUS brand product.
Thanks to its technology, design and operation and the fact that it exceeds the strictest quality standards, a fully satisfactory use and long product life can be assured.
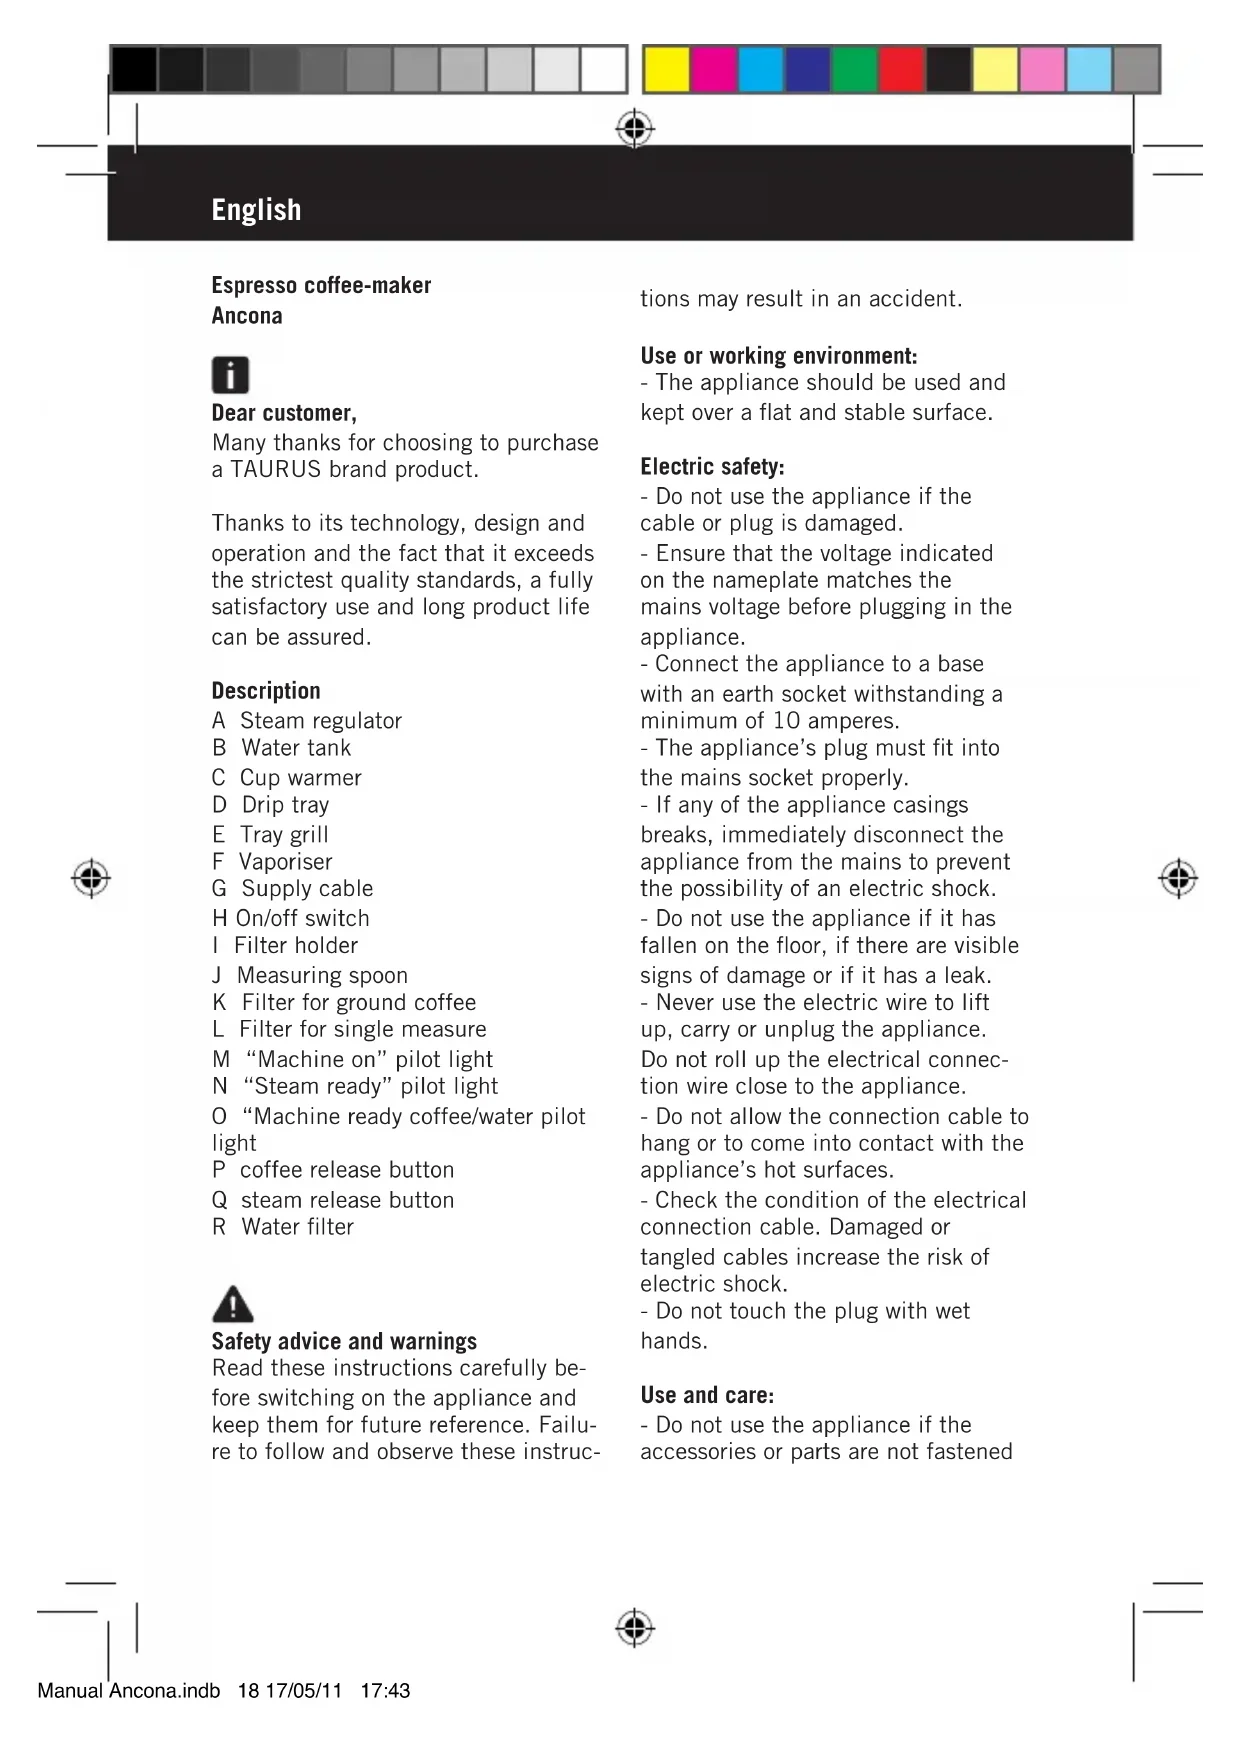
Description
A Steam regulator
B Water tank
C Cup warmer
D Drip tray
E Tray grill
F Vaporiser
G Supply cable
H On/off switch
I Filter holder
J Measuring spoon
K Filter for ground coffee
L Filter for single measure
M "Machine on" pilot light
N "Steam ready" pilot light
O "Machine ready coffee/water pilot light
P coffee release button
Q steam release button
R Water filter

Safety advice and warnings
Read these instructions carefully before switching on the appliance and keep them for future reference. Failure to follow and observe these instructions may result in an accident.
Use or working environment:
- The appliance should be used and kept over a flat and stable surface.
Electric safety:
- Do not use the appliance if the cable or plug is damaged.
- Ensure that the voltage indicated on the nameplate matches the mains voltage before plugging in the appliance.
- Connect the appliance to a base with an earth socket withstanding a minimum of 10 amperes.
- The appliance's plug must fit into the mains socket properly.
- If any of the appliance casings breaks, immediately disconnect the appliance from the mains to prevent the possibility of an electric shock.
- Do not use the appliance if it has fallen on the floor, if there are visible signs of damage or if it has a leak.
- Never use the electric wire to lift up, carry or unplug the appliance. Do not roll up the electrical connection wire close to the appliance.
- Do not allow the connection cable to hang or to come into contact with the appliance's hot surfaces.
- Check the condition of the electrical connection cable. Damaged or tangled cables increase the risk of electric shock.
- Do not touch the plug with wet hands.
Use and care:
- Do not use the appliance if the accessories or parts are not fastened


together properly.
- Do not switch on the appliance without water.
- Do not use the appliance if the on/off switch does not work.
- Do not move the appliance while in use.
Respect the levels indicated on the water tank.
- Disconnect the appliance from the mains when not in use and before undertaking any cleaning task.
- This appliance is for household use only, not professional or industrial use.
- Children should be supervised to ensure that they do not play with the appliance.
- Ensure that this product is not used by the disabled, children or people unused to its handling.
- This appliance should be stored out of reach of children and/or the disabled.
- Do not store or transport the appliance if it is still hot.
- Any misuse or failure to follow the instructions for use renders the guarantee and the manufacturer's liability null and void.

Instructions for use
Use:
- Unroll the cable completely before plugging it in.
- Connect the appliance to the mains.
- When switching on for the first time:
This simple operation ensures optimum dispensing and must be carried out:
- When the machine has been out of use for a long time (1 or 2 weeks)
- After making steam
- When the tank is without water.
- Press the on/off switch and the machine will be connected.
- Rinse the tank and fill it with cool drinking water.
- Place a recipient under the vapor-riser. Open the control by turning it anticlockwise.
- Press the coffee release button and water will flow out through the vaporiser. Wait until approximately a cupful has come out.
- To finish dispensing, close the control by turning it clockwise.
Filling the water tank:
- Remove the tank from the appliance.
- Fill the tank with cold water.
- Fill the tank to the indicated level
- Replace the tank in its housing, ensuring that it is well fitted.
Preparing coffee:
- Check that the removable filter is perfectly fitted into the filter holder.
- Fill the tank with cold water to the indicated level.
- Plug the appliance into the mains. Fill the removable filter with ground coffee (6-7 g per cup to be prepared).
- If you wish to make 1 coffee, fill the ladle to half its capacity (1 spoonful), taking the capacity of the measuring spoon as the measurement for 1 coffee.
- For 2 coffees, put in 2 spoonfuls.
- Next lightly press down the ground coffee with the back of the spoon.
- Before fitting the filter holder in
the coffee maker assembly, turn the ladle-holder backwards.
- Fix the filter holder into the coffee assemblage by inserting it from below the assemblage.
- Turn the filter holder in the coffee maker assemblage from below the assemblage and turn it from left to right until it locks.
- Place one or two pre-heated cups at the filter holder outlet as desired, and then press the coffee release button. The coffee infusion will begin to pour out. It does not matter if the blue pilot light goes out during this process. When you have obtained the desired quantity of espresso coffee (short or long), press the coffee button.
- When the dispensing is completed, wait a few seconds and then remove the cups of coffee.
- Remove the filter holder and empty out the grounds.
- Wash the filter holder with running water.
- Check that the removable filter is perfectly fitted into the filter holder.
- Fit the filter holder in the appliance once more.
Preparing coffee with single-measure bags:
- Remove the filter for ground coffee from the filter holder.
- Insert the filter for single-measure bags in the filter holder.
- Next, put the single-measure bag into the filter holder, ensuring that the paper of the bag does not protrude from the filter holder.
- Fix the filter holder into the coffee maker assemblage by inserting it
from below the assemblage.
- Turn the filter holder from left to right until it locks.
- Place 1 pre-heated cup under the filter holder;
- Press the coffee release button.
- Follow the “coffee preparation” procedure.
- Remove the single-measure filter and throw away the used bag.
Clean the filter holder and the single-measure filter.
Obtaining hot water:
- Switch on the appliance by operating the on/off control.
- The heating pilot light will come on indicating that the water is heating.
- Wait until the coffee release pilotlight also comes on. This situationtells us that the water has reachedthe appropriate temperature.
- Place a recipient under the vaporiser.
- Open the steam regulator by turning it anticlockwise.
- Press the coffee release button.
- The hot water begins to pour out through the vaporiser.
- Once you have obtained the desired amount of hot water, press the coffee release button.
- Close the control by turning it clockwise.
Obtaining steam:
- The steam is used to foam milk for cappuccino, and also to heat other liquids.
- Switch on the appliance by operating the on/off switch.
- The heating pilot light will come on indicating that the water is heating to
produce steam.
- Wait until the coffee release pilot light comes on, indicating that the appliance has reached the appropriate temperature.
- Press the steam release button.
- Place a recipient under the steam pipe.
- Open the control for a few seconds so that the water that has remained in the vaporiser can be released. In a short time steam only will start to be released.
- Close the control and remove the recipient.
Once you have finished using the appliance:
- Turn the appliance off, using the on/off switch.
- Unplug the appliance to the mains.
- Remove the water from the water tank.
- Clean the appliance

Cleaning
- Disconnect the appliance from the mains and let it cool before undertaking any cleaning task.
- Clean the equipment with a damp cloth with a few drops of washing-up liquid and then dry.
- Do not use solvents, or products with an acid or base pH such as bleach, or abrasive products, for cleaning the appliance.
- Do not submerge the appliance in water or any other liquid, or place it under a running tap.
- It is advisable to clean the appliance regularly and remove any food remains.
How to deal with lime scale incrustations:
- For the appliance to work correctly it should be kept free of lime scale or magnesium incrustations caused by the use of hard water.
- To prevent this kind of problem, we recommend the use of water with low lime or magnesium mineralisation.
- However, if it is not possible to use the kind of water recommended above, you should periodically remove the lime scale from the appliance:
- Every 6 weeks if the water is “very hard”.
- Every 12 weeks if the water is "hard".
- To do so, we recommend the use of the specific product Taurus Decal, which can be found in specialised shops and authorised technical services.
- Homemade solutions are not recommended in the de-scaling of this appliance, such as the use of vinegar.

Anomalies and repair
- Take the appliance to an authorised technical support service if problems arise.
Do not try to dismantle or repair without assistance, as this may be dangerous.
- If the connection to the mains has been damaged, it must be replaced and you should proceed as you would in the case of damage.
If any anomaly is detected, check the following table:
| Anomaly Possible cause Solution | ||
| Water comes out from the side of the filter holder | - The filter holder is not correctly fitted.- The edge of the ladle is covered with coffee.- The dispensing assemblage is dirty. | - See “obtaining coffee” section- Clean the ladle around the edge and clean the coffee supply assemblage.- Clean with a damp cloth. |
| No coffee is dispensed. | - There is no water- The vacuum tube does not reach the bottom of the tank or is not correctly fitted.- The holes in the ladle are blocked, the coffee is too finely ground or has been pressed too firmly. | - Refill the water tank.- Position the vacuum tube in such a way that it reaches the bottom of the water tank. Make sure it does not become pinched.- Empty the ladle and clean with water. Clean the dispensing assemblage with a damp cloth. Reload the ladle and lightly press down the coffee. |
| The coffee comes out slowly or in drips | - The coffee is too finely ground or too firmly pressed. | - Make sure the size of the grounds is correct and that it has not been excessively pressed down. |
| The coffee comes out without cream | - The coffee used is old or has dried.- The coffee has not been sufficiently firmly pressed down.- The coffee has been ground too coarse. | - Use fresh coffee and once opened, store in a hermetically-sealed container.- Press the coffee down firmly.- Grind the coffee finer. |
| The coffee comes out too fast. | - The coffee has been ground very coarse.- Insufficient coffee has been put in the ladle.- The coffee has not been sufficiently firmly pressed down. | - Grind the coffee finer.- Ensure that the correct amount of coffee has been put in the ladle.- Press the coffee down more firmly. |
| No steam comes out from the vaporiser tube. | - The tube is blocked | Clean the vaporiser tube with a damp cloth to remove the possible remains of milk that have dried and unblock the holes with the aid of a needle. Press the appropriate switch and remove steam until it comes out strongly and continuously. |



natural_image
Color calibration bar with grayscale and RGB color swatches, no text or symbols presentFor EU product versions and/or in case that it is requested in your country:
Ecology and recyclability of the product
- The materials of which the packaging of this appliance consists are included in a collection, classification and recycling system.
- The product does not contain concentrations of substances that could be considered harmful to the environment
This symbol means that in case you wish to dispose of the product once its working life has ended, take it to an authorised waste agent for the selective collection of
waste electrical and electronic equipment (WEEE)
This appliance complies with Directive 2006/95/EC on Low Voltage and Directive 2004/108/EC on Electromagnetic Compatibility.


Français
Cafetière expresso Ancona

Cher Client,
natural_image
Color palette bar with grayscale shades and a black horizontal bar at bottom, no text or symbols presentnatural_image
Color calibration bar with grayscale and RGB color swatches, no text or symbols presentnatural_image
Color calibration bar with grayscale and RGB color swatches, no text or symbols presentnatural_image
Color palette bar with grayscale swatches and a black horizontal bar at bottom, no text or symbols presentnatural_image
Color calibration bar with grayscale and RGB color swatches, no text or symbols presentnatural_image
Color calibration bar with grayscale and RGB color swatches, no text or symbols presentnatural_image
Color palette bar with grayscale shades and a black horizontal bar at bottom, no text or symbols presentnatural_image
Color palette bar with grayscale gradient and a black horizontal bar at bottom, no text or symbols presentnatural_image
Color calibration bar with grayscale and RGB color swatches, no text or symbols presentnatural_image
Color calibration bar with grayscale and RGB color swatches, no text or symbols presentnatural_image
Color palette bar with grayscale gradient and a black horizontal bar at bottom, no text or symbols presentnatural_image
Color calibration bar with grayscale and RGB color swatches, no text or symbols presentnatural_image
Color calibration bar with grayscale and RGB color swatches, no text or symbols presentnatural_image
Color calibration bar with grayscale and RGB color swatches, no text or symbols presentnatural_image
Color palette bar with grayscale shades and a black horizontal bar at bottom, no text or symbols present
- Español
- Cafetera espresso Ancona
- Espresso coffee-maker Ancona
- Dear customer,
- Description
- Safety advice and warnings
- Use or working environment:
- Electric safety:
- Use and care:
- Instructions for use
- Use:
- This simple operation ensures optimum dispensing and must be carried out:
- Filling the water tank:
- Preparing coffee:
- Preparing coffee with single-measure bags:
- Obtaining hot water:
- Obtaining steam:
- Once you have finished using the appliance:
- Cleaning
- How to deal with lime scale incrustations:
- Anomalies and repair
- Ecology and recyclability of the product
- Français
- Cafetière expresso Ancona
- Cher Client,
Brand : TAURUS
Model : Ancona
Category : Coffee machine