
HK 46 N - Jigsaw AEG - Free user manual and instructions
Find the device manual for free HK 46 N AEG in PDF.
| Product type | Jigsaw |
| Brand | AEG |
| Model | HK 46 N |
| Rated input power | 630 W |
| No-load speed | 4600 min⁻¹ |
| Blade diameter (bore) | 152 x 20 mm |
| Cutting depth at 90° | 46 mm |
| Cutting depth at 45° | 30 mm |
| Weight | 2.6 kg |
| Power supply | Single-phase AC (230 V / 50 Hz) |
| Double insulation | Yes (according to DIN 57 740 / VDE 0740 and CEE 20) |
| Sound pressure level (LpA) | 94 dB(A) |
| Sound power level (LWA) | 107 dB(A) |
| Vibration (forearm) | < 2.5 m/s² |
| Cutting depth adjustment | Yes, by wing nut and graduated scale |
| Cutting angle adjustment | Yes, from 0° to 45° |
| Parallel guide | Max. cutting width 250 mm |
| Chip ejection / Dust extraction | Connection possible for vacuum cleaner (accessory) |
| Safety | Protective guard, switch lock, double insulation |
| Maintenance | Clean ventilation openings; annual inspection of carbon brushes |
| Spare parts | Use only original AEG parts and accessories |
| Repairability | AEG after-sales service; exploded view available upon request |
Frequently Asked Questions - HK 46 N AEG
User questions about HK 46 N AEG
0 question about this device. Answer the ones you know or ask your own.
Ask a new question about this device
Download the instructions for your Jigsaw in PDF format for free! Find your manual HK 46 N - AEG and take your electronic device back in hand. On this page are published all the documents necessary for the use of your device. HK 46 N by AEG.
USER MANUAL HK 46 N AEG
GB Instructions for use
Please read and save these instructions.
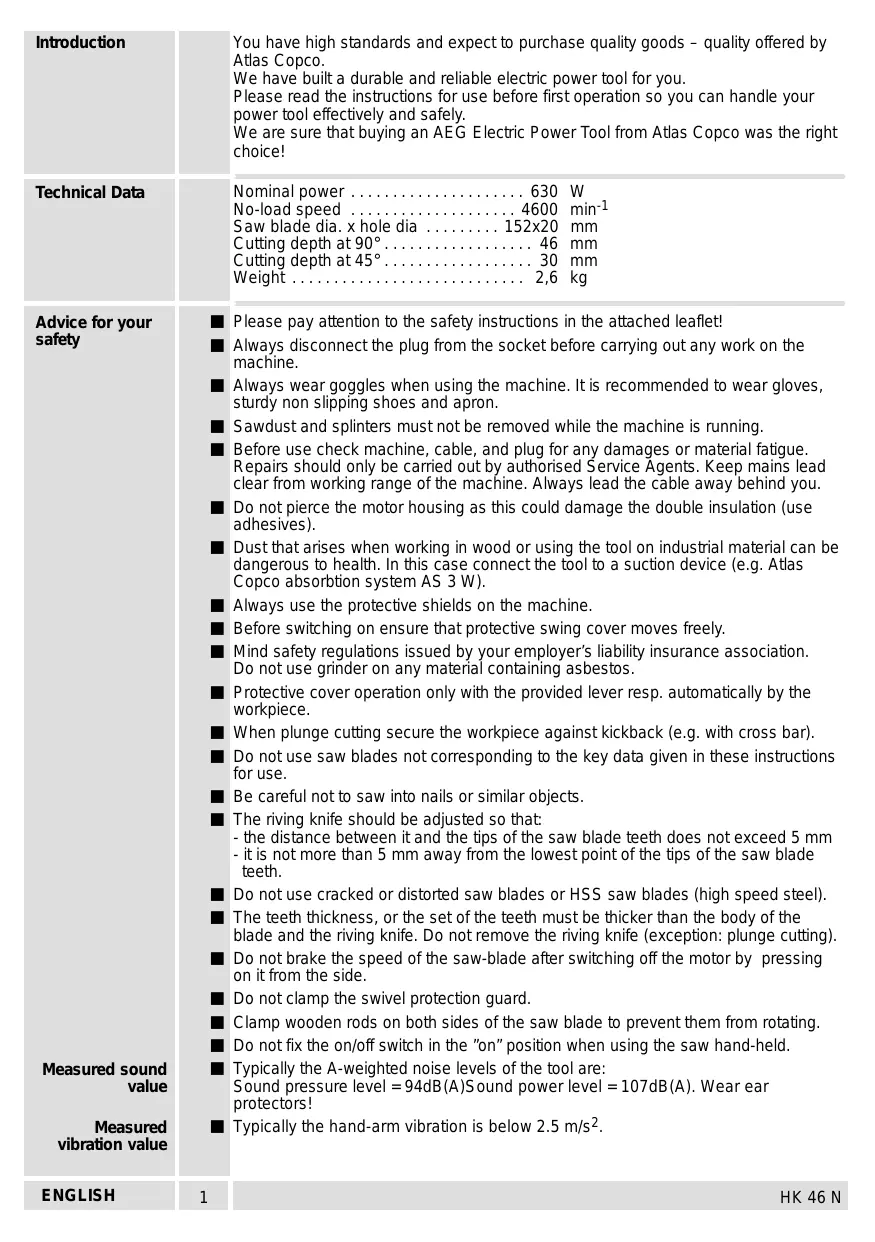
| Introduction | You have high standards and expect to purchase quality goods – quality offered by Atlas Copco. We have built a durable and reliable electric power tool for you. Please read the instructions for use before first operation so you can handle your power tool effectively and safely. We are sure that buying an AEG Electric Power Tool from Atlas Copco was the right choice! | |
| Technical Data | Nominal power 630 W No-load speed 4600 min-1 Saw blade dia. x hole dia 152x20 mm Cutting depth at 90° 46 mm Cutting depth at 45° 30 mm Weight 2,6 kg | |
| Advice for your safety | Please pay attention to the safety instructions in the attached leaflet! Always disconnect the plug from the socket before carrying out any work on the machine. Always wear goggles when using the machine. It is recommended to wear gloves, sturdy non-slipping shoes and apron. Sawdust and splinters must not be removed while the machine is running. Before use check machine, cable, and plug for any damages or material fatigue. Repairs should only be carried out by authorised Service Agents. Keep mains lead clear from working range of the machine. Always lead the cable away behind you. Do not pierce the motor housing as this could damage the double insulation (use adhesives). Dust that arises when working in wood or using the tool on industrial material can be dangerous to health. In this case connect the tool to a suction device (e.g. Atlas Copco absorption system AS 3 W). Always use the protective shields on the machine. Before switching on ensure that protective swing cover moves freely. Mind safety regulations issued by your employer's liability insurance association. Do not use grinder on any material containing asbestos. Protective cover operation only with the provided lever resp. automatically by the workpiece. When plunge cutting secure the workpiece against kickback (e.g. with cross bar). Do not use saw blades not corresponding to the key data given in these instructions for use. Be careful not to saw into nails or similar objects. The riving knife should be adjusted so that: - the distance between it and the tips of the saw blade teeth does not exceed 5 mm - it is not more than 5 mm away from the lowest point of the tips of the saw blade teeth. Do not use cracked or distorted saw blades or HSS saw blades (high speed steel). The teeth thickness, or the set of the teeth must be thicker than the body of the blade and the riving knife. Do not remove the riving knife (exception: plunge cutting). Do not brake the speed of the saw-blade after switching off the motor by pressing on it from the side. Do not clamp the swivel protection guard. Clamp wooden rods on both sides of the saw blade to prevent them from rotating. Do not fix the on/off switch in the "on" position when using the saw hand-held. Typically the A-weighted noise levels of the tool are: Sound pressure level = 94dB(A)Sound power level = 107dB(A). Wear ear protectors! Typically the hand-arm vibration is below 2.5 m/s². | |
| Measured sound value | ||
| Measured vibration value | ||
| ENGLISH | 1 HK 46 N | |
| Brief description | Switch lock – prevents the machine from being switched on accidentally. | |
| On-/off switch | ||
| Cutting angle adjustment with cutting angle scale. | ||
| Sawdust outlet | ||
| Cutting depth adjustment with millimeter scale. | ||
| Protective swing cover to protect the user against injuries. When the machine is applied to the working material the cover swings back automatically. | ||
| Guide plate | ||
| Parallel guide with millimeter scale. | Modifications: Text, diagrams and data are correct at the time of printing. In the interest of continuous improvement of our products, technical specifications are subject to alteration without prior notice. | |
| Use | This electronic circular saw can cut lengthways and litre accurately in wood, plastic, and aluminium. | |
| Mains connection | Connect only to a single-phase AC current supply and only to the mains voltage specified on the rating plate. Connection to sockets without earth protection is possible as the appliance features protective insulation to DIN 57 740/ VDE 0740 and CEE 20. Radio suppression complies with the European standard EN 55014. When fitting the plug, make sure that the brown (live) wire of this appliance is connected to the plug terminal marked L or coloured red, and the blue (neutral) wire of this appliance is connected to the plug terminal marked N or coloured black. Under no circumstances must the wires of this appliance be connected to the earth terminal of the plug marked either E, with the earth symbol or coloured green or green/yellow. | |
| Changing the saw blade | Always disconnect the plug from the socket before carrying out any work on the machine. 1. Swing the movable protective cover back and hold it steady. Hold the work spindle still by means of a wooden wedge between the saw blade teeth and the guide plate. 2. Unscrew the tension screw ① with the hexagonal spanner. Remove the washer ② and the spring washer ③. 3. Fit the new saw blade by following the above steps in the reverse order. The arrow on the saw-blade must point in the same direction as the direction of rotation arrow. | |
| ENGLISH | 2 HK 46 N | |
| Adjusting the cutting depth | For the cleanest possible cut, set the cutting depth whenever possible 5 mm deeper than the thickness of the material. Slacken the wing-nut for adjusting depth of cut, set the cutting depth on the scale, and tighten the wing-nut again. | |
| Adjusting the cutting angle | Slacken the wing-nuts for adjusting angle of cut, set the cutting angle on the scale, and tighten the wing-nuts again. Check angle of cut by making a test cut. | |
| Riving Knife | The distance between riving knife and saw blade must not be more than 5 mm. If the riving knife has been removed (e.G. for plunge cuts) the distance must be kept by all means when re-inserting the riving knife. | |
| Remove the riving knife | Loosen the clamping screw ① and take out the riving knife. Refit the riving knife by all means after plunge cutting before starting to work again. | |
| Adjusting the riving knife | Set the distance between the riving knife and the tips of the saw blade teeth to a maximum of 5 mm, and adjust to a maximum distance of 5 mm between the tip of the riving knife and the lowest point of the saw blade. | |
| Sawdust ejection / Dust extraction (Accessory*) | A dust bag or suction hose with adaptor can be attached to the machine for sawdust removal with an wet- and- dry vacuum cleaner. We recommend the AEG NTE 1100 electronic wet-and-dry vacuum cleaner, which has a socket to which this machine can be connected directly. As soon as the saw is switched on, the wet-and-dry vacuum cleaner switches itself on automatically. *Not included in standard equipment, available as an accessory. | |
| ENGLISH | 3 | HK 46 N |
| Adjusting the rip fence | Slacken the wing-nut and set the rip fence to the required cutting width by means of the cutting line scale. Retighten wing-nut. | |
| Switching the machine on and off | For safety reasons this power tool is fitted with a switch lock and the On-/Off switch cannot be locked in the "On" position. Switching on: Press the switch lock forwards, and then press the On-/Off switch. Switching off: Release On-/Off switch | |
| Advices for operation | 1. Switch on the machine and apply to the material with the front edge of the guide plate. 2. Align the tool with the parallel guide or a line drawn by hand. 3. Hold the tool firmly by both handles and work applying light pressure. | |
| When sawing along a line use the cutting information shown in the window according to the cutting angle. - right-angled cut - indicator on "0" - 45° cut - indicator on "45" For bevel cuts the guide (i.e. parallel guide, ridge) must be applied shifted to scale (carry out a test cut). The parallel guide allows a max. cutting width of 250 mm. For wider cuts use an guide bar (accessory) or lead the tool along a fixed ridge. To avoid a tearing out of the cutting edges when working sensitive material (i.e. coated chip boards) stick some crepe tape onto the area to be cut (if the surface is very smooth crepe tape also enables easy drawing of lines). Fixing a thin board of wood to the workpiece and sawing through both will also avoid tearing out effectively. | ||
| ENGLISH | 4 | HK 46 N |
| Maintenance | The ventilation slots of the machine must be kept clear at all times. In order to guarantee constant readiness for operation, the machine should be checked for worn carbon brushes at one of the AEG after-sales service agencies. Use only AEG accessories and spare parts. Should components need to be replaced which have not been described, please contact one of our AEG service agents (see our list of guarantee/service addresses). If needed, an exploded view of the tool can be ordered. Please state the ten-digit No. as well as the machine type printed on the label and order the drawing at your local service agents or directly at: Atlas Copco Electric Tools GmbH, Postfach 320, D-71361 Winnenden. | |
| Accessories | The range of accessories with part numbers is shown in our catalogue. | |
| ENGLISH | 5 | HK 46 N |
EC-DECLARATION OF CONFORMITY
We declare under our sole responsibility that this product is in conformity with the following standards or standardized documents. EN 50144, EN 55104, EN 55014, EN 60555, HD 400 in accordance with the regulations 89/392/EEC, 73/23/EEC, 89/336/EEC
DEUTSCH
CE-KONFORMITETSERKL/ERING
Printed in Germany (11.96 ECO)
Konf-01


Brand : AEG
Model : HK 46 N
Category : Jigsaw