HFC743169BKA - Vacuum Cleaner HISENSE - Free user manual and instructions
Find the device manual for free HFC743169BKA HISENSE in PDF.

| Brand | Hisense |
| Model | HFC743169BKA |
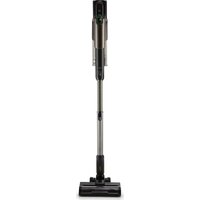
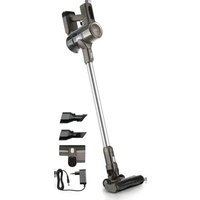
| Product type | 2-in-1 stick vacuum with washing function |
| Power supply | Rechargeable battery with mains adapter |
| Battery life (ECO mode) | Up to 20 minutes |
| Battery life (AUTO mode) | Up to 25 minutes |
| Battery life (HIGH mode, handheld) | Up to 20 minutes |
| Battery type | Lithium-ion, 24-month warranty |
| Main functions | Dry vacuuming, hard floor washing, roller self-cleaning, roller drying |
| Digital display | Battery level, water tanks, self-cleaning, drying, air obstruction |
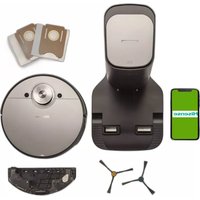
| Included accessories | Motorized floor brush, motorized fabric brush, crevice tool, bristle brush, soft bristle brush, charging station, adapter, cleaning brush |
| Filter type | Cyclonic with washable filter (replacement recommended every 6 months) |
| Clean water tank capacity | Not specified in the manual |
| Dirty water tank capacity | Not specified in the manual |
| Safety | Automatic shut-off in upright position, heat protection (station at 1 m from heat sources) |
| Maintenance | Regular cleaning of dust bin and filter; rollers washable with water and mild detergent |
| Usage | Indoor, domestic only |
| Recycling | Selective WEEE collection (crossed-out bin) |
| Weight | Not specified in the manual |
| Dimensions (height) | Not specified in the manual |
Frequently Asked Questions - HFC743169BKA HISENSE
User questions about HFC743169BKA HISENSE
0 question about this device. Answer the ones you know or ask your own.
Ask a new question about this device
Download the instructions for your Vacuum Cleaner in PDF format for free! Find your manual HFC743169BKA - HISENSE and take your electronic device back in hand. On this page are published all the documents necessary for the use of your device. HFC743169BKA by HISENSE.
USER MANUAL HFC743169BKA HISENSE
natural_image
Black and white photo of a vacuum cleaner with adjustable armrests and base mount (no visible text or symbols)SI Navodila za uporabo....13
EN Instruction manual....29
natural_image
Technical line drawing of a mechanical device with no visible text or symbols2.
natural_image
Technical line drawing of a cylindrical mechanical component with flanges and a central hub (no text or symbols)
natural_image
Pure line drawing of a vertical cylindrical object with no text or symbols
natural_image
Technical line drawing of a mechanical device with no visible text or symbols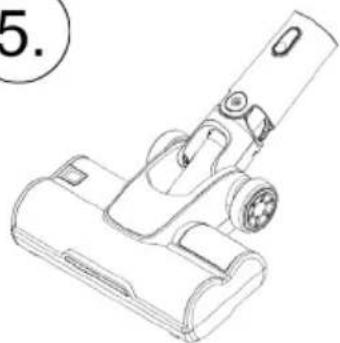
natural_image
Line drawing of a handheld vacuum cleaner (no text or symbols)6.

natural_image
Line drawing of a handheld vacuum cleaner with a circular handle and textured base (no text or symbols)11.
natural_image
Line drawing of a mechanical tool or device with a cylindrical end and handle (no text or symbols)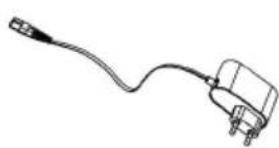
natural_image
Simple line drawing of a cable with a connector (no text or symbols)
natural_image
Technical line drawing of an electronic component housing (no text or symbols visible)10
13.


flowchart
graph TD
    A["Device with cable"] --> B["Switch box with plug"]
    B --> C["Internal circuit with battery"]
    C --> D["Motor switch with lever"]
    D --> E["Internal circuit with switch"]
    E --> F["Motor switch with lever"]
    F --> G["Internal circuit with switch"]
    G --> H["Motor switch with lever"]
[Non-Text]
natural_image
Line drawing of a vacuum cleaner with attached electrical plug and cooling unit (no text or symbols)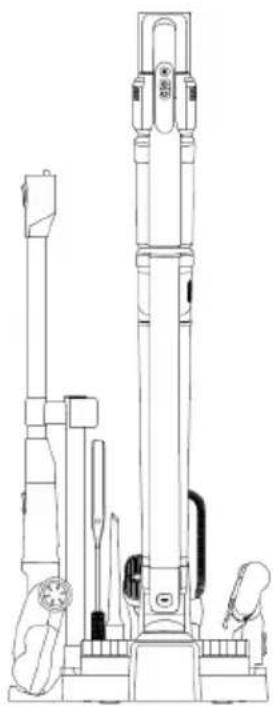
natural_image
Technical line drawing of a vertical cylindrical device with two smaller components, no visible text or symbols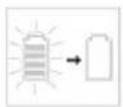

natural_image
Technical line drawing of a robotic device with attached cable and connector (no text or symbols)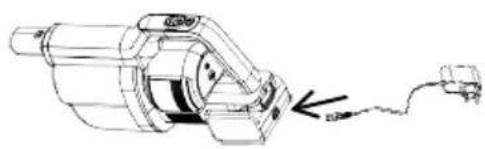
natural_image
Line drawing of a handheld device with an attached cable, showing no text or symbols
©
natural_image
Technical illustration of a mechanical device with a close-up view of its internal components (no text or symbols)
natural_image
Simple line drawing of a mechanical device with a circular arrow symbol inside, no text or labels present.
flowchart
graph LR
    A["Initial door panel with valve"] --> B["Assembly step"]
    B --> C["Reassembly step"]
    C --> D["Final shipment of door panel with valve"]

natural_image
Technical line drawing of a mechanical device with two views (top and side), no visible text or symbols.

natural_image
Technical line drawings of mechanical components (no text or symbols)
natural_image
Line drawing of a vacuum cleaner with handle and mounting base (no text or symbols)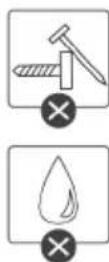
i

flowchart
graph LR
    A["UV Cleaner"] --> B["Reactor with faucet"]
    B --> C["Add water droplets"]
    C --> D["Final Product with water droplets and packaging"]

natural_image
Illustration of various electronic components including battery, plug, and cylindrical device with water drop and dry well symbols (no text or labels)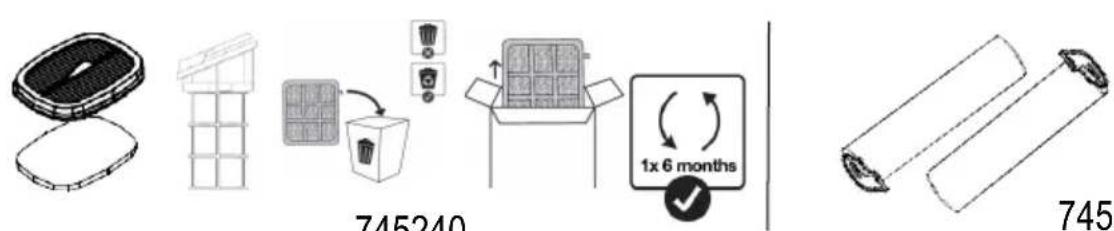

natural_image
Line drawing of a vacuum cleaner with handle and mounting feet (no text or symbols)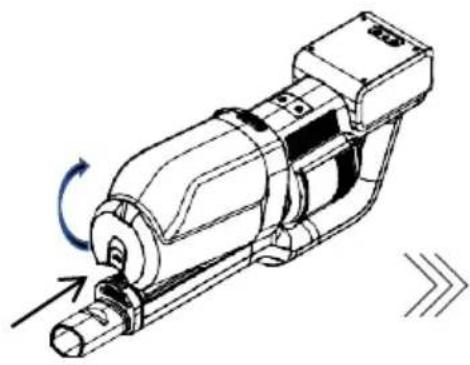
natural_image
Technical line drawing of a mechanical device with rotational arrow indicating motion (no text or symbols)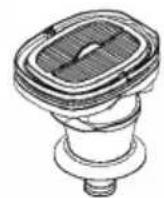
natural_image
Line drawing of a cylindrical container with a side slot and handle (no text or symbols)

natural_image
Technical line drawing of a handheld vacuum cleaner with a black arrow indicating the component (no text or symbols present)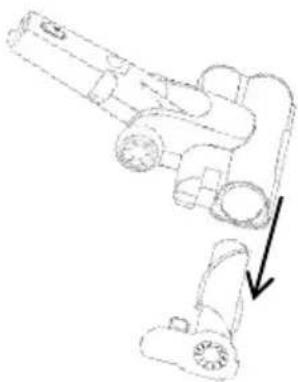
natural_image
Line drawing of a robotic arm with a downward arrow indicating motion or force (no text or symbols)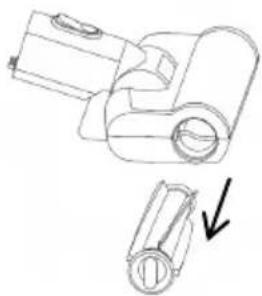
natural_image
Technical line drawing of a mechanical device with two views showing internal components (no text or symbols)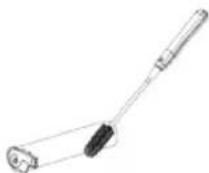
natural_image
Line drawing of a mechanical component with no visible text or symbols
745240
flowchart
graph TD
    A["Feed into bins"] --> B["Recycling waste"]
    B --> C["Recycling waste into bins"]
    C --> D["Recycling waste into bins with recycling symbol"]

Splošna opozorila
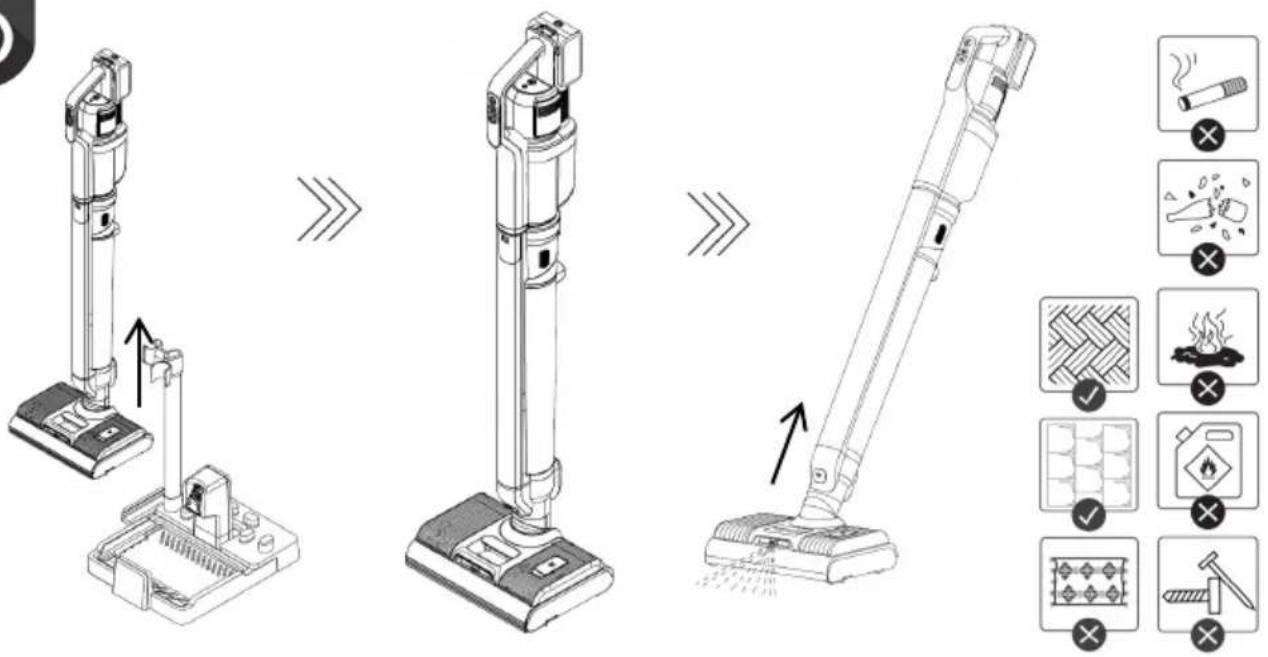
When using the vacuum cleaner always observe the following basic safety precautions: Carefully read this instruction manual and only use the appliance in accordance with the instructions herein. Before using the appliance for the first time, remove all protective film or plastics. // Never leave the appliance unattended during use. // Before using the appliance, carefully assemble all of its parts. // Only use the appliance indoors and in dry areas. // Only use the appliance with the parts recommended by the manufacturer. // Do not use the appliance if it has been dropped, if it is damaged, if it has been kept outdoors, or if it has been dropped or immersed in a liquid. // Regular cleaning can extend the appliance's useful life. // Make sure your hair, loose parts of your garments, fingers or other parts of the body do not come into contact with the vents or moving parts of the appliance. // The appliance complies with all required standards regarding electricity, and radio interference regulations. // The appliance is not intended to be used by children and persons with impaired physical or mental abilities. This appliance may be used by children aged 8 years and more, and by persons with reduced physical, sensory or mental capabilities or lack of experience and knowledge, if they are supervised during the use of the appliance or if they have been provided relevant instructions regarding the use of the appliance in a safe way, and they understand the hazards involved. Keep children under supervision while they are using the appliance and make sure they do not play with it. // Children should not perform any cleaning or maintenance tasks on the appliance, unless they are older than 8 years, and they do so under supervision. // Switch off the appliance after use.
Danger
Do not immerse the main unit/appliance housing or the charging base in water or any other liquid and do not rinse them under running water.
Special warnings
Before connecting the appliance or the charging base with the power cord to the power mains, make sure the indicated voltage matches the voltage of the power mains in your home. // Do not used a damaged vacuum cleaner or a damaged charging base (or adapter – depending on your vacuum cleaner model). // If the charging base (or adapter) is damaged, replace it only with an original spare part in order to avoid danger. // A transformer is integrated into the adapter. Removal and replacement of adapter with another one are not allowed as this may lead to a dangerous situation. // Only charge the vacuum cleaner with the supplied adapter and charging base. The adapter may heat up during charging. This is a normal occurrence. (Depending on your model, if it has an adapter.) // Switch off the appliance during charging. // Never use the vacuum cleaner without filters or filtering unit in place. // The exhaust vents may not be blocked during vacuum cleaning. // Only use the appliance for household purposes and indoors. // Keep the suction vents clean and free in order to ensure optimum and unimpeded suction power of the appliance. It is highly recommended to regularly clean the open parts of the suction hose, and to remove dust, hair, or anything else that may block the airflow. // Before cleaning the support or the charging base, unplug it from the power socket. // Never use the vacuum cleaner to clean up embers or filings, cigarette butts, matches, liquids (e.g. water, carpet cleaning foam), or sharp or pointed objects (broken glass
etc.). // Keep the suction tube or the open part of the appliance away from your face and body. // Never use the appliance to vacuum construction material (such as fine sand, lime, cement powder, toner dust etc.). This can cause damage to the appliance.
Problems and solution
| Problem | Possible reason | Solution |
| Rolling brush does not rotate. | No battery | Charge the floor washer. |
| The roller brush is pressed by a heavy object or entangled in too much hair. | Remove any heavy objects and clean up the hair. | |
| No water from the pump | The water in the clean water tank has been used up. | Refill the clean water tank. |
| It is blocked by a foreign body. | Clean the dirt on the nozzle and clean the dirty water tank. | |
| Insufficient use time after charging | Insufficient charging time | The battery is a consumable product. You can buy a new battery pack at the designated repair point. |
| Battery age | ||
| Not working. | The battery is dead.The handy VC is not assembled correctly. | Charge.Assemble the handy VC correctly. |
| Suction power has decreased. | The dust cup is full.Block in filter.Block in the air inlet tunnel or on the roller of electrical brush. | Pour out the dust.Clean or change filter.Clean the electrical brush. |
| The VC is not charging. | The charger is not connected on socket.The connector of charger is not connected to the hole of base body.The handy VC is not assembled to the body. | Connect the charger on socket.Connect the charger with base body of VC.Assemble the handy VC on body. |
| Use very short time after charging. | Not enough charging time.The battery is aging. | Charge according to instruction.Change the battery. |
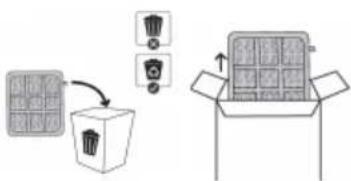
Environment

not throw away the appliance with the normal household waste at the end of its life. Hand it in at an official collection point for recycling. By doing this, you help to preserve the environment.
This appliance is marked according to the European directive 2012/19/EU on Waste Electrical and Electronic Equipment (WEEE). This guideline is the frame of a European-wide validity of return and recycling on Waste Electrical and Electronic Equipment.
Guarantee & service
If you need information or if you have a problem, please contact the Hisense Customer Care Centre in your country (the phone number is in the worldwide guarantee leaflet). If there is no Customer Care Centre in your country, go to your local Hisense dealer or contact the Service department of Hisense domestic appliances.
Note: The warranty on the battery of vacuum cleaner is 12 months.
For personal use only!
For easier transport, some of the appliance's parts are packed separately and placed securely in the main packaging compartment. // Before first use, read and follow the instructions for assembly and safe use. // The appliance is intended for household use.

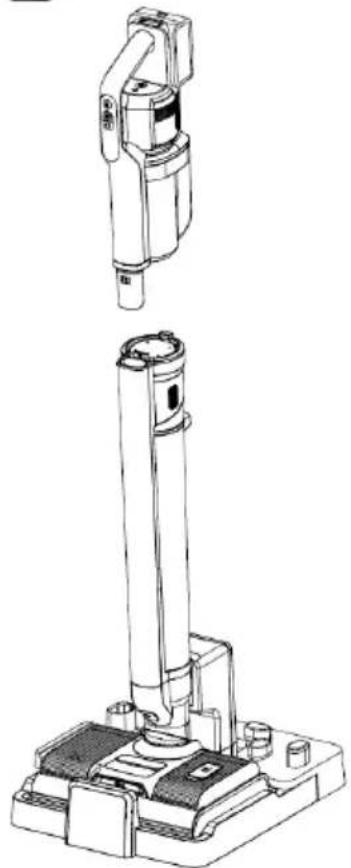
PARTS
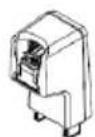
1 Housing with the motor, battery and dust container
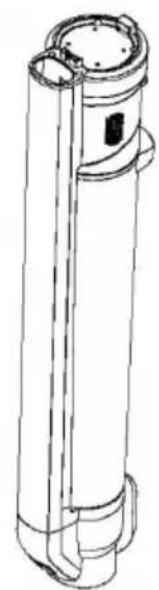
2 Floor cleaner suction hose
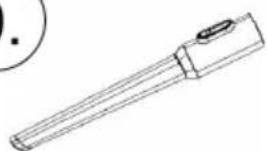
3 Vacuum cleaner suction hose
4 Motorised floor brush for floor cleaner
5 Motorised floor brush for vacuum cleaner
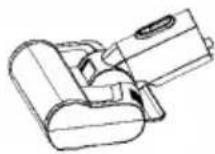
6 Motorised brush for vacuuming fabric surfaces
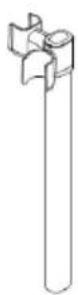
7 Stand for vacuum cleaner, cleaner, and other attachments
8 Soft bristle brush
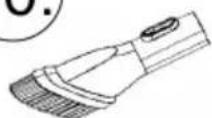
9 Longer crevice nozzle
10 Bristle brush
11 Power cord for the stand
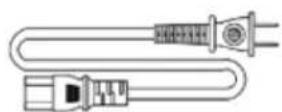
12 Adapter with power cord
13 Cleaning brush

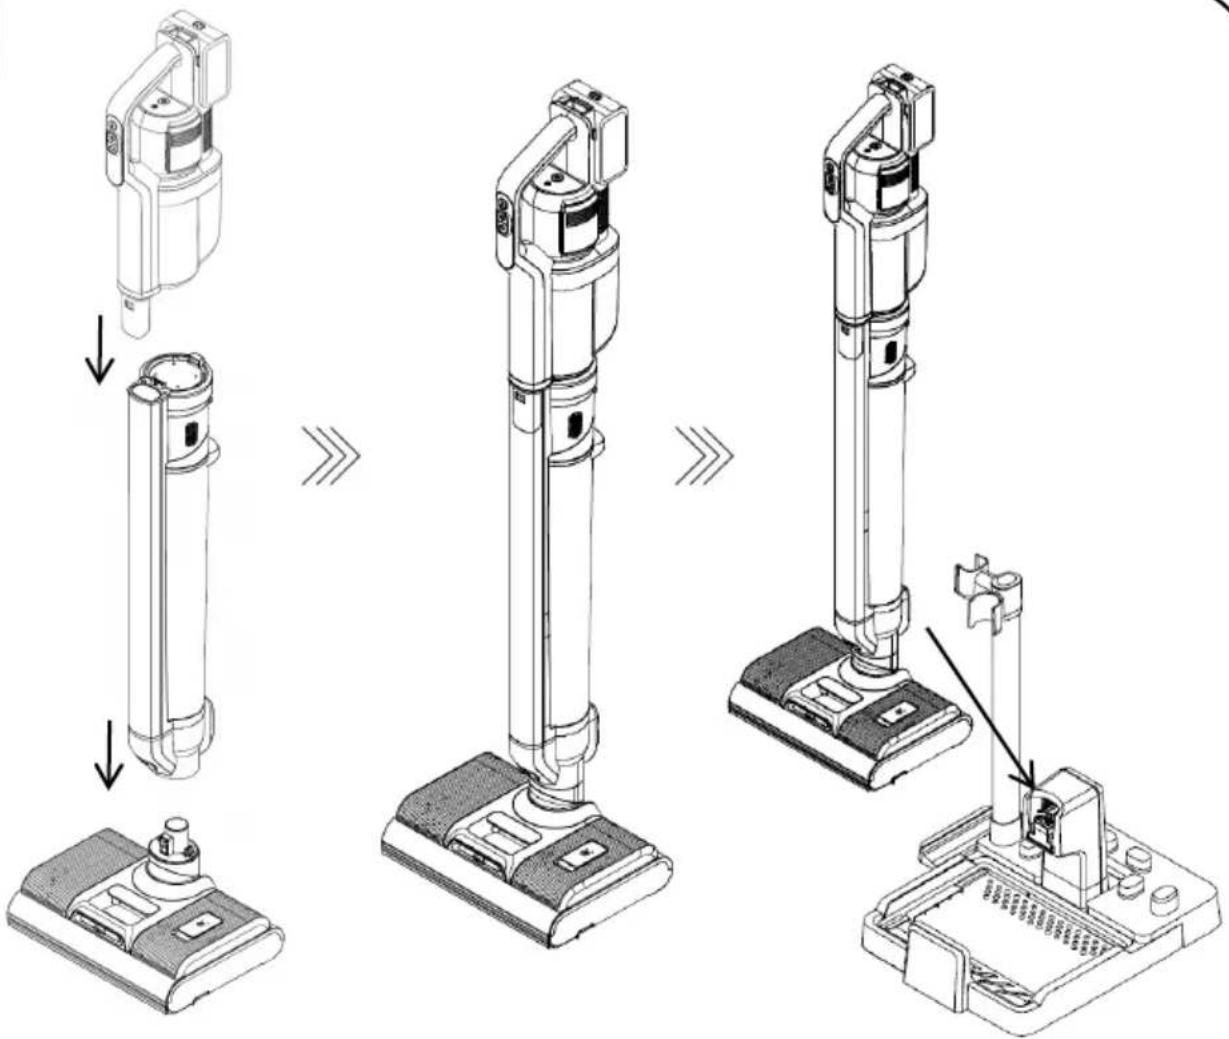
INSTALLATION
Attach the suction hose of the floor cleaner to the floor cleaner brush. // Slide the motor housing onto the floor cleaner suction hose. // Installation is correct when the appliance is secured in the grooves (it snaps into place at all settings).
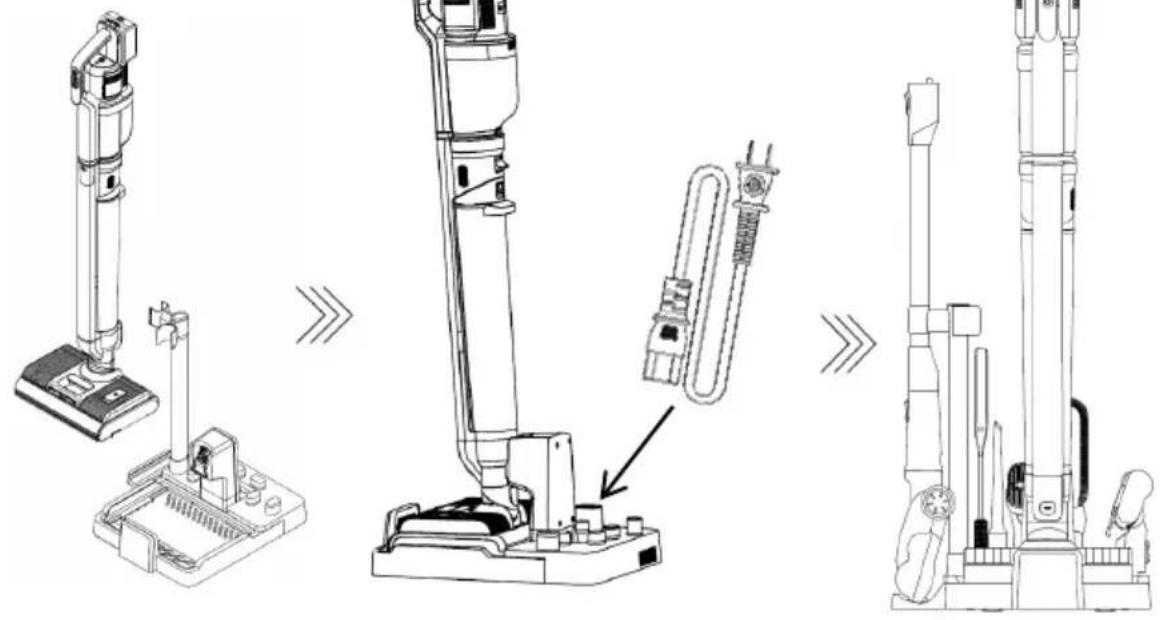
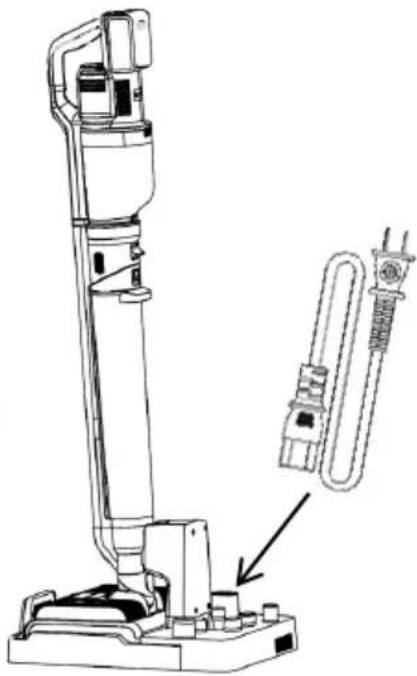
Assemble the stand as shown in the images. // Installation is correct when the appliance is secured in the grooves (it snaps into place at all settings). // Insert the power cord for the stand on the back of the bracket on which the floor cleaner will be mounted.
Put all attachments on the stand. // The floor cleaner is correctly positioned when it is attached to the charging port.
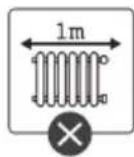
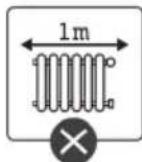
The charging station should be at least 1 m away from any heating elements.

CHARGING
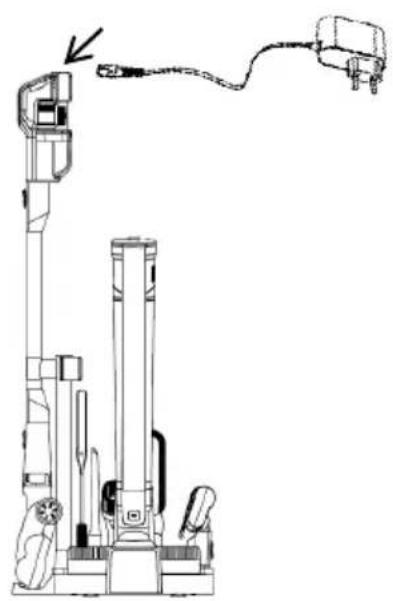
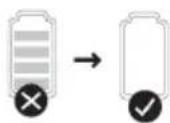
Charge the appliance at least 1 m away from any heating surfaces. // The appliance cannot be switched on while charging. Place the floor cleaner on the charging station to charge it. // At the back, plug in the power cord that is included with the kit. // In this case, do not switch on the adaptor. // Battery charge is displayed on the motor unit display.
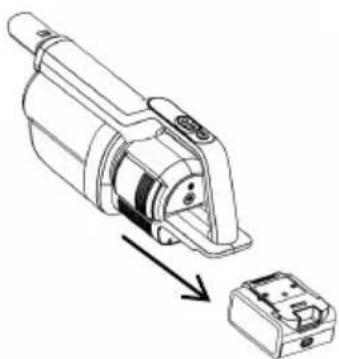
You can also charge the battery of the vacuum cleaner when it is used only for vacuuming. // An adapter with a power cord is included in the kit. // By pressing the button on the vacuum cleaner battery, you can safely remove the battery, which can also be charged separately from the vacuum cleaner itself. // During charging, the battery percentage level will appear on the display.

DISPOSAL OF THE APPLIANCE
If you want to replace the appliance or you no longer need it, you should also think about protecting the environment.
The battery must be removed before disposing of the vacuum cleaner. // To safely remove the battery, make sure that the battery is completely discharged. If the appliance does not have a removable battery, please follow the instructions in the booklet.

OPERATION
Description of the cleaner and vacuum cleaner display
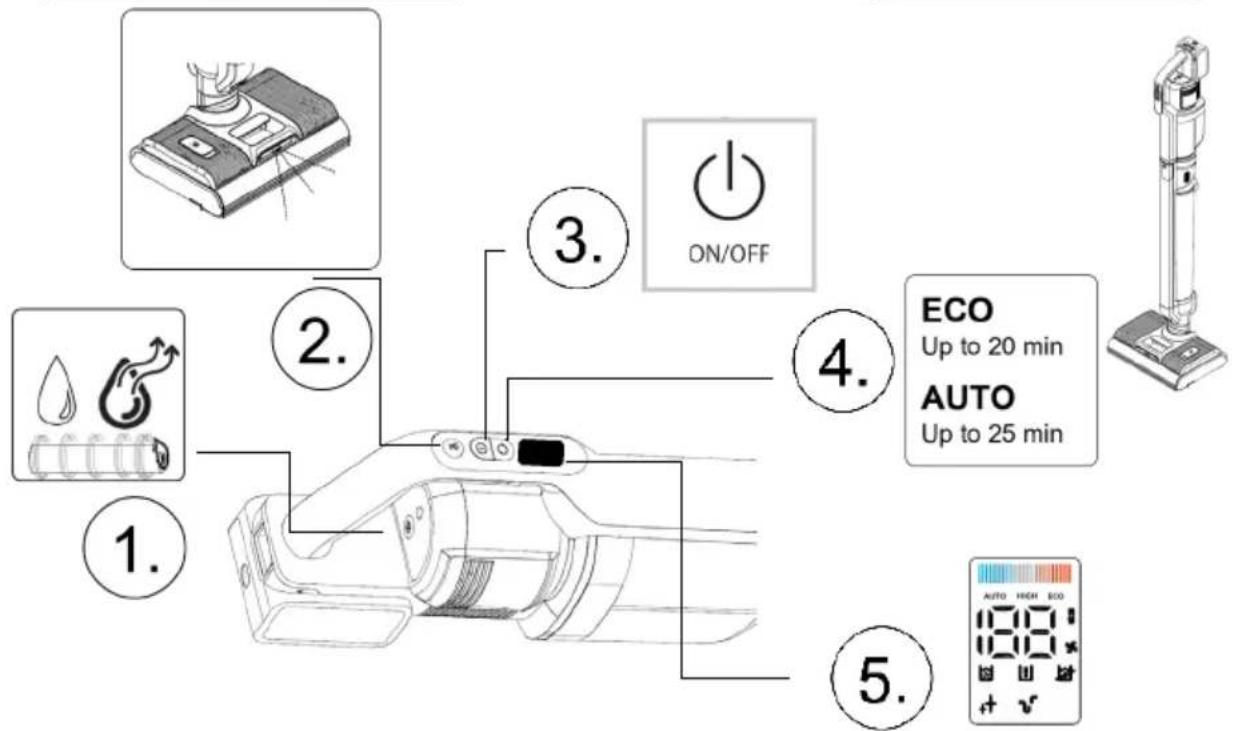
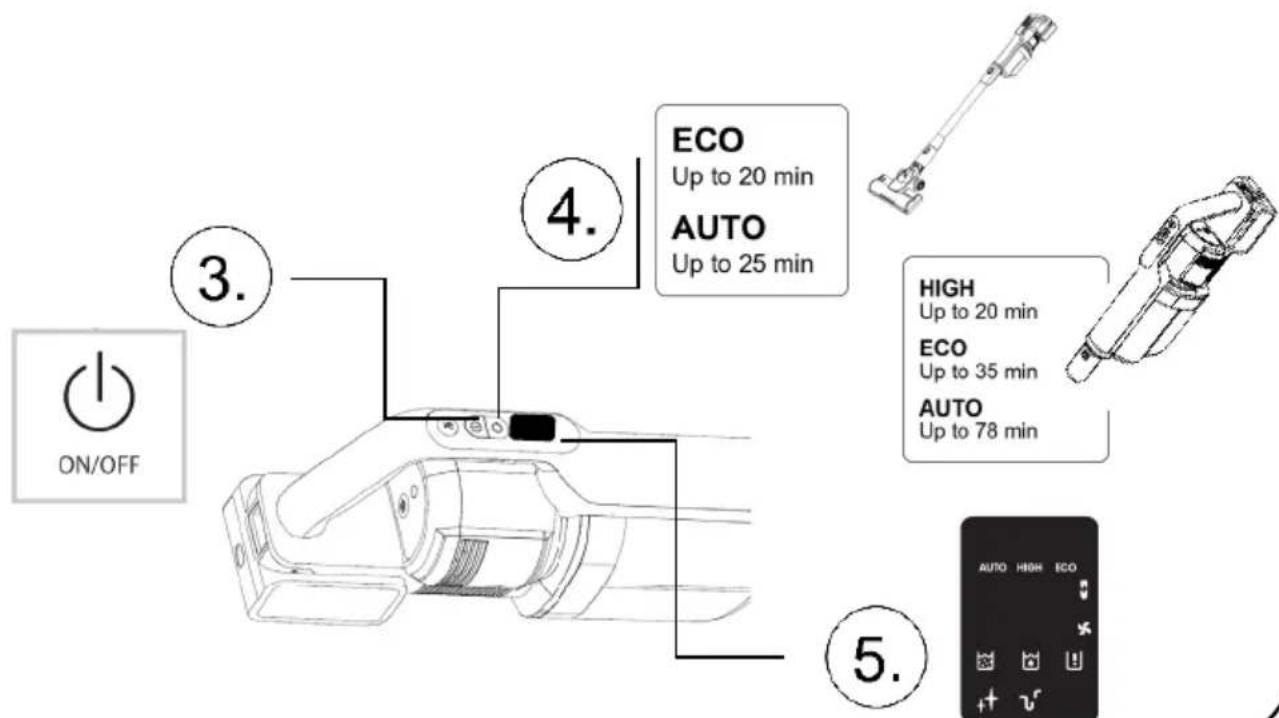
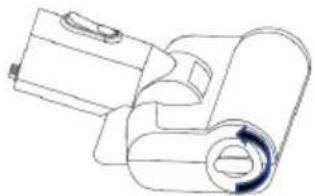
1 Roller self-cleaning button. // It is operational when the stand is connected to the mains and the cleaner is correctly installed on the stand. // The function is enabled only when the motor unit is mounted on the floor cleaner.
2 Button for dispensing/spraying water on a hard floor. // This function allows you to control the wetness of the floor during cleaning. // It is operational only when the floor cleaner is in use.
3 ON/OFF button. // When the cleaner is placed in an upright position, it will stop automatically.
4 Speed control button. Operation: ECO (up to 20 min) / Auto (up to 25 min).
5 Display:


Floor cleaner
The floor cleaner is intended for washing hard floor surfaces. It is not suitable for washing flammable products, glass or flammable liquids as it can damage the appliance or even cause it to catch fire. // While the cleaner is upright, it is in the standby position and will shut off if you put it in this position. // To start, tilt the appliance to an angle enabling you to switch it on and start cleaning the floor. // To dispense water, press the button on the motor unit as required. // Operation: ECO (up to 20 min) / AUTO (up to 25 min). The display on the motor unit shows various functions. Each function is shown in the table. // Rollers on the floor brush allow you to clean dirty floors and at the same time collect water and dirt and dry the floor.
Vacuum cleaner
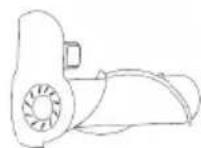
The motor unit can be removed from the floor cleaner by pressing the button on the rear of the cleaner, and it can be transferred to the suction hose. // The vacuum cleaner is not suitable for vacuuming flammable particles, glass, water or flammable liquids as it can damage the appliance or even cause it to catch fire. // Operation: ECO (up to 20 min) / AUTO (up to 25 min). The display on the motor unit shows various functions. Each function is shown in the table.
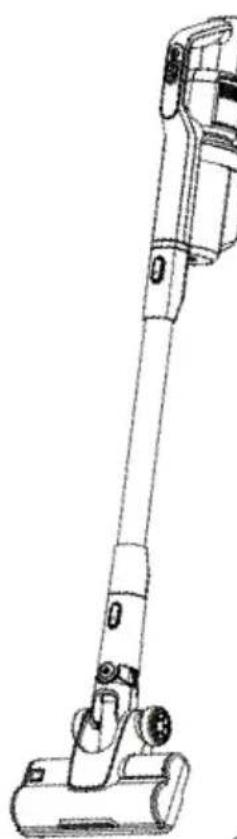
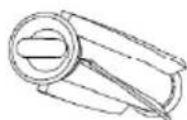
Handheld vacuum cleaner
The motor unit also functions as a stand-alone unit. // Operation: HIGH (up to 20 min) / ECO (up to 35 min) / AUTO (up to 25 min). The display on the motor unit shows various functions. Each function is shown in the table.
USE
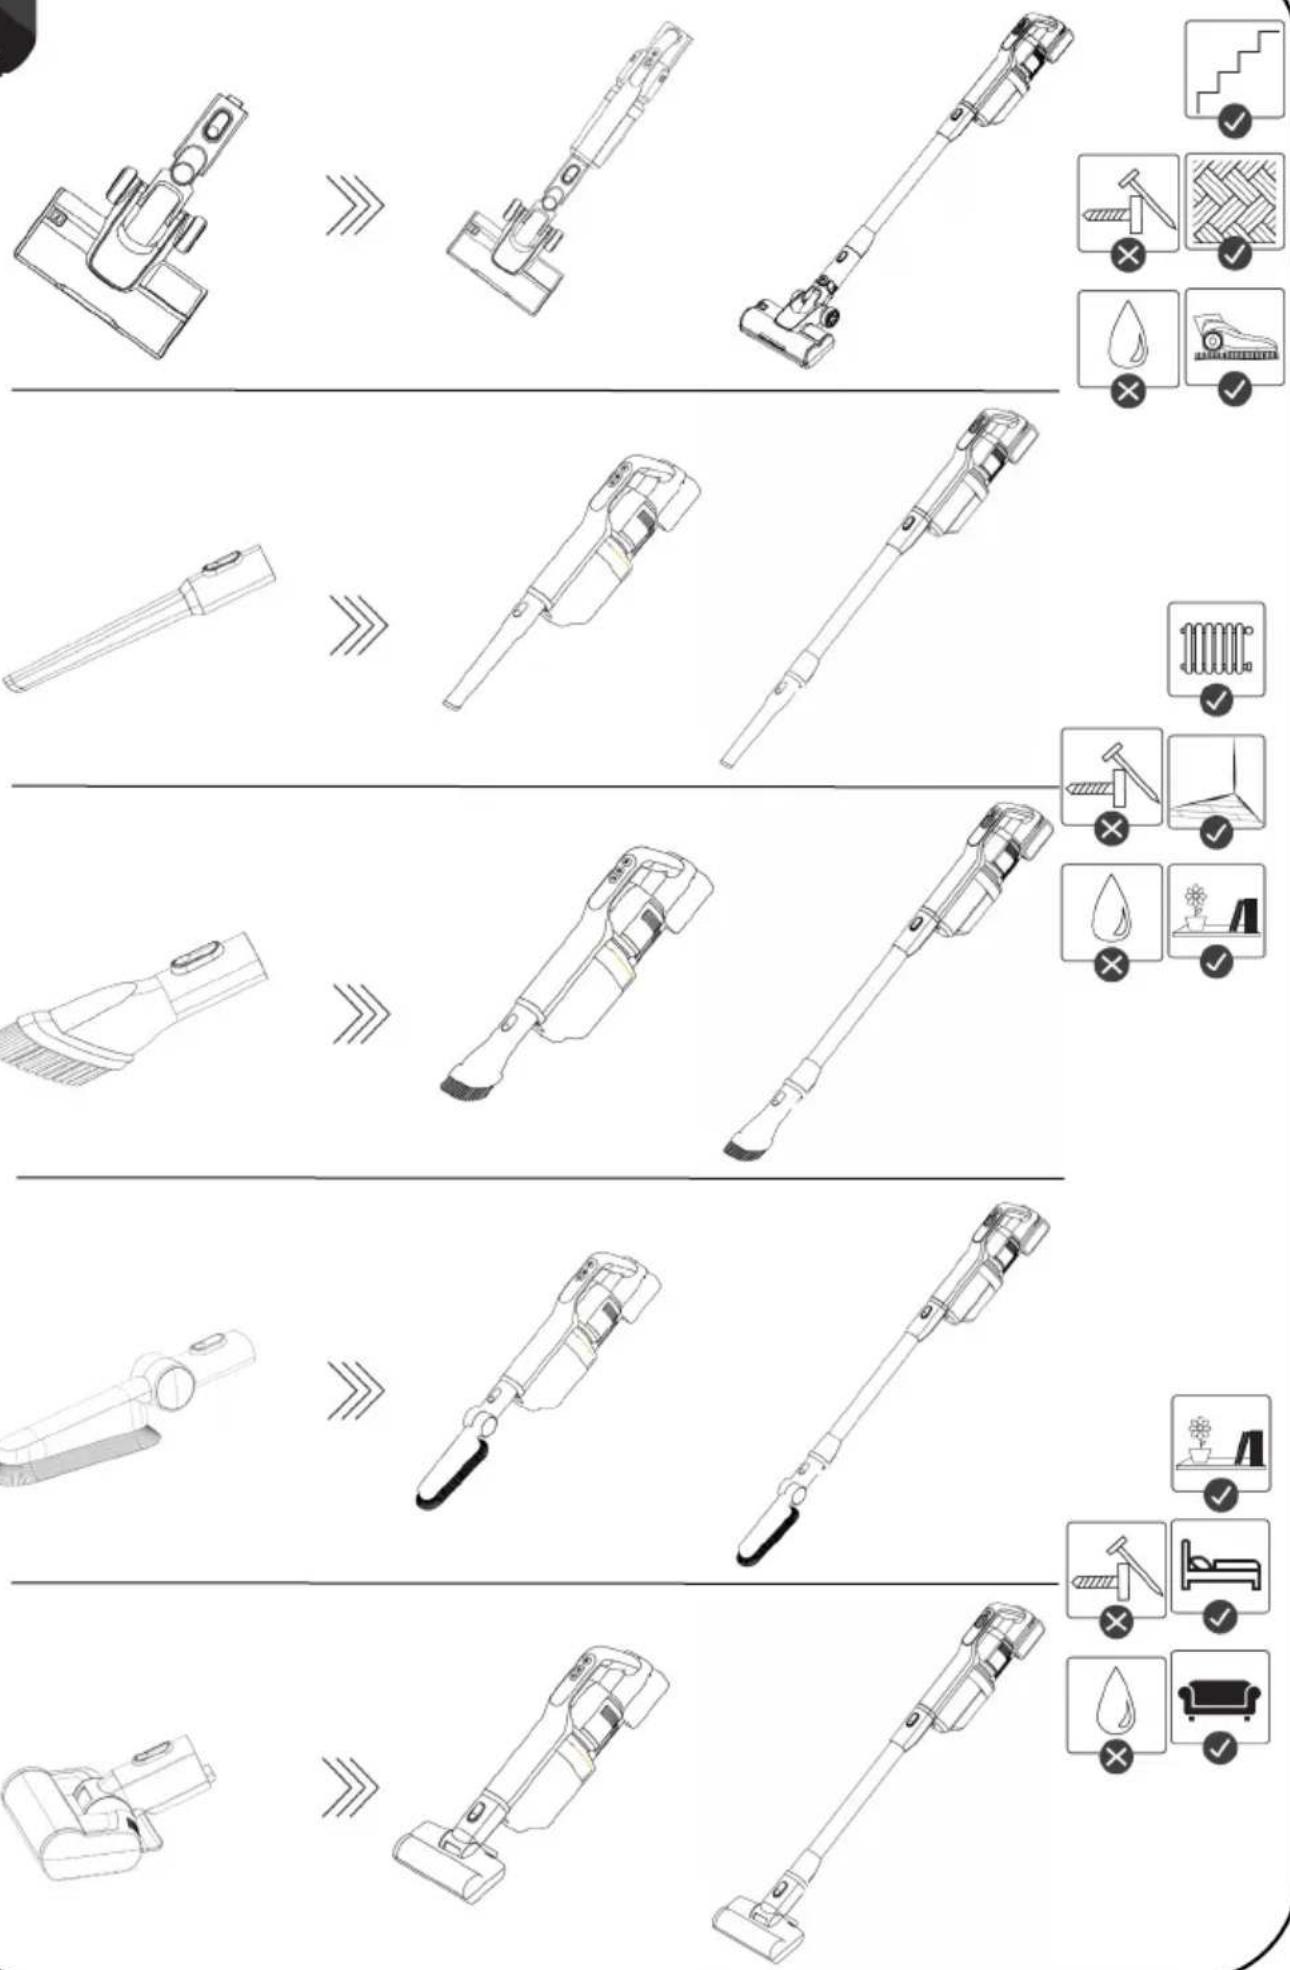
Brushes and attachments fit both the hose and the motor unit. // By pressing the button on the brushes and nozzles, you can freely switch between them, as each is intended for different purposes. Brushes and attachments are inserted correctly when they snap into place.
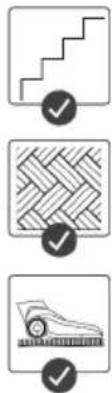
— The floor brush is used for vacuuming all (dry) floor surfaces. Do not try to vacuum carpets with a high pile as the fibres may become entangled in the roller brushes and damage the vacuum cleaner.
— The crevice tool is intended for vacuuming narrower and more difficult-to-reach areas (corners, sofas, cobwebs, behind radiators, etc.).
— Nozzle with bristles (for window frames, drawers, etc.).
— Nozzle with soft bristles (window frames, drawers, etc.).
— Motorised brush for vacuuming fabric surfaces

CLEANING AND MAINTENANCE
1 Floor cleaner
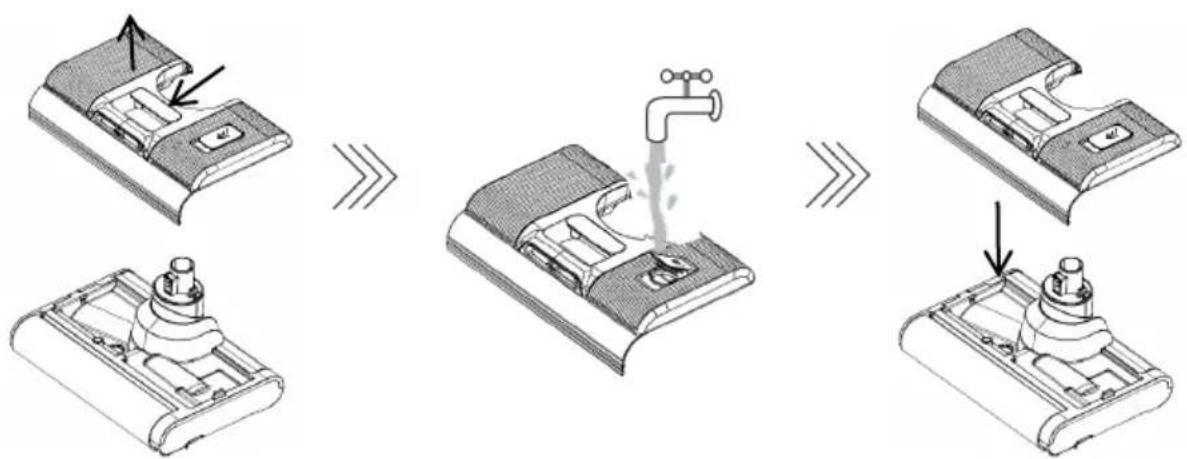
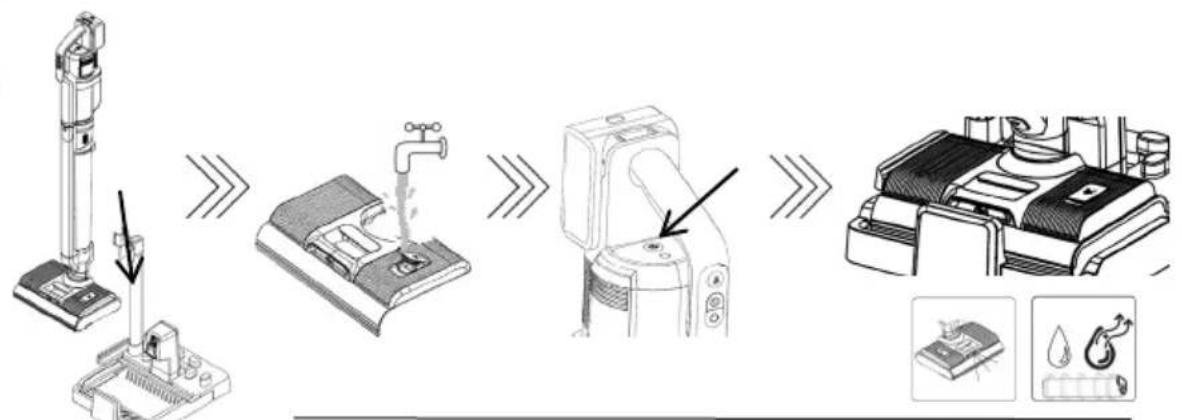
Self-cleaning function
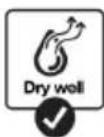
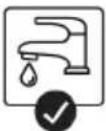
Place the floor cleaner with the motor unit on the charging station. // The charging station must be connected to the mains power. The battery must be at least 20% charged for the self-cleaning function to operate correctly. // To clean, fill the clean water tank and empty the dirty water tank. // On the handle of the motor unit, press the cleaning button. // Water automatically flows from the spray section into the space where the cleaner is. The rollers are rotated and cleaned during the cleaning process. // The rollers are cleaned at intervals of about 3 minutes. The cleaner is ready for the next cleaning. // If you have finished cleaning, the function switches to the roller drying state. // During drying, you will hear the motor running gently. // Roller drying takes about 3 hours. // If you notice that the rollers are not yet completely dry, you can restart the drying by pressing the speed control button.
Cleaning and maintenance
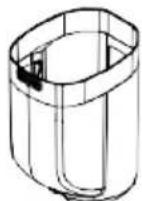
After cleaning, it is recommended to empty the water reservoirs and clean them. // This prevents smells from stagnant water and extends the service life of the appliance. // At the rear, remove the wastewater reservoir by pressing the button. // Remove all parts and clean them. All parts are washable.
Remove the brush by pressing the button on the front of the cleaner. Lift out the clean water reservoir and drain the water. Remove the rollers and rinse them with water and a mild detergent. This will remove any dirt that may still be on them. This prevents bad smells that can emanate from rotting dirt. // If hair gets tangled on the rollers, we recommend that you cut the hair out. Do not pull the hair, so as not to damage the rollers.
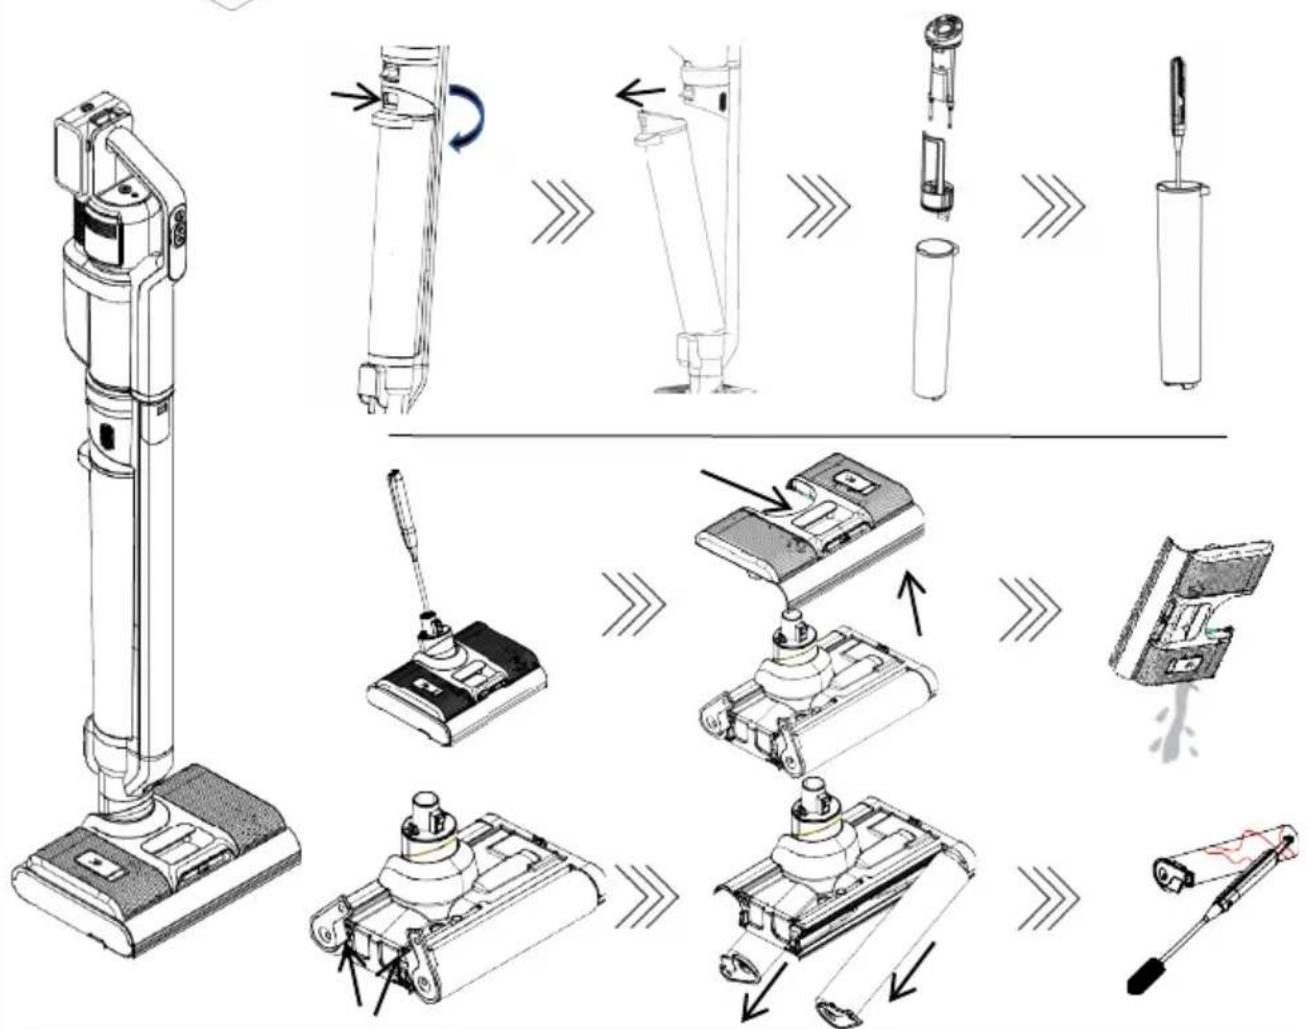
2 Vacuum cleaner
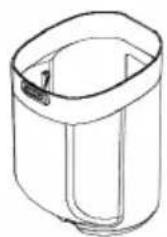
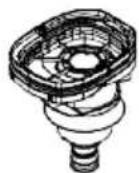
Remove the motor unit by pressing the button. // There is a button on the bottom of the container to remove the dust container. // When removing the container from the motor unit, be careful not to drop and damage it. // Remove the filter and the filter rim from the container and empty them. // The container, sleeve and filter can be wiped, shaken out, or washed with lukewarm water. Be careful, as improper handling can damage parts of the vacuum cleaner. // Ensure that all parts are completely dry before reinstalling the container on the appliance.
On the upper side of the brush tool, press the button and pull the roller out of the rim of the brush tool. // The roller is correctly positioned when it snaps into place and the side pin is securely engaged in the brush housing.
To clean the fabric surfaces brush, there is a button on the side that you rotate. Then pull out the roller. // The roller is correctly positioned when it snaps into place and the side pin is securely engaged in the brush housing.
If hair gets tangled on the rollers, we recommend that you cut the hair out. Do not pull the hair, so as not to damage the rollers.
The included cleaning brush helps to clean the hard-to-reach areas. // These removable parts can be washed under running water. // We recommend that you ensure all parts have dried thoroughly before reuse in order to maintain the condition of the appliance. // Never clean without all the main parts.
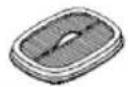
3 Replacing the filter
If you notice that the filter is damaged, replace it immediately. With regular use, we recommend replacing the filter every 6 months to ensure the longest possible service life of the vacuum cleaner.