
MUZ9VL1 - Food Processor BOSCH - Free user manual and instructions
Find the device manual for free MUZ9VL1 BOSCH in PDF.

| Product type | Grater/slicer accessory for food processor |
| Brand | Bosch |
| Model | MUZ9VL1 |
| Compatibility | Bosch MUM9 food processor (OptiMUM series) |
| Main functions | Cutting, slicing, grating, making fries and Asian strips |
| Included discs | Reversible cutting disc (thick/thin), reversible grating disc (coarse/fine), medium-fine grating disc, coarse grating disc, Asian vegetable disc, reversible Pro Supercut disc (thick/fine), french fry disc |
| Material | Plastic and stainless steel (blades) |
| Dimensions (approx.) | Height 15 cm, width 10 cm, depth 10 cm |
| Weight (approx.) | 0.4 kg |
| Power source | Mechanical (driven by the processor) |
| Color code | Yellow (for corresponding front drive) |
| Maintenance | Hand wash after each use |
| Cleaning | Do not put plastic parts in the dishwasher; use a soft sponge and dish soap |
| Safety | Never put hands in the feed tube; use the supplied pusher; unplug the processor before assembly/disassembly |
| Spare parts | Disc holder (ref. 10000314) available from customer service |
| Warranty | Pre-programmed breaking point not covered by warranty |
Frequently Asked Questions - MUZ9VL1 BOSCH
User questions about MUZ9VL1 BOSCH
0 question about this device. Answer the ones you know or ask your own.
Ask a new question about this device
Download the instructions for your Food Processor in PDF format for free! Find your manual MUZ9VL1 - BOSCH and take your electronic device back in hand. On this page are published all the documents necessary for the use of your device. MUZ9VL1 by BOSCH.
USER MANUAL MUZ9VL1 BOSCH
[en] Instruction manual Slicer 10
natural_image
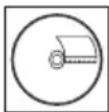
Technical line drawing of a mechanical component with a circular base and a separate view showing a hammer-like tool (no text or symbols present)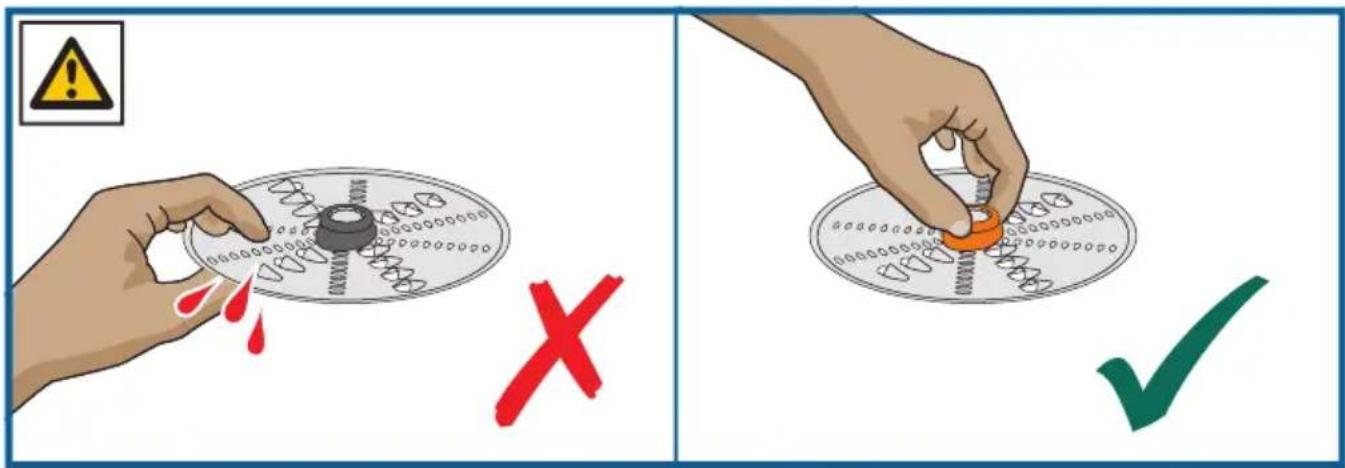
| D | 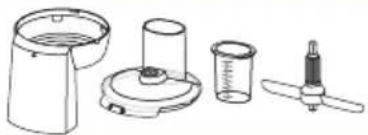 | 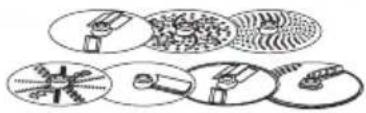 |
 | √ |  |
 | √ |  |
 | √ |  |
This accessory is designed for the MUM9 kitchen machine (“OptiMUM” series). Follow the operating instructions for the kitchen machine.
Never use the accessory for other appliances. Only use matching parts together.
This accessory is suitable for cutting, grating and shredding food. Food which is to be processed must not contain any hard components (e.g. bones).
The accessory must not be used for processing other objects or substances.
Safety instructions
Risk of injury!
■ Never reach into the feed chute. Only use the pusher provided!
■ Never grasp the sharp blades or edges of the cutting discs.
Grip the discs by the plastic part in the centre only!
■ The accessory must be completely assembled before use. Never assemble the accessory on the base unit. The accessory should only be used in the intended operating position. Only use the accessory on the front drive marked in yellow. Before attaching or removing the accessory, wait until the drive has come to a standstill and pull out the mains plug.
Caution!
Check that there are no foreign objects in the feed chute or housing. Do not insert objects (e.g. knives, spoons) into the feed chute or housing.
⚠️ Important!
It is essential to clean the accessory thoroughly after each use or after it has not been used for an extended period. “Cleaning and maintenance” see page 14
Overview
→ Fig. A
Continuous-feed shredder
1 Pusher / measuring jug
2 Lid
a Feed chute
b Colour coding (yellow)
c Marking ▽ ○
3 Cutting discs
a Reversible slicing disc – thick / thin
b Reversible shredding disc – coarse / fine
c Grating disc – medium-fine
d Grating disc – coarse
e Asian vegetable disc
f Professional Supercut reversible disc – thick / thin *
g Chipper disc *
4 Disc holder
a Disc carrier
b Wings
c Drive shaft
5 Housing
a Outlet opening
b Marking
6 Dicer insert (MUZ9CC1) \*
(separate operating instructions)
* Depending on the model
Before using for the first time
Before the new accessory can be used, it must be fully unpacked, cleaned and checked.
Caution!
Never operate a damaged accessory!
■ Remove all accessories from the packaging and dispose of all packing materials.
■ Check that all the parts are present and examine them for obvious damage.

■ Thoroughly clean and dry all parts before using for the first time.
→ "Cleaning and maintenance" see page 14
Colour coding

The drives of the base unit each have different colours (black, yellow and red). This colour coding system can also be found on the accessories. Only use this accessory on the front drive marked in yellow.
Symbols and markings
| Symbol Meaning | |
| Follow the instructions in the instruction manual. | |
| Caution! Rotating tools. Do not reach into the feed chute. | |
| Fit the lid (▼) and screw on securely (▲). | |
| △ | Marking for fitting the lid. |
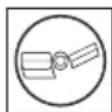
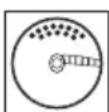
Cutting discs
Please note:
- Reversible discs: The side you require must face upwards when inserted.
- Single-sided discs: The side with the blade / serrations must face upwards when inserted.
Recommended speeds
7 Reversible slicing disc, reversible shredding disc, grating disc – medium-fine and coarse, Asian vegetable disc, Professional Supercut reversible disc – thick / thin, chipper disc
M Not suitable for use with cutting discs.
Reversible slicing disc – thick / thin
For cutting fruit and vegetables into thick slices (e.g. for potatoes au gratin or fried potatoes) or into thin slices (e.g. for cucumber salad or vegetable crisps).
Marking on the disc:
1 = side for thick slicing
3 = side for thin slicing
Note: The reversible slicing disc is not suitable for slicing hard cheese, bread, rolls or chocolate. Only slice boiled waxy potatoes when they are cold.
Reversible shredding disc – coarse / fine
For shredding vegetables, fruit and cheese (e.g. Gouda or Edamer shredded with the coarse side as a topping for pizza, or horseradish shredded with the fine side as a garnish or a base for sauces).
Marking on the disc:
2 = side for coarse shredding
4 = side for fine shredding
Note: The reversible shredding disc is not suitable for shredding nuts or hard cheese (e.g. Parmesan). Shred soft cheese with the coarse side.
Grating disc – medium-fine
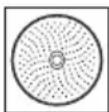
For grating raw potatoes, hard cheese (e.g. Parmesan), chilled chocolate and nuts.
Note: The grating disc is not suitable for grating soft cheese or cheese slices.
Grating disc – coarse
For grating raw potatoes (e.g. for dumplings or potato pancakes).
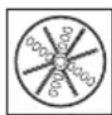
Asian vegetable disc
For cutting fruit and vegetables into thin strips (e.g. for stir-fried vegetables).
Professional Supercut reversible disc – thick / thin
For cutting fruit and vegetables into thick or thin slices. Particularly suitable for very soft food (e.g. overripe tomatoes) and very fibrous food (e.g. leeks or celery).
Marking on the disc:
1 = side for thick slicing
3 = side for thin slicing
Note: The reversible slicing disc is not suitable for slicing hard cheese, bread, rolls or chocolate. Only slice boiled potatoes when they are cold.
Chipper disc
For slicing raw potatoes for chips.
Preparation
Risk of injury
- Do not grasp the sharp blades or edges of the cutting discs. Only grip the cutting discs by the plastic or the edge!
– Before attaching or removing the accessory, wait until the drive has come to a standstill and pull out the mains plug. - The accessory must be completely assembled before use.
- Never assemble the accessory on the base unit.
- The accessory should only be used in the intended operating position.
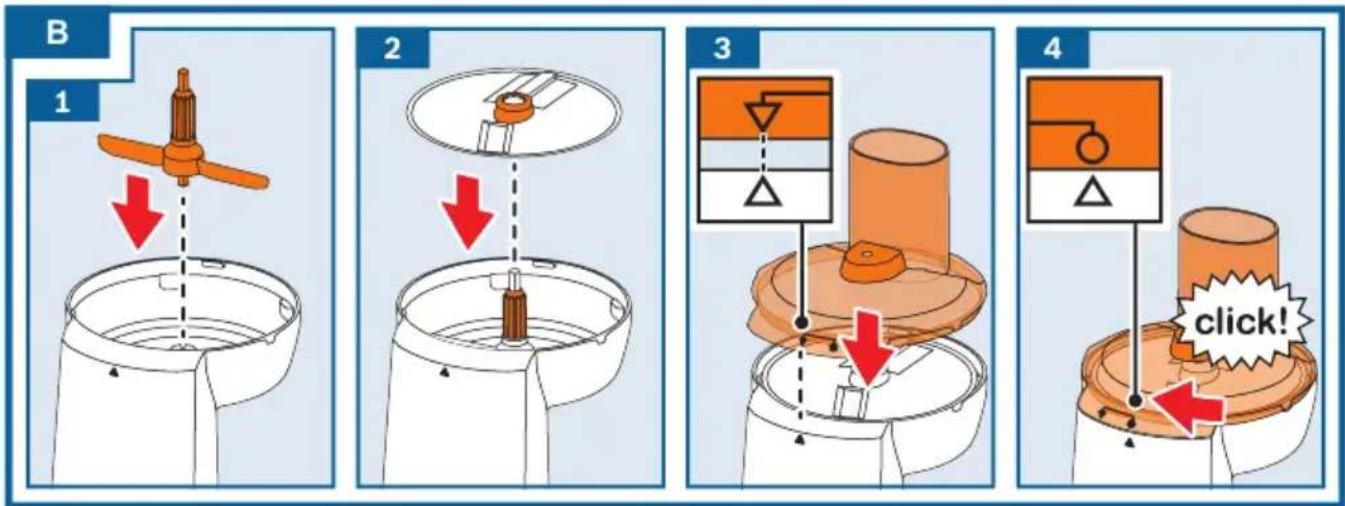
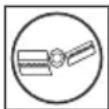
→ Image sequence B
Important: Only prepare the base unit as described in the main operating instructions.
The continuous-feed shredder can only be operated if the bowl is fitted properly (without lid).
- Insert the disc holder in the housing. Both wings must be at the bottom.
- Place the required cutting disc on the disc holder. Check which side is facing upwards.
- Fit the lid ( 12 ).
- Rotate the lid in a clockwise direction as far as possible ( ●▲ ).
Use
⚠️ Risk of injury
Never reach into the feed chute. Only use the pusher provided when adding food.
Caution!
- Prevent the cut ingredients from building up in the outlet opening.
- Do not apply great force with the pusher.
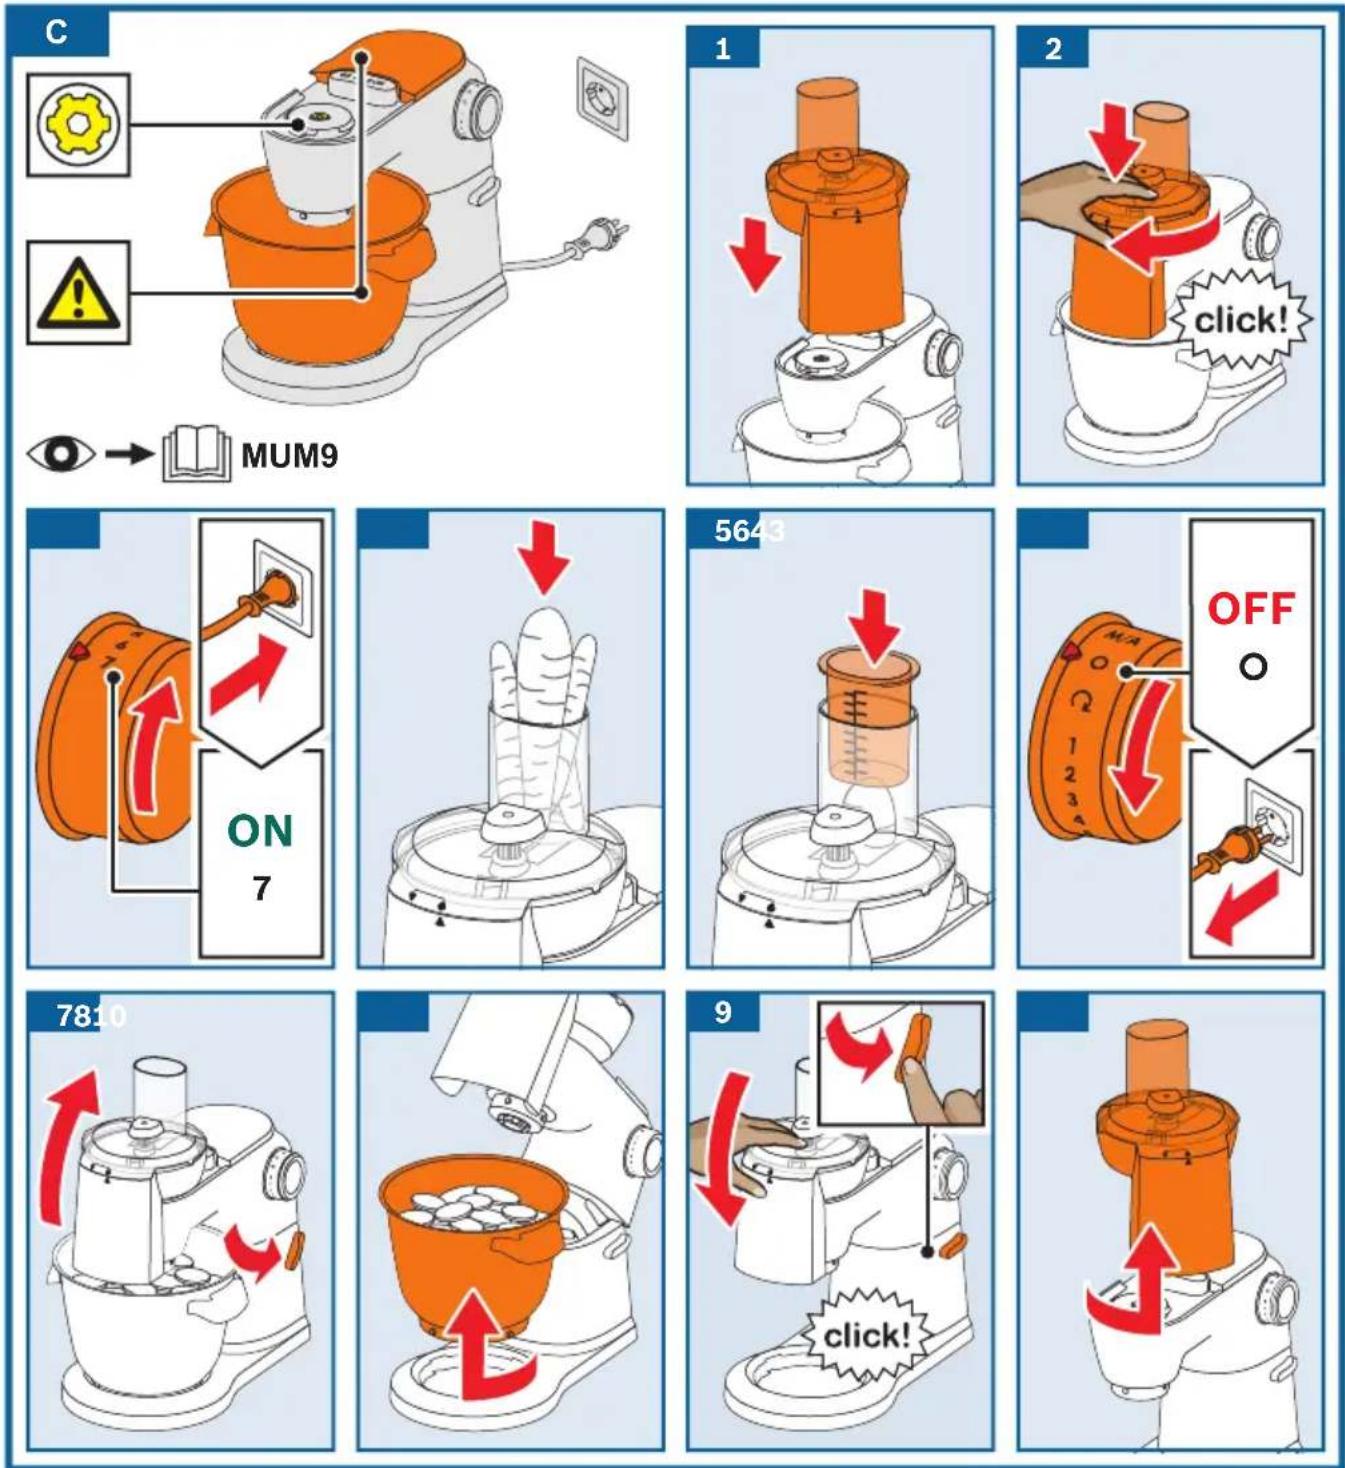
→ Image sequence C
- Position the continuous-feed shredder as shown on the front yellow drive.
- Press down and rotate in a clockwise direction as far as possible.
- Plug the mains plug into the mains. Turn the rotary switch to the recommended speed.
-
Add the prepared food to the feed chute.
-
Only use the pusher provided to add food.
- When you have finished processing or when the processed food in the bowl almost reaches the outlet opening, turn the rotary switch to O. Wait until the drive comes to a standstill. Disconnect the mains plug.
- Press the release button and raise the swivel arm with the continuous-feed shredder to the stop.
- Rotate the bowl clockwise, empty and remove it.
- Press the release button and push the swivel arm down to the stop.
- Rotate the continuous-feed shredder anticlockwise and remove.
■ Clean all parts directly after use.
→ "Cleaning and maintenance" see page 14
Note: To ensure uniform cutting results, process thin ingredients in bunches.
Removing blockages or build-ups:
■ Switch the appliance off, wait until the drive has come to a standstill and pull out the mains plug.
■ Remove the lid of the continuous-feed shredder and empty the feed chute.
■ To remove food stuck underneath the cutting disc, take off the continuous-feed shredder, followed by the disc and disc carrier and remove the blockage.
Cleaning and maintenance
The attachments and accessories used must be thoroughly cleaned after each use.
Risk of injury
Never grasp the sharp blades or edges of the cutting discs. Grip the discs by the plastic part in the centre only!
Caution!
- Do not use any cleaning agents containing alcohol or spirits.
- Do not use any sharp, pointed or metal objects.
- Do not use abrasive cloths or cleaning agents.
- Do not wedge plastic parts in the dishwasher as they could become permanently deformed.
Dismantling the continuous-feed shredder
■ Dismantle the continuous-feed shredder as described under “Preparation” but in reverse order. → “Preparation” see page 13
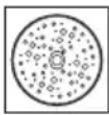
In Fig. D you will find a summary of how to clean the individual parts.
Note: When processing food such as carrots, the plastic parts may become discoloured, but this can be removed with a few drops of cooking oil.
Predetermined breaking point
To prevent serious damage to your appliance, the drive shaft of the accessory is protected with a built-in predetermined breaking point. If an overload occurs, the drive shaft of the continuous-feed shredder will break.
Spare parts with a predetermined breaking point are not covered by our warranty obligations. A new disc holder is available from customer service (order no. 10000314).
Subject to change without notice.
→ Suite de la figure ©
1 = tjock skärsida
3 = tunn skärsida
Thank you for buying a Bosch Home Appliance!
Register your new device on MyBosch now and profit directly from:
- Expert tips & tricks for your appliance
- Warranty extension options
• Discounts for accessories & spare-parts
• Digital manual and all appliance data at hand - Easy access to Bosch Home Appliances Service
Free and easy registration – also on mobile phones:
www.bosch-home.com/welcome
BOSCH HOME APPLIANCES SERVICE
Looking for help? You'll find it here.
Expert advice for your Bosch home appliances, need help with problems or a repair from Bosch experts.
Find out everything about the many ways Bosch can support you:
www.bosch-home.com/service
Contact data of all countries are listed in the attached service directory.