EGT 1545 - Cultivator Grizzly - Free user manual and instructions
Find the device manual for free EGT 1545 Grizzly in PDF.
| Product type | Electric tiller |
| Brand | Grizzly |
| Model | EGT 1545 |
| Power consumption | 1500 W |
| Rated voltage | 230 V ~, 50 Hz |
| Protection class | II |
| Protection rating | IPX4 |
| Working width | 360 / 450 mm |
| Max. working depth | 180 mm |
| Number of blades | 4 or 6 (mounting in pairs) |
| Weight | 13 kg |
| Sound pressure level (L_pA) | 82.6 dB(A) ; K_pA = 3 dB |
| Measured sound power level (L_WA) | 92.84 dB(A) ; K_wA = 0.70 dB |
| Guaranteed sound power level | 93 dB(A) |
| Vibration (a_h) | 1.796 m/s² ; K = 1.5 m/s² |
| Motor type | Maintenance-free electric |
| Transmission | Oil bath lubricated gear |
| Functions | Tilling, breaking clods, mixing fertilizer |
| Mounting | Folding handle, height-adjustable wheels (4 positions) |
| Safety | Unlock button, automatic overload stop, splash protection |
| Maintenance | Cleaning after use, replacement of blades in pairs, store dry |
| Warranty | 24 months (excluding commercial use and normal wear) |
| Spare parts | Available: handle set (91105531), blade set (91105534) |
| Repairability | Authorized Service Center, repairs possible upon quote |
| Included accessories | Wheels, handles, assembly tool, belt clip, instruction manual |
Frequently Asked Questions - EGT 1545 Grizzly
User questions about EGT 1545 Grizzly
0 question about this device. Answer the ones you know or ask your own.
Ask a new question about this device
Download the instructions for your Cultivator in PDF format for free! Find your manual EGT 1545 - Grizzly and take your electronic device back in hand. On this page are published all the documents necessary for the use of your device. EGT 1545 by Grizzly.
USER MANUAL EGT 1545 Grizzly
Translation of the original instructions for use
General description 65
Scope of delivery. 66
Overview 66
Functional description 66
Technical data. 66
Safety precautions 67
Symbols used in the manual. 67
Symbols on the implement. 67
General notes on safety 68
Assembly instructions 71
Fitting the wheels 71
Mounting the grip handles. 72
Operation 72
Switching on and off. 72
Setting the working height. 72
Operating instructions 72
Cleaning/Maintenance. 73
General cleaning and
maintenance work. 73
Changing the tines 73
Storage 74
Disposal, environmental protection..74
Spare Parts/Accessories 74
Guarantee 75
Repair Service 75
Translation of the original EC declaration of conformity 126
Service-Center 133
Exploded Drawing 135

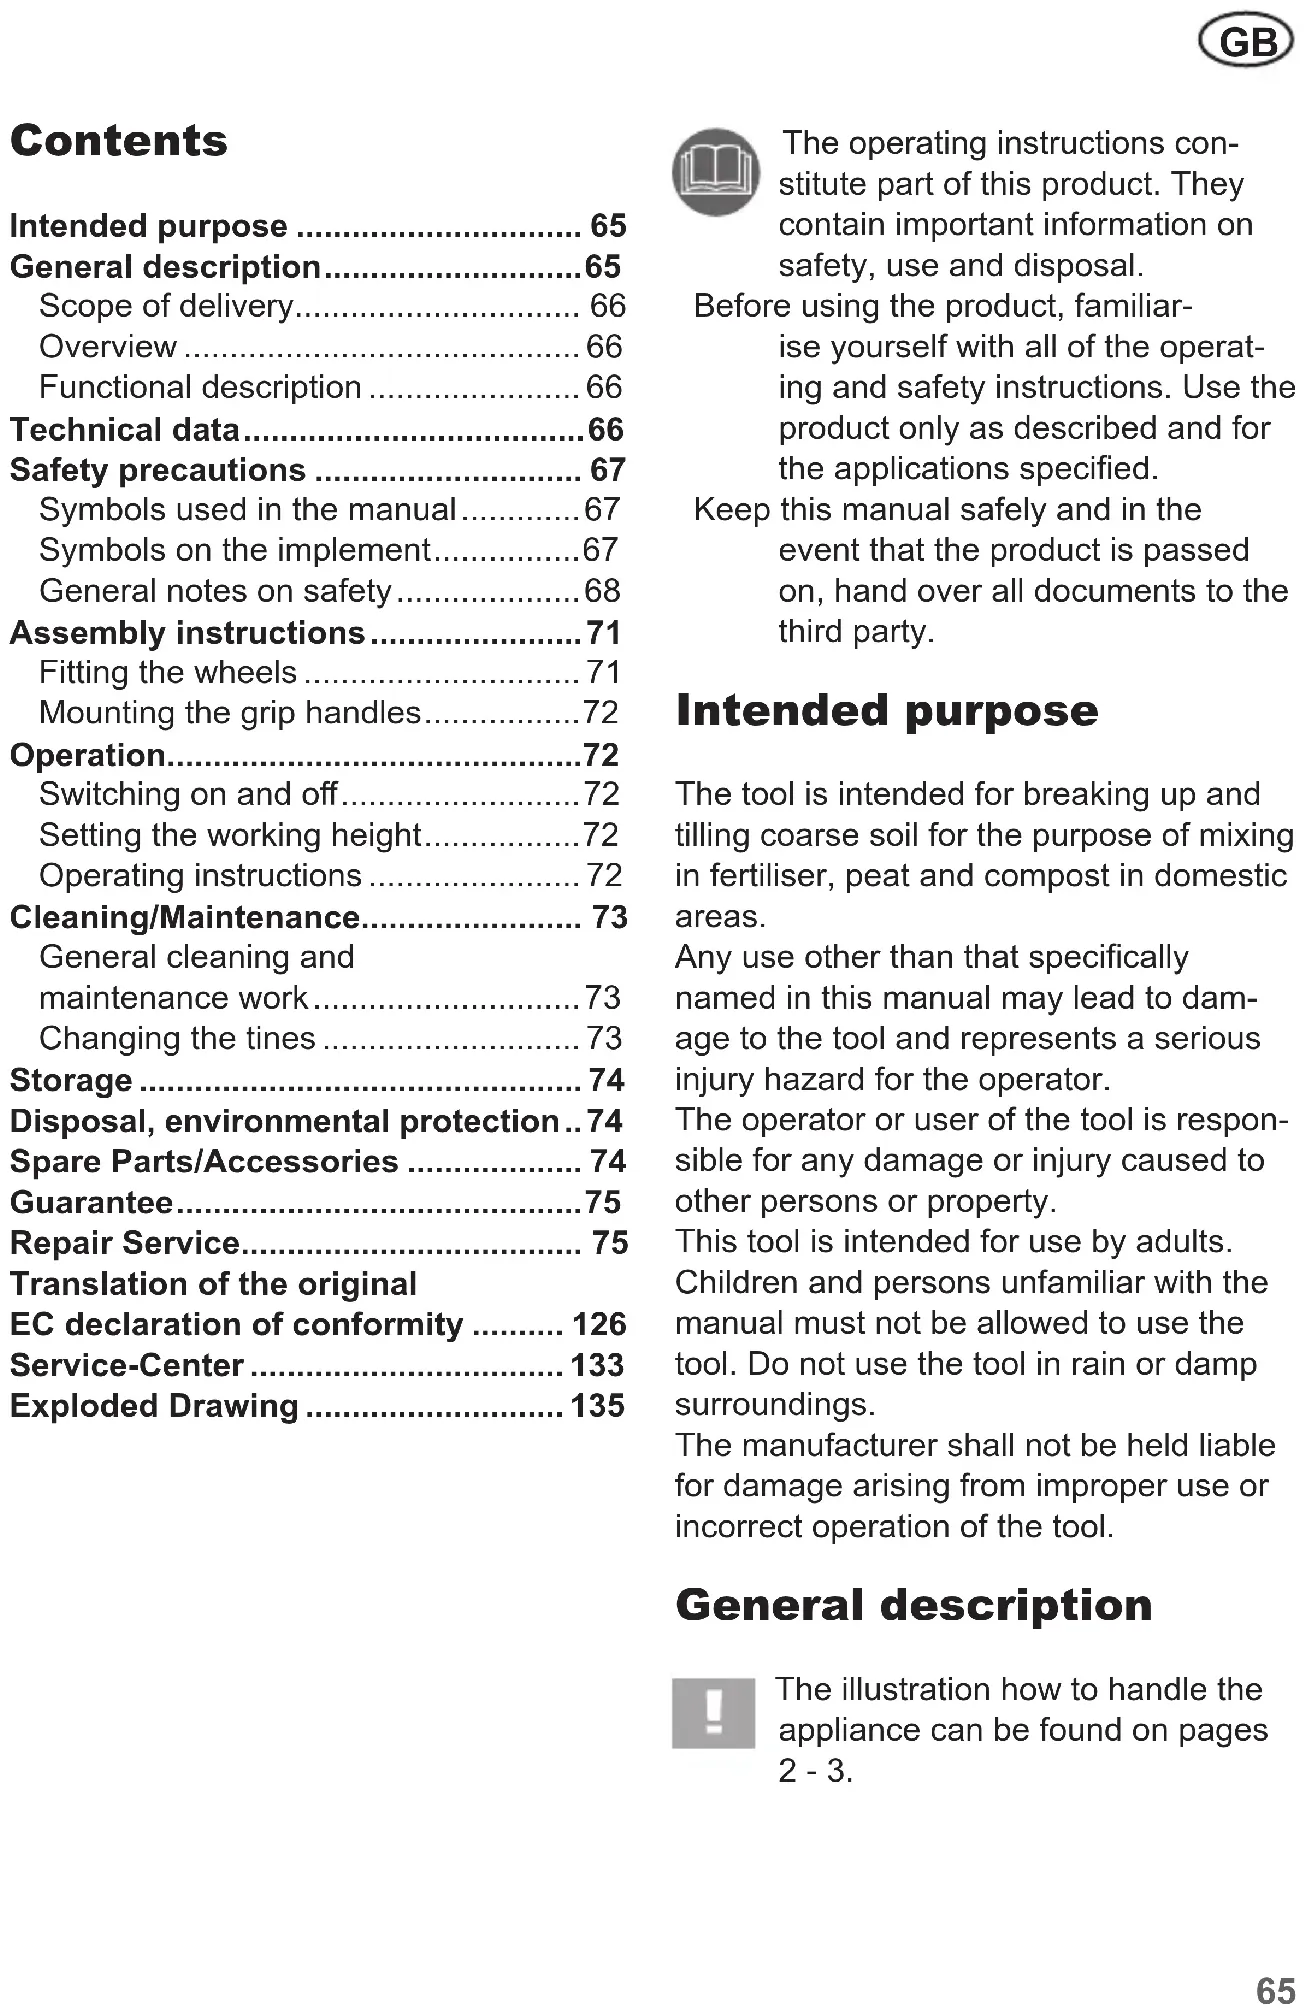
The operating instructions constitute part of this product. They contain important information on safety, use and disposal.
Before using the product, familiarise yourself with all of the operating and safety instructions. Use the product only as described and for the applications specified.
Keep this manual safely and in the event that the product is passed on, hand over all documents to the third party.
Intended purpose
The tool is intended for breaking up and tilling coarse soil for the purpose of mixing in fertiliser, peat and compost in domestic areas.
Any use other than that specifically named in this manual may lead to damage to the tool and represents a serious injury hazard for the operator.
The operator or user of the tool is responsible for any damage or injury caused to other persons or property.
This tool is intended for use by adults.
Children and persons unfamiliar with the manual must not be allowed to use the tool. Do not use the tool in rain or damp surroundings.
The manufacturer shall not be held liable for damage arising from improper use or incorrect operation of the tool.
General description

The illustration how to handle the appliance can be found on pages 2 - 3.
Scope of delivery
Carefully remove the tool from the packaging and check that the following parts are complete:
- Engine housing with choppers
- 2 fork handles
2 central bars - Diagonal bracket (plastic)
- Mounting accessories for bar attachment (6 screws and 6 wing nuts, 2 recessed head screws)
- Mounting accessories for wheel assembly (Wheel rod, wheel axle, 2 wheels, 2 end caps, 2 splints, 2 hexagon socket screws, 2 nuts, butterfly screw, wing nut)
Allen key - Belt clip
- Instructions manual
Overview

1 Fork handle
2 Mains connection cable
3 Diagonal bracket (plastic)
4 2 central bars
5 Cable clamp
6 Lower bar
7 Engine housing 8 Gears
9 Drive shaft 10 Chopper
11 Belt clip

12 Wheel rod
13 Wheel axle
14 Wheel
15 Hexagon socket screws
16 Nut
17 Butterfly screw
18 Wing nut 19 Spin
20 End cap

21 Recessed head screws
22 Screws
23 Wing nuts

24 Strain relief
25 Release button
26 Start handle

27 Hexagon bolt
28 Self-securing nut
Functional description
Your hand-operated electric garden hoe is equipped with a maintenance free electric motor and a gearbox with sump lubrication.
The tool is fitted with four rotating tire wheels that automatically dig themselves into the ground. The aluminium frame can be folded to aid storage.
Please refer to the following descriptions for the function of the controls.
Technical data
Electric Garden Hoe EGT 1545
Motor power input. 1500 W
Rated input voltage. 230V 50Hz
Safety class. II
Degree of protection.. .IPX4
Working width 360/450 mm
Max working depth. max. 180 mm
Number of tire wheels. 4 or 6
Weight 13 kg
Acoustic pressure level
(LpA) 82.6 dB (A), K KpA = 3 dB
Sound power level (L WA)
Measured...92.84 dB (A), K WA = 0.70 dB
Guaranteed. 93 dB (A)
Vibration at hand grip
(a_h) 1.796 m/s ^2,K = 1.5m / s^2
Noise and vibration values have been determined according to the standards and regulations named in the declaration of conformity.
The stated vibration emission value was measured in accordance with a standard testing procedure and may be used to compare one power tool to another.
The stated vibration emission value may also be used for a preliminary exposure assessment.

Warning:
vibration emission value may differ during actual use of the power tool from the stated value depending on the manner in which the power tool is used.
Try to keep the exposure to vibrations as low as possible. Examples of measures to reduce vibration exposure are the wearing of gloves when using the tool and limiting the working hours. For this purpose all parts of the operating cycle have to be considered (for example, times when the electric tool is switched off and times when it is switched on but running without any load).
Safety precautions
This section deals with the basic safety regulations while working with the electric garden hoe.
Symbols used in the manual

Warning symbols with information on damage and injury prevention.

Instruction symbols (the instruction is explained at the place of the exclamation mark) with information on preventing damage.

Help symbols with information on improving tool handling.

Wear safety gloves

Pull out the mains plug.
Symbols on the implement

Caution! Read the user manual

Caution! Protect from rain and damp

Wear safety goggles

Wear safety gloves

Wear safety shoes

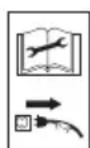
Danger of injury from objects spinning off! Keep surrounding persons away from the hazard area
Caution! Switch off the tool and disconnect it from the mains before carrying out any cleaning or maintenance work
Danger from damaged mains cable! Keep mains cables away from tines

Danger of injury from rotating parts. The tines will continue to rotate after the tool has been switched off. Wait for them to stop moving

Sound power level L_WA in dB

Safety class II
Do not dispose of electrical equipment in household waste

Turning direction
General notes on safety

Warning! Improper use of this tool may lead to serious injury. Read this instruction manual carefully before you start working with the tool, and familiarise yourself with its controls.

If the power cable for this equipment is damaged, it must be replaced with a special power cable, which is available from the manufacturer or a customer service agent of the same.

Please read the following safety guidelines in order to avoid risk of fire, electric shock, personal injury and damage to objects:
Preparation:
This appliance is not intended for use by persons with re
duced physical, sensory or mental capabilities, or lack of experience and knowledge, unless they have been given supervision or instruction concerning use of the appliance by a person responsible for their safety.
Children should be supervised to ensure that they do not play with the appliance.
The equipment is to be used only by people who are adequately trained.
- Never allow children or other persons unfamiliar with the user manual to use the shredder. Local regulations or bylaws may determine the minimum age for using the device.
- Never use the tool while others, especially children or pets, are close by.
- Remember: the user is responsible for accidents involving other people or their property.
- Familiarise yourself with handling the tool and pay attention to all possible dangers that may be overheard while working with the tool.
- Check the terrain on which you will be using the tool, and remove stones, sticks, wires or other foreign objects that may be caught up and spun off.
- Wear proper working clothes, such as firm footwear with non-slip soles and strong long trousers. Do not use the tool barefoot or wearing open-toed sandals.
- Use personal protective equipment. Always wear eye protection. Protective equipment such as dust mask, non-skid safety shoes, hard hat, or hearing protection used for appropriate conditions will reduce personal injuries.
- To prevent injury from the tines, only switch the tool on in its working position.
- Examine the tool beforehand every time you use it. Do not use the tool when the safety components (such as the power safety catch or guard), cutting parts or bolts are missing, worn or damaged. In particular, check the mains cable and dead-man lever for damage.
- Only replace damaged bolts or tines in complete sets to prevent imbalance.
- Only use replacement and accessory parts delivered and recommended by the manufacturer. Using foreign parts will immediately lead to loss of guarantee.
Working with the tool:

Keep your hands and feet away from the tines while working, especially when starting up the tool - injury hazard!
- Observe any noise-prevention regulations and local by-laws.
-
Do not use the tool to chop up stones or till lawn soil, as such use may damage the tool.
-
Do not use the tool in rain, foul weather or damp surroundings (such as near garden ponds or swimming pools). Only use in daylight or good lighting conditions.
- Be sensible. Do not use the tool if you are tired or easily distracted, or after the use of alcohol or medicines. Take a break as soon as you need one.
- Make sure that you are standing firmly when using the tool, especially on slopes. If working on a slope, work along the slope, not upwards or downwards. Be particularly careful when changing direction on the slope. Do not use the tool on excessively steep slopes.
- If there is any danger of slipping on sloped ground, have a second person secure the tool with a rod or cable. The second person should stand up the slope at a safe distance from the tool.
Always hold the tool securely in both hands while working with it. - Make sure that the grips are dry and clean. Be careful while moving backwards - danger of tripping over!
Take particular care when turning or raising the machine. - If the chopping knife is blocked by a foreign body, switch off the equipment and disconnect at the plug. Remove the foreign body (e.g. root) before restarting the equipment.
GB
- Do not use the tool if it is damaged, incomplete or altered without the approval of the manufacturer. In particular, do not work with the tool if guards or protection fittings are damaged or missing.
- Do not overload the tool. Only work in the performance range stated. Do not use tools that do not have sufficient power for heavy jobs. Do not use the tool for any use other than that intended by the manufacturer.
- Avoid damage to the tool. Do not apply extra weight and do not drag the tool over hard surfaces such as tiles or steps.
- Remove plants and root remains regularly in the area of the drive shaft. Thus, you avoid an overload and damage the appliance.
- Watch out for special hazards when working on difficult (Rocky, hard or similar) soil.
Stopping work:

Warning! The tines will continue to turn for a few seconds after you switch the tool off. Wait until they have stopped moving - injury hazard!
-
Do not lift or transport the tool while the motor is running. Turn the tool off and wait for the tines to stop moving, then disconnect the tool from the mains before changing the area you are working on.
-
Never leave the tool unattended where you were using it.
-
Switch the tool off, wait for the tines to stop moving and disconnect the tool from the mains under the following circumstances:
-
Always before leaving the tool.
- Before removing remnants of soil and plants.
- When the tool is not in use.
- Before you conduct maintenance or cleaning work on the tool.
- If the mains cable is damaged or caught up.
-
If the tool collides with an obstacle or starts to vibrate in an unusual manner. In this case, examine the tool for damage, and have it repaired if necessary.
-
Use the tool away from flammable fluids or gases. Failure to do so may result in fire or explosion.
Maintenance and storage:
- Make sure that all nuts, bolts and screws are tight and that the tool is in safe working order.
- Do not attempt to repair the tool yourself unless you are qualified to do so. Return the tool to our service centre to carry out any work not listed in the user manual.
- Keep the tool in a dry place out of children's reach.
- Be careful in handling the tool. Keep the tines sharp and clean
to improve its working safety and effectiveness.
- Follow the maintenance regulations.
Electrical safety:

Warning! Do not use the tool if the mains or extension cable is damaged - danger of electrical shock.
- Keep the mains cable away from the tines. Always trail the mains cable behind you or the person operating the tool. If the cable becomes damaged during use, immediately disconnect it from the mains.
Never touch the mains cable before unplugging it from the mains.
- Make sure that the mains voltage matches the data on the tool's rating label.
- Avoid skin contact with earthed objects such as metal fences and posts.
- Make sure that the connector on the extension cable is protected from splash water, and is made of rubber or has a rubber covering. Only use extension cables that are intended for outdoor use and are labelled as such. Use extension cables with a cable core diameter of at least one square millimetre. Always completely unwind the cable reel before use. Check the cable for damage.
-
Use the cable hanger fitted for the purpose when using an extension cable.
-
Do not carry the tool by the cable. Do not unplug the cable by tugging on it. Keep the cable away from heat, oil and sharp edges.
- Only connect the device to a socket with a residual current device (RCD) with a rated residual current of not more than 30mA .
Assembly instructions

Always disconnect the tool from the mains before conducting any work on it.

While assembling the tool, make sure that the mains cable (2) does not become caught and has enough slack.
Fitting the wheels

-
Fasten the wheel rod (12) to the underside of the device using 2 hexagon socket screws and 2 nuts.
-
Slide the wheel axle (13) through wheel rod (12).
- Fasten the wheel axle (13) using the butterfly screw (17) and the wing nut (18) at the desired working height. There are 4 possible positions.

-
Put a wheel (14) on the wheel axle (13) so that the end cap (20) is facing outwards.
-
Fasten the wheel (14) to the wheel axle (13) using the enclosed splint (19).
- Press the end cap (20) onto the wheel (14).
- Mount the second wheel in the same way.
Mounting the grip handles
-
Slide the two fork handles (1a/1b) into the diagonal bracket (3). Screw the diagonal bracket (3) onto the handles of the fork handles (1) from the back using the enclosed recessed head screws (21).
-
Screw both central bars (4) to the fork handles (1a/1b). To do so, slide the enclosed screws (22) through the drill holes and tighten using the wing nuts (23).
- Slide the central bars (4) onto the lower bar (6) and fasten using 4 screws (22) and wing nuts (23).
Operation

Observe noise-abatement laws and local by-laws.

Switching on and off

Before switching the device on, make sure that it is not touching any objects and that you hold it firmly using both hands.
- Connect the extension cable to the device's mains plug.
- Make a loop in the end of the extension cable and suspend this in the cable strain relief (24) to release the strain.
- Connect the device to the line voltage.
- Suspend the extension cable from the belt clip (11) and fasten it to the trouser belt.
- To switch on, press the release button (25) on the fork handle and then
the start handle (26). Let go of the release button (25).
The choppers (10) will begin to rotate and start digging into the ground.
- To switch off, let go of the start handle (26).

Attention! The choppers (10) will keep rotating for a few seconds after the device has been switched off. Do not touch the rotating choppers (10). There is a risk of injury.
Setting the working height
- Loosen the butterfly screw (17) and wing nut (18) on the wheel rod (12).
- Set the wheel axle to the desired working height. There are 4 possible positions.
- Re-attach the wheel axle (13) using the butterfly screw (17) and the wing nut to the wheel rod (12).
Operating instructions

Always keep a firm grip on the tool with booth hands and watch your feet.
The tines (10) may cause an accident. Be careful while moving backwards - danger of tripping!

Do not touch the gearbox, as it may become hot during operation - danger of burns!

Switch the tool off after working with it and for transport; disconnect from the mains and wait for the tines to stop moving.

To avoid damage to the tool:
ever lift or drag the tool with the motor running.
- Lift the tool while moving it over hard surfaces such as tiles or steps.
- Walk the tool through the soil at normal pace and in a line as straight as possible.
Always work away from the mains socket. Make sure that the cable is kept well away from the working area. Hanging the cable into the belt clip (11) included in the package will help.

Overload protection: The motor will cut out immediately if overloaded. The tool cannot be used until it has completely cooled down again.
Cleaning/Maintenance

Always return the tool to the service centre for work not described in the manual. Only use original parts.

Switch the tool off, unplug it from the mains, and wait for the tines (10) to stop moving before carrying out any maintenance or cleaning work on the tool.
Perform regular maintenance and cleaning on the tool. This will ensure long, reliable service.
General cleaning and maintenance work

Do not spray the tool down with water (especially not under pressure), and do not clean it under running water.

Wear protective gloves when carrying out maintenance and cleaning work on the tool to avoid injury from cuts.
Always clean the tool thoroughly after each use. Always keep the tool clean. Do not use cleaning fluids or solvents.
- Remove any soil or dirt stuck to the choppers (10), drive shaft (9) and device surface using a brush or dry cloth.
- Spray or rub biodegradable oil into the tines (10).
- Clean soiled grips with a damp cloth.
Always check the tool for obvious damage such as loose, worn or damaged parts before using it. Check that all nuts, bolts, and screws are tight. - Check the covers and guards for damage and correct fit. Change them if necessary.

Changing the tines
The tool is fitted with 6 tine wheels that can easily be changed in pairs. The tines/ tine-wheel pairs can be fitted on the left or right, as required.

Always change both tine pairs at the same time to avoid damage to the tool from imbalance.

Switch the tool off, unplug it and wait for the tines to stop turning.
- Unscrew the hex bolt (27) and the self-locking nut (28) on the tine/tine-wheel pair (10). To do this, use two spanners (SW13).
GB
- Slide the tine/tine-wheel pair off the shaft (9).
- Clean the driveshaft (9) with biological oil.
- Slide the new tines (19) onto the driveshaft (9) with the holes on the axles aligned to the holes on the driveshaft (9) (see G 1).

Make sure that the tines are set to their proper turning direction. The arrows on the gearbox and tines should point the same way (see G 2).
- Slide the hex bolt through the hole and tighten on the self-locking nut (supplied with each new tire wheel pair (see G 3).
Storage
- Leave the motor to cool down before you put the tool into a closed space.
- Keep the tool clean, dry and out of the reach of children.
- Do not cover the tool in plastic bags as moisture may form.

Folding the device
To save space, the device can be folded.
Unscrew the wing nuts and fold the fork grips down to reduce the space taken by the tool.
Make sure that the cable does not become jammed.

Do not use the tool with the handle folded closed. There is a risk of injury!
Disposal, environmental protection
Be environmentally friendly. Return the tool, accessories and packaging to a recycling centre when you have finished with them.
Do not dispose of electrical appliances in household waste.
Return the tool to a recycling centre. The plastic and metal parts used can be separated and sorted for recycling. Ask our service centre for details.
Spare Parts/Accessories
Spare parts and accessories can be obtained at www.grizzlytools-service.eu
If you have any other questions, contact the "Service-Center" (see "Service-Center").
Fork handle Set. 91105531
Set of tines
right/left. 91105534
Guarantee
- This appliance has a 24-month guarantee. Commercial use will invalidate the guarantee.
- Damages, which can be attributed to natural wear, overloading or inappropriate use, are excluded from the guarantee. Certain component parts are subject to a normal wear and are excluded from the guarantee. In particular, these include: set of tines.
- Furthermore, the prerequisite for guarantee services is that the references indicated in the operating instructions regarding cleaning and maintenance have been adhered to.
- Damage, which has been caused from material or manufacturing faults, will be made good free of charge, by replacement delivery or repair.
This requires that the appliance is returned to the merchant undismantled and with proof of purchase and guarantee.
Repair Service
- Repairs, which are not covered by the guarantee, can be carried out for charge by our service center. Our service center will be glad to provide you with a cost estimate. We can only process devices which have been packaged sufficiently and which have been dispatched with correct stamping.
Note: In case of complaint or service, please deliver your device cleaned, and with an indication of the defect, to our service address.
Devices sent in freight collect - by bulk freight, express or with other special freight - are not accepted.
Defective units returned to us will be disposed of for free.
Obsah
Ucel pouziti 76
Obecný popis 76
Objem dodávky 77
Prehled. 77
Popis funkce. 77
Technické data 77
| Translation of the original EC declaration of conformity | |
| We hereby confirm that the Electric Garden Hoe EGT 1545 series Batch number B-48194 conforms with the following applicable relevant version of the EU guidelines: | |
| 2006/42/EC • 2014/30/EU • 2000/14/EC • 2005/88/EC • 2011/65/EU* | |
| In order to guarantee consistency, the following harmonised standards as well as national standards and stipulations have been applied: | |
| EN 709:1997+A4:2009 • EN 60335-1:2012+A11:2014 • EN 62233:2008 EN 55014-1:2006+A1:2006+A2:2011 • EN 55014-2:2015 • EN 62321-1:2013 EN 61000-3-2:2014 • EN 61000-3-3:2013 • EN ISO 12100:2010 | |
| We additionally confirm the following in accordance with the 2000/14/EC emissions guideline: Sound power level Guaranteed: 93 dB(A) Measured: 92.84 dB(A) Compliance evaluation process accordance with appendix VI, 2000/14/EC Registered Office: NB 0499, Société Nationale de Cerification et d'Homologation | |
| This declaration of conformity is issued under the sole responsibility of the manufacturer: | |
| CE Grizzly Tools GmbH & Co. KG Stockstädter Straße 20 63762 Großostheim GERMANY 11.01.2021 | Christian Frank Documentation Representative |
- The object of the declaration described above satisfies the provisions of Directive 2011/65/EU of the European Parliament and the Council of 8 June 2011 on limiting the use of certain harmful substances in electrical and electronic appliances.
Unit 3, Beldray Park
Beldray Road, Mount Pleasant
Bilston, West Midlands WV14 7NH
Tel.: 0845 683 2672
e-mail: care@novoserv.co.uk

Garden Italia SPA
Via Zaccarini, 8