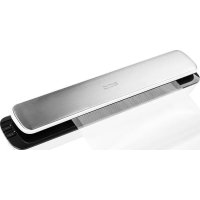
VS 110 B10 - Vacuum packaging machines ECG - Free user manual and instructions
Find the device manual for free VS 110 B10 ECG in PDF.



| Device type | Vacuum sealer |
| Brand | ECG |
| Model | VS 110 B10 |
| Rated voltage | 220–240 V~ 50–60 Hz |
| Rated power | 100 W |
| Sealing time | 6–10 seconds |
| Vacuum and sealing time | 10–20 seconds |
| Sealing strip width | 3 mm |
| Functions | Sealing only, Vacuum with automatic sealing, Stop |
| Sealing strip material | Heating wire |
| Recommended bag type | Specially designed vacuum bags (ECG brand recommended) |
| Cooling time between seals | 40 seconds |
| Protection | Do not immerse in water; do not use unsupervised |
| Cleaning | Exterior surface with damp cloth, compartment with paper towel |
| Usage | Domestic use only |
Frequently Asked Questions - VS 110 B10 ECG
User questions about VS 110 B10 ECG
0 question about this device. Answer the ones you know or ask your own.
Ask a new question about this device
Download the instructions for your Vacuum packaging machines in PDF format for free! Find your manual VS 110 B10 - ECG and take your electronic device back in hand. On this page are published all the documents necessary for the use of your device. VS 110 B10 by ECG.
USER MANUAL VS 110 B10 ECG
natural_image
Exterior view of a modern ECG device with black and silver casing (no text or symbols visible)VS 110 B10
VACUUM SEALER
INSTRUCTION MANUAL
VAKUUMIERER
BEDIENUNGSANLEITUNG
VAKUOVAČKA
NÁVOD K OBSLUZE
VAAKUMPAKENDAJA
KASUTUSJUHEND
SELLADOR AL VACÍO
natural_image
Line drawing of a rectangular electronic device with two labeled parts (① and ②), no text or symbols present.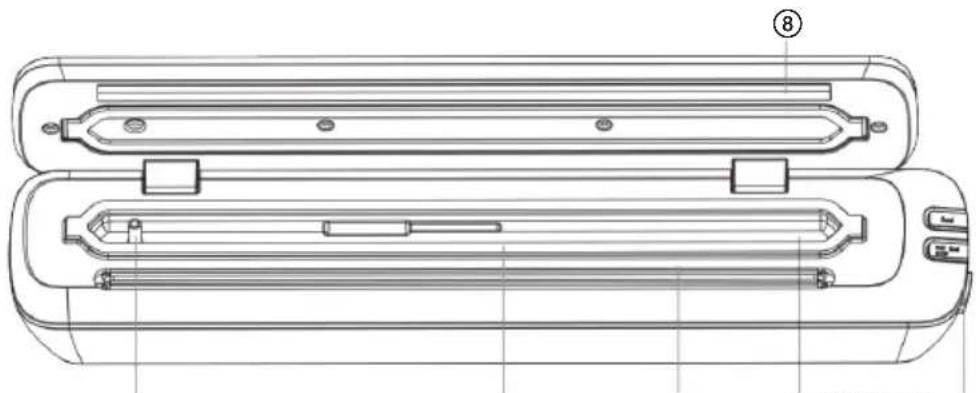
natural_image
Technical line drawing of a dual-chamber electric heater with labeled components (no text or symbols present)⑥⑦⑤④③
English
- Sealing button
- Vacuum packaging and Sealing / Off button
- Air suction opening
- Seal
- Sealing bar
- Vacuum chamber
- Lid release button
- Sealing strip
Deutsch
Warning: The safety measures and instructions contained in this manual do not include all conditions and potential situations. The user must be aware that common sense, caution, and care are factors that cannot be integrated into a product. These factors must be ensured by the user(s) using and operating this equipment. We are not liable for any damages caused during shipping, by incorrect use, voltage fluctuation or the modification or adjustment of any part of the appliance.
To protect against a risk of fire or electric shock, basic precautions shall be taken while using electrical appliances, including the following:
- Make sure the voltage in your outlet corresponds to the voltage provided on the appliance label and that the socket is correctly grounded. The outlet must be installed in accordance with applicable electrical codes according to EN.
- Never use the vacuum sealer if the power cord is damaged. All repairs, including cord replacements, must be carried out at a professional service centre! Do not remove the protective covers from the appliance; there is a risk of electric shock!
- Protect the appliance against direct contact with water and other liquids, to prevent potential electric shock.
- Pay special attention when using the vacuum sealer near children! Keep the appliance and its power cord out of reach of children under 8 years of age as soon as it is connected to the power supply or is cooling.
- Do not touch the sealing strip (glow wire) when the machine is switched on even shortly after the end of operation; the sealing strip may be hot.
- Do not leave the appliance unattended and check it during the entire sealing process.
-
Do not use the appliance outdoors or in a humid environment, or touch the power cord or appliance with wet hands. There is a risk of electric shock.
-
The device must not be used if it has been dropped, if there are visible signs of damage.
- Only use and store the vacuum sealer on a stable, level surface.
- It is recommended not to leave the appliance unattended with the power cord plugged in. Disconnect the cord from the electrical outlet prior to any maintenance. Do not remove the power cord from the outlet by yanking the cord. Unplug the power cord from the outlet by grasping the plug.
- Do not use the appliance within the reach of flammable objects or place it near heat sources or open flames.
Warning: between sealing or vacuum packaging, the appliance should always be allowed to cool for 40 seconds.
- Do not allow the power cord to touch hot surfaces or run the cord over sharp edges.
- Unplug the appliance immediately after you are done using it and let the device cool completely before putting away.
- Do not try to vacuum packaging bags containing liquids or liquid foods.
- Use only bags recommended by the supplier. Do not use kitchen foil or similar things, as this may damage the appliance.
- Remove the bag as soon as it has been sealed. If left in the appliance for a longer period, the bag may become attached.
- Keep the sealing strip clean to prevent food contamination.
- Only use the vacuum sealer in accordance with the instructions in this manual. This appliance is intended for domestic use only. The manufacturer is not liable for damages caused by the improper use of this device.
- This appliance may be used by children 8 years of age and older and persons with reduced physical or mental abilities or lack of experience and knowledge if they are supervised or have been instructed in the safe use of the appliance and understand the potential hazards. Children shall not play with the appliance. Cleaning and maintenance operations performed by the user shall not be carried out by children without supervision.
Do not immerse in water!
DANGER FOR CHILDREN: Children may not play with the packaging material. Do not let children play with the plastic bags. Risk of suffocation.
CONTROLS AND FUNCTIONS
- Sealing button: It is used for sealing the bag without vacuum packaging (it is recommended to keep a 40 seconds interval before using it again).
- Vacuum packaging and sealing / Off button: It is used for vacuuming air out the bag and for subsequent automatic sealing of the bag (it is recommended to keep a 40 seconds interval before the next use). Press this button again to switch the appliance off immediately.
- Air suction opening: Air is removed through this opening during vacuum packaging.
- Seal: Seals the vacuum chamber and prevents air from entering.
- Sealing bar: The 3 mm wide sealing bar ensures better sealing.
- Vacuum chamber: During vacuum packaging, the open end of the bag is inserted into the vacuum chamber.
- Lid release button: Press this button to release the lid. You can remove the sealed bag after the lid is open.
- Rubber strip: Ensures perfectly smooth seal.
OPERATING MANUAL
BAG SEALING
natural_image
Close-up of a black electronic device with a transparent cover partially visible, placed on a wooden surface (no text or symbols)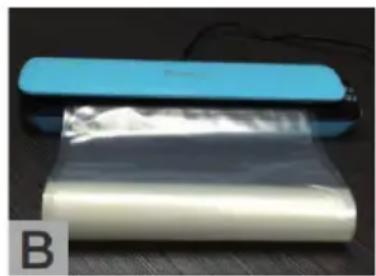
natural_image
Two plastic sheets of paper, one blue and one white, placed on a dark surface (no text or symbols visible)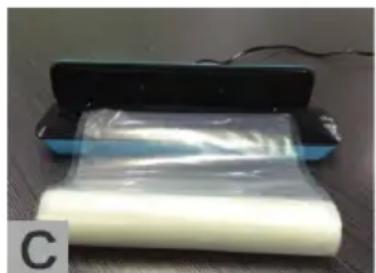
natural_image
Roll of white plastic film wrapped in plastic film, placed on a dark surface with a black rectangular device in the background (no visible text or symbols)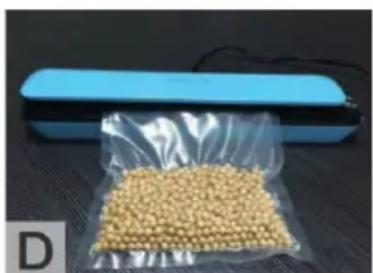
natural_image
Blue rectangular device with a transparent bag containing yellow granules, placed on a dark surface (no text or symbols visible)- Plug the appliance into the socket.
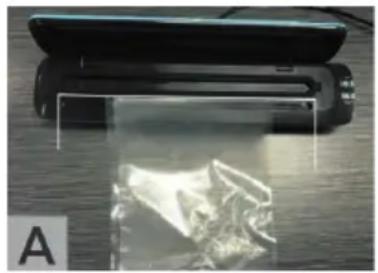
- Insert the open side of the bag into the vacuum chamber as shown on fig. A.
- Close the lid and press it gently.
- Make sure that one end of the bag overlaps the sealing strip but does not extend beyond the vacuum chamber seal.
- Press the "Seal" button and watch the lit LED. When the LED goes out, the seal is complete.
- Press the release button on the right side, open the lid and then remove the closed bag.
CREATING VACUUM AND SEALING OF THE BAG
- Plug the appliance into the socket.
-
Place the food to be stored in the bag.
-
Clean and straighten the bag opening. Make sure there are no folds on the open edge of the bag.
- Insert the open side of the bag into the vacuum chamber as shown on fig. C. Make sure that the bag does not cover the air suction opening.
- Close the lid and press it gently.
- Press the "Vacuum and Seal" button and observe the lit LED. The bag is automatically vacuum packaged and sealed. When the LED goes out, the seal is complete.
- Press the release button on the right side, open the lid and then remove the closed bag.
USEFUL TIPS
- Do not overfill the bags, leaving enough free space at the open end of the bag to allow it to be conveniently placed in the vacuum chamber.
- Make sure the inner and outer surfaces at the open end of the bag are dry. It is difficult to melt and properly seal a damp or wet bag.
- Vacuuming will not replace food storage in the refrigerator or freezer. Perishable food must always be stored in the refrigerator or freezer.
- Clean and dry the open ends of the bags before vacuum packaging and sealing. Make sure there are no dirt or creases on the edge, otherwise sealing problems and leakage may occur.
- To avoid wrinkles when vacuum packaging and sealing bags with large amounts of food, when inserting into the vacuum chamber, carefully stretch the open end of the bag and hold it until the pump begins to evacuate the air.
- If you vacuum package objects with sharp edges (dry spaghetti, silver, etc.), protect the bag from puncture by wrapping the object in a soft material such as paper napkin. Consider using a suitable container instead of a bag.
- When using accessories, be sure to leave at least 2.5 cm of space under the lid in the containers.
- We recommend freezing the fruit and blanching the vegetables before vacuum packaging.
- When vacuum packaging more bags, it is recommended to wait 40 s before next sealing.
- If you are not sure that the bag is properly sealed, seal it again.
- Use ECG bags for best results.
CLEANING AND MAINTENANCE
- Always unplug the appliance from the socket before cleaning. Allow the appliance to cool.
- Do not immerse the appliance in water or other liquids.
- Do not use abrasive cleaners as they may scratch the surface of the machine.
- Clean the outer surface with a damp cloth or sponge, if necessary use a mild detergent.
- Use paper towels to clean the vacuum chamber of food or liquid residues.
- Dry the appliance thoroughly before using it again.
TROUBLESHOOTING
You are trying to vacuum, but nothing is happening:
- Check the connection to the mains socket.
- Check if the power cable is not damaged.
- Check that the power outlet is OK by plugging in another appliance.
- Make sure that the latches clicked properly.
- Make sure the bag is correctly inserted into the vacuum chamber.
- Allow the appliance to cool for 40 seconds with the lid open before using it again.
There is still air in the bag:
- Make sure the bag is inserted correctly with open end completely into the vacuum chamber.
-
Air remains in the bag after vacuuming:
Check the bag for leaks. Seal the bag containing the air and immerse it in water. Escaping bubbles signal a leak. If bubbles appear, use a new bag. -
If you are using bags reduced in size by other seals, check all seals for leaks. A fold on the bag at the seal seam may cause leakage. If there is a fold at the seal, cut it off and reseal the bag.
- Do not create your own side seams on the special bags for vacuum sealers. They are made with special side seams that are sealed to the outer edge. Creating your own side seams can cause leakage and loss of vacuum in the bag.
- Do not vacuum package hot foods; after cooling, their volume may decrease due to thermal expansion and the packaging will then appear to lose vacuum.
- Place fruits and vegetables in the refrigerator immediately after vacuum packaging, otherwise there is a risk that continued photosynthesis will produce additional air and cause vacuum loss in the bag.
- Do not vacuum package fermented foods.
Fermented foods are not suitable for vacuum packaging because they release air.
Vacuum in vacuum packaged and sealed bag has been lost:
- Check the entire bag for leaks. A fold on the bag at the seal seam may cause leakage. If there is a fold at the seal, simply cut the seal off and reseal the bag.
- In some cases, proper vacuum packaging and sealing can be complicated by the presence of liquids or other parts of food (such as juice, sauce, crumbs, grease, etc.). Cut the seal, clean the open end of the bag and vacuum and reseal the bag.
- A sharp edge or pointed portion of food may pierce the bag. Use a new bag in such case. Wrap the sharp edges of the food with a suitable soft material, such as a paper towel.
- If air appears in the bag, the food may have fermented or released gas. If this happens, the food may be spoiled and should be disposed of.
The bag melts:
If the bag has melted at the seal seam, the rubber strip is probably too hot. Allow the device to cool for at least 5 minutes with the lid open before using it again.
FOOD STORAGE GUIDE
| In the refrigerator (5 ±3 °C) | Without vacuum Vacuum sealer | bags |
| Red meat 3–4 days 8–9 days | ||
| White meat 2–3 days 6–8 days | ||
| Fish 1–3 days 4–5 days | ||
| Cooked meat 3–5 days 10–15 days | ||
| Soft cheese 5–7 days 20 days | ||
| Hard / semi-hard cheese 1–5 days | 60 days | |
| Fruit 5–7 days 14–20 days | ||
| Vegetables 1–3 days 7–10 days | ||
| Soups 2–3 days 8–10 days | ||
| Cooked pasta / rice | 2–3 days 6–8 days | |
| Cream desserts | 2–3 days | 8 days |
| Room temperature (25 ±2°C) | Without vacuum Vacuum sealer bags | |
| Fresh bread | 1–2 days 8–10 days | |
| Biscuits | 4–6 months | 12 months |
| Uncooked pasta / rice | 5–6 months | 12 months |
| Room temperature (25 ±2°C) | Without vacuum Vacuum sealer bags |
| Flour 4–6 months 12 months | |
| Dried fruit 3–4 months 12 months | |
| Coffee beans 2–3 months 12 months | |
| Tea leaves 5–6 months 12 months | |
| White tea 1–2 months 12 months |
| In the freezer ( -18 ± 2^ ) Without vacuum Vacuum sealer bags | ||
| Meat 4–6 months 15–20 months | ||
| Fish 3–4 months 10–12 months | ||
| Vegetables 8–10 months 8–24 months | ||
TECHNICAL PARAMETERS
Nominal voltage: 220–240 V\~ 50–60 Hz
Nominal input power: 100 W
Sealing time: 6–10 seconds
Vacuum packaging and sealing time: 10–20 seconds
USE AND DISPOSAL OF WASTE
Wrapping paper and corrugated paperboard – deliver to scrapyard. Packing foil, PE bags, plastic elements – throw into plastic recycling containers.
DISPOSAL OF PRODUCTS AT THE END OF LIFETIME
Disposal of electric and electronic equipment (valid in EU member countries and other European countries with an implemented recycling system)
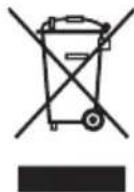
The represented symbol on the product or package means the product shall not be treated as domestic waste. Hand over the product to the specified location for recycling electric and electronic equipment. Prevent negative impacts on human health and the environment by properly recycling your product.
Recycling contributes to preserving natural resources. For more information on the recycling of this product, refer to your local authority, domestic waste processing organization or store, where you purchased the product.
This product complies with EU directive requirements on electromagnetic compatibility and electrical safety.
The instruction manual is available at website www.ecg-electro.eu. Changes in text and technical parameters reserved.
08/05

SICHERHEITSHINWEISE
natural_image
Close-up of a black electronic device with a transparent plastic bag attached, placed on a wooden surface (no visible text or symbols)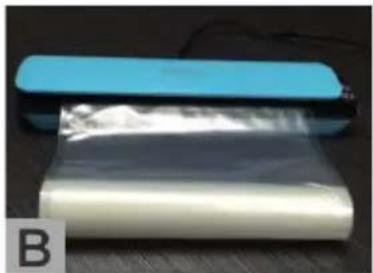
natural_image
Two plastic sheets of material, one blue and one white, placed on a dark surface (no text or symbols visible)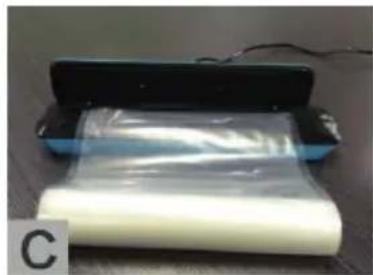
natural_image
Roll of transparent plastic film with a black rectangular device on top, placed on a surface (no visible text or symbols)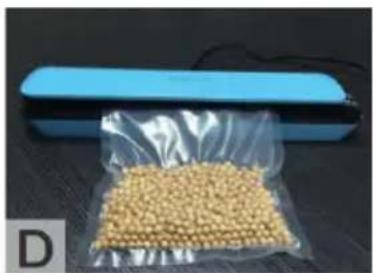
natural_image
Close-up of a blue plastic bag filled with yellow granules next to a black rectangular device (no visible text or symbols)Do not immerse in water! – Neponořovat do vody!
natural_image
Close-up of a black electronic device with a transparent cover partially visible against a wooden surface (no text or symbols)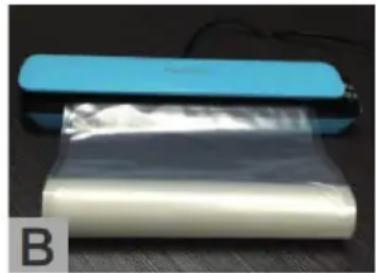
natural_image
Two plastic rolls of material, one blue and one white, placed on a dark surface (no text or symbols visible)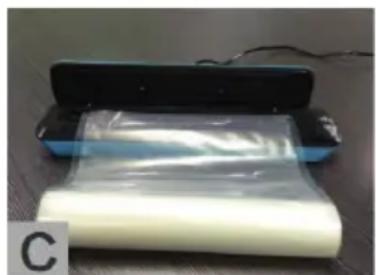
natural_image
Roll of white plastic film wrapped in plastic film, placed on a wooden surface next to a black rectangular device (no visible text or symbols)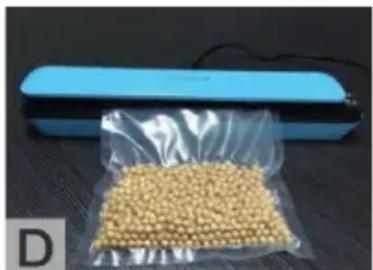
natural_image
Blue rectangular device with a transparent plastic bag filled with yellow granules, placed on a dark surface (no text or symbols visible)natural_image
Close-up of a black electronic device with a transparent screen showing internal components, placed on a wooden surface (no visible text or symbols)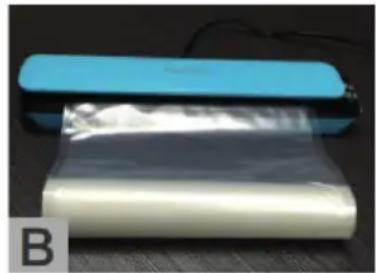
natural_image
Two plastic rolls of paper or film, one blue and one white, placed on a dark surface (no text or symbols visible)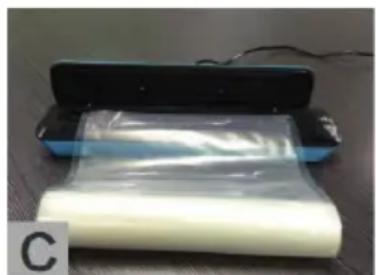
natural_image
Roll of white plastic film wrapped in plastic, placed on a wooden surface next to a black rectangular device (no visible text or symbols)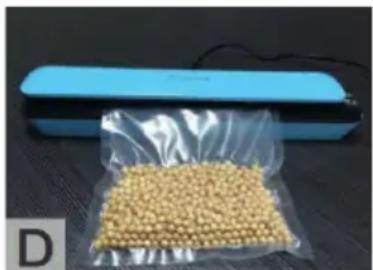
natural_image
Blue rectangular device with transparent plastic bag filled with yellow granules, placed on dark surface (no text or symbols visible)natural_image
Close-up of a black electronic device with a transparent lens, partially covered by a transparent plastic bag, against a textured surface (no visible text or symbols)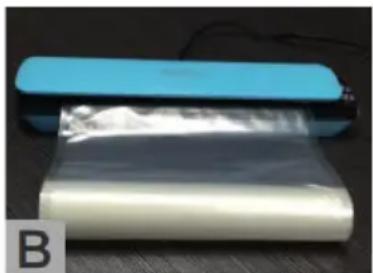
natural_image
Two plastic rolls, one blue and one white, placed on a dark surface (no text or symbols visible)
natural_image
Roll of white foam film wrapped in plastic film, placed on a dark surface with a black plastic cover and cable (no text or symbols visible)
natural_image
Close-up of a blue rectangular device with a transparent plastic bag filled with yellow granules, placed on a dark surface (no text or symbols visible)natural_image
Close-up of a black plastic bag partially covered with a transparent film, placed on a wooden surface (no text or symbols visible)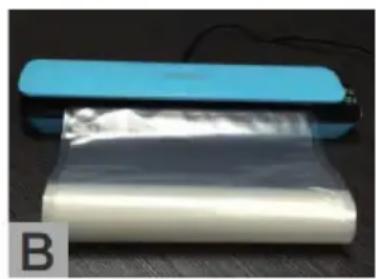
natural_image
Roll of transparent plastic film with a blue rectangular device on top, labeled 'B' in the corner (no text or symbols on the film itself)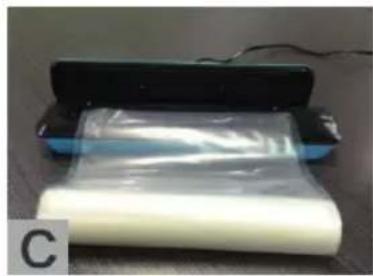
natural_image
Roll of white plastic film wrapped in plastic film, placed on a dark surface with a black rectangular object in the background (no visible text or symbols)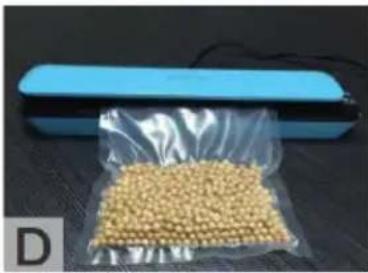
natural_image
Blue rectangular device with a transparent plastic bag filled with yellow granules, placed on a dark surface (no text or symbols visible)natural_image
Close-up of a black plastic bag partially covered with a transparent film, placed on a wooden surface (no text or symbols visible)
natural_image
Two plastic sheets of paper, one blue and one white, placed on a dark surface (no text or symbols visible)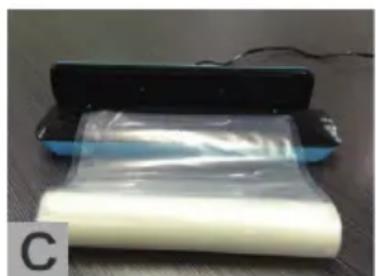
natural_image
Roll of white foam film wrapped in plastic film, placed on a surface with a black rectangular device and cable (no visible text or symbols)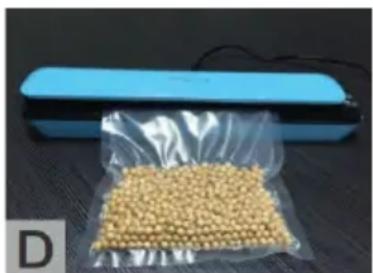
natural_image
Close-up of a blue rectangular device with a transparent plastic bag filled with yellow granules, placed on a dark surface (no text or symbols visible)- Uključite aparat u utičnicu.
- Umetnite otvorenu stranu vrećice u vakuumsku komoru kao što je prikazano na slici A.
- Zatvorite poklopac i lagano ga pritisnite.
- Pazite da jedan kraj vrećice bude preko letve za zavarivanje, ali da ne prelazi preko brtve vakuumske komore.
- Pritisnite tipku „zavarivanje“ i pratite LED pokazivač koji svijetli. Kad se LED pokazivač ugasi, zavar je gotov.
- Pritisnite tipku za otpuštanje na desnoj strani, otvorite poklopac i uklonite zatvorenu vrećicu.
VAKUUMIRANJE SA ZATVARANJEM VREĆICE
- Uključite aparat u utičnicu.
- Stavite hranu koja će se pohraniti u vrećicu.
-
Očistite i poravnajte otvor vrećice. Osigurajte da otvoreni rub vrećice bude bez nabora.
-
Umetnite otvorenu stranu vrećice u vakuumsku komoru kao što je prikazano na slici C. Pazite da vrećica ne prekriva otvor za izvlačenje zraka.
- Zatvorite poklopac i lagano ga pritisnite.
- Pritisnite tipku „vakuumiranje i zavarivanje“ i pratite LED pokazivač koji svijetli. Vreća se automatski vakuumira i zavaruje. Kad se LED pokazivač ugasi, zavar je gotov.
- Pritisnite tipku za otpuštanje na desnoj strani, otvorite poklopac i uklonite zatvorenu vrećicu.
KORISNI SAVJETI
- Vrećice nemojte preprepuniti, nego ostavite dovoljno slobodnog prostora na otvorenom kraju vrećice da se omogući lako postavljanje u vakuumsku komoru.
- Osigurajte da su unutarnja i vanjska površina na otvorenom kraju vreće suhe. Vlažnu ili mokru vreću teško je rastaliti i pravilno zabrtviti.
- Vakuumiranje nije zamjena za čuvanje hrane u hladnjaku ili zamrzivaču. Lako kvarljive namirnice uvijek se moraju čuvati u hladnjaku ili ih treba zamrznuti.
- Očistite i osušite otvorene krajeve vrećica prije vakuumiranja i zavarivanja. Pazite da na rubu nema prljavštine ili nabora, jer u protivnom mogu nastati poteškoće pri zavarivanju i curenje.
- Kako biste izbjegli nastanak pregiba kada vakuumirate vrećice s velikom količinom hrane, prilikom umetanja u vakuumsku komoru pažljivo rastegnite otvoreni kraj vrećice i držite je dok pumpa ne počne izvlačiti zrak.
- Ako vakuumirate predmete s oštrim rubovima (suhe špagete, srebro, itd.), zaštitite vrećicu od probijanja tako što ćete predmet umotati u mekani materijal, poput papirnate salvete. Razmislite o tome da umjesto vrećice koristite prikladnu posudu.
- Ako koristite dodatni pribor, obavezno ostavite najmanje 2,5 cm prostora ispod poklopca u posudama.
- Preporučujemo da prije vakuumiranja voće zamrznete, a povrće blanširate.
- Kada vakuumirate više vrećica, preporučuje se uvijek pričekati 40 s prije sljedećeg zavarivanja.
- Ako niste sigurni da je vrećica dobro zavarena, zavarite je ponovo.
- Za najbolje rezultate koristite vrećice ECG.
ODRŽAVANJE I ČIŠĆENJE
- Prije čišćenja, uvijek isključite aparat iz napajanja. Ostavite da se aparat potpuno ohladi.
- Tijekom čišćenja ne uranjajte uređaj u vodu ili druge tekućine.
- Nemojte koristiti abrazivna sredstva za čišćenje jer mogu oštetiti površinu uređaja.
- Očistite vanjsku površinu vlažnom krpom ili spužvom, a ako je potrebno koristite blagi deterdžent.
- Za čišćenje vakuumske komore od ostataka hrane ili tekućine uzmite papirnate ubruse.
- Prije ponovne upotrebe aparat osušite potpuno.
OTKLANJANJE POTEŠKOĆA
natural_image
Close-up of a black electronic device with a transparent glass cover, placed on a wooden surface (no visible text or symbols)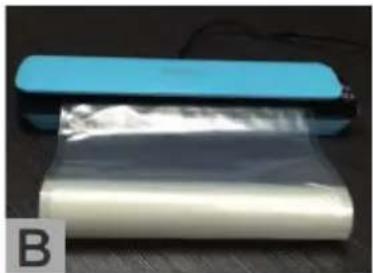
natural_image
Two plastic film strips wrapped in transparent material, one blue and one white, placed on a dark surface (no text or symbols visible)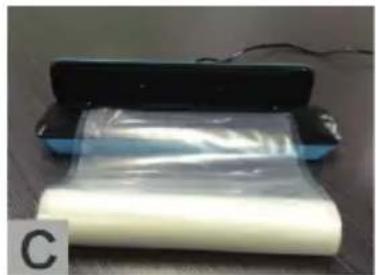
natural_image
Roll of white plastic film wrapped in plastic film, placed on a dark surface with a black rectangular device in the background (no visible text or symbols)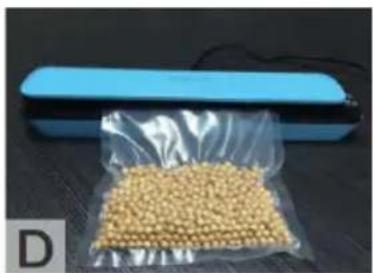
natural_image
Close-up of a blue rectangular device with a transparent plastic bag containing yellow granules, placed on a dark surface (no text or symbols visible)natural_image
Close-up of a black electronic device with a transparent plastic bag attached, placed on a wooden surface (no visible text or symbols)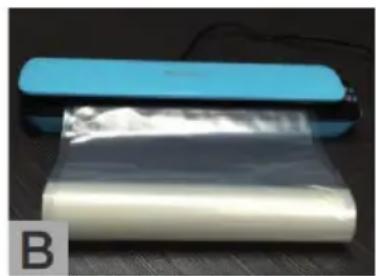
natural_image
Two plastic rolls, one blue and one white, placed on a dark surface (no text or symbols visible)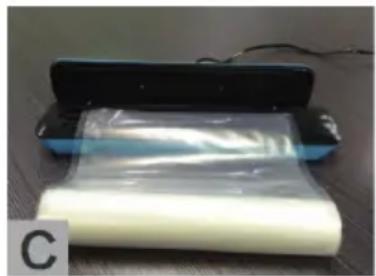
natural_image
Roll of white plastic film wrapped in a black plastic case, placed on a dark surface (no text or symbols visible)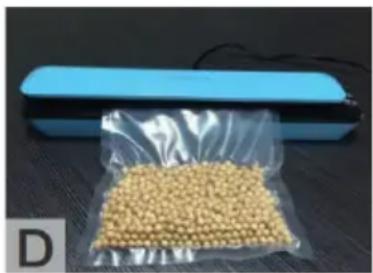
natural_image
Blue rectangular device with a transparent plastic bag containing yellow granules, placed on a dark surface (no text or symbols visible)natural_image
Close-up of a black electronic device with a transparent plastic cover placed on a wooden surface (no visible text or symbols)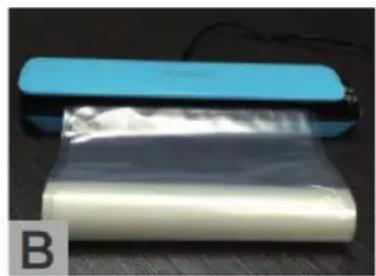
natural_image
Two plastic sheets of paper or film, one blue and one white, stacked together (no visible text or symbols)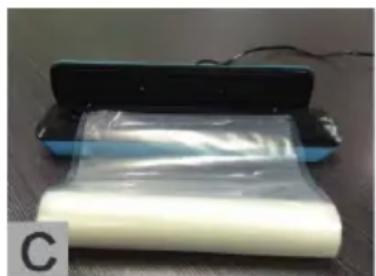
natural_image
Roll of white plastic film wrapped in plastic film, placed on a dark surface with a black plastic holder nearby (no text or symbols visible)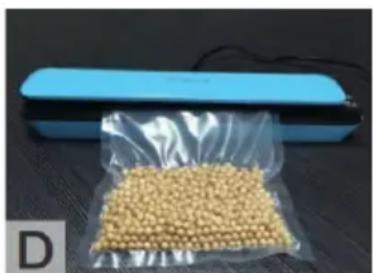
natural_image
Blue rectangular device with a transparent plastic bag filled with yellow granules, placed on a dark surface (no text or symbols visible)natural_image
Close-up of a transparent plastic bag attached to a black cylindrical device on a wooden surface (no visible text or symbols)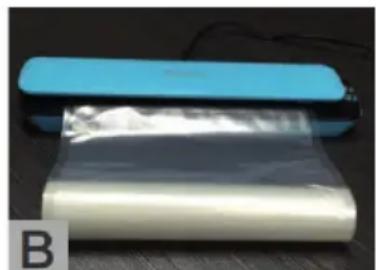
natural_image
Two plastic rolls, one blue and one white, placed on a dark surface (no text or symbols visible)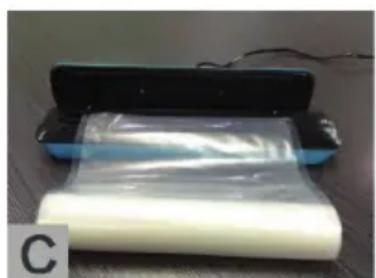
natural_image
Roll of white plastic film wrapped in plastic film, placed on a dark surface with a black device and cable nearby (no visible text or symbols)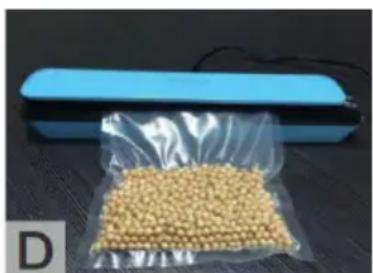
natural_image
Close-up of a blue rectangular device with a transparent plastic bag containing yellow granules, placed on a dark surface (no text or symbols visible)natural_image
Close-up of a black electronic device with a transparent cover partially visible, placed on a wooden surface (no text or symbols)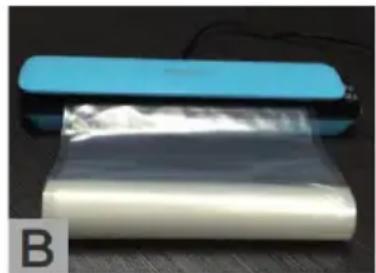
natural_image
Two plastic rolls of material, one blue and one white, placed on a dark surface (no text or symbols visible)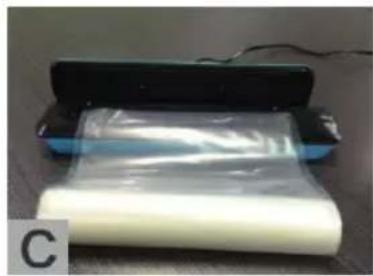
natural_image
Roll of white plastic film wrapped in plastic film, resting on a black rectangular device (no visible text or symbols)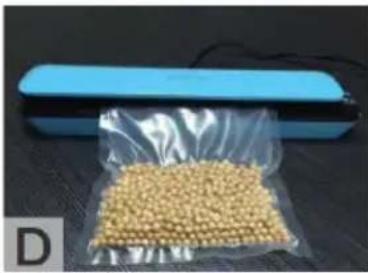
natural_image
Blue rectangular device with a transparent plastic bag filled with yellow granules, placed on a dark surface (no text or symbols visible)Do not immerse in water! – Neponárat do vody!
natural_image
Close-up of a black electronic device with a transparent cover partially visible, placed on a wooden surface (no text or symbols)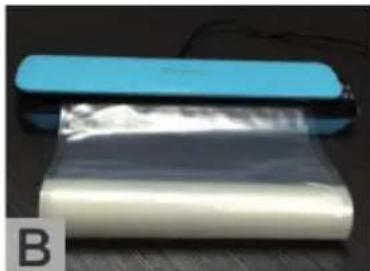
natural_image
Two plastic sheets of material placed on a dark surface, one blue and one white, with no visible text or symbols.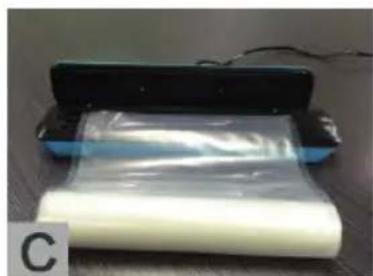
natural_image
Roll of white plastic film wrapped in plastic film, placed on a wooden surface with a black rectangular device in the background (no visible text or symbols)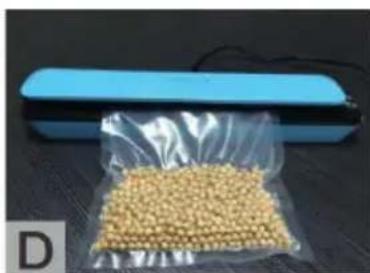
natural_image
Close-up of a blue rectangular device with a transparent plastic bag containing yellow granular material, placed on a dark surface (no text or symbols visible)natural_image
Close-up of a black electronic device with a transparent cover partially visible, placed on a wooden surface (no text or symbols)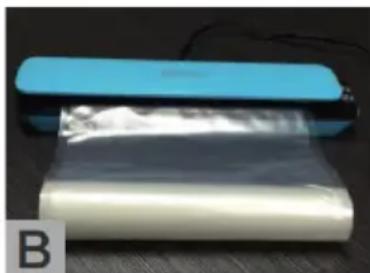
natural_image
Two plastic rolls, one blue and one white, placed on a dark surface (no text or symbols visible)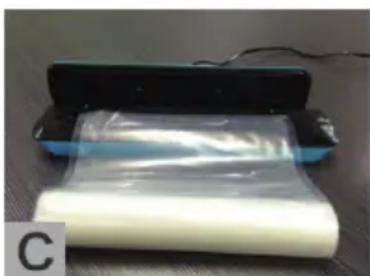
natural_image
Roll of white plastic film wrapped in plastic film, placed on a wooden surface with a black rectangular device in the background (no visible text or symbols)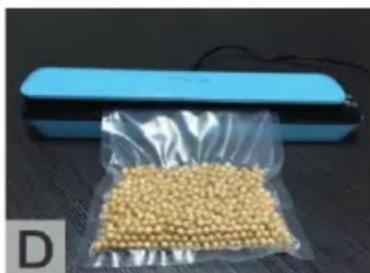
natural_image
Close-up of a blue rectangular device with a transparent plastic bag containing yellow granules, placed on a dark surface (no text or symbols visible)natural_image
Close-up of a black electronic device with a transparent plastic cover, placed on a wooden surface (no visible text or symbols)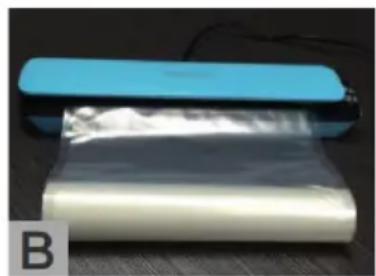
natural_image
Two plastic sheets wrapped in plastic film, one blue and one white, placed on a dark surface (no text or symbols visible)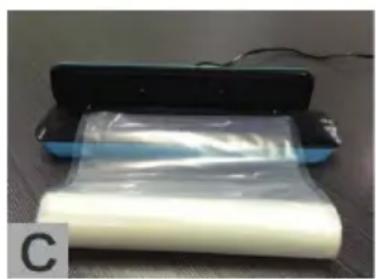
natural_image
Roll of white plastic film wrapped in a transparent cloth, placed on a dark surface with a black rectangular device in the background (no visible text or symbols)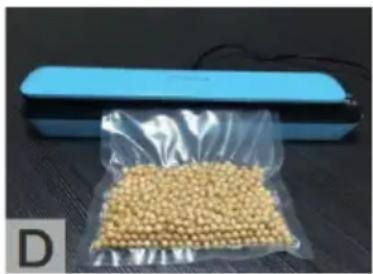
natural_image
Blue rectangular device with a transparent plastic bag filled with yellow granules, placed on a dark surface (no text or symbols visible)- Uključite aparat u utičnicu.
- Umetnite otvorenu stranu kesice u vakuumsku komoru kao što je prikazano na slici A.
- Zatvorite poklopac i lagano ga pritisnite.
- Pazite da jedan kraj kesice bude preko letve za zavarivanje, ali da ne prelazi preko zaptivne gumice vakuumske komore.
- Pritisnite taster „zavarivanje“ i pratite LED pokazivač koji svetli. Kad se LED pokazivač ugasi, var je gotov.
- Pritisnite taster za otpuštanje na desnoj strani, otvorite poklopac i uklonite zatvorenu kesicu.
VAKUUMIRANJE SA ZATVARANJEM KESICE
• Uključite aparat u utičnicu.
- Stavite hranu koja će se pohraniti u kesicu.
- Očistite i poravnajte otvor kesice. Osigurajte da otvoreni rub kesice bude bez nabora.
- Umetnite otvorenu stranu kesice u vakuumsku komoru kao što je prikazano na slici C. Pazite da kesica ne prekriva otvor za izvlačenje vazduha.
- Zatvorite poklopac i lagano ga pritisnite.
- Pritisnite taster „vakuumiranje i zavarivanje“ i pratite LED pokazivač koji svetli. Vreća se automatski vakuumira i zavaruje. Kad se LED pokazivač ugasi, var je gotov.
- Pritisnite taster za otpuštanje na desnoj strani, otvorite poklopac i uklonite zatvorenu kesicu.
KORISNI SAVETI
natural_image
Close-up of a black electronic device with a transparent plastic cover, placed on a wooden surface (no visible text or symbols)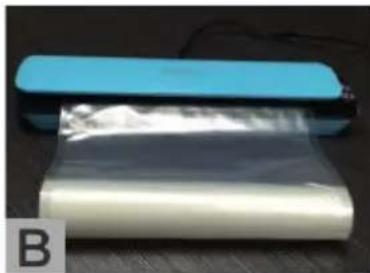
natural_image
Two plastic rolls of material, one blue and one white, placed on a dark surface (no text or symbols visible)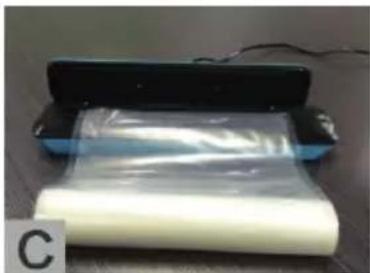
natural_image
Roll of transparent plastic film with a black rectangular object on top, no visible text or symbols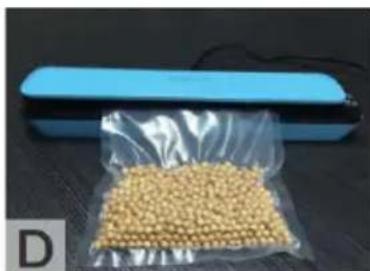
natural_image
Close-up of a blue rectangular device with a transparent plastic bag containing a pile of yellow granules, no visible text or symbols.250 69 Klíčany, Czech Rep. e-post: ECG@kbexpert.cz
Español
K+B Progres, a.s.
U Expertu 91 tel.: +44 776 128 6651 (English)
250 69 Klíčany, Czech Rep. e-mail: ECG@kbexpert.cz
Français
K+B Progres, a.s.
U Expertu 91 tél: +44 776 128 6651 (English)
250 69 Kličany, Czech Rep. e-mail: ECG@kbexpert.cz
Hrvatski
K+B Progres, a.s.
U Expertu 91 tel.: +420 272 122 111
250 69 Klíčany, Czech Rep. e-mail: informacije@kbprogres.cz
Bosanski
K+B Progres, a.s.
U Expertu 91 tel.: +420 272 122 111
250 69 Klíčany, Czech Rep. e-mail: informacije@kbprogres.cz
Italiano
K+B Progres, a.s.
1U Expertu 91 tel.: +44 776 128 6651 (English)
250 69 Kličany, Czech Rep. e-mail: ECG@kbexpert.cz
Latviešu valoda
K+B Progres, a.s.
U Expertu 91 tel.: +420 272 122 111
250 69 Klíčany, Czech Rep. e-pasts: ECG@kbexpert.cz
Lietuvių kalba
K+B Progres, a.s.
U Expertu 91 tel.: +420 272 122 111
250 69 Klíčany, Czech Rep. el. paštas: ECG@kbexpert.cz
Magyar
K+B Progres, a.s.
U Expertu 91 tel.: +420 272 122 111
250 69 Klíčany, Czech Rep. e-mail: ECG@kbexpert.cz
Polski
K+B Progres, a.s.
U Expertu 91 tel.: +420 272 122 111
250 69 Klíčany, Czech Rep. e-mail: ECG@kbexpert.cz
Slovenčina
- VS 110 B10
- English
- Deutsch
- Do not immerse in water!
- DANGER FOR CHILDREN: Children may not play with the packaging material. Do not let children play with the plastic bags. Risk of suffocation.
- CONTROLS AND FUNCTIONS
- OPERATING MANUAL
- BAG SEALING
- CREATING VACUUM AND SEALING OF THE BAG
- USEFUL TIPS
- CLEANING AND MAINTENANCE
- TROUBLESHOOTING
- You are trying to vacuum, but nothing is happening:
- There is still air in the bag:
- Vacuum in vacuum packaged and sealed bag has been lost:
- The bag melts:
- TECHNICAL PARAMETERS
- USE AND DISPOSAL OF WASTE
- DISPOSAL OF PRODUCTS AT THE END OF LIFETIME
- SICHERHEITSHINWEISE
- Do not immerse in water! – Neponořovat do vody!
- VAKUUMIRANJE SA ZATVARANJEM VREĆICE
- KORISNI SAVJETI
- ODRŽAVANJE I ČIŠĆENJE
- OTKLANJANJE POTEŠKOĆA
- Do not immerse in water! – Neponárat do vody!
- VAKUUMIRANJE SA ZATVARANJEM KESICE
- KORISNI SAVETI
- Español
- Français
- Hrvatski
- Bosanski
- Italiano
- Latviešu valoda
- Lietuvių kalba
- Magyar
- Polski
- Slovenčina
Brand : ECG
Model : VS 110 B10
Category : Vacuum packaging machines