Sweeper 5000 TSA5025 - Vacuum Cleaner Teesa - Free user manual and instructions
Find the device manual for free Sweeper 5000 TSA5025 Teesa in PDF.
| Product Type | 2-in-1 cordless vacuum (stick and handheld) |
| Brand | Teesa |
| Model | Sweeper 5000 TSA5025 |
| Power | 150 W |
| Battery Type | Lithium-ion 25.2 V / 2200 mAh |
| Charging Time | 5 hours |
| Maximum Runtime | Low mode: 50 min / High mode: 25 min |
| Dust Tank Capacity | 0.5 L |
| Noise Level | 82 dB |
| Weight | 3.4 kg |
| Dimensions (L × H × Depth) | 26.8 × 110 × 15.4 cm |
| Main Features | Stick and handheld vacuum, two power modes, motorized brush with LED lights, charging dock |
| Included Accessories | Charging dock, 2-piece crevice tool, power adapter, user manual |
| Filter Type | Cyclonic filter, textile filter |
| Maintenance and Cleaning | Empty tank after each use, clean filters regularly with water, cut hair and threads wrapped around the brush |
| Safety | Do not vacuum liquids, hot or sharp objects, use only original charger, do not immerse |
| Charge Indicator | LED flashing during charging, solid when fully charged |
| Repairability | Spare parts not specified, repair by qualified personnel only |
Frequently Asked Questions - Sweeper 5000 TSA5025 Teesa
User questions about Sweeper 5000 TSA5025 Teesa
0 question about this device. Answer the ones you know or ask your own.
Ask a new question about this device
Download the instructions for your Vacuum Cleaner in PDF format for free! Find your manual Sweeper 5000 TSA5025 - Teesa and take your electronic device back in hand. On this page are published all the documents necessary for the use of your device. Sweeper 5000 TSA5025 by Teesa.
USER MANUAL Sweeper 5000 TSA5025 Teesa
Rechargeable 2-in-1 stick vacuum cleaner
SWEEPER 5000
TSA5025
Návod k obssluz
CS
Bedienungsanleitung
DE
Owner's manual
EN
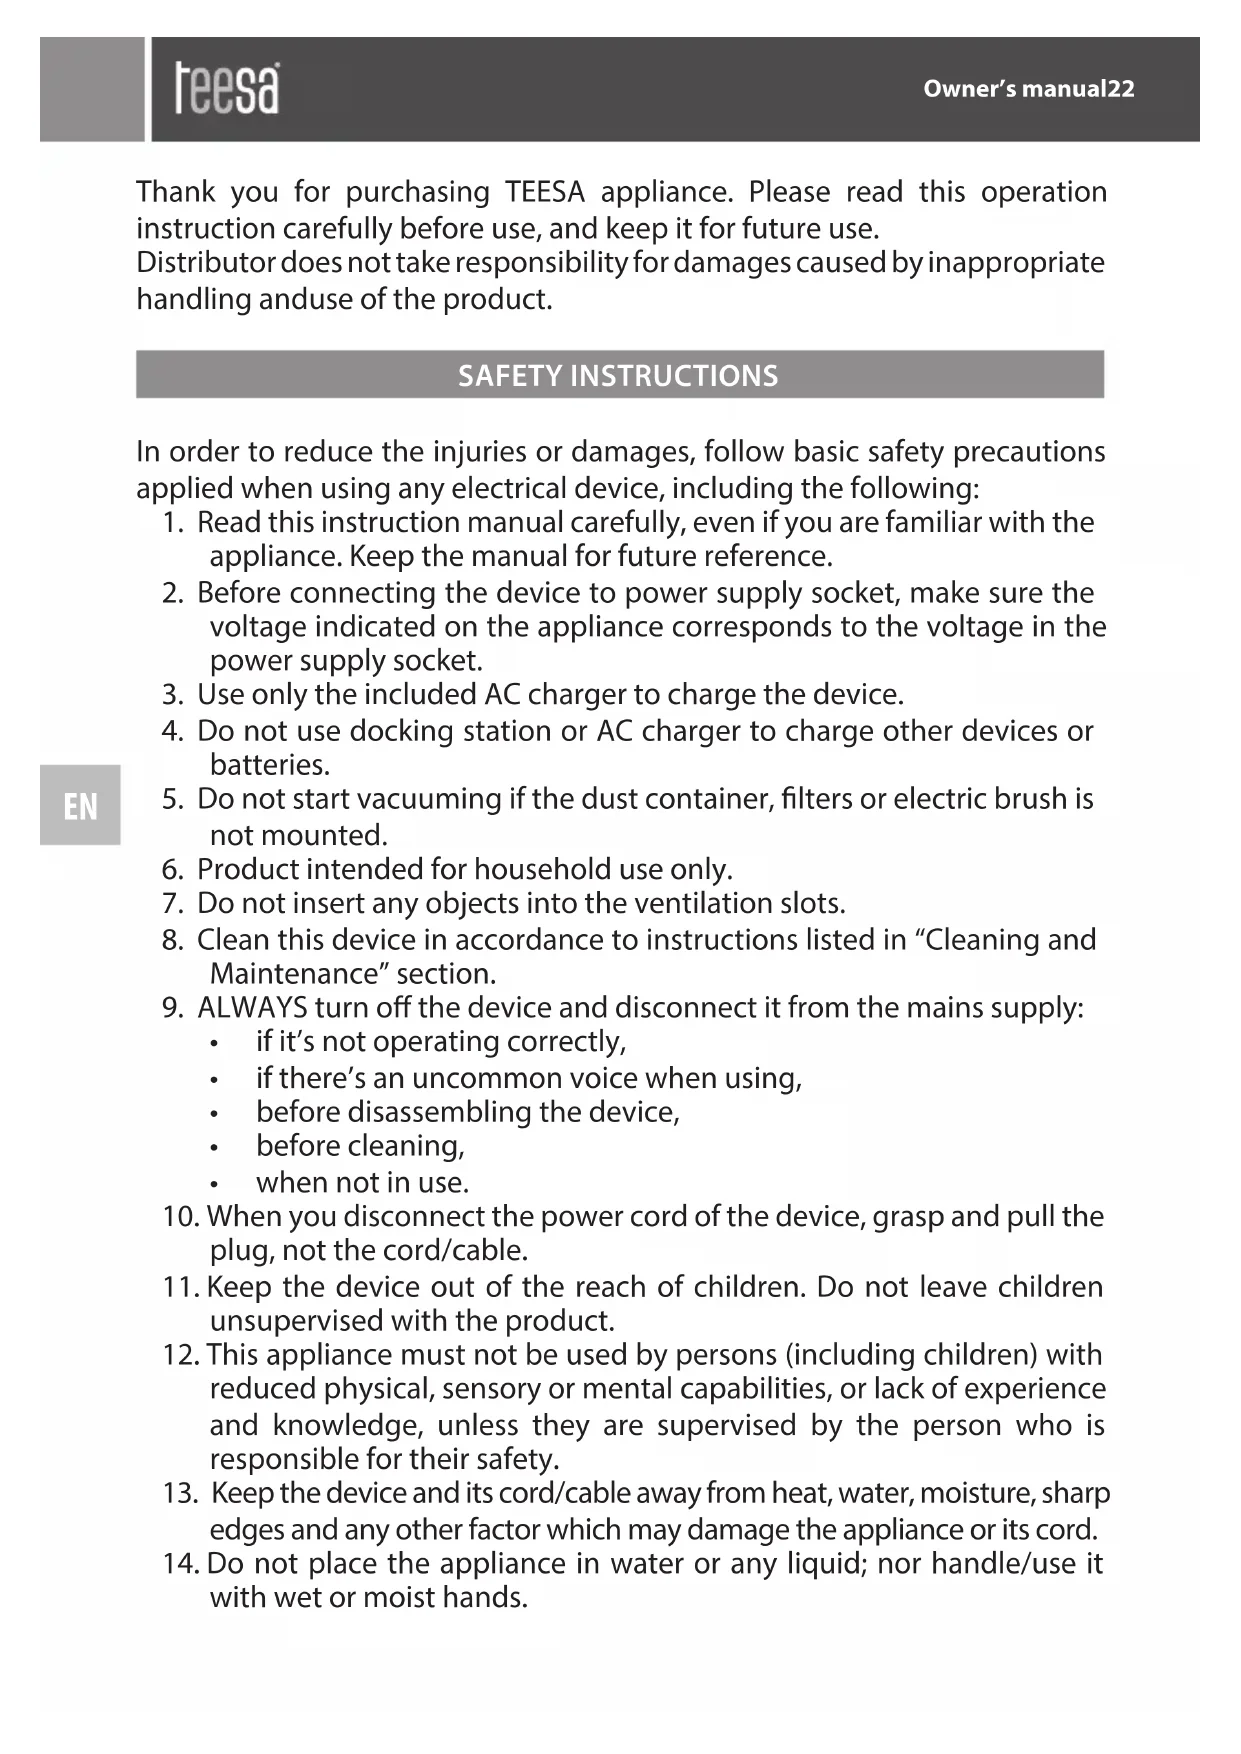
Thank you for purchasing TEESA appliance. Please read this operation instruction carefully before use, and keep it for future use.
Distributor does not take responsibility for damages caused by inappropriate handling and use of the product.
SAFETY INSTRUCTIONS
In order to reduce the injuries or damages, follow basic safety precautions applied when using any electrical device, including the following:
- Read this instruction manual carefully, even if you are familiar with the appliance. Keep the manual for future reference.
- Before connecting the device to power supply socket, make sure the voltage indicated on the appliance corresponds to the voltage in the power supply socket.
- Use only the included AC charger to charge the device.
- Do not use docking station or AC charger to charge other devices or batteries.
- Do not start vacuuming if the dust container, filters or electric brush is not mounted.
- Product intended for household use only.
- Do not insert any objects into the ventilation slots.
- Clean this device in accordance to instructions listed in "Cleaning and Maintenance" section.
- ALWAYS turn off the device and disconnect it from the mains supply:
if it's not operating correctly,
if there's an uncommon voice when using,
before disassembling the device,
before cleaning,
when not in use.
-
When you disconnect the power cord of the device, grasp and pull the plug, not the cord/cable.
-
Keep the device out of the reach of children. Do not leave children unsupervised with the product.
- This appliance must not be used by persons (including children) with reduced physical, sensory or mental capabilities, or lack of experience and knowledge, unless they are supervised by the person who is responsible for their safety.
- Keep the device and its cord/cable away from heat, water, moisture, sharp edges and any other factor which may damage the appliance or its cord.
-
Do not place the appliance in water or any liquid; nor handle/use it with wet or moist hands.
-
Do not point the vacuum cleaner at persons or animals when it is working.
-
Do not use the device to vacuum up:
-
large, sharp-edged objects which could block and damage the appliance;
harming or erodent liquids or inflammable and explosive substances, as this could cause a fire;
hot or burning substances; -
wet surfaces or wet objects;
water or any other liquid. -
Do not use the product for purposes different from displayed in this operating manual.
- Do not leave the appliance unattended when it's working.
- Producer of this product is not responsible for damages caused by inappropriate handling and using of the device.
- ALWAYS disconnect the product from the mains supply when it is not in use.
- DO NOT use this device if the cord or the plug is damaged, or the appliance is broken.
- Do not attempt to repair this appliance yourself. Only authorized and qualified personnel may repair this device. Never disassemble this device.
- Do not use unauthorized accessories.
- Make sure the power cord does not touch any hot or sharp elements.
ASSEMBLY/DISASSEMBLY
Docking station
Assembly: Connect both parts of the docking station- push the charging unit onto the floor unit until it locks in place.
- Disassembly: Grab the charging unit and pull it firmly out of the floor unit.
Stick vacuum cleaner
Plug the stick vacuum cleaner into the electric brush.
- To remove the electric brush from the device, press and hold the electric brush release button and pull out the electric brush.
Handheld vacuum cleaner
- Make sure to remove the two-piece crevice brush before inserting the hand vacuum cleaner back into its compartment.
- To install the handheld vacuum cleaner on the stick vacuum cleaner, start with plugging the lower part into a slot in the stick vacuum cleaner and push lightly towards the device. Correct placement is signified by an audible click.
- To remove the handheld vacuum cleaner from the stick vacuum cleaner, push the handheld vacuum cleaner release button and pull the device out of the stick vacuum cleaner.
Accessories
- Insert the two-piece crevice brush into a slot in the lower part of the handheld vacuum cleaner as shown on the figure.
- To remove the accessory, grab and pull it out of the device.
- Store it attached to the hook on the arm of the stick vacuum cleaner.
CHARGING
- Make sure the device is turned off.
- Make sure the docking station is placed on a flat and stable surface, near the power mains socket and away from heat sources, direct sunlight or wet places.
- Place the vacuum cleaner on the docking station in such way that the charging pins on the vacuum cleaner align with the pins on the charging unit.
-
Connect one end of the AC charger to the charging socket of the docking station; connect the other end into power supply socket.
-
When the device is charging, charging indicators flash.
- When the device is fully charged, charging indicators are on. After some time, they go off automatically.
- When the charging process has finished, disconnect the AC charger from the mains supply and device's charging socket.
Notes:
- Before first use make sure the battery is fully charged.
- During charging the AC charger may become warm- this is a normal behavior.
- Use only the included charger to charge the battery.
- After each use fully charge the battery and store the device fully charged.
It is recommended to completely discharge the battery at least once a month and then fully charge it to maintain optimal performance. - When you notice power drop, charge the device.
- When during charging battery temperature exceeds 55^ C , the charging process will be automatically stopped until battery temperature drops to a safe level, that is ≤ 45^ C .
OPERATION
The device has two speed levels:
Mode 1 - low power (the device has a longer run time)
Mode 2 - high power (the device has more power for a shorter run time)
Press and hold Power button to turn on the device in Mode 1.
Press and hold for the second time to switch to Mode 2.
Stick vacuum cleaner
Note: Before each use it is recommended to check that the wheels and the brush roll are clean from sharp objects in order to avoid scratching sensitive floors and to ensure cleaning performance.
- Insert handheld vacuum cleaner into the stick vacuum cleaner.
- Press and hold Power button to turn on the device (press for the second time to switch to Mode 2 if desired).
- Start vacuuming.
- To turn off the device, press and hold Power button again.
Handheld vacuum cleaner
- Remove the handheld vacuum cleaner from the stick vacuum cleaner.
- Attach the two-piece crevice brush as described in the Assembly/ disassembly section.
- Press and hold Power button to turn on the device (press for the second time to switch to Mode 2 if desired).
- Start vacuuming.
- To turn off the device, press and hold Power button.
- Remove the brush from the device and store it in a designated place.
- Insert the device back into its compartment.
Emptying the dust container
Note: It is recommended to empty the dust container after each use.
- Make sure the device is turned off.
- Press the Dust container release button and remove the dust container.
- Grab the protruding part of the cyclone cover that is in the notches at the two sides of the dust container and take out the cyclone cover.
- Empty the dust container.
- To reassemble, insert the cyclone cover back in place and attach the dust container to the handheld vacuum cleaner until it locks in place.
CLEANING AND MAINTENANCE
Dust container and filters
- Press the Dust container release button and remove the dust container.
- Empty the dust container. If necessary rinse in under running water. Then wipe it dry with a soft cloth.
- Grab the protruding part of the cyclone cover that is in the notches at the two sides of the dust container and take out the cyclone cover.
- Remove textile filter.
- Grab the protruding part of the cyclone filter and turn it anti-clockwise to remove it.
- Rinse the cyclone cover and cyclone filter under running water. Afterwards, wipe dry with a soft cloth.
- Clean the textile filter by tapping out or brushing off the dirt. If heavily soiled, rinse it under running water. Then let it dry completely in an open area.
- When all the filters are clean and completely dry, reassemble all the components. First insert cyclone cover into dust container. Then insert cyclone filter, turn it clockwise until it locks in place and attach textile filter. Then attach the dust container to the handheld vacuum cleaner until it locks in place.
Notes:
- Non of the parts is suitable to be cleaned in a washing machine or a dishwasher.
Before reassembling the parts, make sure they are completely dry! - To ensure high cleaning performance clean the filters at a regular intervals.
- Clean the housing of the handheld vacuum cleaner as well as stick vacuum cleaner with a soft, slightly damp cloth.
- Do not use any abrasives or chemical agents to clean this product.
Electric brush
Note: It is recommended to clean the electric brush regularly.
- Make sure the device is turned off.
- Then press electric brush release button and detach it from the stick vacuum cleaner.
- Use a pair of scissors to cut through threads and hairs which have been entangled.
Note: Be careful not to damage the bristle or the brush roll!
- If the brush roll needs to be cleaned, toggle the brush roll hatch cover switch and lift it up.
- Take out the brush roll and clean it.
- Reassemble the brush roll and make sure it can spin freely.
- Close the hatch cover and lock it.
STORAGE
Before storing make sure the device is clean, dry and fully charged.
- Store the device in a cool, dry place, out of the reach of children.
SPECIFICATION
TECHNICAL DATA
Power: 150 W
Sound power level: 82 dB
Dust container capacity: 0,5 l
POWER SUPPLY
Battery type: Li-lon
AC/DC power adaptor:
Input: AC 100 ~ 240 V; 50/60 Hz
Output: DC 32 V; 500 mA
Battery: 25,2 V; 2200 mAh
Charging time: 5 h
Maximum runtime:
Level 1 (low): 50 min
Level 2 (high): 25 min
PHYSICAL PARAMETERS
Weight: 3,4kg
Dimensions: 26,8 × 110 × 15,4 cm
IN SET
AC charger
Docking station
Two-piece crevice brush
User's manual

English Correct Disposal of This Product (Waste Electrical & Electronic Equipment)

(Applicable in the European Union and other European countries with separate collection systems) This marking shown on the product or Its literature, indicates that It should not be disposed with other household wastes at the end of its working life. To prevent possible harm to the environment or human health from uncontrolled waste disposal, please separate this from other types of wastes and recycle it responsibly to promote the sustainable reuse of material resources. Household users should contact either the retailer where they purchased this product, or their local government office, for details of where and how they can take this item for environmentally safe recycling. Business users should contact their supplier and check the terms and conditions of the purchase contract. This product should not be mixed with other commercial wastes for disposal.
Made in China for Lechpol Electronics Leszek Sp.k., ul. Garwolinska 1, 08-400 Mietne.
Akumulator: 25,2 V; 2200 mAh
Tip accumulator: Li-lon
Incarcator AC:
Intrare: 100 240 VAC, 50 / 60~Hz
lesire: 32 V; 500 mA
Baterie: 25,2 V; 2200 mAh
Timp de incarcare: 5 h
Static incarceration