Maxi x.u - External hard drive TrekStor - Free user manual and instructions
Find the device manual for free Maxi x.u TrekStor in PDF.
| Product type | External hard drive |
| Brand | TrekStor |
| Model | Maxi x.u |
| Disk size | 3.5 inches |
| Interface | USB 2.0 |
| Power supply | External power adapter |
| Compatible operating systems | Windows 98 SE, ME, 2000 SP4, XP SP2, Mac OS X |
| Storage capacity | Varies by model |
| Main functions | Data storage and transfer |
| Connection | USB port, USB cable included |
| Maintenance | Avoid electrostatic discharge; use USB cables shorter than 3 meters |
| Safety | Properly disconnect via the operating system before removal |
| Included accessories | Power adapter, USB cable (Y-cable for pocket version) |
| Repairability | Not specified by manufacturer |
| General information | Manual available in 13 languages; product may be updated without notice |
Frequently Asked Questions - Maxi x.u TrekStor
User questions about Maxi x.u TrekStor
0 question about this device. Answer the ones you know or ask your own.
Ask a new question about this device
Download the instructions for your External hard drive in PDF format for free! Find your manual Maxi x.u - TrekStor and take your electronic device back in hand. On this page are published all the documents necessary for the use of your device. Maxi x.u by TrekStor.
USER MANUAL Maxi x.u TrekStor
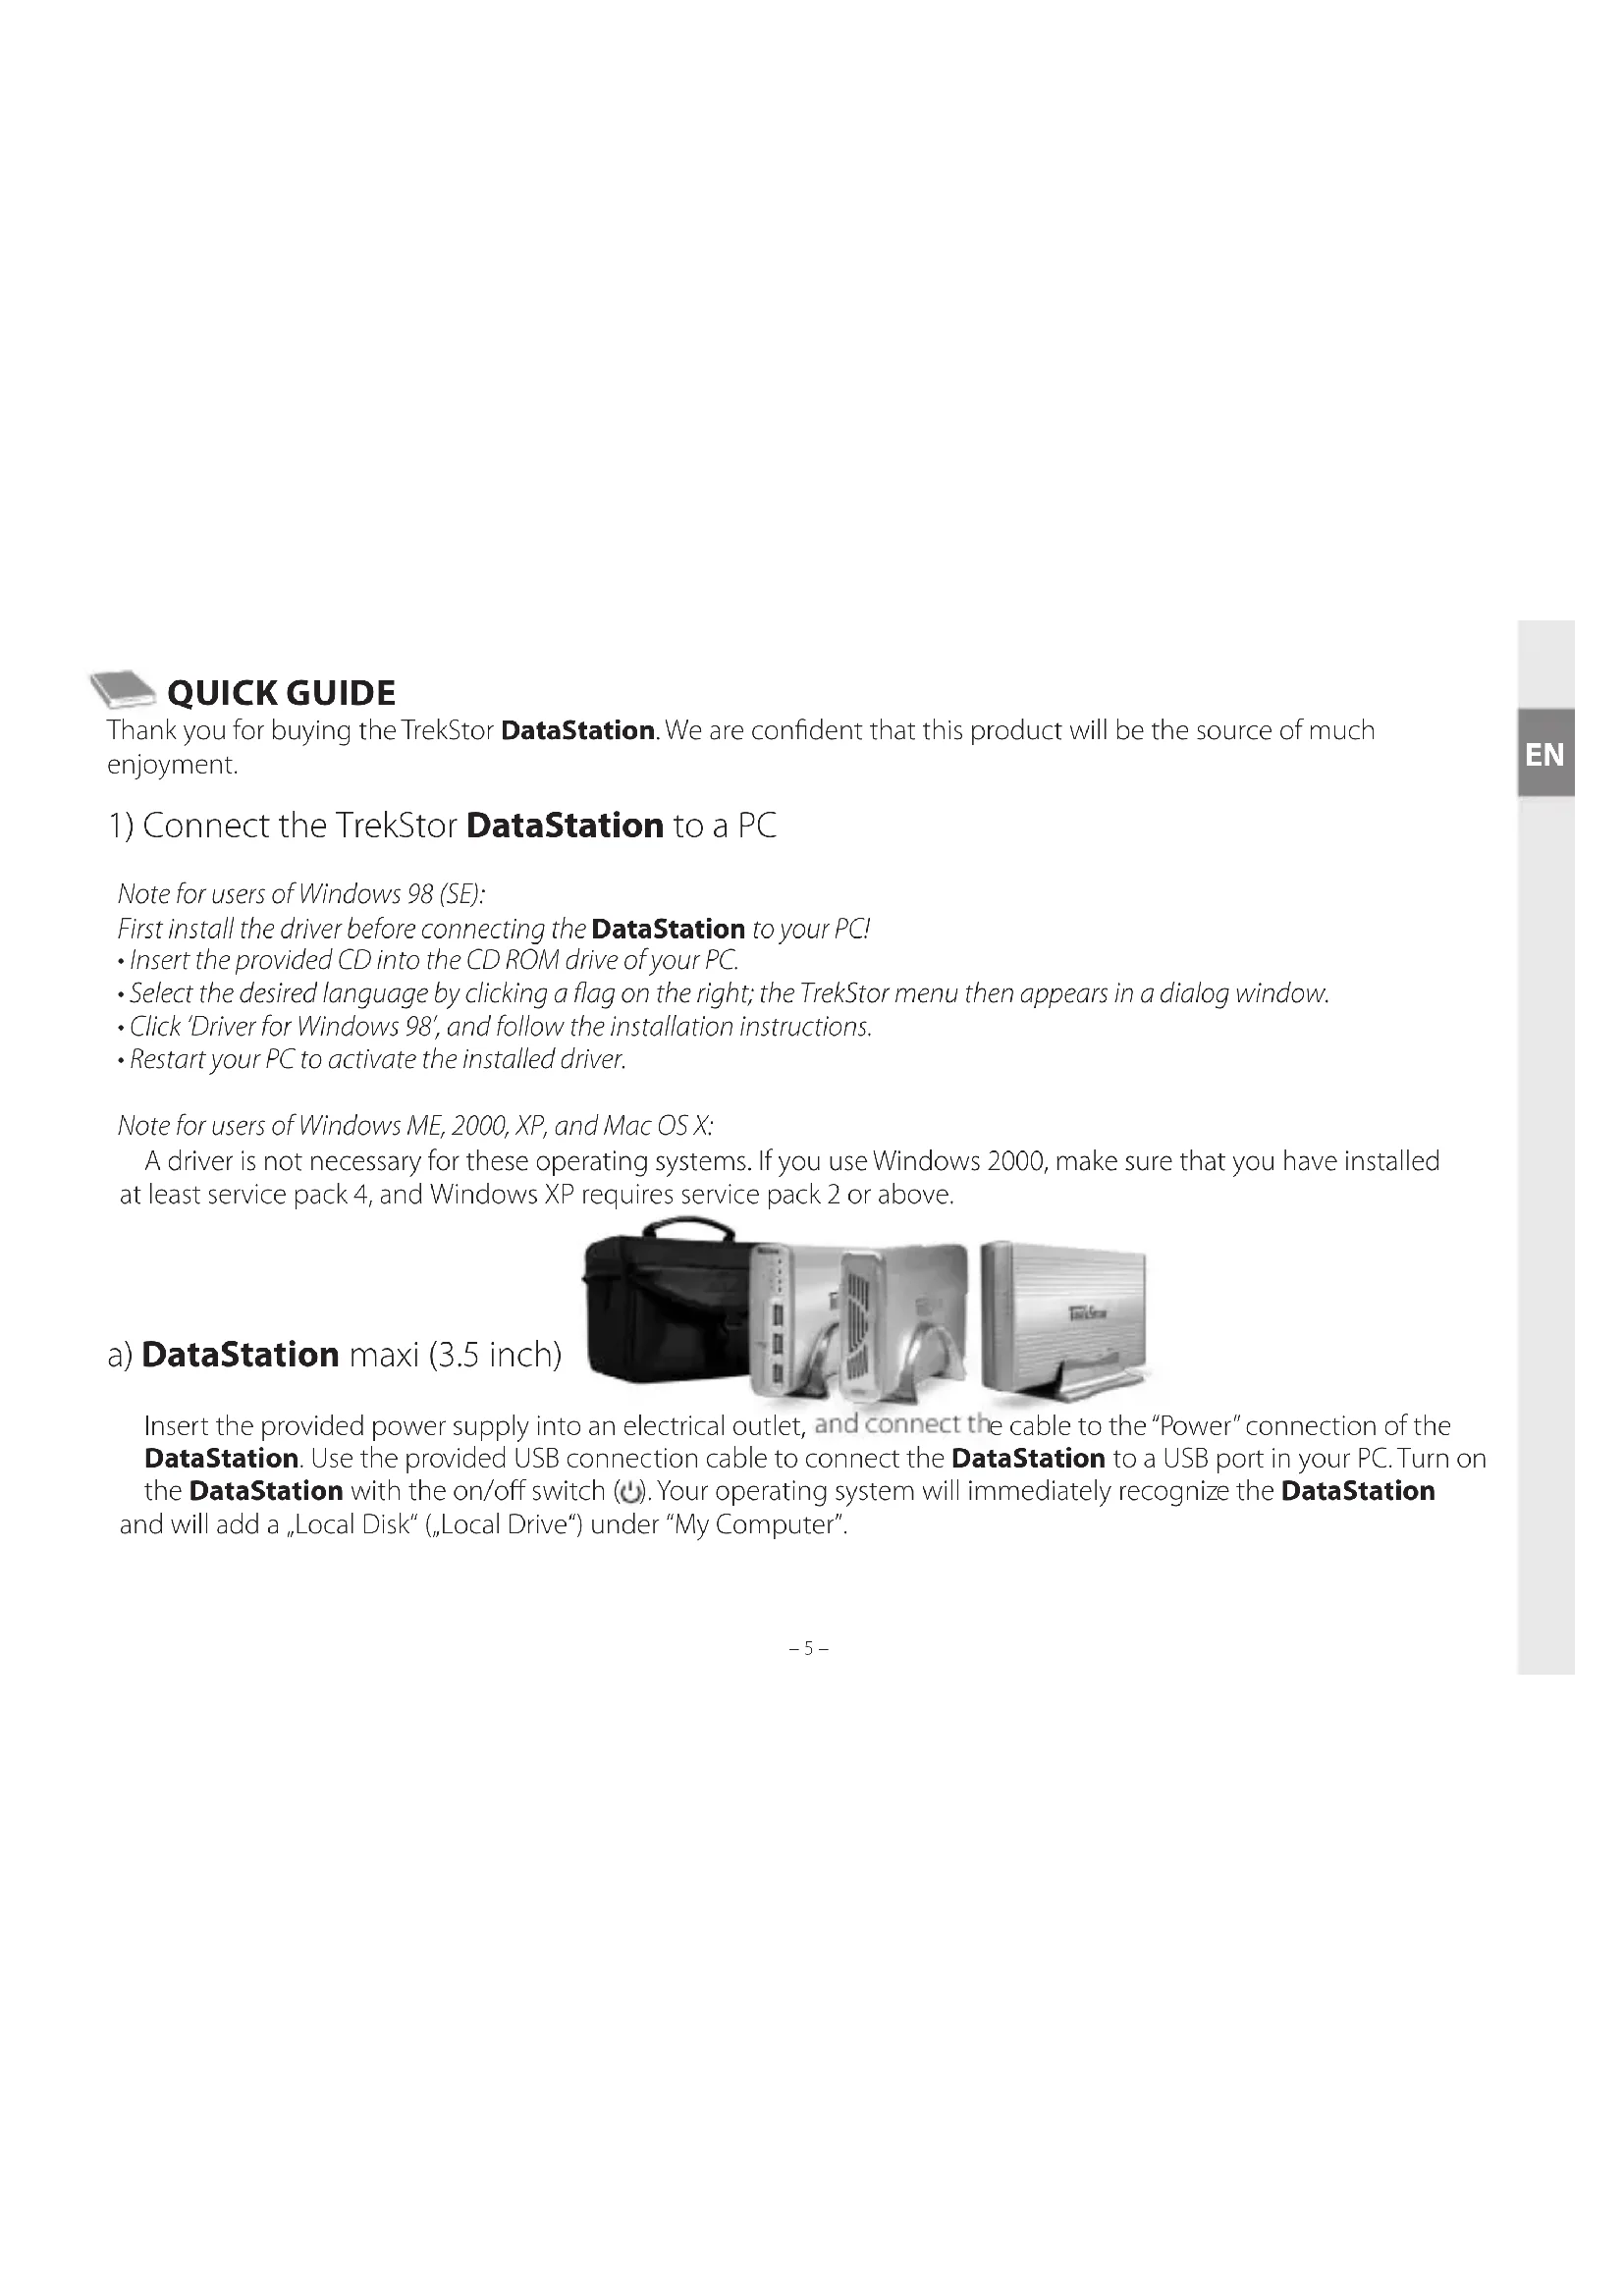
Thank you for buying the TrekStor DataStation. We are confident that this product will be the source of much enjoyment.
1) Connect the TrekStor DataStation to a PC
Note for users of Windows 98 (SE):
First install the driver before connecting the DataStation to your PC!
- Insert the provided CD into the CD ROM drive of your PC.
- Select the desired language by clicking a flag on the right; the TrekStor menu then appears in a dialog window.
- Click 'Driver for Windows 98', and follow the installation instructions.
- Restart your PC to activate the installed driver.
Note for users of Windows ME, 2000, XP, and Mac OS X:
A driver is not necessary for these operating systems. If you use Windows 2000, make sure that you have installed at least service pack 4, and Windows XP requires service pack 2 or above.
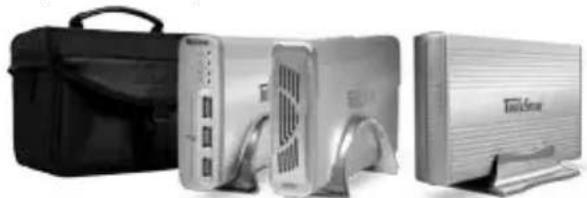
a) DataStation maxi (3.5 inch)
Insert the provided power supply into an electrical outlet, and connect the cable to the "Power" connection of the DataStation. Use the provided USB connection cable to connect the DataStation to a USB port in your PC. Turn on the DataStation with the on/off switch (U). Your operating system will immediately recognize the DataStation and will add a "Local Disk" ("Local Drive") under "My Computer".
b) DataStation pocket (2.5 inch)
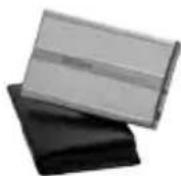
Use the provided USB Y-connection cable to connect the DataStation to your PC. Connect the mini-USB A-plug to the DataStation pocket and both USB A-plugs to the USB port of your PCs. Your operating system will immediately recognize the DataStation and will add the DataStation as a „Local Disk“ (or „Local Drive“) under “My Computer”.
Note: TrekStor strongly recommends that its customers always insert both USB plugs. Insufficient power which may occur when only one plug is inserted can cause data loss or even mechanical failure of the hard disk. TrekStor assumes no liability or warranty for damage to the DataStation arising from insufficient power.
2) Exchanging data with the TrekStor DataStation
- Select the desired files or folders with your mouse. Copy these files by clicking them with your right mouse button and then selecting "Copy".
- Under My Computer", select the local disk TrekStor".
- Click it with your right mouse button, and select „Paste“ to start copying. After copying is over, the data will be available on the DataStation.
3) Logging off and disconnecting the TrekStor DataStation from the PC
Windows 98 (SE) To log off the DataStation, click your right mouse button bar on the symbol Safely remove hardware" at the bottom right on the task bar. In the context menu that appears, click the left mouse button on "Stop USB Mass Storage Device" to select it. You can now disconnect the DataStation from your PC.
Windows 2000/ME/XP At the bottom right on the task bar, click the symbol Safely Remove Hardware". In the context menu that appears, click the left mouse button on "Safely Remove Mass Storage Device - Drive" to select it. You can now disconnect the DataStation from your PC.
Mac OS X You need to remove the drive system from the Desktop before you disconnect it or turn it off. Simply drag the drive symbol to the Trash symbol.
Note: Please follow the recommended logoff procedure to prevent damage to the device or data loss.
4) Formatting the hard disk
Important: Back up all the data on your hard disk before formatting it. Note: ALL the data on the disk will be deleted when you format it.
Right click on the local disk „TrekStor". Select „Format...” from the context menu that appears. Left click on the "Start" button, and confirm that you want to format by clicking the "OK" button.
Note:
-
Do not use USB cables longer than 3 meters.
-
Exposing the unit to an electrostatic discharge, among other things, may interrupt the data transfer between the unit and the computer. If this occurs, the unit should be unplugged from the USB port and then plugged in again.
The manufacturer retains the right to continuously improve the product. These changes may be made without being directly described in these quick guide. For this reason, the information provided in these quick guide may not reflect the current state of the art.
The manufacturer only guarantees suitability for the product's intended purpose. In addition, the manufacturer is not responsible for damages or loss of data and subsequent consequences.
Copyright © 2006 TrekStor GmbH & Co. KG. All rights reserved. Other product and company names mentioned herein may be trademarks or trade names of their respective owners.

GUIDE ABRÉGÉ DE L'UTILISATEUR
Copyright © 2006 TrekStor GmbH & Co. KG. All rights reserved. Other product and company names mentioned herein may be trademarks or trade names of their respective owners.

Σ'YNTOME ΣOΔHΓ'IEΣ
Zac ouyxaipoupe yia tnv ayopá tou TrekStor DataStation kal eipaote oiyoupa 0ti θa éxete μeγαλη εuxapiotnon μe autó to npoiov.
** Please check with your local telephone provider for connection costs.