Duo w.ub - External hard drive TrekStor - Free user manual and instructions
Find the device manual for free Duo w.ub TrekStor in PDF.
| Product type | External hard drive |
| Brand | TrekStor |
| Model | Duo w.ub |
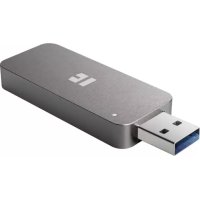
| Interface | USB 2.0 |
| Power supply | External power adapter (DC IN 12/5V) |
| Weight | Approximately 500 g |
| Dimensions (approx.) | 120 x 80 x 25 mm |
| Compatible operating systems | Windows 98 SE, 2000, ME, XP, Vista; Mac OS X |
| Push-for-Backup function | One-touch direct backup |
| Formatting | Possible via Windows (My Computer) |
| Disconnection procedure | Use the "Safely Remove Hardware" icon or drag to Trash (Mac) |
| USB cable included | Yes |
| Power adapter included | Yes |
| Backup software included | Nero BackItUp 2 Essentials |
| Manual available in multiple languages | Yes (downloadable PDF) |
| Maintenance | Avoid electrostatic discharges; use USB cables shorter than 3 m |
| Safety | Back up data before formatting; disconnect properly to avoid data loss |
Frequently Asked Questions - Duo w.ub TrekStor
User questions about Duo w.ub TrekStor
0 question about this device. Answer the ones you know or ask your own.
Ask a new question about this device
Download the instructions for your External hard drive in PDF format for free! Find your manual Duo w.ub - TrekStor and take your electronic device back in hand. On this page are published all the documents necessary for the use of your device. Duo w.ub by TrekStor.
USER MANUAL Duo w.ub TrekStor
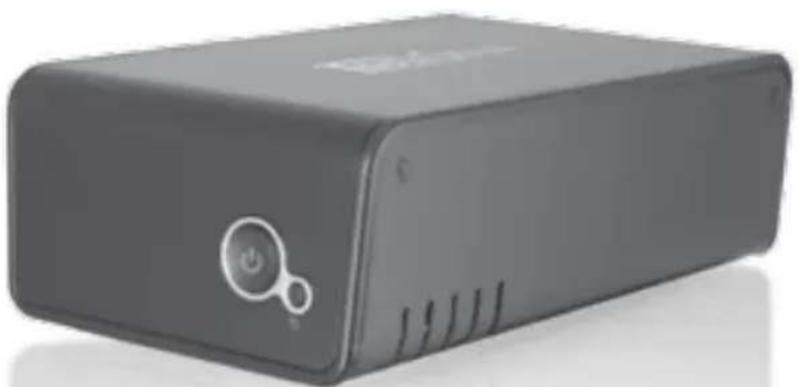
DataStation duo w.ub

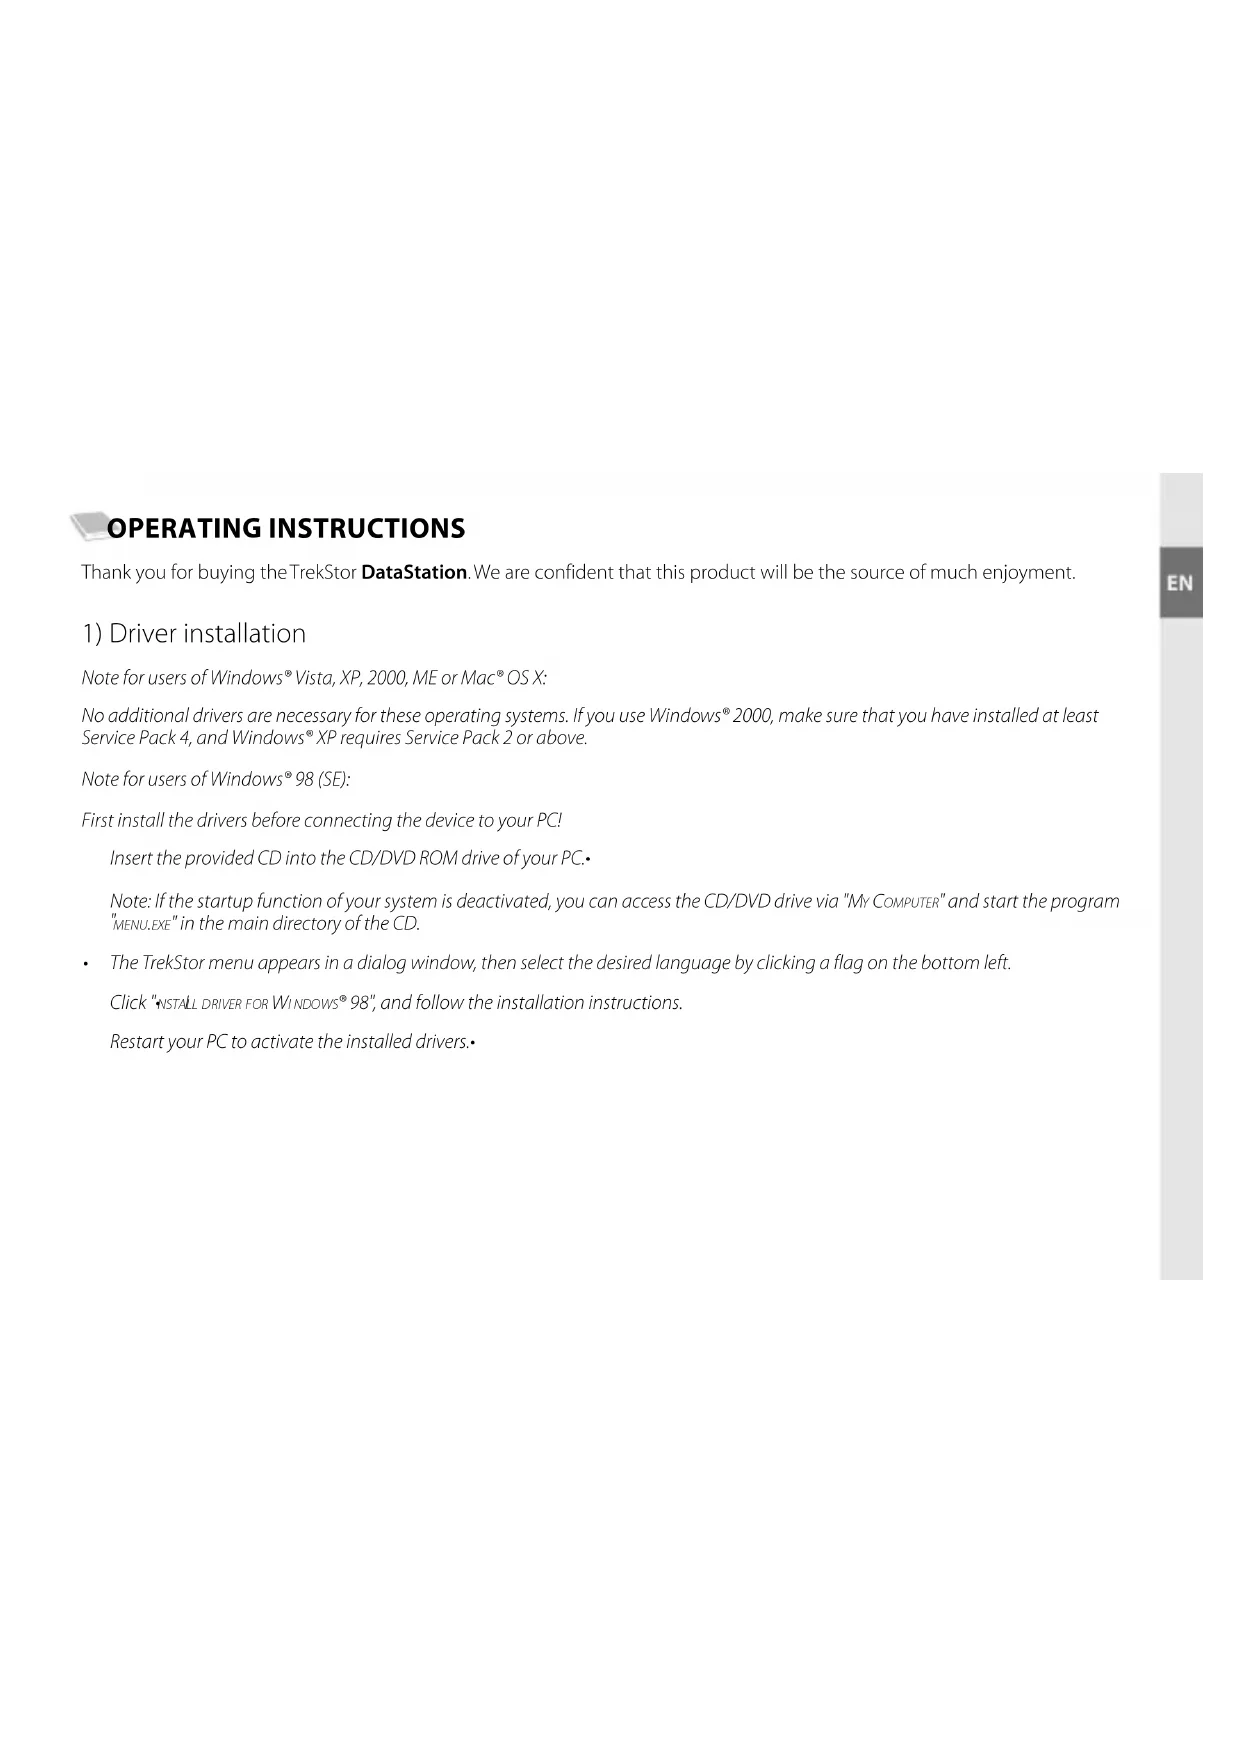
Thank you for buying the TrekStor DataStation. We are confident that this product will be the source of much enjoyment.
1) Driver installation
Note for users of Windows Vista, XP, 2000, ME or Mac OS X:
No additional drivers are necessary for these operating systems. If you use Windows® 2000, make sure that you have installed at least Service Pack 4, and Windows® XP requires Service Pack 2 or above.
Note for users of Windows 98 (SE):
First install the drivers before connecting the device to your PCI!
Insert the provided CD into the CD/DVD ROM drive of your PC.
Note: If the startup function of your system is deactivated, you can access the CD/DVD drive via "My Computer" and start the program "MENUXE" in the main directory of the CD.
The TrekStor menu appears in a dialog window, then select the desired language by clicking a flag on the bottom left.
Click "INSTALL DRIVER FOR WINDOWS®98", and follow the installation instructions.
Restart your PC to activate the installed drivers.
2) Startup
- Connect the supplied power cable to the power supply, and connect the power supply to the "DC IN 12/5V" connection of the device.
Only use the provided USB connection cable to connect the device to a USB port in your PC. - Turn on the DataStation by briefly pressing the on/off switch (6). Hold down the on/off switch (7) to turn off the DataStation.
3) Data exchange
After successful startup of the device, a local disk "TREKSTOR" appears under "MY COMPUTER" (Windows®) or on your "DESKTOP" (Mac® OS X).
Select the desired files or folders with your mouse.
- Position the mouse pointer over the selected files or folders, and press the right mouse button. Select "Cof" from the context menu that appears.
Under "Y MPPUTER" / "DEsKTOP", select the desired goal (such as the "TREKSTOR" drive).
Click it with your right mouse button, and select "• AST" to start copying. After copying is completed, the data will be available on the target drive.
4) Logging off and disconnecting the TrekStor DataStation from the PC
Windows® 98 (SE): To log off the DataStation, click the left mouse button on the symbol "SAFELY REMOVE - DRIVE" in the information area in the task bar on the bottom right. In the context menu that appears, click the left mouse button on "SAFELY REMOVE" to select it. This removes the DataStation from the operating system of your computer. You can now disconnect the DataStation from your PC.
Windows Vista/XP/2000/ME: At the bottom right on the task bar, click the left mouse button on the symbol "SAE RARE HARDWARE". In the context menu that appears, click the left mouse button on "SAFELY REMOVE MASS STORAGE DEVICE - DRIVE" to select it. This removes the DataStation from the operating system of your computer. You can now disconnect the DataStation from your PC.
Mac OS X: You need to remove the drive from the Desktop before you disconnect it or turn it off. Click on the relevant drive symbol, and drag it to the trash symbol.
Note: Please follow the recommended logoff procedure to prevent damage to the device or data loss.
5) Formatting the hard disk
Important: Back up all the data on your hard disk before formatting it.
Note: All the data on the disk will be deleted when you format it.
The DataStation can be formatted like any other hard disk in Windows®.
Under My Computer, right-click on the local disk "·S
Select "·FF" from the context menu that appears.
Left click on the "TARS" button, and confirm that you want to format by clicking the "OK" button.
6) Direct Push-for-Backup™ function
With the direct Push-for-Backup™ function, pushing a button backs up previously selected files and folders from your computer on the DataStation.
Before you can use the backup function, the necessary backup software has to be installed on your computer. Insert the accompanying CD, and select "NERO BACKUP 2 ESSENTIALS" from the menu that appears. Follow now the installation instructions.
Note: Do not change the set serial number.
- Restart your computer after the backup software is installed.
- Make sure that the DataStation is connected to the computer and turned on.
- Start the backup assistant "PRO BACKUP 2 ESSENTIALS" by going to "START" "PROGRAMS". However, the first time it is used, you can start it directly by pushing the Push-for-Backup™ button.
- Use the assistant to configure your backup jobs. You can find instructions in the manual on the CD entitled "NERO BACKUP 2" and in the help function of the backup program.
Note: Be aware that the assistant only offers support for the Push-for-Backup™ button when the DataStation is connected and turned on.
- The backup jobs you create with the assistant are automatically executed at the planned time. When you press the Push-for-Backup™ button on the DataStation, you immediately start the data backup. All configured backup jobs are executed sequentially.
Notes:
Do not use USB cables longer than 3 meters.
- Exposing the unit to an electrostatic discharge, may interrupt the data transfer between the unit and the computer. If this occurs, the unit should be unplugged from the USB port and then plugged in again.
The manufacturer retains the right to continually improve the product. These changes may be made without being directly described in these operating instructions. For this reason, the information provided in these operating instructions may not reflect the current state of the art.
The manufacturer only guarantees suitability for the product's intended purpose. In addition, the manufacturer is not responsible for damages or loss of data and subsequent consequences.
Copyright © 2007 TrekStor GmbH & Co. KG. All rights reserved. Other cited product or company names may be trademarks or brand names of the respective owner.

NOTICE D'UTILISATION
- 14 Cent/Min. aus dem deutschen Festnetz der DTAG
** Please check with your local telephone provider for connection costs.