
Nanuq Twin - Stroller JANE - Free user manual and instructions
Find the device manual for free Nanuq Twin JANE in PDF.
| Product type | Double stroller (tandem) |
| Brand | JANE |
| Model | Nanuq Twin |
| Recommended use | From birth to 15 kg per child |
| Number of children | 2 |
| Maximum basket weight | 4 kg |
| Swivel front wheels with directional lock | Yes |
| Parking brake | Yes (rear lever) |
| Restraint system | Adjustable 5-point harness |
| Backrest positions | 4 positions |
| Leg rest positions | 2 positions |
| Adjustable handlebar height | Yes |
| Canopy | Adjustable, with gathering guide |
| Parking stand | Integrated |
| Rain cover | Included |
| Fabric care | Machine washable (removable) |
| Cleaning plastic parts | Warm water and soap |
| Periodic checks | Brakes, harness, fastenings |
| Warranty | According to law 23/2003 (2 years in Europe) |
| Product registration | Recommended on jane.es |
Frequently Asked Questions - Nanuq Twin JANE
User questions about Nanuq Twin JANE
0 question about this device. Answer the ones you know or ask your own.
Ask a new question about this device
Download the instructions for your Stroller in PDF format for free! Find your manual Nanuq Twin - JANE and take your electronic device back in hand. On this page are published all the documents necessary for the use of your device. Nanuq Twin by JANE.
USER MANUAL Nanuq Twin JANE
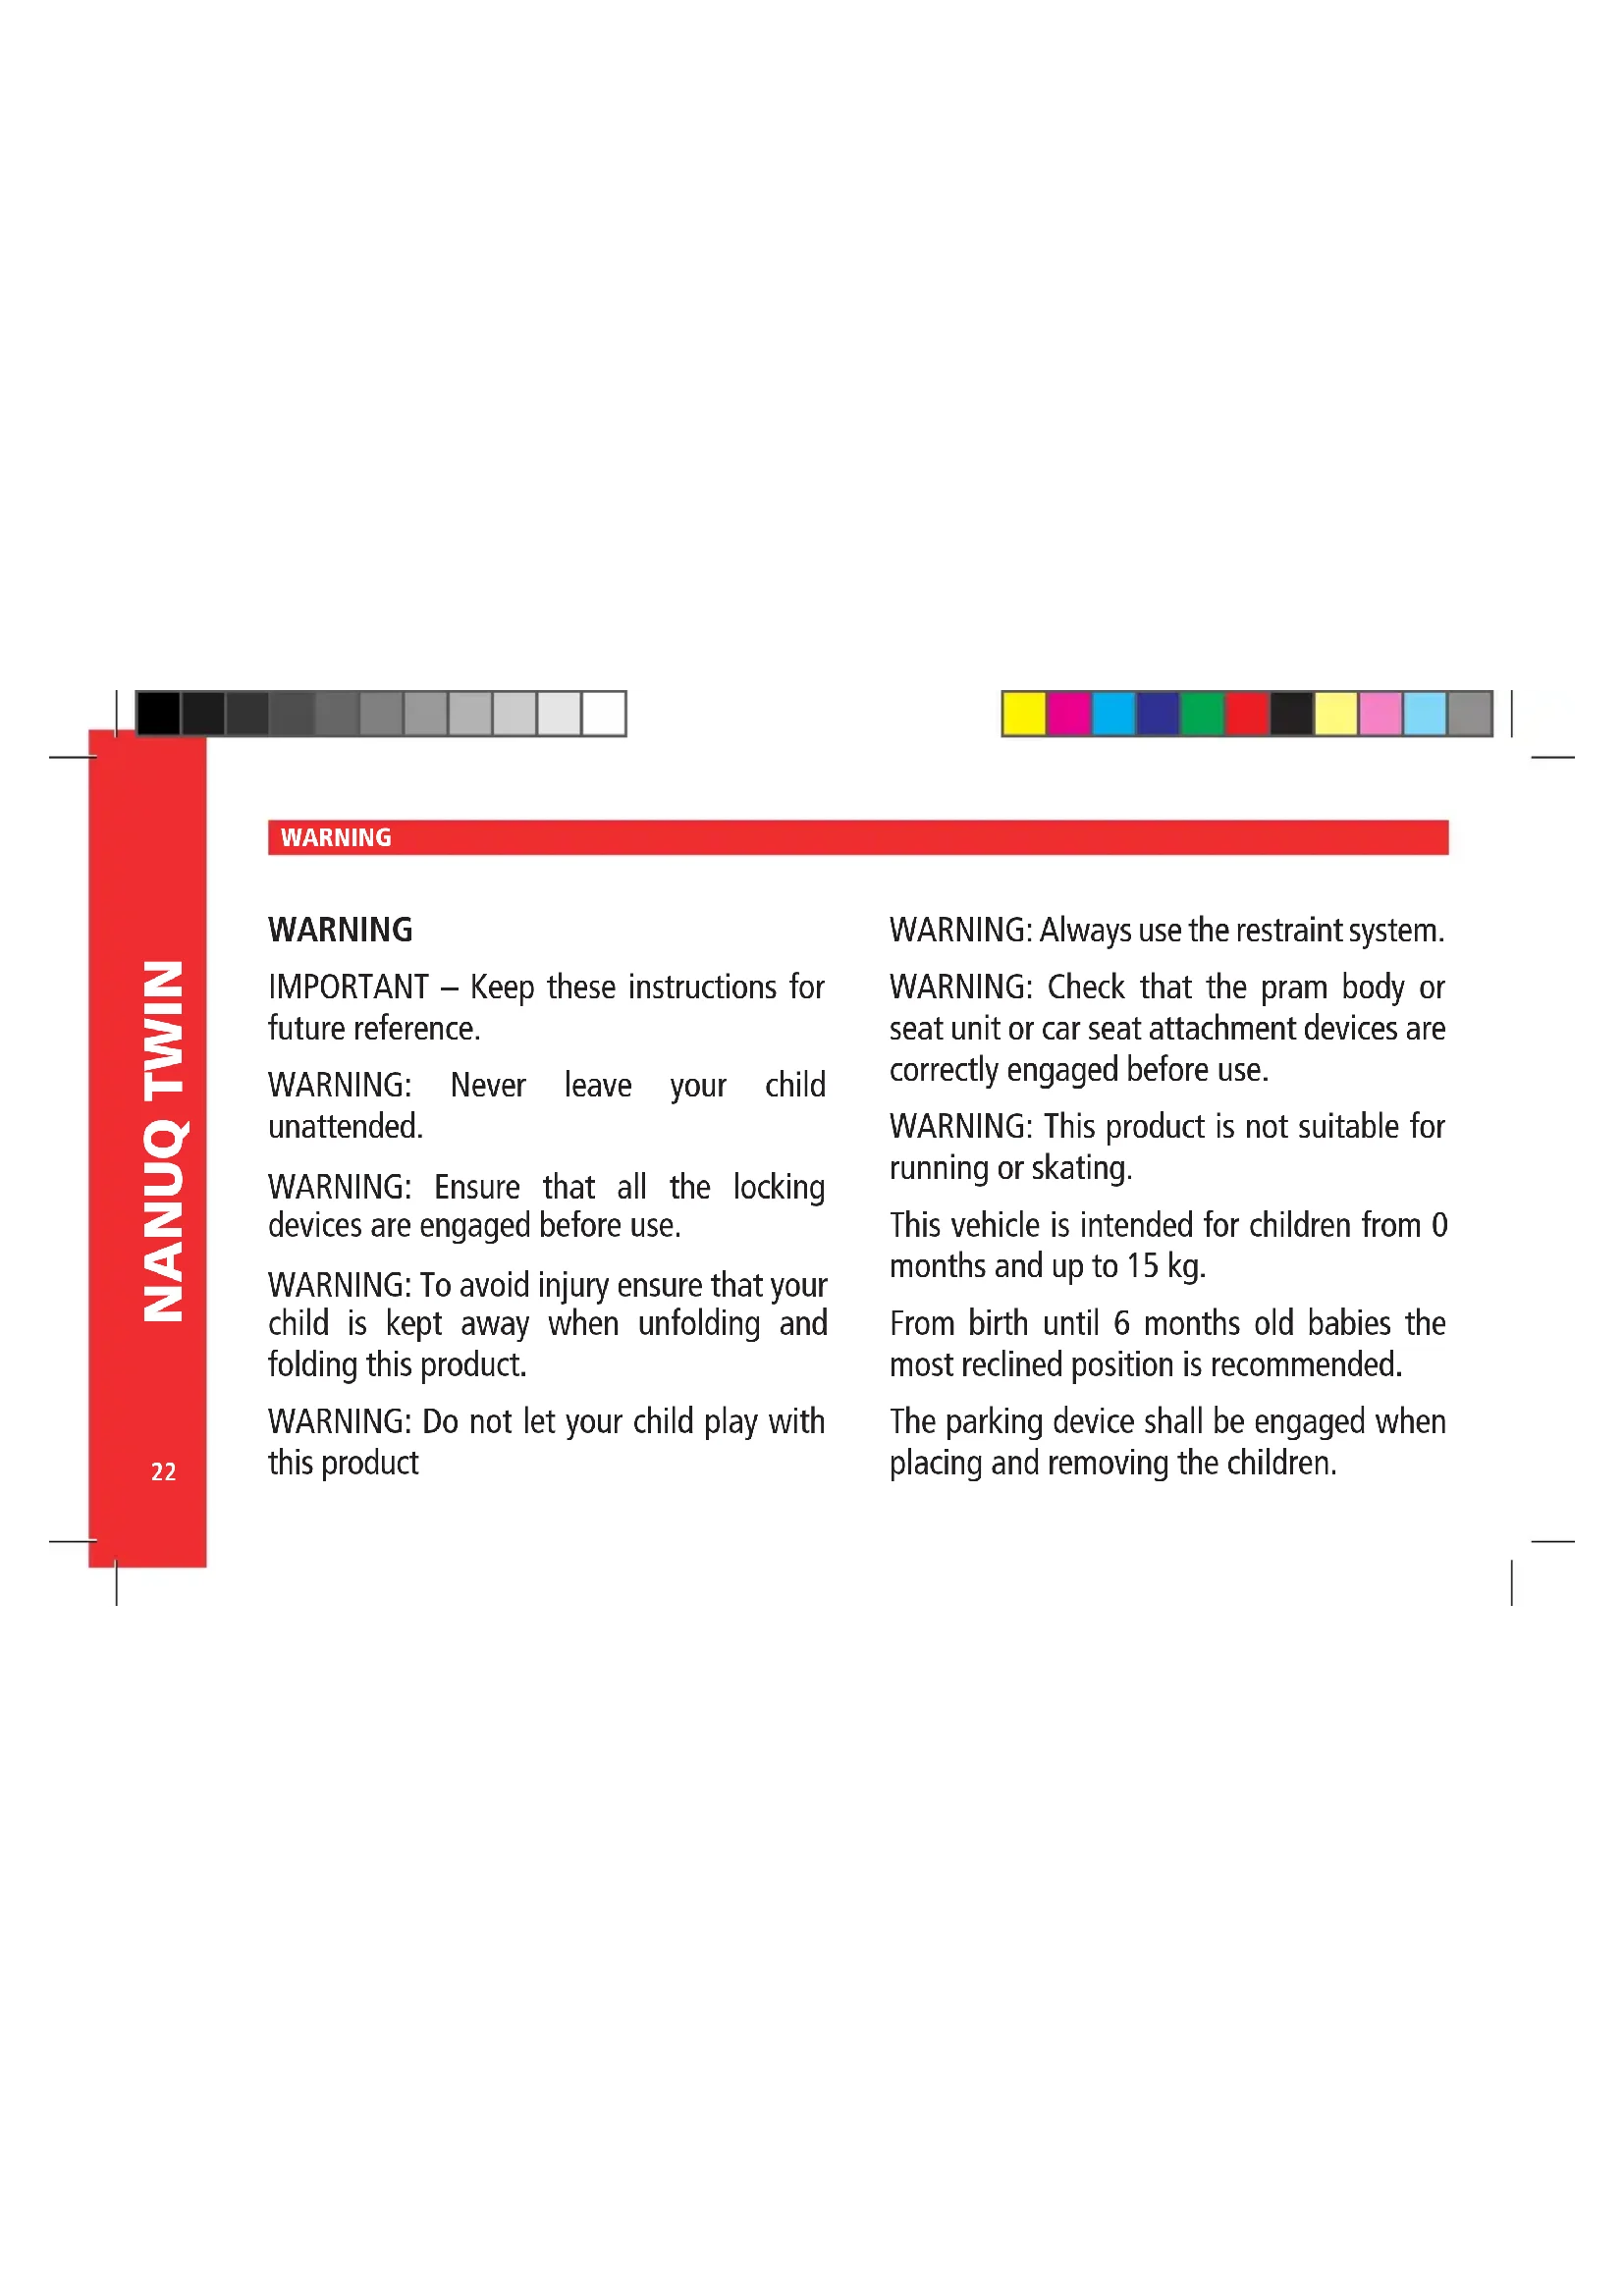
IMPORTANT - Keep these instructions for future reference.
WARNING: Never leave your child unattended.
WARNING: Ensure that all the locking devices are engaged before use.
WARNING: To avoid injury ensure that your child is kept away when unfolding and folding this product.
WARNING: Do not let your child play with this product
WARNING: Always use the restraint system.
WARNING: Check that the pram body or seat unit or car seat attachment devices are correctly engaged before use.
WARNING: This product is not suitable for running or skating.
This vehicle is intended for children from 0 months and up to 15kg
From birth until 6 months old babies the most reclined position is recommended.
The parking device shall be engaged when placing and removing the children.


Any load attached to the handle and/or on the back of the backrest and/or on the sides of the vehicle will affect the stability of the vehicle.
This vehicle has been designed to be used by one or two children. Do not use it with more children at the same time.
Never use accessories that have not been approved by JANE, S.A.
Only replacement parts supplied or recommended by JANE shall be used.
The maximum amount carried in the basket must never exceed the weight indicated on the basket (4kg)
1.- UNFOLDING THE PUSHCHAIR
Release the levers found on the sides. 1 Pull the handlebar upwards unfolding the pushchair. Lastly, press the back pedals down as shown in figure.

WARNING: It is important to make sure that the child is kept away from the pushchair while it is being folded or unfolded. WARNING: The appearance of cutting, compression and pinch points are inevitable during these operations.
2.- SWIVEL WHEELS
Your pushchair has front swivel wheels or the steering can be locked if required.
To lock the wheels, press the button behind each front wheel bearer downwards.
To unlock the steering, push the button upwards.
PUTTING THE BRAKE ON: Push the lever downwards. 1 TAKING THE BRAKE OFF: Pull the lever upwards. 3.2
WARNING: When the brake is on make sure that the pushchair has braked correctly. It may be necessary to push the pushchair slightly for the brake to be fully activated.

4.-SEAT BELT
Adjust the seat belts to fit the children whenever they use the pushchair.4 The two side fastening points of the seats can be used to attach an additional harness.
Your pushchair is approved for new born babies. To fit the belts on your baby when he is under 6 months old, pass the shoulder straps through the lower holes and fasten the shoulder protector pads using the Velcro.
4B When your child is over 6 months old, pass the straps through the holes that are most comfortable for the child.
5.-ADJUSTING THE HEIGHT OF THE HANDLE
To adjust it press button A.
6.-ADJUSTING THE BACKREST
Your pushchair has 4 possible positions. Your pushchair has 4 positions. Pull the levers found on the top rear part of the backrests and adjust the pushchair to the required position.
7.- ADJUSTING THE FOOTREST
There are two possible positions. To lower it, press A.


8. FOLDING THE PUSHCHAIR
To fold the pushchair, push the rear pedals upwards (A) and then release the catch with your hand (B), and fold the pushchair completely. 3.1 Press the pushchair lightly when it is folded to ensure that the side safety catch is activated. 2
WARNING: It is important to make sure that the child is kept away from the pushchair while it is being folded or unfolded. WARNING: The appearance of cutting, compression and pinch points are inevitable during these operations.
9. CARRYING
The chassis has a handle incorporated for easy carrying.

10.- USING THE HOOD
Place the hoods on the side tubes of the handlebar on the top part of the upholstery. 0.1
Fit the clips on the back part until they click into place. 0.2
Fit the clip on the central tubes until it clicks into place. 0.3
Slide the end of the other hood along the guide to bring them together. 10.4

Once the hood is in place the position may be adjusted by moving the spoke arch to suit the position of the backrest. To remove the hoods, follow the same steps in reverse order. 10.5
11.- USING THE STAND
Your NANUQ TWIN pushchair is fitted with a stand. To unfold the stand pull the cap found on the middle lower part of the pushchair. Push it in to fold it again.
12.- RAIN COVER
Fit the two lower clasps and the rear Velcro strips of the rain cover. 2
13.- MAINTENANCE
Do not expose the cover to sunlight for long periods. Wash the plastic parts with warm water and soap and carefully dry all the components after.
The cover can be removed for washing.
Regularly check the brakes, harnesses and fastening elements that may suffer wear and tear through use.
For your safety and the good conservation of this product, it is important to bring it to one of our official workshops for regular inspections.

INFORMATION ABOUT THE GUARantee
This article comes with a guarantee in accordance with the provisions of law 23/2003 of 10th July. Keep your receipt as proof of purchase, it is essential to present the receipt in the shop where you bought the product to confirm validity of the guarantee in the event of any problems.
This guarantee excludes any defects or breakages caused by inappropriate use of the article or inobservance of the safety and maintenance rules listed in the instruction pages and on the care labels, as well as faults caused by wear and tear through normal use and daily handling.
The label displaying the chassis number of the model should never be taken off, it contains important information.
Notice:
For the maximum safety and care of your new JANE product, it is very important that you complete the registration card found on the web page www.jane.es
This registration means we can inform you, if necessary, of the evolution and maintenance of your product. Additionally, if you would like, we can also inform you about new models or news that we think may be useful for you.


INDEX
Avertissements 28-29
1.-POUR DEPLIER LA POUSSETTE 30
2.- ROUES PIVOTANTES 30
3.- UTILISATION DU FREIN DE STATIONNEMENT 30
4.- CEINTURE DE SECURITE 30
5.- RÉGLAGE DE LA HAUTEUR DES POIGNÉES 30
6.- RÉGLAGE DU DOSSIER 30
7.- RÉGLAGE DU REPOSE-JAMBES 30
8.- PLIAGE DE LA POUSSETTE 31
9.- TRANSPORT 31
10.- UTILISATION DE LA CAPOTE 31
11.- UTILISATION DE LA BEQUILLE 31
12.- HABILLAGE DE PLUIE 31
13.-ENTRETIEN 31
AVERTISSEMENTS
AVERTISSEMENT
INFORMATIONS SUR LA GARANTIE
PekomeHnyetca nCNoJb3OBaTb BCAMOM HAKJIOHHOM NONOKeHN C POKDeHnI Do 6 MeCraeB.
CTOHAHbI TOPMO3 DOJXeH 6bITb 3aJeICTBOBaH, KOrda Bbl KnaTepeBcKa B KOJIACKy IIN BbIHMaTeu3 Hee.
JIO60I rpy3, NOBeUeHHbI Ha pyuKy KOJIACKN I/ NII Na HA 3aDHIOU qAcTb CnIHKn I/ NII Na HbOkoBnHbI, MOKeT HApuyNTb paBHOBecne KOJIACKN.
3TaKoJnCKaIpeHa3NaueHa dJa nepeBO3KN OJHO rNl DBOx DeTeN, He NcPONb3OBaTb IJa nepeBO3KN 6OJee DBOx DeTeN OJHOBpeMeHNO.
He DOnJXHbI NcNoJIb3OBA Tbbcr Heoio6peHHbIe JANE akceccyapbl.
Hnkorda He nCnoJb3yIte 3aIaChbIe deTaJI, HeoIo6peHHbIe JANE, S.A.
MaKcMaJIbHO DoNcyCTmblBec KOp3nHbI DnBa BeUeH NkOrda He DOJxEH npeBbIaTb BEc, yKa3aHHbI Ha Kop3nHe (4 Kr).
1.-TO6bI PA3JIOXHTb KOJRACKY
Pa36nKpyIte pbHnn, paonJIOKeHHbIe Ha 6OKOBHax.1
POTAHHTe pyKy BBePx, YTO6bl pa3NOKtB KOJACKy.2
B KOHJIe HaxKMITE Ha 3aJHHe neJaIi KaK nokaHa Ho pCcyHKe
PPEyIPEXDEHVE:Heo6xOIMO y6eIITbC,HTo pe6eHka Het pAOM c KOJIaCKO, KOrda cKnlaDbIaBcTcNnIpackNaIbIbaETcKONKCA.
PENyPEXKDEHNE: TOnBHeHne ToeK CKaTnN 3axBaTa HEn36ExHb BO BpMa TaKnx Opeaun.
2.-“ПЛABAЮUINE"KOJIECA
PpeHne Koneca BaSei KOJIeKnФyHKUONHpyOT BdByx peXIMax: BpaauoIeMcN i KcKIOBAAHbIM. YTo6bl 3aJIOKIOPOBAT Koneca HAKMTe BHNIHa KNOHky, paonIOKeHHyO cAdn depKaTeNa nepeHrero Koneca. 2
Yro6bI pa36nokpOBaTb Koneca, HaxMMTe KHonky B npOTMBONIOK-HOM HanpaBneHm.
3.- INCNOJIb3OBAHNE CTORHOUHOrTO TOPMO3A
3AIDCTBOBATb TOPMO3:OnycTb pbHar BHN.1 CHRTb C TOPMO3A:PiTaNHyTBpbHar BBepx.2
PPEyIpyEKeHHe: 3aJeIcTBoBaB TopMo3, y6eIITecb, yTO KOJIrCKHaJaEkHcToNT Ha TOpMO3e. MoKet, 6yDet He-06xOJIMn pOKaTb CnERKa KOJIrCKy, yTObI TopMO3 bJI 3aJeCTBOBaH ONTIMaJIbHO.

4.-PEMEHb BE30NACHOCTN
NoIroHnTe pemn no pa3mepy pe6eHa, Korda nonb3yeTecb KJNRCKo. 4
O6e ToKn fHKcaunn no 6okam cndeHb MaRy nCNOB30BaTbCra dInf hKcaunn donoNHNtehBo rpeHHa.
Baua nporyoohn Ka YTBepKdHa nne nepeBo3Kn HOBOPXDeHHbIX DeTe. YTO6bl pNCTeHTy pe6EHKa, KOTOPOMMeHbSe 6 MeCAeB, npOYCTNE PHeeBBe pEMH Nepe3 HJHXneNETnN coeMHTE PHeeBBe hakJaAkn Prn NMOOIN NnyuKN.
4B HauHHa c 6 MeChHoro Bo3pacta, MoXHo npOnyckTa b pemHn Ypee3 netn, KOTOpbIe 6dyT 6oJee yOdbHbl dny pe6eHa.
OTperyIpyIte 3aXIMbI c3aIIN, noka He ycbluHITe ueHOK.02 Ha ceHTpaIbHbIX TpybIX OTperyIpyIte 3axHM, noka He ycbluHITe ueHOK.03
OnycTne Dpyro KAnIOoH no HApPabNIAOUM, YTo6bI coeHNt b oba KaHOoHa. 0.4

Korda kanooh 6ydet yctahOBnEH, Bbl cmoxete perynpoBaTb erO hakoH, nepeBnurar dyKKN B 3aBNCMOCn OT HAKOHA CnHKN. YToBb CHrB KaHOHb BblONHnIe Warn B o6paTHOM nopAKe. 10.5
11.-NcNOJIb3OBAHNE ONOpbl
YBaew konrN NANUQ TWIN meeTcnoCTabka. 406bpa3nIOXnB noCTABKy notAHnte npO6ky, haxoJauHcR B ceHTpAhnHO HACTn BH3y konrKn. 406bI cNOxNtB noCTABKy, tONKHnTe ee bnepe.
12.-OJXDEBVK
Otperyu npyte DBe HxHHe 3aTeKn n 3aHne IInnyKn doXkDeBnka.12
13.-yXoOa
OsbKa He doJxHa HaxoDttbCn Oid npMbIM COHHeBmN JyAmn DntenbHoe Bpem.
TnactKOBBe YACTMOITe TNOBMDNOM,3aTEM TaTeBbBO BcCyWBAIte BCE DeTaTI.
06NBky moXHO CHrB dINr CTnPKN.
PerylaHPO npOBepRrTe TOpMo3a, pEmHN 6e3oNaChOCTn HФKcTATOpbl, qTObS y6eDnTbC8, qTO OH N HaxoJrTa B pa6oQem CoCTOHN.
B CEJRAE630NAcHOTN JIN DnR coXPAHHOCTN DaHHORO n3DeHNRA BAXHO, qTO6bI eero nepnouHeCKN oCMATPNBaIN B IIO6oN H3 HauNX OΦuMaJIb-HbIX MaCTePCKHX.

NHΦOPMALIQR O TAPAHTN
DaHHoe n3dene IMeet rapaHTnIO, npedyCMOTpeHHyIO 3aKoHOM 23 / 2003 ot 10 NOJIa. CoXpaHInTe TOBapHyI YeK, Heo6XOHNbI dNpEdbBnEHnB M aRa3nHe, rDe Bbl npMo6pEnI N3dene, IINoTBePckJdHnIOpDnueckOn Cnbl B cnYaeIIO60I peKlamaaui.
JaHHaR rapaHTnHa paacnpocTaPraHReTc Ha deFeKeTbI nNo-OMKn, KOTOpBle ABnHOrCTpe3yJbTaTOM HEnpABuNbHOH 3KcNpyATAunu INn HApUeHHeHn HOp 6eOnaCHOCTn uXoDa, ONCaHbN B INhCTpyKuHN a NTkKeTke No npabUNaAM CTnPKn, KAk N HA JEMeHtbl ECTECTBEHHO rNHOCA, NOBnBUBneC rPi HOpMaJIbHOM EXeJHEBHM NOnb3OBAHIn.
Hn B KOem Cnyuae He CpIbAaTe 3TNKeTky C HmOpom Waccn Baew moen, OHa CoepKNT BaxkHyIO NHFopMaunio.
BHHMaHHe:
ДлmaKcHMaJIbHoH NaIeJxHocTn 3a60tby O BaIeM HOBOM
m3dennnФИрMbI JANE, OueHb BaxKHO YTO6bBy Bbl 3anONHINn
perInCTpaIOHOHHb TaHO, KOToPbBb HaIaeTe Ha cTpaHnCe
www.jane.iges
PernctpaunnoBnt Bam noIyauT hHcpmaHIO, B cIyae He6xOJIMoCTN, 0b NMHeHHx N oYxoDE3a Bawim N3dEHN. TaKke Bcerda, KOrDa Bb IOnKeJaTe, Mbl MoKem HhOpMipoBaT Bac O HOBbIX moJIeNx HOBcTx, KOtOpBle, Mbl nnonaraem, 6yDyT nHTpeChbIM dR Bac.


INDHOLDSFORTEGNELSE
Vigtige oplysninger 76-77
1.- UDFOLDNING AF KLASVOGNEN 78
2.- DREJEHJUL 78
3.- ANVENDELSAF PARKERINGSBREMSEN 78
4.- SIKKERHEDSSELE 78
5.-INDSTILLING AF HOJDEN PÅ HANDTAGET 78
6.-INDSTILLING AF RYGLAENET 78
7.-INDSTILLING AF FODSTOTTEN 78
8.- SAMMENFOLDNING AF KLASVOGNEN 79
9.- TRANSPORT 79
10.- ANVENDELSA F KALECHEN 79
11.-BRUG AF STOTTEBENET 79
12.- REGNSLAG 79
13.-VEDLIGEHOLDELS79
ADVARSEL
VIGTIG OPLYSNINGER
INFORMACJA GWARANCYJNA
10.-UPORABA STREHICE
Namestite strehici na stanske cevi rocajev na zgornji strani oblazinjenja. 10.1
Namestite priponke z zgornje strani, dokler te ne zaskocijo inzaslišite "klik". 10.2
Namestite priponko na osrednjo cev, dokler ta ne zaskovi inzaslišite klik". 10.3
Potisnite konci del druge strehice preko vodila, da bi ju zdruzili. 10.4

please contact our export department
export@jane.es
ALBACETE
Pol. Ind. Campollano C/E 69
Tel. 967 24 10 17
ALICANTE
C/Crevillente.15
Tel.96 5250697
BADAJOZ
Ctra. Corte de Pelea, 75
tel.924 98 31 94
BARCELONA
C/Del Liri.5y7
Tel. 93 285 05 13
BILBAO
C/ Cordeleria, 14
Tel.944995216
CORDOBA
C/ Gran Capitan, 41
Tel.957475176
GUJON
C/ San Jose, 67
Tel. 985 39 49 39
GIRONA
local commercial N 2
Tel.917632238
MALAGA
C/ Antonio Martelo, 2-4
Tel. 952 31 91 31
PALMA DE MALLORCA
C/Gremio Zapateros, 51
Pol. Ind. Son Castello
Tel. 971 43 08 60
SEVILLA
C/Feria.73
Tel 954 90 23 79
VALENCIA
C/ Borrull, 27
Tel.963921079
ZARAGOZA


- 1.- UNFOLDING THE PUSHCHAIR
- 2.- SWIVEL WHEELS
- 4.-SEAT BELT
- 5.-ADJUSTING THE HEIGHT OF THE HANDLE
- 6.-ADJUSTING THE BACKREST
- 7.- ADJUSTING THE FOOTREST
- FOLDING THE PUSHCHAIR
- CARRYING
- 10.- USING THE HOOD
- 11.- USING THE STAND
- 12.- RAIN COVER
- 13.- MAINTENANCE
- INFORMATION ABOUT THE GUARantee
- INDEX
- AVERTISSEMENTS
- AVERTISSEMENT
- INFORMATIONS SUR LA GARANTIE
- 1.-TO6bI PA3JIOXHTb KOJRACKY
- 2.-“ПЛABAЮUINE"KOJIECA
- 3.- INCNOJIb3OBAHNE CTORHOUHOrTO TOPMO3A
- 4.-PEMEHb BE30NACHOCTN
- 11.-NcNOJIb3OBAHNE ONOpbl
- 12.-OJXDEBVK
- 13.-yXoOa
- NHΦOPMALIQR O TAPAHTN
- INDHOLDSFORTEGNELSE
- ADVARSEL
- VIGTIG OPLYSNINGER
- INFORMACJA GWARANCYJNA
- 10.-UPORABA STREHICE
- ALBACETE
- ALICANTE
- BADAJOZ
- BARCELONA
- BILBAO
- CORDOBA
- GUJON
- GIRONA
- MALAGA
- PALMA DE MALLORCA
- SEVILLA
- VALENCIA
- ZARAGOZA
Brand : JANE
Model : Nanuq Twin
Category : Stroller