
TL3470 - Tablet AudioSonic - Free user manual and instructions
Find the device manual for free TL3470 AudioSonic in PDF.
| Brand | AudioSonic |
| Model | TL3470 |
| Product type | Touch tablet |
| Operating system | Android 4.1.1 |
| Screen | Capacitive touch screen |
| Battery | Rechargeable, full charge time approx. 5 hours |
| Connectivity | Built-in Wi-Fi, Bluetooth, Ethernet via OTG, 3G via OTG |
| Ports | Headphone jack, Mini USB, DC connection, Micro SD slot, HDMI |
| Audio formats | mp3, AAC, wma, rm, flac, ogg |
| Video formats | MKV, WMV, MPG, MPEG, DAT, AVI, MOV, ISO, MP4, RM |
| Image formats | JPG, JPEG, BMP, GIF, PNG |
| Memory card | Micro SD up to 32 GB |
| Power supply | AC adapter included |
| Maintenance | Clean with a soft, non-abrasive cloth |
| Safety | Do not expose to moisture, use only the included adapter, do not remove the cache |
| Spare parts and repairability | No user-serviceable parts, do not open the device |
| Operating temperature | Maximum 37 °C |
Frequently Asked Questions - TL3470 AudioSonic
User questions about TL3470 AudioSonic
0 question about this device. Answer the ones you know or ask your own.
Ask a new question about this device
Download the instructions for your Tablet in PDF format for free! Find your manual TL3470 - AudioSonic and take your electronic device back in hand. On this page are published all the documents necessary for the use of your device. TL3470 by AudioSonic.
USER MANUAL TL3470 AudioSonic
OUTLOOK DESCRIPTION
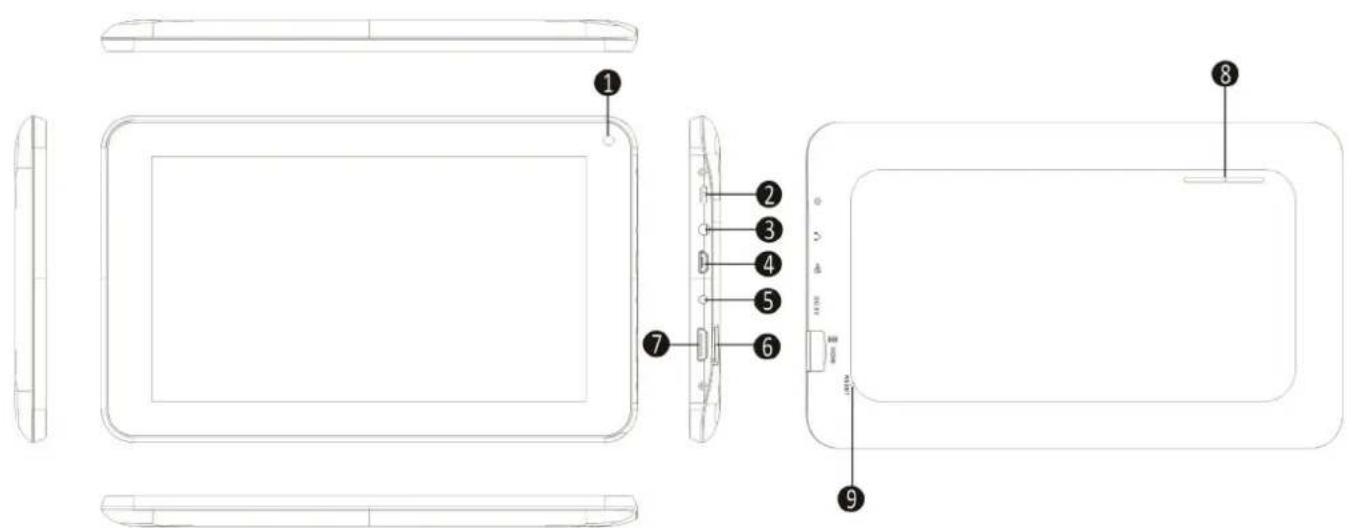
1. Front-facing Camera
2. Power button
3. Headphone connector
4. Micro USB connector
5. DC connection
6. Micro SD Card slot
7.HDMI connection
-
Speaker
-
Reset button
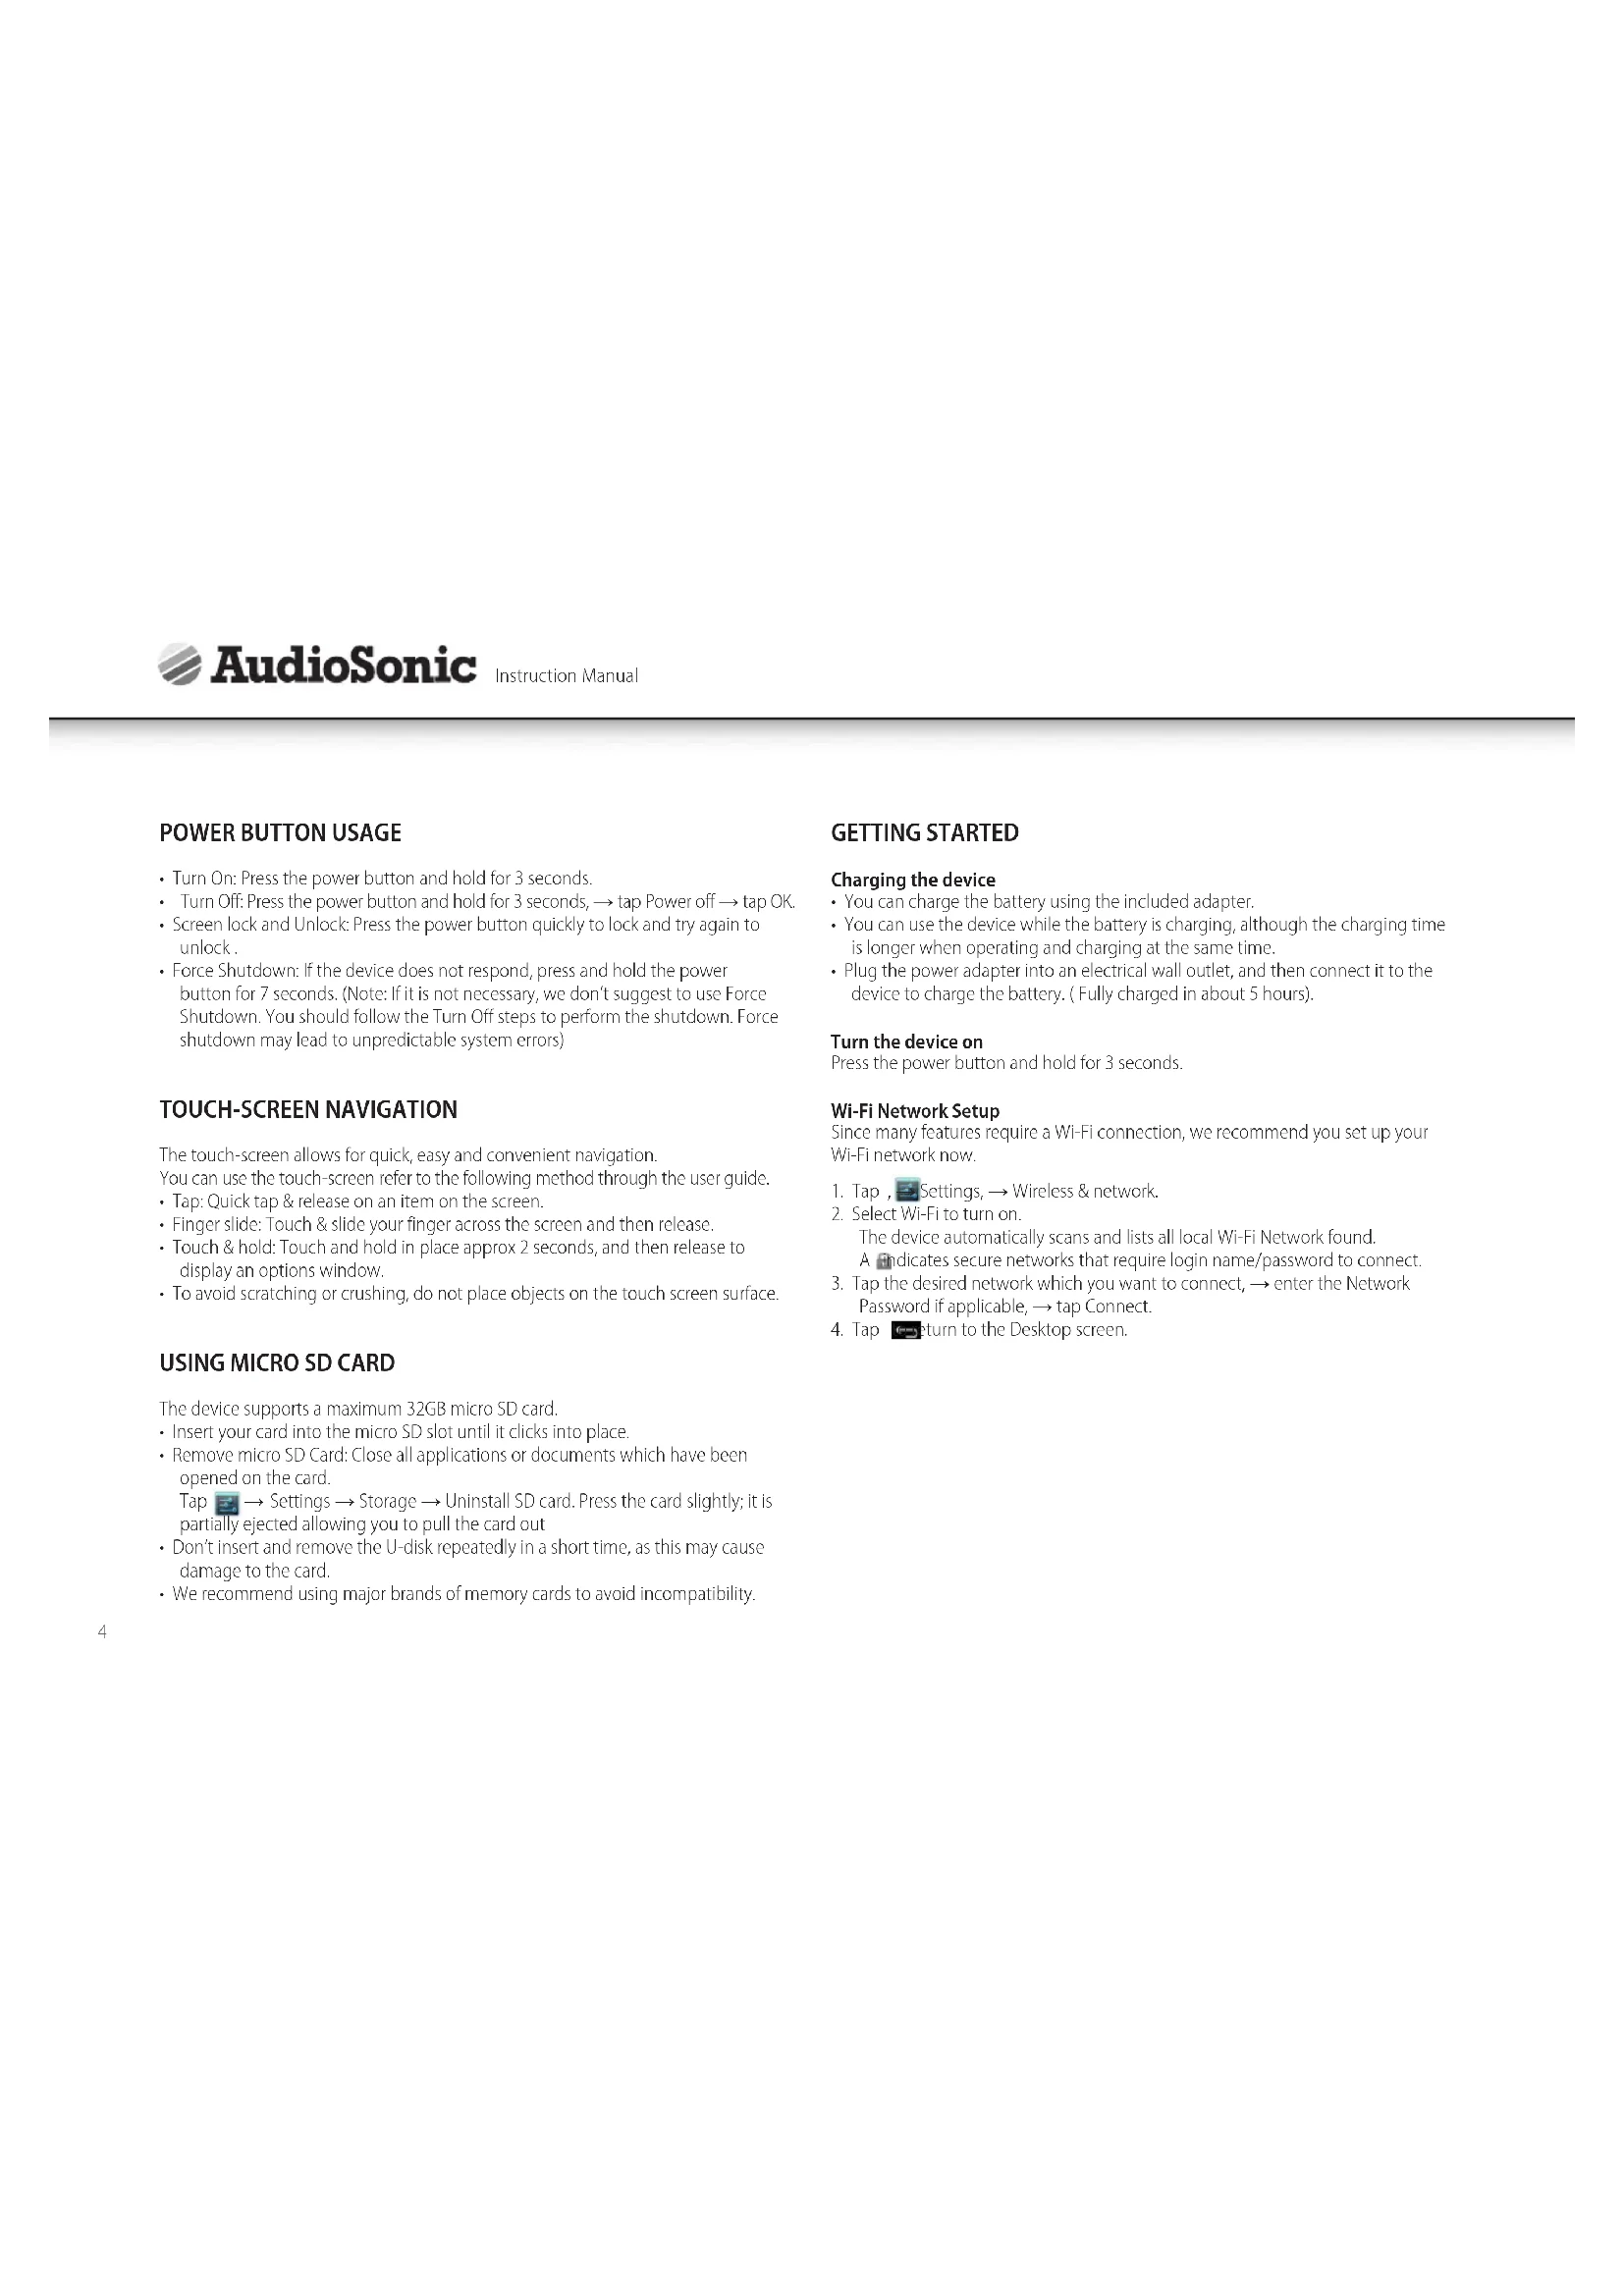
POWER BUTTON USAGE
- Turn On: Press the power button and hold for 3 seconds.
- Turn Off: Press the power button and hold for 3 seconds, → tap Power off → tap OK.
- Screen lock and Unlock: Press the power button quickly to lock and try again to unlock.
- Force Shutdown: If the device does not respond, press and hold the power button for 7 seconds. (Note: If it is not necessary, we don't suggest to use Force Shutdown. You should follow the Turn Off steps to perform the shutdown. Force shutdown may lead to unpredictable system errors)
The touch-screen allows for quick, easy and convenient navigation.
You can use the touch-screen refer to the following method through the user guide.
- Tap: Quick tap & release on an item on the screen.
- Finger slide: Touch & slide your finger across the screen and then release.
- Touch & hold: Touch and hold in place approx 2 seconds, and then release to display an options window.
- To avoid scratching or crushing, do not place objects on the touch screen surface.
USING MICROSD CARD
The device supports a maximum 32GB micro SD card.
- Insert your card into the micro SD slot until it clicks into place.
- Remove micro SD Card: Close all applications or documents which have been opened on the card.
Tap Settings Storage Uninstall SD card. Press the card slightly; it is partially ejected allowing you to pull the card out
- Don't insert and remove the U-disk repeatedly in a short time, as this may cause damage to the card.
We recommend using major brands of memory cards to avoid incompatibility.
GETTING STARTED
Charging the device
- You can charge the battery using the included adapter.
- You can use the device while the battery is charging, although the charging time is longer when operating and charging at the same time.
- Plug the power adapter into an electrical wall outlet, and then connect it to the device to charge the battery. (Fully charged in about 5 hours).
Turn the device on
Press the power button and hold for 3 seconds.
Wi-Fi Network Setup
Since many features require a Wi-Fi connection, we recommend you set up your Wi-Fi network now.
- Tap, Settings, Wireless & network.
- Select Wi-Fi to turn on.
The device automatically scans and lists all local Wi-Fi Network found.
A indicates secure networks that require login name/password to connect.
- Tap the desired network which you want to connect, enter the Network Password if applicable, tap Connect.
- Tap turn to the Desktop screen.
Ethernet connection settings*:
1 Micro Interface connect to the OTG cable, the other side interface connect to the Ethernet adapter and connect to the network cable.
2 Tap Setting More Ethernet.
3 Check the "Use Ethernet"
4 Click the "Advanced Configure", you can choose to check the "dynamic allocation", the default network automatically assigns IP addresses, check on and you can connect Ethernet; you can also uncheck the "dynamic allocation", by manually entering IP address, subnet mask, default gateway, DNS server, and other information can also be connected to Ethernet.
5 After the Ethernet connection is successful, it will appear the Ethernet connection symbol in the lower-right corner.
3G network settings*:
1 Micro Interface connect to the OTG cable, the other side interface connect to the 3G dongle and plug in the effective 3G card.
2 The system automatically senses the 3G network, while 3G network the connection is successful, will appear in the lower-right corner of the 3G connection symbol.
- Only available when the separately available adapter is connected (not included).
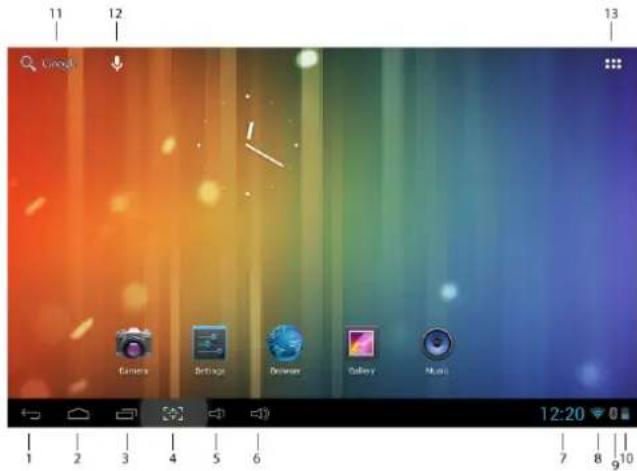
DESKTOP
1.Backicon
2. Return to Desktop from other apps
3. Recently used applica
4. Screenshot icon
5. Volume :
6. Volume +
7. Current time
- Wif strength indicator
- Bluetooth connection status
- Battery charge status
- Google Search
- Voice Search
- Tap to view the applications screen
Widget
Touch the applications button (13) and then touch the " widgets" tab to get to the available application widgets. From here you can select icons that can be placed as shortcut on the home page, so you can quickly start the program.
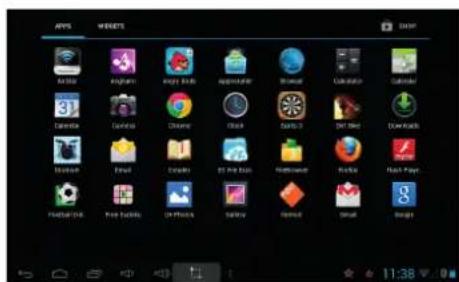
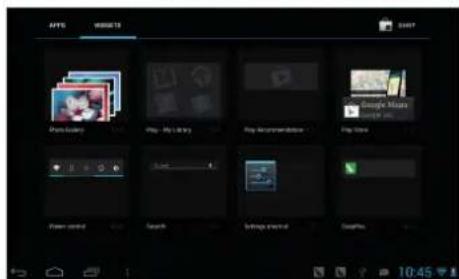
- Tap on any application or widget icon to launch it.
- Touch, hold and then slide the icon to any position on the desktop to create a short cut.
- Touch, hold and slide an icon onto "×" to remove it from the desktop screen.
CLOCK
Tap the block application icon. You can see the time, date and set an alarm.
Alarm
- You can use your device as an alarm clock with the possibility to set multiple alarms.
This clock icon displayed at the bottom of the screen indicates that one or more alarms have been set and are active.
Add Alarm
1 Tapthe Cokk application icon.
2 Tap Add alarm.
3 Set up your alarm as desired.
4 Tap "Turn alarm on" with "y".
5 Tap"Done".
Delete Alarm
1 Tapthe Cck application icon,
2. Tap on the alarm you want to delete.
3 Tap "Delete alarm".
APP MARKET
The App Market has many applications that you can quickly and easily download and install onto your tablet.
Download Applications
Follow these steps to add an existing Google Account to your device or create a new Google Account to add to your device.
From your application screen, touch the Google Play Store app.
If you haven't added an account to your device, you'll be asked to add a Google Account.
- Follow the instructions on the device, which will walk you through signing in to an existing Google Account or creating a new Google Account.
Once logged-in you can select different applications from the various tabs, pre selected categories or search for apps by name.
- Tap on a application to see more detailed information and if desired touch the install button after which you can follow the instructions on the device, which will guide you through the installation process.
Upon completion a notification will pop up on the bottom right corner and a short cut to launch the application will be placed on your desktop.
The installation is now completed and the application is ready for use.
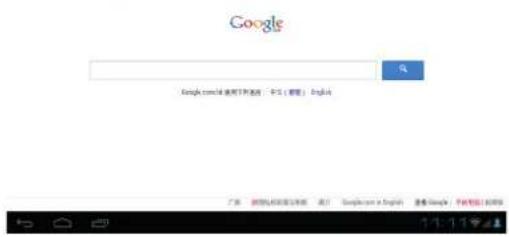
BROWSER
Users can connect to the Internet through an internet browser.
Click the browser icon on the Desktop and the Web browser will open.

CALENDAR
Tap the Calendar application icon.
When your tablet is not yet connected to a Google account, you need to add an Exchange account in order to use the calendar. Enter the desired accounts email address and password. Click Next and follow the prompts to complete the account configuration. Now you can use the Calendar (Note: we generally recommend to use a Gmail account. Google's exchange server address is: m.google.com)
Add Event
1 On the Calendar screen, tap and hold the date on which you want to add an event.
2 Tap on new event, Fill in the desired fields with event information.
3 Tap Done and the event will be added to your calendar.
CAMERA
Tap the 1 mera application icon.
1 InCamera tap take the picture.
2 The picture will be saved.
3 Tap the picture thumbnail in the top right corner to see an overview of your photo's and video's.
4 Tap and slide from left to right to select different photo's or video's.
5 Press the turn to the Camera
6 Tap to exit the Camera and return to the Desktop.
Take Videos
1 In Camera tap to switch to video mode
2 Tap to start recording and tap icon gain to stop recording.
3 The video will be saved automatically.
4 Tap the video thumbnail in the top right corner to see an overview of your photo's and video's.
5 Tap and slide from left to right to select different photo's or video's.
6. When a video is selected, tap on to playback the selected video.
7 Press Return to the Camera
8 Tap switch back to camera mode.
9 Tap Exit the Camera and return to the Desktop.
RECORDER
1 Tap the encoder icon.
2 Tapthe record icon to start recording.
3 Tapthe stop con to stop record.
4 Tapthe play button to playback the recording.
POP3, SMTP and IMAP e-mail accounts are supported
- In order to setup your E-mail you need to have access to a network / internet connection.
- Tap the e-mail application icon to enter the 'E-mail' client. The first time it's required to configure your e-mail using account information from the e-mail address you want to setup.
- For your e-mail's most current server address and settings, we advise you to contact your e-mail service provider. They can provide you with the necessary information to setup your email account.
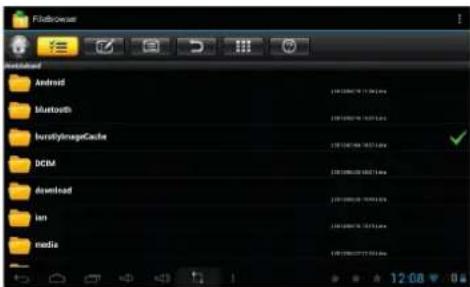
FILE BROWSER
Tap the File Browser icon to enter the file Management Interface, tap【Local Disk】or【External Storage Card】to open their root directory folders. From here you can navigate between the different files and folders. Tap a file or folder to selected it, when selected the following icon will appear on the right side of the screen. When you've selected the desired file(s), you can tap the following icon to Cut, Copy, Paste, Delete, Share or Rename files or folders.
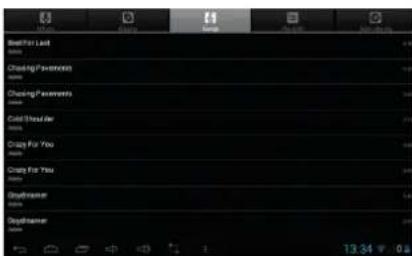
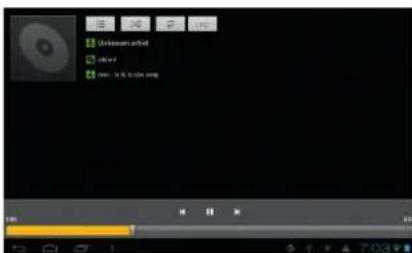
MUSIC
Audio file formats supported: mp3, AAC, WMA, rm, flac, Ogg
- Tap the music player icon Enter the music player. When there are no music files loaded in the playlist, the system will automatically search for music files from a micro SD card and then will load them automatically in the playlist.
- You can also load audio files by synchronizing the tablet with a computer or laptop trough USB. You can also download audio files directly on the tablet from a local network or the internet.
- Select the desired tab icon, to arrange the music files by "Artist", "album" or "songs". Tap the desired song to start playback.
VIDEO
Video file formats supported: MKV, WMV, MPG, MPEG, DAT, AVI, MOV, ISO, MP4, RM, JPG
- Picture file formats supported: JPG, JPEG, BMP, GIF, PNG
Play Video
- Tap the video player icon to enter the "Video" interface. You will be prompted to select a folder "Local Disk" or "External Storage Card" from where to play video files from.

- Browse through the different directories until you reach the folder where you've stored the compatible video files.
- Tap the desired video file to load it in the video player and start playback. You can choose "Pause", "Play", "Stop", "fast forward", "rewind", "progress bar" and several other keys to control the playback progress.

SETTINGS
| Wireless & networks | ·Wi-Fi ·Bluetooth ·3G/Ethernet ·Data usage ·more | ·Turn On / Off Wi-Fi. ·Turn On / Off Bluetooth. ·Only available when the separately available adapter is connected (not included). ·A current overview of internal memory usage. ·Airplane mode, VPN, Bluetooth tethering, Proxy settings. |
| Sound | ·Volumes ·Default notification ·Touch sounds ·Screen lock sounds | ·To adjust the Media, Notifications and Alarm volume. ·You can select the default notification of your preference. ·Enable or disable the playback of sounds when touching the screen. ·Enable or disable the playback of sound when locking and unlocking the screen. |
| Display | ·Brightness ·Wallpaper ·Gravity calibration utility ·Sleep ·Font size | ·Tap & slide the slider to adjust the screen brightness as desired. ·You can choose dynamic wallpaper, wallpaper and super clear player set wallpaper. ·Recalibrate the Gyro sensor. ·Selected the desired time of inactivity before the tablet has to enter sleep mode. ·Choose the font size. |
| Storage | ·Total space, Available space ·Unmount SD card ·Erase SD Card | ·Gives you an overview of the available space on the internal storage memory and if inserted, the external SD card. ·When the Micro SD card is inserted, tap it to safety remove it. ·Erase all data on SD card |
| Battery | ·(Dis)charging ·On battery | ·Shows the actual percentage of battery power. ·Shows how long your battery has lasted and which items are responsible for draining it. |
| Apps | ·downloaded ·On SD card ·Running ·All | ·Display and manage all the applications that you've downloaded and installed on the internal memory. ·Display and manage all the applications that you've downloaded and installed on an external SD card. ·Displays all the applications that are currently active. ·Display and manage all the applications that you've downloaded and installed. |
| Location services | ·Google's location service ·Location & Google Search | ·Allow Google to collect anonymous location data. ·Allow Google to use your location to improve your search results. |
| Security | • Screen lock • Owner info • Make password visible • Device administrators • Unknown sources • Trusted credentials • Install from SD card | • Select if you want the lock screen to use a Pattern lock, PIN code, Face lock or no lock at all. • Show owner info on lock screen. • Choose to make your passwords visible or not. • View or deactivate device administrators. • Allow installation of apps from unknown sources. • Display trusted CA certificates. • Install certificates from SD card. |
| Language & Input | • Language • Spell checker • Personal dictionary • Android keyboard • Voice Search • Text-to-speech output • Pointer speed | • Select your desired language. • Enable or disable the spelling checker. • You can add words, that may not be included in the standard dictionary, into a personal dictionary. • Onscreen keyboard settings • Set up the desired language for voice searches. • Select the desired Text to speech engine. • Adjust the pointer speed. |
| Back up and reset | • Back up my data • Factory data reset | • Select to automatic or manual back up your data. • Select to erase ALL DATA and restore the device to its initial factory state. |
| • Accounts • View the current registered Google account. | ||
| Add account • Add an account • Add a second or several other | accounts to your device. | |
| Date & time • Automatic Date & time | • Use the by the network provided time. • Set the date. • Select time zone • Set time • Use 24-hour format • Select date format | • Use the by the network provided time. • Set the date. • Select the time zone. • Set the time. • Choose to use between the 24-hour or 12-hour format. • You can select the date format. |
| Accessibility | • Date & time • Large Text • Auto-rotate screen • Speak passwords • Text-to-speech output • Touch & hold delay • Enhance web accessibility | • Enable or disable talk back function. • Enable or disable large text. • Enable or disable auto rotation of the display. • Enable or disable spoken passwords. • Select the desired Text to speech engine. • Set the desired touch and hold delay. • Enable or disable apps to install scripts from Google to make their web content more accessible. |
| Developer Options | • On/Off • Only enable development options if you are an experienced user and know what you are doing. | |
| About tablet | • System Update • Status • Legal Information • Model number • Android version • Kernel version • Build number | • Search for and/or update your device with the latest firmware. • Shows you the actual device status. • Shows the open source legal information. • Displays your devices model number. • Displays the current Android version. • Displays the current kernel version. • Displays the current firmware buildnumber |
FREQUENTLY ASKED QUESTIONS
Android
Q: What Android OS version is on my device? A: 4.1.1
Basic Device Functionary
Q: Do I have to charge the battery before use?
A: You should charge the battery for at least 4 hours, but you can use the device while it's charging. Use the include power adapter or an USB cable, that's connected to a power supply, to charge
Q: Can I use any of my personal e-mail addresses to send/receive e-mail?
A: The device supports POP3, SMTP and IMAP accounts. Some free e-mail accounts are not supported on mobile devices. Check with your e-mail provider to see if you account is supported.
Media Cards
Q: Which media cards are compatible with my device?
A: Micro SD cards up to size of 32GB.
Music
Q: How do I add music files to my device?
A: Copy the music files from your computer onto a SD card or USB storage device, and then use the File Browser application to copy the files onto the device.
Photos
Q: How do I add photo files to my device?
A: Copy the photo files from your computer onto a SD card or USB storage device, and then use the File Browser application to copy the files onto the device.
Wi-Fi
Q: Do I need a Wi-Fi adapter to connect to the Internet?
A: No. The Wi-Fi adapter is built-in to the device.
BATTERY MANAGEMENT
The battery is not fully charged out of the box, so it is recommended that you charge the battery for at least 4 hours before you start to use the device for the first time. The rechargeable battery is designed and manufactured to be recharged frequently. As with all batteries, the capacity of the battery reduces each time it is charged/depleted. However, you can try to prolong the battery's lifetime by following the suggestions below:
- Use your tablet frequently, at least once a week.
- Charge the battery regularly and fully.
- Never leave the battery fully discharged for a long period of time.
Always keep the device and the battery away from heat. - Don't place the device in a hot environment. The highest operating temperature is 37^ C .
Only use the product below the altitude of 2000 meters. - Do not use the product in tropical conditions.
IMPORTANT SAFETY PRECAUTIONS
Always follow these basic safety precautions when using your tablet. This reduces the risk of fire, electric shock and injury.
- Do not expose this product to rain or moisture.
- Keep the device out of direct sunlight and heat sources.
- Protect the power cord. Route power cords so that they are not likely to be stepped on or pinched by items placed on or against them. Pay particular attention to the point where the cord attaches to the device.
- Only use the AC adapter included with the device. Using any other power adapter voids your warranty.
- Do not remove the cover. There are no user-serviceable parts inside.
Clean your device
Treat the screen gently. To clean fingerprints or dust from the screen, we recommend using a soft, non-abrasive cloth such as a camera lens cloth.
MARCHÉ DES APPLICATIONS
MERCATO APPLICATIONS


- POWER BUTTON USAGE
- USING MICROSD CARD
- GETTING STARTED
- Charging the device
- Turn the device on
- Wi-Fi Network Setup
- Ethernet connection settings*:
- 3G network settings*:
- Widget
- CLOCK
- Alarm
- Add Alarm
- Delete Alarm
- APP MARKET
- Download Applications
- BROWSER
- CALENDAR
- Add Event
- CAMERA
- Take Videos
- RECORDER
- FILE BROWSER
- MUSIC
- VIDEO
- Play Video
- FREQUENTLY ASKED QUESTIONS
- Android
- Basic Device Functionary
- Media Cards
- Photos
- Wi-Fi
- BATTERY MANAGEMENT
- IMPORTANT SAFETY PRECAUTIONS
- Always follow these basic safety precautions when using your tablet. This reduces the risk of fire, electric shock and injury.
- Clean your device
- MARCHÉ DES APPLICATIONS
- MERCATO APPLICATIONS
Brand : AudioSonic
Model : TL3470
Category : Tablet