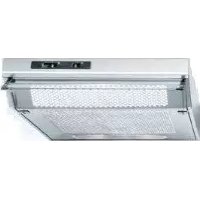
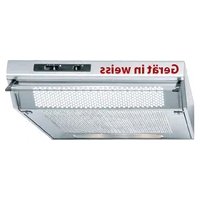
DU 6111 E - Range hood SIBIR - Free user manual and instructions
Find the device manual for free DU 6111 E SIBIR in PDF.

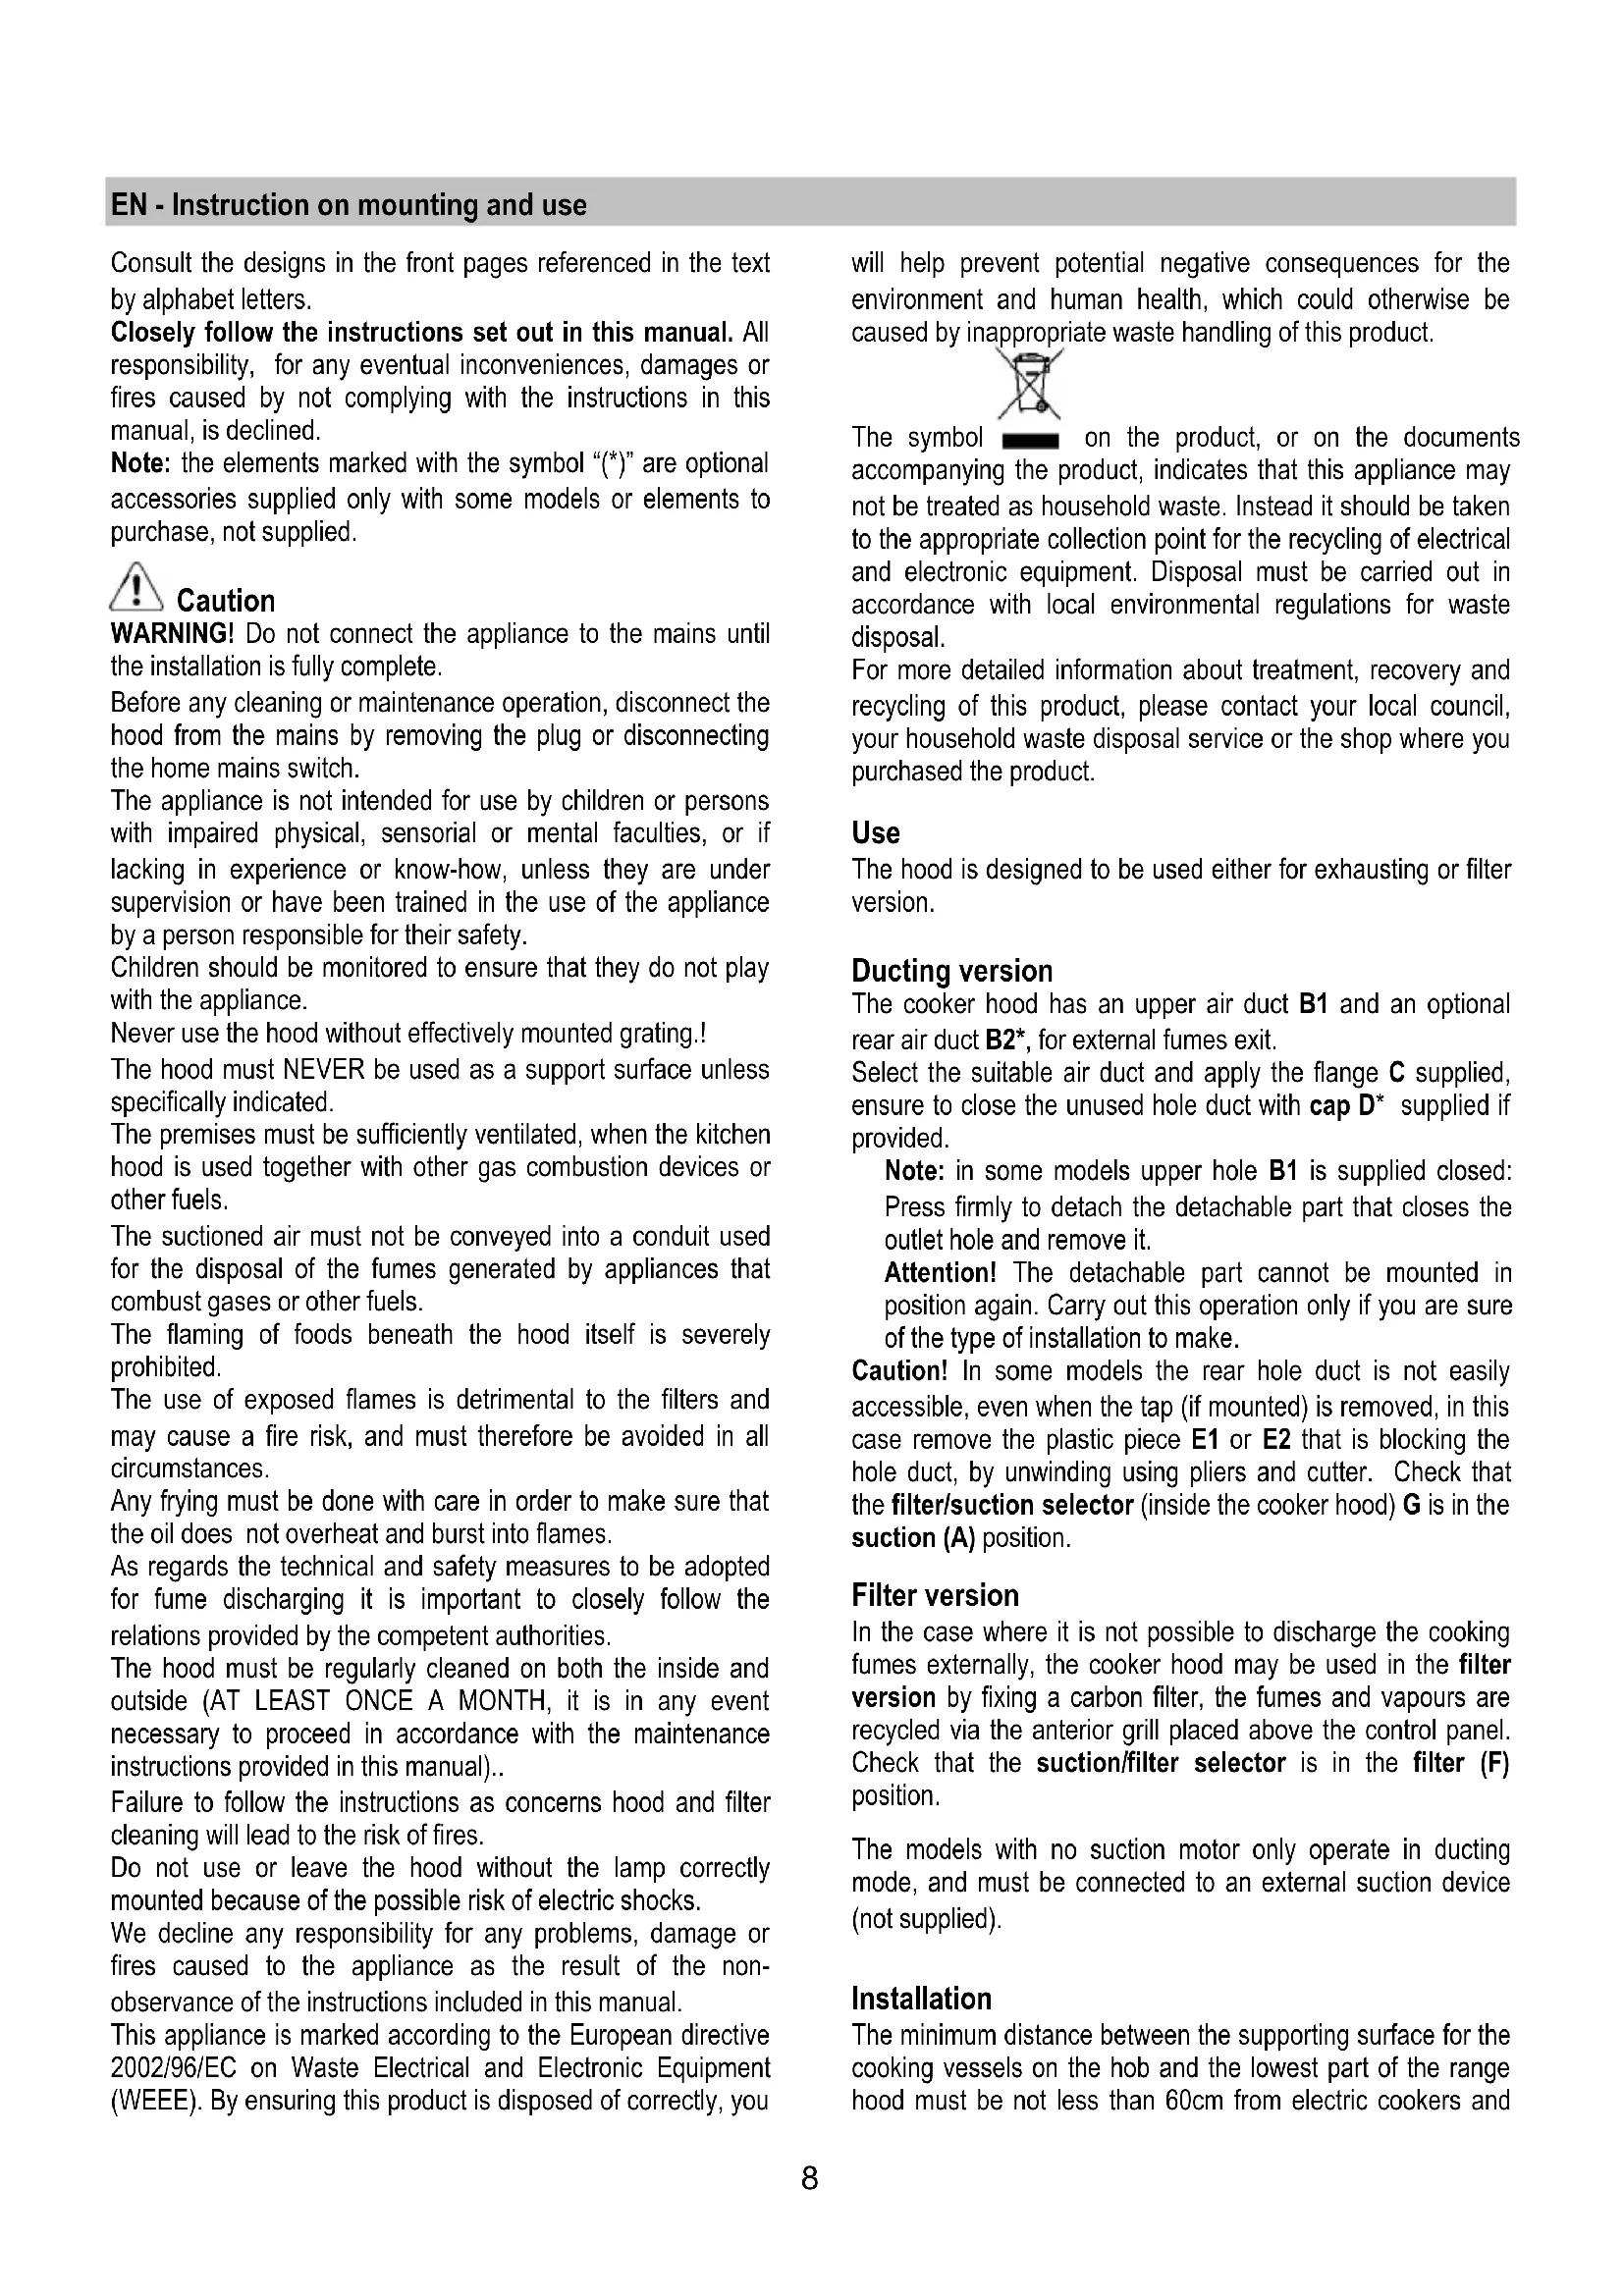


| Product type | Kitchen hood |
| Brand | SIBIR |
| Model | DU 6111 E |
| Width | 60 cm |
| Power supply | 220-240 V, 50 Hz |
| Suction power | 3 speeds |
| Lighting | 2 halogen lamps 20 W (G4) |
| Installation type | Wall-mounted or under cabinet |
| Exhaust mode | Extractor (outside) or recirculation (charcoal filter) |
| Grease filter | Washable metal (dishwasher safe) |
| Charcoal filter | Replace every 4 months |
| Minimum installation distance | 60 cm (electric cooker), 75 cm (gas or mixed) |
| Controls | Control panel with speed selector |
| Cleaning | Damp cloth with mild detergent (no alcohol) |
| Replacing bulbs | Accessible after removing the grille |
| Safety | Disconnect before maintenance; do not use without grille |
| Certifications | CE marking, WEEE recycling |
| Weight | Not specified |
Frequently Asked Questions - DU 6111 E SIBIR
User questions about DU 6111 E SIBIR
0 question about this device. Answer the ones you know or ask your own.
Ask a new question about this device
Download the instructions for your Range hood in PDF format for free! Find your manual DU 6111 E - SIBIR and take your electronic device back in hand. On this page are published all the documents necessary for the use of your device. DU 6111 E by SIBIR.
USER MANUAL DU 6111 E SIBIR
EN - Instruction on mounting and use
Consult the designs in the front pages referenced in the text by alphabet letters.
Closely follow the instructions set out in this manual. All responsibility, for any eventual inconveniences, damages or fires caused by not complying with the instructions in this manual, is declined.
Note: the elements marked with the symbol () are optional accessories supplied only with some models or elements to purchase, not supplied.

Caution
WARNING! Do not connect the appliance to the mains until the installation is fully complete.
Before any cleaning or maintenance operation, disconnect the hood from the mains by removing the plug or disconnecting the home mains switch.
The appliance is not intended for use by children or persons with impaired physical, sensorial or mental faculties, or if lacking in experience or know-how, unless they are under supervision or have been trained in the use of the appliance by a person responsible for their safety.
Children should be monitored to ensure that they do not play with the appliance.
Never use the hood without effectively mounted grating!
The hood must NEVER be used as a support surface unless specifically indicated.
The premises must be sufficiently ventilated, when the kitchen hood is used together with other gas combustion devices or other fuels.
The suctioned air must not be conveyed into a conduit used for the disposal of the fumes generated by appliances that combust gases or other fuels.
The flaming of foods beneath the hood itself is severely prohibited.
The use of exposed flames is detrimental to the filters and may cause a fire risk, and must therefore be avoided in all circumstances.
Any frying must be done with care in order to make sure that the oil does not overheat and burst into flames.
As regards the technical and safety measures to be adopted for fume discharging, it is important to closely follow the regulations provided by the competent authorities.
The hood must be regularly cleaned on both the inside and outside (AT LEAST ONCE A MONTH, it is in any event necessary to proceed in accordance with the maintenance instructions provided in this manual).
Failure to follow the instructions as concerns hood and filter cleaning will lead to the risk of fires.
Do not use or leave the hood without the lamp correctly mounted because of the possible risk of electric shocks.
We decline any responsibility for any problems, damage or fires caused to the appliance as the result of the non-observation of the instructions included in this manual.
This appliance is marked according to the European directive 2002/96/EC on Waste Electrical and Electronic Equipment (WEEE). By ensuring this product is disposed of correctly, you
will help prevent potential negative consequences for the environment and human health, which could otherwise be caused by inappropriate waste handling of this product.
The symbol on the product, or on the documents accompanying the product, indicates that this appliance may not be treated as household waste. Instead it should be taken to the appropriate collection point for the recycling of electrical and electronic equipment. Disposal must be carried out in accordance with local environmental regulations for waste disposal.
For more detailed information about treatment, recovery and recycling of this product, please contact your local council, your household waste disposal service or the shop where you purchased the product.
Use
The hood is designed to be used either for exhausting or filter version.
Ducting version
The cooker hood has an upper air duct B1 and an optional rear air duct B2* for external fumes exit.
Select the suitable air duct and apply the flange C supplied, ensure to close the unused hole duct with cap D* supplied if provided.
Note: in some models upper hole B1 is supplied closed: Press firmly to detach the detachable part that closes the outlet hole and remove it.
Attention! The detachable part cannot be mounted in position again. Carry out this operation only if you are sure of the type of installation to make.
Caution! In some models the rear hole duct is not easily accessible, even when the tap (if mounted) is removed, in this case remove the plastic piece E1 or E2 that is blocking the hole duct, by unwinding using pliers and cutter. Check that the filter/suction selector (inside the cooker hood) G is in the suction (A) position.
Filter version
In the case where it is not possible to discharge the cooking fumes externally, the cooker hood may be used in the filter version by fixing a carbon filter, the fumes and vapours are recycled via the anterior grill placed above the control panel. Check that the suction/filter selector is in the filter (F) position.
The models with no suction motor only operate in ducting mode, and must be connected to an external suction device (not supplied).
Installation
The minimum distance between the supporting surface for the cooking vessels on the hob and the lowest part of the range hood must be not less than 60 cm from electric cookers and
75 cm from gas or mixed cookers.
If the instructions for installation for the gas hob specify a greater distance, this must be adhered to.

Electrical connection
The mains power supply must correspond to the rating indicated on the plate situated inside the hood. If provided with a plug connect the hood to a socket in compliance with current regulations and positioned in an accessible area. If it not fitted with a plug (direct mains connection) or if the plug is not located in an accessible area apply a bi-polar switch in accordance with standards which assures the complete disconnection of the mains under conditions relating to overcurrent category III, in accordance with installation instructions.
Warning: Before re-connecting the hood circuit to the mains supply and checking the efficient function, always check that the mains cable is correctly assembled.
Mounting
The cooker hood may be installed on the wall or on the base of a cabinet; if supplied, use the hole gauge H to drill the correct distance, otherwise lean the cooker hood on the wall or on the base of the cabinet and mark the holes with a pencil.
Wall mounting - Insert the wall screw anchors J in the drilled holes and the two K screws in the upper drill holes, remove the grill and hook the cooker hood to the 2 screws, finally from the inside, insert the third screw L and lock them all in.
Cabinet fixing - Affix the cooker hood with the 4 M screws from inside the cabinet.
Operation
The hood is fitted with a control panel with aspiration speed selection control and a light switch to control cooking area lights.
Use the high suction speed in cases of concentrated kitchen vapours. It is recommended that the cooker hood suction is switched on for 5 minutes prior to cooking and to leave in operation during cooking and for another 15 minutes approximately after terminating cooking.
Always open the vapour catcher N*
If your product is provided with an electrically or mechanically activated valve, the keys and/or the buttons and/or the handles available are for controlling the lights and for opening and closing the valve.
Maintenance
ATTENTION! Before performing any maintenance operation, isolate the hood from the electrical supply by switching off at the connector and removing the connector fuse.
Or if the appliance has been connected through a plug and socket, then the plug must be removed from the socket.
Cleaning
The cooker hood should be cleaned regularly (at least with the same frequency with which you carry out maintenance of the fat filters) internally and externally. Clean using the cloth
dampened with neutral liquid detergent. Do not use abrasive products. DO NOT USE ALCOHOL!
WARNING:
Failure to carry out the basic cleaning recommendations of the cooker hood and replacement of the filters may cause fire risks.
Therefore, we recommend observing these instructions.
The manufacturer declines all responsibility for any damage to the motor or any fire damage linked to inappropriate maintenance or failure to observe the above safety recommendations.
Grease filter
Traps cooking grease particles.
If situated inside the support grill, it may be one of the following types:
Paper filter must be replaced once a month or if colouring appears on upper side, in such cases the colouring is evident through the grill openings.
Sponge filter should be washed with hot soapy water once a month and replaced every 5 to 6 washes.
Metallic filter must be cleaned once a month, with non abrasive detergents, by hand or in dishwasher on low temperature and short cycle.
When washed in a dishwasher, the grease filter may discolour slightly, but this does not affect its filtering capacity.
In order to remove the grease filter open the grill via the P hooks and free the R1 or R2 stoppers.
The self-supporting metal filter does not include a support grill, in order to remove the filter - pull the release springs P4 backwards and slide the filter downwards.
Charcoal filter (filter version only)
It absorbs unpleasant odours caused by cooking.
The saturation of the activated charcoal occurs after more or less prolonged use, depending on the type of cooking and the regularity of cleaning of the grease filter.
In any case it is necessary to replace the cartridge at least every four months.
The carbon filter may NOT be washed or regenerated.
It may be one of the following types:
Rectangular S1 or S2 or S3:
Mounting (S1 or S2): insert the rear side T and hook further to the front (U).
Mounting (S3): Remove the cover W by rotating the O knobs to 90° , then close the cover. Proceed in the inverse for dismounting.
Circular (V1-V2-V3-various models):
Bayonet mount position the filter in the middle of the motor protection grill covering ensuring that the reference to X1 or X2 or X3 on the carbon filter match the Y1 or Y2 references on the conveyor, then turn clockwise; in case of dismounting turn anticlockwise, if provided with a Z tape remember to gently lift first.
Replacing lamps
Disconnect the hood from the electricity.
Warning! Prior to touching the light bulbs ensure they are cooled down.
Replacing lightbulbs 40W - Unscrew the damaged light bulb and replace with an incandescent oval light bulb with a maximum of 40W E14. Remove the grill in order to reach the light bulb area.
Replacing the halogen bulbs - Access the light compartment - extract the lamp cover by levering it off with a small screwdriver or similar tool.
Replace the damaged light bulb. Only use halogen bulbs of 20W max (G4), making sure you do not touch them with your hands. Close the lamp cover (it will snap shut).
If the lights do not work, make sure that the lamps are fitted properly into their housings before you call for technical assistance.
Circular (V1-V2-V3-various models):
Rectangular S1 or S2 or S3:
Circular (V1-V2-V3- various models):
Assembly (S3): Remove the cover W by turning the knobs O by 90 degrees.
Insert the activated carbon filter element inside the respective one and fix it by turning the knob O by 90 degrees, then close the cover again.
This appliance is not intended for use by persons (including children) with reduced physical, sensory or mental capabilities, or lack of experience and knowledge, unless they have been given supervision or instruction concerning use of the appliance by a person responsible for their safety.
Do not leave children unattended to ensure they do not play with the appliance.
Do not use the hood if the grille is not correctly installed!
It is strictly forbidden to use the hood as a support surface, unless this is specifically stated.
Ensure adequate room ventilation when using the hood in the kitchen simultaneously with other appliances using gas or other fuels.
The extracted air must not be discharged into a flue used for exhausting fumes from appliances burning gas or other fuels.
It is strictly forbidden to cook "flambé" dishes, as the open flame may damage the filters and cause a fire; therefore, refrain from doing so in any case.
Frying in large quantities must be done under constant supervision, keeping in mind that overheated oil may ignite.
As for the technical and safety measures for the discharge of fumes, strictly comply with the regulations provided by the local competent authorities.
Periodically clean the hood both inside and outside (at least once a month, in any case following the conditions specifically provided in the maintenance instructions of this manual).
Failure to follow the instructions for cleaning the hood and replacing/cleaning the filters may cause a fire. Do not use or leave the hood without correctly installed lamps due to the possible risk of electric shock.
The manufacturer is not responsible for malfunctions, damage, or burning of the device due to failure to follow the instructions provided in this manual.
This product is marked in accordance with European Directive 2002/96/EC on waste electrical and electronic equipment (WEEE).
Electrical and electronic equipment (WEEE).
By ensuring proper disposal of this product, you will help prevent potential negative consequences for the environment and human health, which could otherwise occur.

The symbol on the product or on its packaging indicates that this product must not be treated as household waste. Instead, it should be handed over to an appropriate collection point for the recycling of electrical and electronic equipment.
Disposal must be carried out in accordance with local regulations for waste disposal.
For more detailed information on the handling, disposal, and recycling of such products, please contact your local authorities, the waste disposal service, or the store where you purchased this product.
Use
The hood is designed to be used either in ducted mode (air exhaust) or in recirculation mode (air recirculation).
Recirculation mode
The hood is equipped with a top exhaust outlet B1 and an additional outlet B2* on the rear side for smoke exhaust.
Choose the most suitable outlet and attach the flange included in the kit, then close the unused outlet with the cap D*.
Note: In some models, the top outlet B1 is closed: press firmly on the scored part that covers the outlet and remove it.
Warning! The scored part cannot be reattached, so perform this operation only if the installation type you are going to carry out requires it.
Warning! In some models, the rear outlet after removing the cap (when it is installed) is not accessible; in that case, it is necessary to remove the plastic cap E1 or E2 or both.
Check that switch B (inside the hood) is in the extraction mode (A).
Extraction of air
If it is impossible to remove the fumes produced during cooking, use the hood in the recirculation mode, installing a charcoal filter, through which the fumes will pass through the recirculation grille, installed on the control panel. Check that the switch is in the recirculation mode (F).
Hoods without a motor block can only work in one mode of air extraction to the outside, so they must be connected to an external extraction system (not supplied).
Installation
The distance between the lower edge of the hood and the hob surface must be at least 60 cm for electric hobs, and at least 75 cm for gas or combined hobs.
If the installation instructions for the gas hob specify a greater distance, take this into account.

Electrical connection
The mains voltage must correspond to the voltage indicated on the technical data plate, which is located inside the appliance. If the hood is equipped with a plug, connect it to a standard socket, compliant with current regulations, which must be placed in an easily accessible location. If the hood is not equipped with a plug (direct connection to the mains) or if the standard socket is not in an accessible location, use a suitable two-pole switch, ensuring complete disconnection from the mains in case of overvoltage category 3, in accordance with installation instructions.
WARNING: Before connecting the electrical system of the hood to the mains, check that the grounding is efficient and make sure that the power cable is correctly installed.
Installation
The hood can be hung on the wall or placed on the base of a cabinet; use the cardboard template (if included) to determine the drilling points, otherwise hang the hood on the wall or place it on the base of the cabinet and mark the holes with a pencil.
Wall mounting: insert the expansion plugs A into the pre-drilled holes and two screws B into the upper holes, remove the grille, fix the hood on the screws L and then tighten.
Cabinet mounting: screw the hood using 4 screws M inside the cabinet.
Operation
Control unit for controlling the extraction speed of the burner for lighting the flame for illuminating the working surface of the plate.
Use the intensive operating mode and extraction in case of particularly high concentration of vapors. We recommend turning on the extractor 5 minutes before starting the cooking process and leaving it on for about 15 minutes after the process ends. Always open the doors for collecting steam. If your appliance has mechanical or electrical valves, buttons, or control knobs, they serve to control the lighting and for opening/closing the valve.
Maintenance
Warning! Before performing any operation on the system or technical maintenance, disconnect the extractor from the electrical network, disconnect the plug or the main switch of the room.
Cleaning
The extractor must be cleaned frequently both inside and outside (at least with the same frequency as the maintenance of the grease filters). Use a special cloth moistened with a neutral liquid detergent. Do not use products containing abrasive materials.
DO NOT USE ALCOHOL!
Warning: Failure to follow the cleaning rules of the device and replacement of filters may lead to a risk of fire. Therefore, we recommend following the instructions provided.
The manufacturer is not responsible for possible damage to the motor and for fires that occur as a result of improper maintenance or failure to follow the warnings listed.
Grease filters
Retains grease particles coming from cooking.
When installed inside the grid, the filters have the following variants:
The paper filter must be replaced once a month or when the upper part becomes dark. Replacement is recommended when the light becomes dim through the grid openings.
The foam filter is washed in water once a month and replaced after 5/6 washes.
The metal filter is washed by hand once a month with non-abrasive detergents or in a dishwasher at low temperatures and short cycles.
The motor may have some delay in the response time, but
its throughput characteristic remains absolutely unchanged.
To remove the grease filter, open the grid using the hooks R1 and R2.
The metal grease filter is not equipped with a support grid; to remove it, press the tabs P4 and pull the filter downwards.
Charcoal filter (only in recirculation mode)
Removes unpleasant kitchen odors.
The saturation of the charcoal filter occurs after a more or less long period of use, determined by the type of kitchen and the frequency of cleaning the grease filters. In any case, replace the cartridge at least every 4 months.
The charcoal filter cannot be regenerated.
Available in the following versions:
Rectangular S1, S2, S3:
Installation (S1 or S2): Insert the tab side T and attach it to the front part (U).
Installation (S3): Remove the cap W, turning the handle O by 90°.
Insert the replacement charcoal element into the corresponding compartment, secure it by turning the handle O by 90°, and close the cap again.
To remove, perform the operation in reverse order.
Round (V1-V2-V3-different models):
Install the protective grille of the internal mechanism and check that X1 INN X2 INN X3 on the coal filter coincide with Y1 INN Y2 on the zone, then turn clockwise; for dismantling, if there are parts (spring), lift it and then turn counterclockwise.
Replacing lamps
Disconnect the device from the power supply.
Warning! Before touching the lamps, make sure they are cool.
Replacing lamps: Unscrew the damaged lamp and replace it with a halogen lamp of 40W E14. To reach the lamps, it is necessary to remove the grille.
Replacing the halogen lamp: Open the compartment under the lamp, remove the protective element using a small screwdriver or similar tool.
Replace the burnt-out lamp.
Use only halogen lamps of 20 W max. (G4), without touching them with your hands. Close the protective element again (locking with a clip).
If the lighting system does not work, check the correct installation of the lamps in the sockets before contacting the technical support center.
See the diagrams on the last pages of the appendix of symbols. Follow them strictly according to the instructions. The manufacturer is not responsible for any damage or injury resulting from failure to follow the instructions.
Note: Parts marked with (*) are supplied only with certain models or are not supplied and must be purchased separately.

Warnings
Warning! Do not connect the device to the mains if its installation is not completely finished. Before carrying out any cleaning or maintenance operation, the appliance must be disconnected from the mains, either by unplugging it or by switching off the main switch.
The device must not be used by children or persons with reduced physical, sensory or mental capabilities, or with lack of experience and knowledge, unless they are supervised or instructed by a person responsible for their safety on how to use the device.
Children must be supervised to ensure they do not play with the appliance.
The hood must be installed so that the grid is correctly mounted!
The hood must never be used as a work surface, unless this is specifically indicated.
The room must have good ventilation when the kitchen hood is used simultaneously with other gas or other fuel appliances.
The exhaust air must not be discharged through a flue used for exhausting fumes from appliances burning gas or other fuel.
It is strictly forbidden to cook with an open flame under the hood.
Using an open flame is dangerous for the filters and may cause a fire, so it must be absolutely avoided.
The top must be installed under supervision to avoid any risk of tipping.
As regards the technical and safety measures to be applied for the discharge of fumes, the regulations in force in the local competent authorities must be strictly observed.
The hood must be cleaned regularly, both inside and outside (at least once a month, and in any case the cleaning instructions given in this manual must be followed).
Failure to comply with the cleaning standards for the hood and for the maintenance and cleaning of the filters may lead to a risk of fire.
Do not use or leave the hood without the correctly mounted lamps! Risk of electric shock!
No responsibility is accepted for
malfunctions, fire, or damage to the appliance caused by failure to follow these instructions.
This appliance complies with the requirements of:
- European Directive 2002/96/EC
- Waste Electrical and Electronic Equipment (WEEE).
We draw your attention to the fact that this device must be recycled in accordance with the regulations for the protection of the environment and your health.

On the device label, this product must not be disposed of as household waste, but must be handed over to a designated collection point for electrical and electronic equipment. For information on collection and recycling, please contact your local authorities or the store where you purchased this product.
Use
The extractor is designed for dual use: it can extract and filter air, while simultaneously recycling it.
Extraction version
The extractors are equipped with a top air outlet B1 and, as an option, with a rear outlet B2*, for discharging air outside.
Choose the most suitable version and install the supplied cap C; to close the unused opening with the supplied cap D*, if provided.
Note: in the direct model, the top outlet B1 is closed. Press the cap to remove the technological tab that blocks the outlet.
Attention! The technological tab cannot be reinstalled, so before proceeding with this operation, you must be absolutely certain of your choice.
Attention! In some models, the air outlet may not work properly, even if the cap (if installed) is removed. In this case, remove the plastic part E1 or E2 that blocks the outlet, using pliers and a knife. Check that the extraction/filtering selector (inside the extractor) is set to the extraction position (A).
Filtering version.
If it is not possible to discharge cooking fumes outside, the filtering version can be used by installing a charcoal filter, which
filters the air through a special device placed on the motor. Check that the extraction/filtering selector is set to the filtering position (F).
Models without an extraction motor are designed to work only in the extraction version and must be connected to a peripheral extraction unit, which is purchased separately.
MOUNTING
The minimum distance between the surface on which the cooktops are placed and the lower part of the kitchen extractor must be no less than 60 cm in the case of electric cookers and no less than 75 cm in the case of gas or combination cookers.
If the instructions for the gas cooker specify a greater distance, this must be respected.

Electrical connection
The voltage in the electrical network must correspond to the value indicated on the extractor's rating plate, located on its inner side. If it is equipped with a plug, connect the extractor to a socket that complies with the applicable standards and is installed in an accessible location. If it is not equipped with a plug (direct connection to the network), or if the plug is not in an accessible location, use a bipolar switch that complies with the standards, ensuring complete disconnection from the network under overvoltage category III, in accordance with the installation rules.
WARNING! Before connecting the extractor to the network again and checking that it functions properly, verify that the cable is installed as it should be.
INSTALLATION
The extractor can be mounted on a wall or on a wall cabinet; if provided, use the template to drill the exact distance; otherwise, the extractor should be placed against the wall or wall cabinet and the fixing points marked for drilling.
WALL MOUNTING - Place the wall brackets and, in the holes, insert the two screws into the upper holes, hang the grille and the extractor on the two screws, then, from the inside, insert the third screw and tighten all.
CABINET MOUNTING - The extractor must be fixed with 4 screws on the inner side of the cabinet.
Method of use
The extractor is equipped with a control panel with the possibility of adjusting the suction speed and switching on the lighting of the cooking surface.
NOTE.
If a lot of smoke is produced during cooking, switch to the maximum operating mode. It is advisable to turn on the extractor 5 minutes before starting to cook and to leave it running for another 15 minutes after switching off.
And the collector of the right side *.
If the appliance is equipped with an electric or mechanical locking device, the lock and/or the buttons or switches must be used to adjust the lights and to open and close the valve.
Maintenance
Warning! Before any operation connected with cleaning or maintenance, disconnect the appliance from the mains, removing the entire plug from the socket.
Cleaning
The appliance must be cleaned frequently (or after each use, whichever is more frequent), both inside and outside. Use a damp cloth and neutral cleaning agents.
Avoid agents containing abrasive parts.
Warning! Never clean with steam!
Warning! Failure to comply with the cleaning and filter maintenance regulations may cause a fire risk. Strictly follow the instructions!
No liability is accepted for possible damage to the motor or fire caused by incorrect maintenance or failure to comply with these instructions.
Grease filter
The filter retains grease particles released during cooking.
If a metal mesh is fitted, the filter can be cleaned as follows:
The metal mesh filter should be cleaned monthly or when the indicator light comes on, when the lighting is switched on, through the holes in the mesh.
The filter should be washed with hot soapy water monthly and replaced every 6 months.
The metal mesh filter is cleaned monthly with neutral detergent, by hand or in the dishwasher at low temperature and short program.
The filter in the machine is placed behind the oil filter, but its properties are in no way changed.
To reach the oil filter, open the grille by means of the bracket P and release it from the fasteners R1 and R2.
The self-cleaning filter has a support grille. To remove it, first release the locking pins P4 and then pull the filter out.
Filter with activated carbon (only for the filtering version)
Retain the impurities that are released during operation.
The activated carbon filter is activated approximately every two months of use, depending on the type of cooking. This is indicated by the filter indicator.
In any case, it is necessary to replace the activated carbon filter every four months or when the filter saturation indicator shows that it is necessary.
It cannot be reused.
It can be one of the following types:
Flat types S1, S2 or S3:
Mounting (S1 or S2): insert the rear part T and hook it at the front (U).
Mounting S3: close the flap W by turning the knob O.
Insert the front part into the designated place and fix it by turning the knob O 90 degrees, then close the flap.
To remove, act in the reverse order of installation.
V shape (V1-V2-V3 - different models):
Remove the old bulb from the socket in the center of the protective grille of the motor, noting the marking X1, X2, or X3 on the bulb to match the marking Y1 or Y2 on the corresponding device, then turn it in the direction of the clock arrow; when dismantling, turn it in the direction opposite to the clock arrow. If there is a tongue Z, it must first be lifted slightly.
Removing the bulb holder
Disconnect the device from the mains.
Warning! Before taking the bulb holder in hand, check that it has cooled down.
Removing the lamp 40W - Remove the damaged lamp and replace it with a suitable lamp with a bulb holder Max 40WE14. Remove the grille to have access to the lamp location.
Removing the halogen lamp - Pull it towards you - remove the protective cover, lifting it with a small screwdriver or another suitable tool.
Replace the damaged lamp.
Use only halogen lamps 20W max (G4), being careful not to touch them with your hands. Close the reflector again (click).
If the bulb holder does not light, check that it is mounted correctly before calling a specialist.
Consult the drawings on the first pages and the alphabetical references reproduced in the explanatory text.
DO NOT USE ALCOHOL!

- EN - INSTRUCTION ON MOUNTING AND USE
- CAUTION
- USE
- DUCTING VERSION
- FILTER VERSION
- INSTALLATION
- ELECTRICAL CONNECTION
- MOUNTING
- OPERATION
- MAINTENANCE
- CLEANING
- WARNING
- GREASE FILTER
- CHARCOAL FILTER (FILTER VERSION ONLY)
- REPLACING LAMPS
- RECTANGULAR S1 OR S2 OR S3
- RECIRCULATION MODE
- EXTRACTION OF AIR
- DO NOT USE ALCOHOL
- GREASE FILTERS
- CHARCOAL FILTER (ONLY IN RECIRCULATION MODE)
- TO REMOVE, PERFORM THE OPERATION IN REVERSE ORDER
- WARNINGS
- EXTRACTION VERSION
- FILTERING VERSION
- METHOD OF USE
- WARNING! NEVER CLEAN WITH STEAM
- FILTER WITH ACTIVATED CARBON (ONLY FOR THE FILTERING VERSION)
- FLAT TYPES S1, S2 OR S3
- V SHAPE (V1-V2-V3 - DIFFERENT MODELS)
- REMOVING THE BULB HOLDER
Brand : SIBIR
Model : DU 6111 E
Category : Range hood