DKA 242 - Bread maker MOULINEX - Free user manual and instructions
Find the device manual for free DKA 242 MOULINEX in PDF.
| Product type | Electric meat grinder with accessories |
| Brand | Moulinex |
| Model | DKA 242 |
| Power supply | Mains, 220-240 V, 50/60 Hz |
| Power | 400 W (estimated) |
| Dimensions (L x W x H) | Approximately 20 x 20 x 30 cm |
| Weight | Approximately 3 kg |
| Main functions | Meat grinding, reverse function, use with accessories (kebbe, cookies, sausages, vegetable cutter) |
| Included accessories | Fine grinding plate (A4a), coarse grinding plate (A4b), knife (A3), removable tray (B), pusher (C), sausage filler tube (K), cookie disc (J), kebbe attachment (I), vegetable cutter (L) with drums |
| Knife material | Self-sharpening stainless steel |
| Maximum usage time (meat) | 14 minutes |
| Maximum usage time (high power) | 20 seconds |
| Safety | On/Off button (0-1), Reverse button, head unlocking, automatic stop in case of jamming |
| Maintenance and cleaning | Unplug before cleaning; wash parts with warm soapy water; the knife and plate must be oiled after each use; do not put the grinder head in the dishwasher |
| Spare parts and repairability | Suitable Moulinex accessories and spare parts; repair by Moulinex authorized service center |
Frequently Asked Questions - DKA 242 MOULINEX
User questions about DKA 242 MOULINEX
0 question about this device. Answer the ones you know or ask your own.
Ask a new question about this device
Download the instructions for your Bread maker in PDF format for free! Find your manual DKA 242 - MOULINEX and take your electronic device back in hand. On this page are published all the documents necessary for the use of your device. DKA 242 by MOULINEX.
USER MANUAL DKA 242 MOULINEX
A Tete hachoir amovible
A1 Corps
A2 Vis
A3 Couteau inox auto-affutable
A4 Grilles
Thank you for choosing an appliance from the Moulinex range.
Description
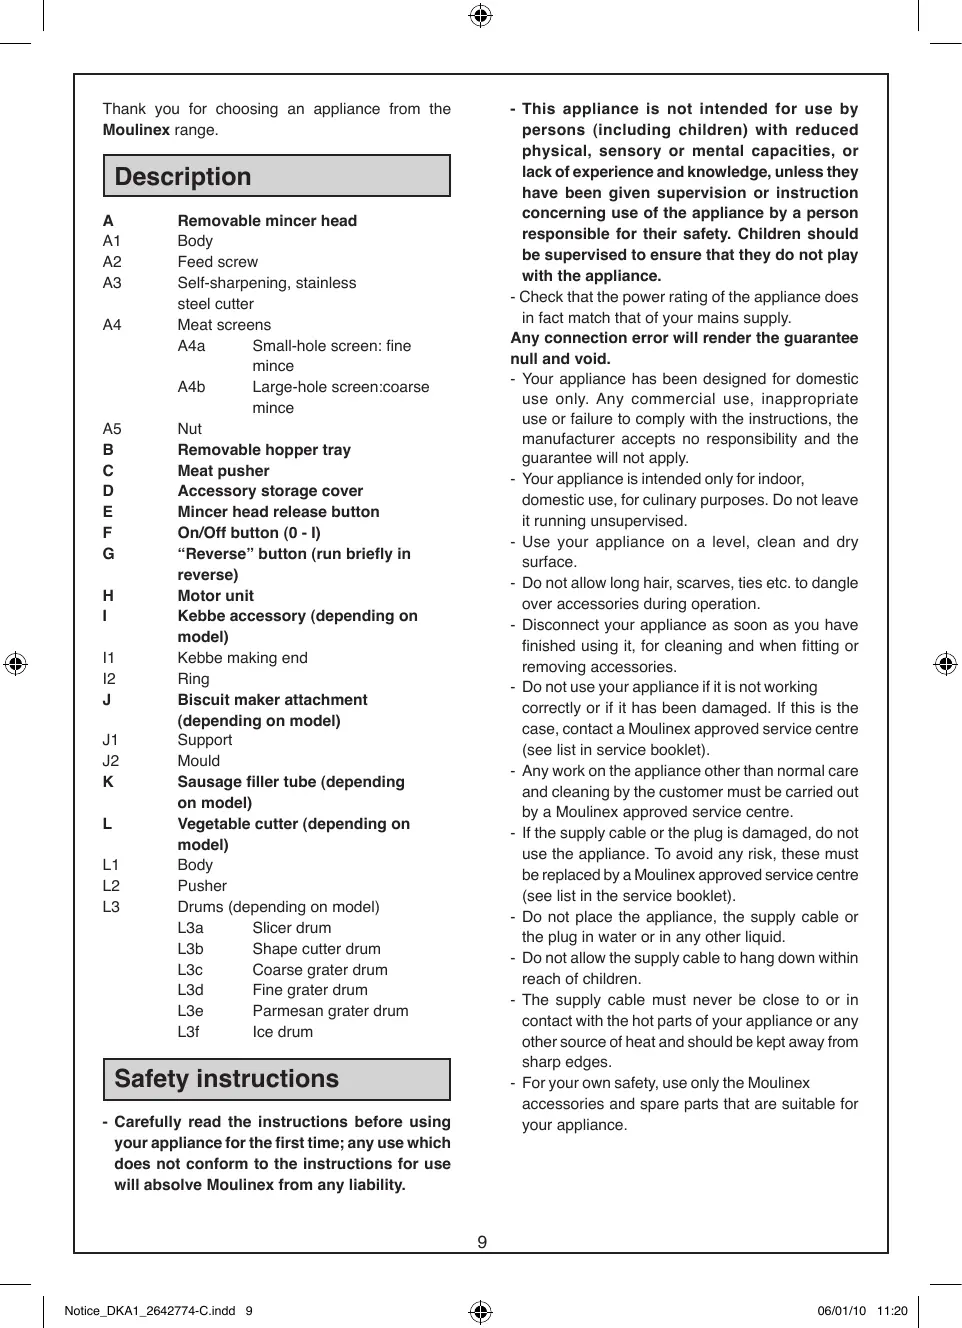
A Removable mincer head
A1 Body
A2 Feed screw
A3 Self-sharpening, stainless steel cutter
A4 Meat screens
A4a Small-hole screen: fine mince
A4b Large-hole screen:coarse mince
A5 Nut
B Removable hopper tray
C Meat pusher
D Accessory storage cover
E Mincer head release button
F On/Off button (0 - 1)
G "Reverse" button (run briefly in reverse)
H Motor unit
I Kebbe accessory (depending on model)
I1 Kebbe making end
I2 Ring
J Biscuit maker attachment (depending on model)
J1 Support
J2 Mould
K Sausage filler tube (depending on model)
L Vegetable cutter (depending on model)
L1 Body
L2 Pusher
L3 Drums (depending on model)
L3a Slicer drum
L3b Shape cutter drum
L3c Coarse grater drum
L3d Fine grater drum
L3e Parmesan grater drum
L3f Ice drum
Safety instructions
-
Carefully read the instructions before using your appliance for the first time; any use which does not conform to the instructions for use will absolve Moulinex from any liability.
-
This appliance is not intended for use by persons (including children) with reduced physical, sensory or mental capacities, or lack of experience and knowledge, unless they have been given supervision or instruction concerning use of the appliance by a person responsible for their safety. Children should be supervised to ensure that they do not play with the appliance.
- Check that the power rating of the appliance does in fact match that of your mains supply.
Any connection error will render the guarantee null and void.
- Your appliance has been designed for domestic use only. Any commercial use, inappropriate use or failure to comply with the instructions, the manufacturer accepts no responsibility and the guarantee will not apply.
- Your appliance is intended only for indoor, domestic use, for culinary purposes. Do not leave it running unsupervised.
- Use your appliance on a level, clean and dry surface.
- Do not allow long hair, scarves, ties etc. to dangle over accessories during operation.
- Disconnect your appliance as soon as you have finished using it, for cleaning and when fitting or removing accessories.
- Do not use your appliance if it is not working correctly or if it has been damaged. If this is the case, contact a Moulinex approved service centre (see list in service booklet).
- Any work on the appliance other than normal care and cleaning by the customer must be carried out by a Moulinex approved service centre.
- If the supply cable or the plug is damaged, do not use the appliance. To avoid any risk, these must be replaced by a Moulinex approved service centre (see list in the service booklet).
- Do not place the appliance, the supply cable or the plug in water or in any other liquid.
- Do not allow the supply cable to hang down within reach of children.
- The supply cable must never be close to or in contact with the hot parts of your appliance or any other source of heat and should be kept away from sharp edges.
- For your own safety, use only the Moulinex accessories and spare parts that are suitable for your appliance.
Before first use
Wash all the accessories and dry them carefully, at once.
The grill and the knife need to be kept oiled. Coat them with oil. Do not use your appliance empty, if the grill and the knife are not oiled.
Using your appliance for the first time
MINCER HEAD
①. Assembling the mincing head
1a- Take the body (A1) by the feed tube, holding the wider opening uppermost. Insert the feed screw (A2) (long shaft first) into the body (A1).
1b- Fit the cutter (A3) onto the short shaft with the cutting edges facing outwards.
1c- Fit the chosen screen (A4a or A4b) on the cutter (A3), locating the two lugs in the corresponding notches in the body (A1).
1d - Screw the nut (A5) home on the body (A1) without locking it.
1e- Check the assembly. The shaft should have no play, neither should it be able to turn on its own. Otherwise, repeat the assembly procedure.
(2). Fitting the mincing head on the appliance
2a- Facing the motor unit, which should be disconnected, insert the mincer head with the feed tube inclined to the right. Push the mincer head home in the motor unit.
- Turn the mincer head until it latches with the feed tube in the vertical position.
2b- Engage the removable hopper tray (B) with the lugs on the feed tube.
Connect the appliance. It is ready for use.
.Using
- Prepare all of the foodstuffs to be minced. Remove bones and gristle.
- Cut the meat into pieces (about 1 inch square) and put them in the hopper tray (B).
- Place a bowl beneath the mincer head.
- Press position "l" of button (F).
- Push the meat, piece by piece, down the feed tube, using the pusher (C).
- Never push with the fingers or any other implement.
- Do not use your appliance continuously for more than 14 minutes when mincing meat.
Tip: you can follow up the meat with a few small pieces of bread to clear any meat remaining in the machine.
What should you do if the machine is clogged?
- Stop the mincer by pressing position "0" of button (F).
- Then press the "Reverse" button (G) for a few seconds to release the jam.
- Press position "l" of button (F) to continue mincing.
Important: wait until the appliance has stopped completely before pressing the "On" (F) or "Reverse"
(G) button.
Recipes:
Note: For recipes requiring a high power, the appliance should not be run continuously for more than 20 seconds.
Recipe example: Mutton with split peas.
150 g mutton, 90 g split peas, 60 g flour, 30 g (ml) water, 1 medium onion, 2 cloves of garlic, salt and pepper.
In a bowl, mix the split peas and the flour and then add the water slowly to obtain a smooth mixture.
With the pusher in the feed tube, pour this mixture into the hopper tray.
Start the appliance and gently push the mixture down the feed tube with the pusher.
Cut the onion, garlic and meat into small pieces.
Add them to the minced mixture, turn into a saucepan with 800 ml water, add salt and pepper and simmer for one hour.
Skim and cover.
KEBBE ACCESSORY (DEPENDING ON MODEL)
④. Assembly
4a- Insert the feed screw (A2) in the body (A1) of the mincer head (A).
4b- Fit the kebbe making end (I1) to the head (A), locating the two lugs in the two notches in the mincer head.
4c- Fit the ring (I2) over the kebbe making end (I1), followed by the nut (A5), which must be well tightened.
- Fit the assembled mincer head on the motor unit as shown in 2A.
Note: This accessory is used without meat screen and cutter.
BISCUIT MAKER ATTACHMENT (DEPENDING ON MODEL)
(5). Assembly
- Insert the feed screw (A2) in the body (A1) of the mincer head (A).
- Fit the mould (J2) in the support (J1).
-
Locate the two lugs on the support (J1) in the two notches in the mincer head (A).
-
Screw the nut (A5) home on the body (A1) without locking.
- Fit the assembled mincer head on the motor unit as shown in 2A.
Note:
This accessory is used without meat screen and cutter.
.Using
- Prepare the dough.
You will obtain the best results with a slightly soft dough. - Choose the shape by lining up the arrow with the chosen shape.
- Keep feeding dough until you have obtained the desired number of biscuits.
SAUSAGE FILLER TUBE (DEPENDING ON MODEL)
This accessory, which can be fitted on the mincer head (A), enables you to make any kind of sausage to your personal taste.
(6).Assembly
- Insert the feed screw (A2) in the body (A1) of the mincer head (A).
- Place the filler tube (K) in position, followed by the nut (A5), which must be firmly tightened.
- Fit the assembled mincer head on the motor unit as shown in 2A.
Note: This accessory is used without meat screen and cutter.
.Using
- This accessory is for use once you have minced your meat and seasoned your mince to taste.
- After soaking the sausage skin in tepid water to make it supple, thread it onto the filler tube (K) leaving about 5 cm (2 in.) hanging over the end.
- Fill the feed tube of the body (A1) of the mincer head (A) with your prepared sausage meat; start the appliance and press down with the pusher until the meat shows at the end of the filler tube.
- Stop the appliance.
- Make a knot in the overhanging end of the sausage skin. Push the knot up against the end of the filler tube to avoid any air being trapped in the sausage skin.
- Start the appliance again and keep up the supply of sausage meat. The sausage skin will fill with meat. To avoid overstretching the sausage skin, do not make your sausages too fat.
- This job is more easily done by two people, one to feed the meat and the other to support and control the sausage skin.
-
When all the sausage meat has been used, stop the appliance, pull the remaining sausage skin off the filler tube and tie a knot.
-
Set the length of your sausages by pinching and twisting the skin at the desired intervals.
VEGETABLE CUTTER (DEPENDING ON MODEL)
⑦. Assembly
7a- Facing the motor unit (H), which should be disconnected, hold the body of the vegetable cutter (L1) with the feed tube inclined to the right.
- Push the protruding shaft of the body (L1) into the shaft of the motor unit.
- Turn the cutter body anticlockwise until it latches with the feed tube in the vertical position.
7b- Take the chosen drum (L3) and insert it in the body, turning it slightly so that it engages fully in its fitting.
- Check the assembly.
- Do not use the "Reverse" button (G) with the vegetable cutter.
7c.Using
- Prepare all of the foodstuffs to be processed.
- Place a bowl beneath the body (L1).
- Connect the appliance. Start the appliance by pressing position "l" of button (F).
- Place the food in the feed tube of the body (L1) and press down with the pusher (L2). Keep up a regular supply of food.
- Never push with the fingers or any other implement.
- Do not insert your fingers in the drum with the appliance running.
Cleaning
- Before cleaning, disconnect your appliance.
- Press the release button (E) and turn the assembly (mincer head (A) + hopper tray (B) or vegetable cutter (L)) clockwise to release it from the motor unit (H).
- To dismantle the mincer head, take off the hopper tray (B) from the feed tube, unscrew the nut (A5), remove the meat screen (A4), the cutter (A3) and the feed screw (A2).
- Handle the cutting parts with care.
- Wash all the parts in hot, soapy water, rinse and carefully wipe them dry.
- The meat screen (A4) and the cutter (A3) must remain greased. Coat them with oil.
- Never allow water to penetrate the motor unit (H). Simply wipe it with a slightly damp cloth.
- Do not put the mincer head (A) in the dishwasher; this applies to the body (A1), the feed screw (A2), the cutter (A3), the meat screens (A4) and the nut (A5).

What to do if your appliance does not work
- Check the electrical connection.
Your appliance still does not work? If this is the case, contact a Moulinex approved service centre (see list in service booklet).
If you have any product problems or queries, please contact our Customer Relations team first for expert help and advice:
0845 602 14 54 - UK
(01) 47 51 947 - Ireland
or consult our website www.moulinex.co.uk
Environment protection first!
① Your appliance contains valuable materials which can be recovered or recycled.
Leave it at a local civic waste collection point.
F Aan/Uit-toets (O - I)
- Verifique as ligacoes.
E Sparr for kottkarn
F På/Av knapp (0 - 1)
| x - 2| = | x - 4|
jooia 10i jay Jui 9 Jiu y Jiy dJ4
(204)
J 1
y
.
1 1
.5ac 5c!g aill lcl
j0 1 jUjUj jJl jIJIaJIaJIaJI
.
()jiaill (20
S11 ⑦
jdl (H) 104
L L (L1)
(L1)jzj
在 Rt ABD 中:
Lg 1
j(L3)
Lgao Jdu 1y
1
Jaa (G) JJJaa
Jauy ⑦
lg( k - 1) = 12
.L1)
(I)a#gllle baiy aai. julljdl J
· (F)
(L1)JzJzJzJzJzJz
L(L2)
yai yi yi dui yiu yiu yiu
Jlgljglal Jd j
Jie:
3^2 + 1 = 6
jll jie aai jll kii sJ
Egai Iol E) 1j j
J (B) J + (A) a
.(L)
J山山(B)ww
_A_B_C (A4) (A5)
(A2) (A3)
1
1
L
J1 J (J2)
J (J1)
(A)
(A5)dJg
(A1)
JooLsOJolIe JooJoo
.2A 山 J
: abaa
.
Joooy
iJaa Jaa Jaa Jaa Jaa Jaa
L
1
y
.
()
C (A) a jaii ci y i 1
aaii iaijiaia jiaia jiaia jiaia jiaia jiaia jiaia jiaia jiaia jiaia jiaia jiaia jiaia jiaia jiaia jiaia jiaia jiaia jiaia jiaia jiaia jiaia jiaia jiaia jiaia jiaia jiaia jiaia jiaia jiaia jiaia jiaia jiaia jiaia j
1
(A1) jgJy Jy 4K (A2)
.(A)
A5 1
jLgLoJdIaLgLe LgSJJswJg
.2A
.
JLaiyI
pall Jauu jauo pail pa Jaua oJaua
a
5 5 5 5 5 5 5 5 5 5 5
(A) 10000000000000000000000000000000000000000000000000
Jaa Jai jai jai jai jai jai
aill 1
14
Jdsalld. sdlj ydu 5 J j sdc dcl
1 1
y j 1
1.1.2.3.4.5.6.7.8.9.10
jIJIJIJIJIJIJIJIJI ③
f) 000
(A1) j4aJ 1000000000000000000000000000000000000000000000000000000000
.(A)
Jc(A)wJgIe(II)JgJgIg
(F) jll "I" 10
sui suiuy aebiae bua Jauu paull Jau
.(C)
aaiia iiai iiaiaaiipall iia
paaa 15 jgssd JgJnuiu
.
jai) jaiabwgl Jaaaiil 12 aaiyai y (Jiaoiyai paoi
aie gaiyaiyaiyaiyaiyaiyaiyaiyaiyaiyaiyaiyaiyaiyaiyaiyaiyaiyaiyaiyaiyaiyaiyaiyaiyaiyaiyaiyaiyaiyaiyaiyaiyaiyaiyaiyaiyaiyaiyaiyaiyaiyaiyaiyaiyaiyaiyaiyaiyaiyai y
Jjll JjL jll JlaaWu kpa aou uJ 1
.(jall JaaiuWu bao)
Jjll Jjell jkuaWu kpa aou uJ 1
Jaaull
J 1a
A2 J A2
J L A3
A4
A4b J A4a J
A5
A5
A5
A5
B
.1b
.2b
.3b
.4b
120000B 5b
Olaolal
oai 1 1 1 1 1 1 1 1 1 1 1 1 1 1 1 1 1 1 1 1 1 1 1 1 1 1 1 1 1 1 1 1 1 1 1 1 1 1 1 1 1 1 1 1 1 1 1 1 1 1 0
aui i j i j i j i j i j i j i j i j i j i j i j i j i j i j i j i j i j i j i j i j i j i j i j i j i j i j i j i j i j i j i j i j i j i j i j i j i j i j i j i j i j i j i j i j i j i j i j i j i j i j i
aaii aaii aaii aaii aaii aaii aaii aaii aaii aaii aaii aaii aaii aaii aaii aaii aaii aaii aaii aaii aaii aaii aaii aaii aaii aaii aaii aaii aaii aaii aaii aaii aaii aaii aaln

i
1Joaillnol jolal 1j Jai
olni jolalai ai g y. jilai aellba cai L
JI ruiu uaiy iuii auiu uaiu bua 4
2S dals gl juiu uaiu ci uiuu
(sksg juiu g) uaiu oaiu uaiu uaiu uaiu
g uus uus uus uus uus uus uus uus
auiu uus uus uus uus uus uus uus
4s uus uus uus uus uus uus uus
uuu uus uus uus uus uus uus
uuu uus uus uus uus uus uus
uuu uus uus uus uus uus
cuiolodaiiLjia joiolaiu oJyIaowl iou 1234567890123456789012345678901234567890123456789012345678901234567890123456789012345678901234567890123456789
()
() ()
J 1545 gai j 1j 1j 1j 1j 1j 1j
"Jz jz jz Jz Jz Jz Jz Jz Jz Jz Jz Jz Jz Jz Jz Jz Jz Jz Jz Jz Jz Jz Jz Jz Jz Jz Jz Jz Jz Jz Jz Jz Jz Jz Jz Jz Jz Jz Jz Jz Jz Jz Jz Jz Jz Jz Jz Jz Jz Jz Jz Jz Jz
(。yoo) (2015)
B
S_小 = C
D
E
:F
(20 G (20
:H
aBb(y)cLscLgI:I
(2) 134567890; .
j 1
( 2) J = J_2a + 12S = a^2 + 2ab + 1
4ab (j)g) 111111111:K
L
(2)J1J2a4
L K J DKA1
DAK2dDg

| DKA1/DKA2 | EU11/Gr/Tu/Ar/Ir | 2642774-C |