Sport Club R380 - Rowing Machine BH FITNESS - Free user manual and instructions
Find the device manual for free Sport Club R380 BH FITNESS in PDF.
| Product type | Rower |
| Brand | BH Fitness |
| Model | Sport Club R380 |
| Power supply | 220-240 V via AC adapter |
| Braking levels | 16 |
| Programs | Manual, 12 predefined programs, User (U0-U4), Heart rate control (55%, 75%, 90%, TAG), Constant watts, Race |
| Display | LCD screen with simultaneous display of SPM, time, distance, watts, calories, stroke count, total strokes, pulse |
| Programmable functions | Time (1-99 min), Distance (0.5-99.5 km), Calories (10-990), Heart rate (30-240 bpm), Stroke count (10-9990) |
| Recovery test | Yes, with rating from F1 (excellent) to F6 (very poor) |
| Chest strap support | Yes, telemetric |
| Control keys | Recovery, Start/Stop, Reset, Enter, Up, Down |
| Auto stop | After 4 minutes of inactivity |
| Safety | Electronic components out of use must be disposed of in specific containers |
| Maintenance | Keep away from direct sunlight, water and shocks |
| Repairability | After-sales service available (see manual) |
Frequently Asked Questions - Sport Club R380 BH FITNESS
User questions about Sport Club R380 BH FITNESS
0 question about this device. Answer the ones you know or ask your own.
Ask a new question about this device
Download the instructions for your Rowing Machine in PDF format for free! Find your manual Sport Club R380 - BH FITNESS and take your electronic device back in hand. On this page are published all the documents necessary for the use of your device. Sport Club R380 by BH FITNESS.
USER MANUAL Sport Club R380 BH FITNESS
text_image
BH 88:88 STOP MANUAL PROGRAM WATT USER H.R.C RACE E AGE H.1 W.1 88:88 TIME / 500V 16 14 12 10 8 7 5 3 1 10 88.0 TORTUB DISTANCE KM 10 7 5 3 88.0 WATT CALORIES 88:8.8 K 88.0 SFM T.M. (500M) TFL STRA TOWO (S) HATT CAL SPN PLS ♥ PULSE enter programs 1 2 3 4 5 6 7 8 9 10 11 12UNIDAD ELECTRÓNICA ELECTRONIC MONITOR UNITÉ ÉLECTRONIQUE ELEKTRONIKEINHEIT UNIDADE ELECTRÓNICA IMPIANTO ELETTRONICO ELEKTRONISCHER MONITOR
Fig. 1

text_image
Warning symbol for a waste bin with crossed lines indicating no waste, and a black rectangle below.Fig. 2
text_image
220V 113 1Fig.3
natural_image
Line drawing of a person wearing a chest with a belt (no text or symbols)Español
PUESTA EN MARCHA.-
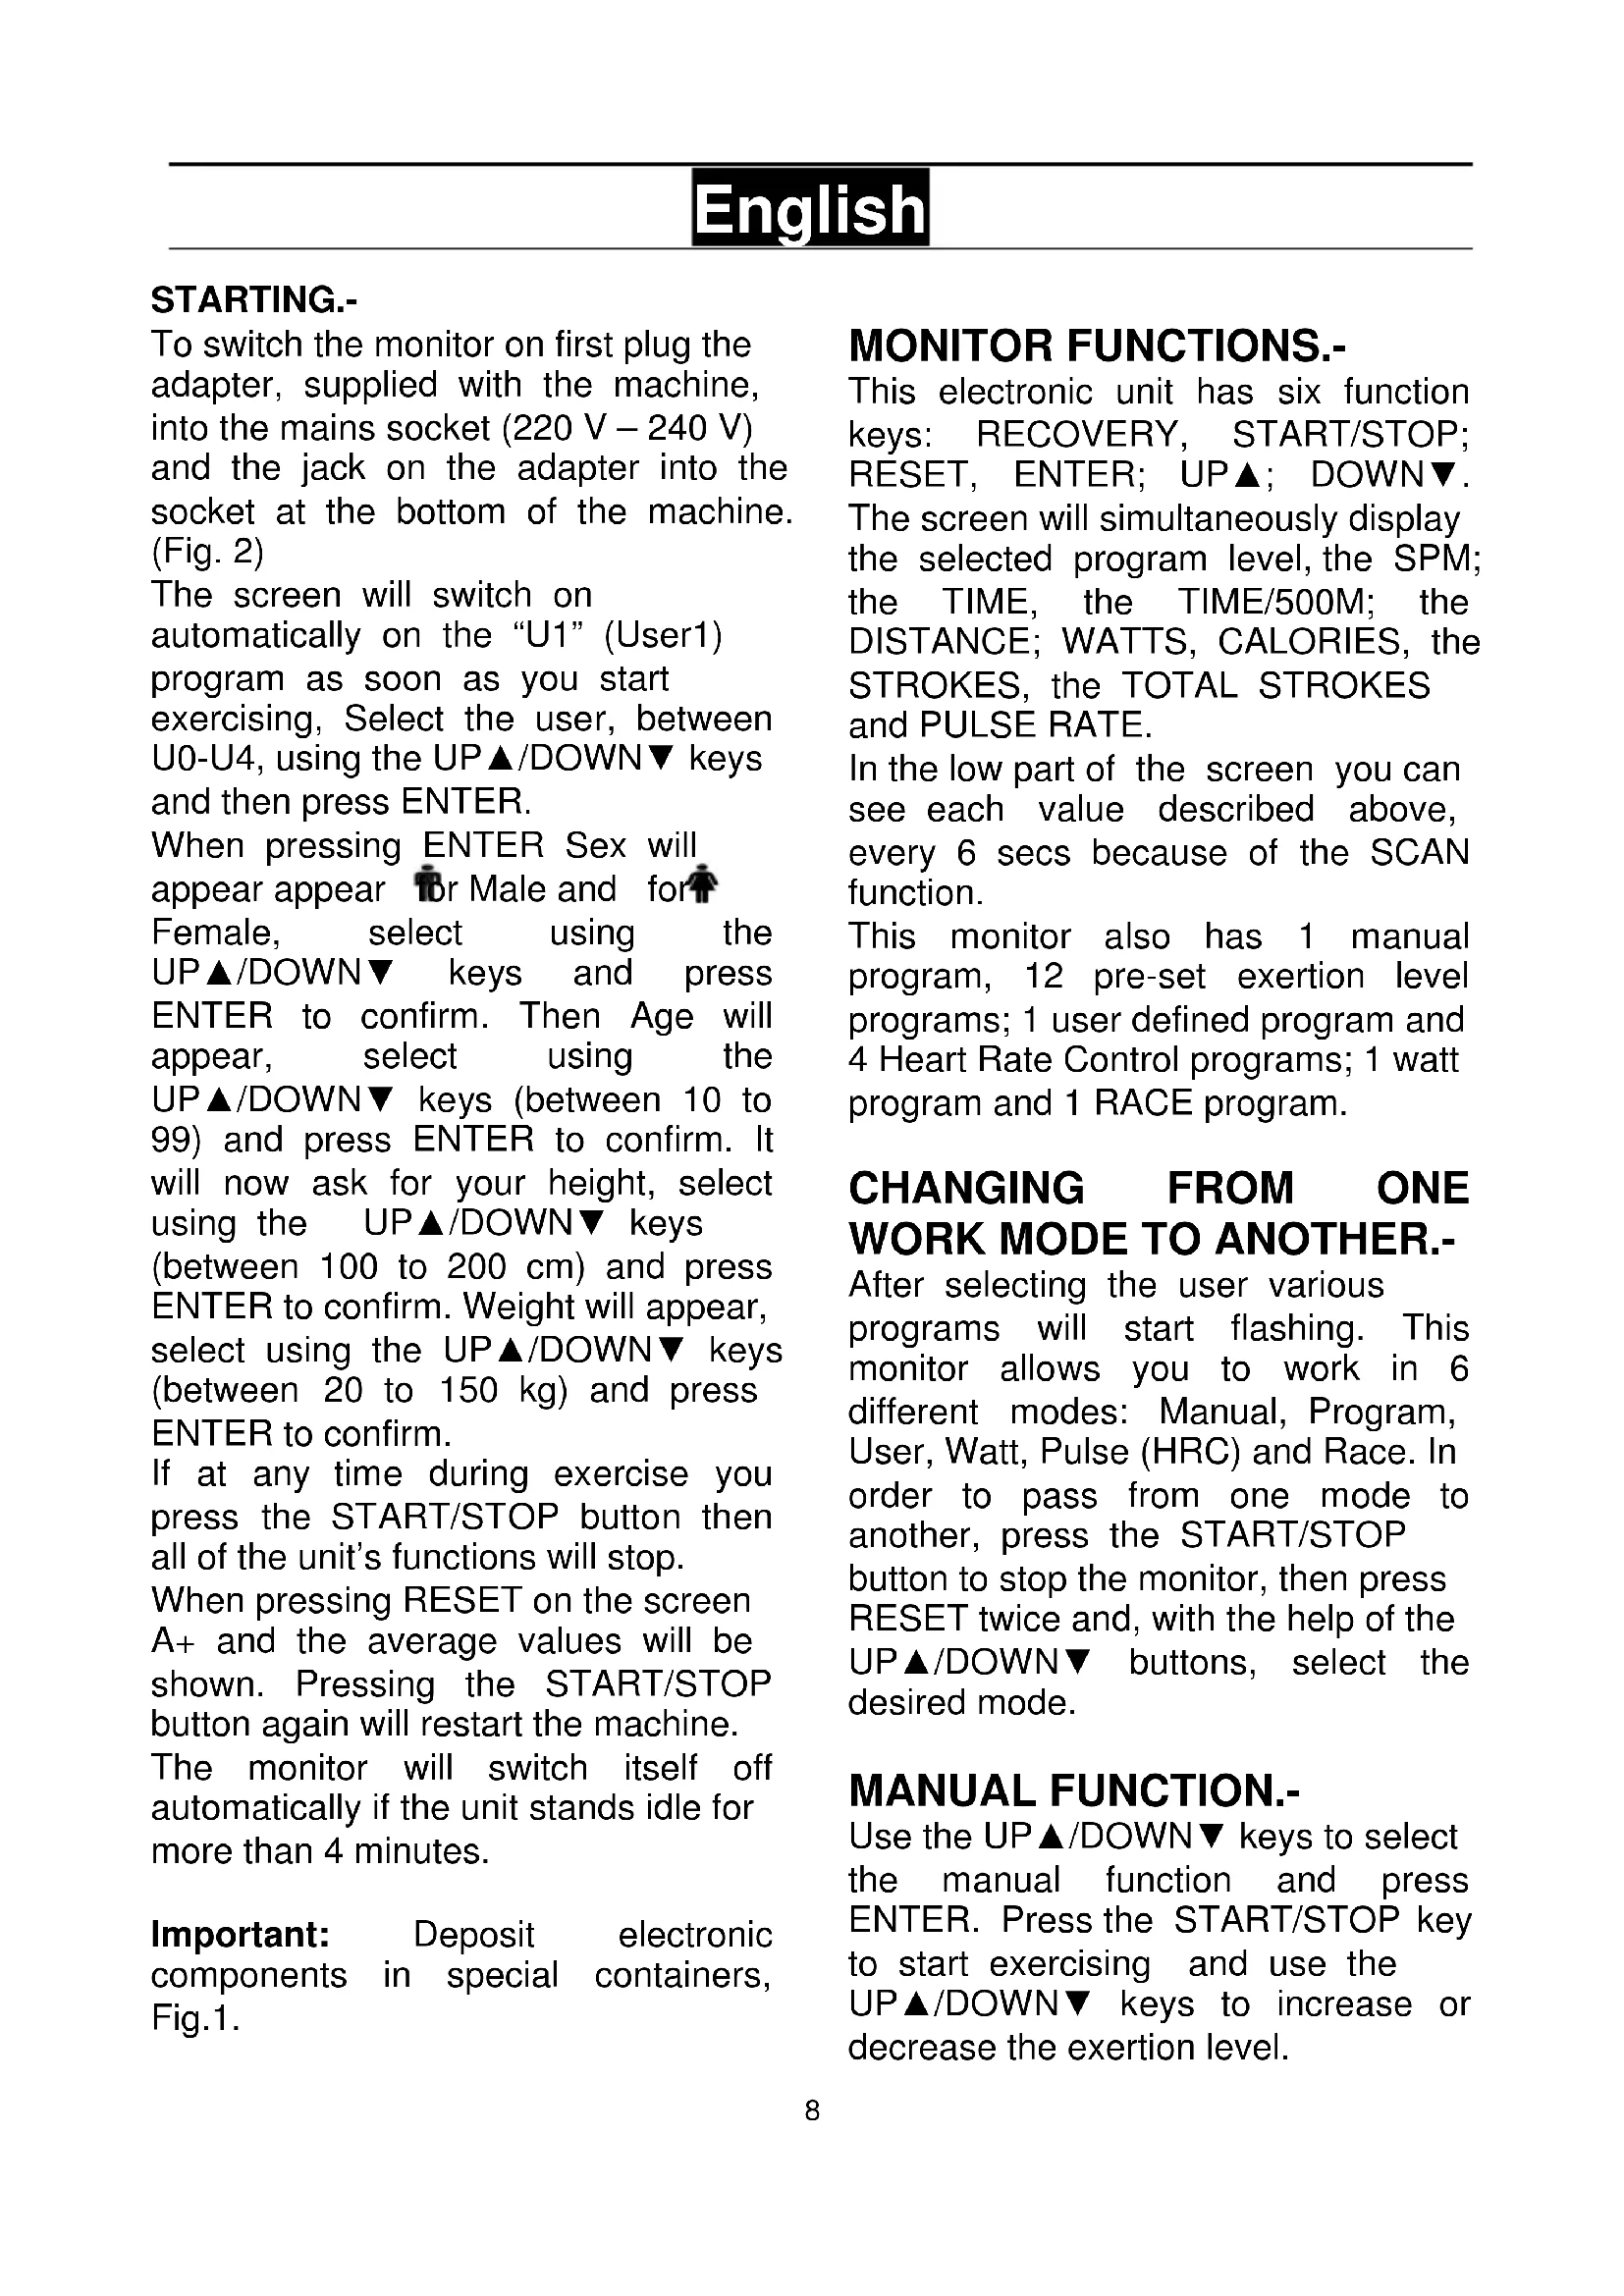
To switch the monitor on first plug the adapter, supplied with the machine, into the mains socket (220 V – 240 V) and the jack on the adapter into the socket at the bottom of the machine. (Fig. 2)
The screen will switch on automatically on the "U1" (User1) program as soon as you start exercising, Select the user, between U0-U4, using the UP▲/DOWN▼ keys and then press ENTER.
When pressing ENTER Sex will appear appear 🌐 for Male and for
Female, select using the UP▲/DOWN▼ keys and press ENTER to confirm. Then Age will appear, select using the UP▲/DOWN▼ keys (between 10 to 99) and press ENTER to confirm. It will now ask for your height, select using the UP▲/DOWN▼ keys (between 100 to 200 cm) and press ENTER to confirm. Weight will appear, select using the UP▲/DOWN▼ keys (between 20 to 150 kg) and press ENTER to confirm.
If at any time during exercise you press the START/STOP button then all of the unit's functions will stop.
When pressing RESET on the screen A+ and the average values will be shown. Pressing the START/STOP button again will restart the machine.
The monitor will switch itself off automatically if the unit stands idle for more than 4 minutes.
Important: Deposit electronic components in special containers, Fig.1.
MONITOR FUNCTIONS.-
This electronic unit has six function keys: RECOVERY, START/STOP; RESET, ENTER; UP▲; DOWN▼. The screen will simultaneously display the selected program level, the SPM; the TIME, the TIME/500M; the DISTANCE; WATTS, CALORIES, the STROKES, the TOTAL STROKES and PULSE RATE.
In the low part of the screen you can see each value described above, every 6 secs because of the SCAN function.
This monitor also has 1 manual program, 12 pre-set exertion level programs; 1 user defined program and 4 Heart Rate Control programs; 1 watt program and 1 RACE program.
CHANGING FROM ONE WORK MODE TO ANOTHER.-
After selecting the user various programs will start flashing. This monitor allows you to work in 6 different modes: Manual, Program, User, Watt, Pulse (HRC) and Race. In order to pass from one mode to another, press the START/STOP button to stop the monitor, then press RESET twice and, with the help of the UP▲/DOWN▼ buttons, select the desired mode.
MANUAL FUNCTION.-
Use the UP▲/DOWN▼ keys to select the manual function and press ENTER. Press the START/STOP key to start exercising and use the UP▲/DOWN▼ keys to increase or decrease the exertion level.
There are 16 exertion levels. If you press the START/STOP key while at the start screen, exercise will begin directly in manual mode.
Programming a time limit.-
If, after selecting manual mode, you press the ENTER key the time window will start flashing. By pressing the UP▲/DOWN▼ keys you can program a time limit for the exercise (between 1-99 minutes). Select the time and press START/STOP to begin the exercise. The time will begin to count down until it reaches zero and the monitor will show STOP to advise you that you have reached the programmed value; this value will blink 8 seconds and then an A+ and the average values of the exercise will be shown.
Programming a distance limit.-
If, after selecting manual mode, you press the ENTER key twice the distance window will start flashing. By pressing the UP ▲/DOWN ▼ keys you can program a distance for your exercise (between 0.5–99.5 km). Select the distance and press START/STOP to begin the exercise. The distance will begin to count down until it reaches zero and the monitor will show STOP to advise you that you have reached the programmed value; this value will blink 8 seconds and then an A+ and the average values of the exercise will be shown.
Programming a calorie limit.-
If, after selecting manual mode, you press the ENTER key three times the calorie window will start flashing. By pressing the UP ▲/DOWN ▼ keys you can program the calories for the exercise (between 10-990 Cal.).
Select the calories and press START/STOP to begin the exercise. The calories will begin to count down until they reach zero and the monitor will show STOP to advise you that you have reached the programmed value; this value will blink 8 seconds and then an A+ and the average values of the exercise will be shown.
Programming the HEART RATE.-
If, after selecting manual mode, you press the ENTER key four times the TAG window will start flashing. By using the ▲/▼ keys you can program the heart rate for the exercise (between 30-240 bpm). Select the heart rate and press START / STOP to begin the exercise. If the heart rate is equal to or higher than the target value, the monitor will show STOP to advise you that you have reached the programmed value; this value will blink 8 seconds and then an A+ and the average values of the exercise will be shown.
Programming theSTROKES.-
If, after selecting manual mode, you press the ENTER key five times the STROKES window will start flashing. By using the ▲/▼ keys you can program the strokes for the exercise (between 10-9990). Select the heart rate and press START / STOP to begin the exercise. The strokes will begin to count down until it reaches zero the monitor will show STOP to advise you that you have reached the programmed value; this value will blink 8 seconds and then an A+ and the average values of the exercise will be shown.
PROGRAM FUNCTION.-
Use the UP▲/DOWN▼ keys to select the PROGRAM function and press ENTER. Press the UP▲/DOWN▼ keys to select the program graph (1-12) that you wish to use and then press the ENTER key. Press START/STOP to start the exercise.
To program level, time, distance, calories, strokes and/or heart rate, go through the following procedure: Once the program has been selected, press the ENTER key to program the level using the UP▲/DOWN▼ keys. Press the ENTER key to program the time using the UP▲/DOWN▼ keys. In this case the time will be divided into 16 stages. Press the ENTER key to program the distance. Press ENTER again to program the calories. Press ENTER again to program the heart rate. Press ENTER again to program the strokes. Press START/STOP to start the exercise.
If none of the parameters are set, the duration of the exercise will depend on the time the user needs to cover 1.6km.
You can vary the exertion level during the exercise by pressing the UP ▲/DOWN ▼ keys.
STEADY WATT RATE PROGRAM
Press the UP▲/DOWN▼ keys to select the WATT function and press ENTER. By pressing the UP▲/DOWN▼ keys you can program the watts (between 10-350 Watt.) for the exercise. Select the watts and press ENTER to program the time. Press ENTER again to program the distance. Press ENTER again to program the heart rate. Press ENTER again to program the calories. Press the ENTER key one last time to program the strokes. Press START/STOP to start the exercise.
The exertion level for the exercise is self adjusting based on the speed and number of watts selected.
USER PROGRAM.-
Use the UP▲/DOWN▼ keys to select the USER function and press ENTER. The first column of the exercise level will start flashing to the left of the central area of the display. Select the desired level for this first stage using the UP▲/DOWN▼ keys and then press ENTER. Repeat this procedure to program all 16 stages of the user program. Press START/STOP to start the exercise.
To program time, distance and/or calories, go through the following procedure: Once the user program has been defined and before pressing the START/STOP key, press and hold the ENTER key for 4 seconds until the time function starts to flash. Press the UP▲/DOWN▼ keys to select the time. Press the ENTER key to program the distance. Press ENTER again to program the calories. Press ENTER again to program the heart rate. Press ENTER again to program the strokes. Press START/STOP to start the exercise.
Data entered by the user will be stored in the profiles U1-U4.
HEART RATE CONTROL PROGRAMS.-
Use the UP▲/DOWN▼ keys to select the H.R.C function and press ENTER. Use the UP▲/DOWN▼ keys to select the desired option (55%, 75% 90% or TAG) and press the ENTER key.
The first 3 represent the percentage with respect to maximum heart rate (220-age) and the fourth is used to specify the target heart rate manually. If you choose TAG then you should use the UP▲/DOWN▼ keys to select the desired heart rate and then press ENTER. Press START/STOP to start the exercise. The exertion level will adjust automatically in accordance with the selected hart rate value. If the pulse rate is below the target value then the exertion setting will increase by one level every 60 seconds until it reaches the maximum 16. If the pulse rate is above the target value the monitor will give out warning beeps and reduce the exertion settings by one level every 30 seconds until it reaches the minimum 1. To program time, distance, and/or calories, go through the following procedure: Once the heart rate program has been selected and before pressing the START/STOP key, press the ENTER key to program the time limit using the UP▲/DOWN▼ keys. Press ENTER again to program the distance. Press ENTER again to program the calories. Press the ENTER key one last time to program the strokes. Press START/STOP to start the exercise. Your chest belt must be put on when using these programs.
RACE PROGRAM
It consists in a race between the user (U) and the computer (P). The user must establish the SPM and the distance and he/she has to beat them. If the user rows faster than the computer, he/she will be the winner, if the user is slower, will lose. Press the UP▲/DOWN▼ keys to select the RACE function and press ENTER.
By pressing the UP▲/DOWN▼ keys you can program the SPM (between 5-90.) and press ENTER and then program the distance. Press START/STOP to start the exercise.
TELEMETRIC PULSE RATE.-
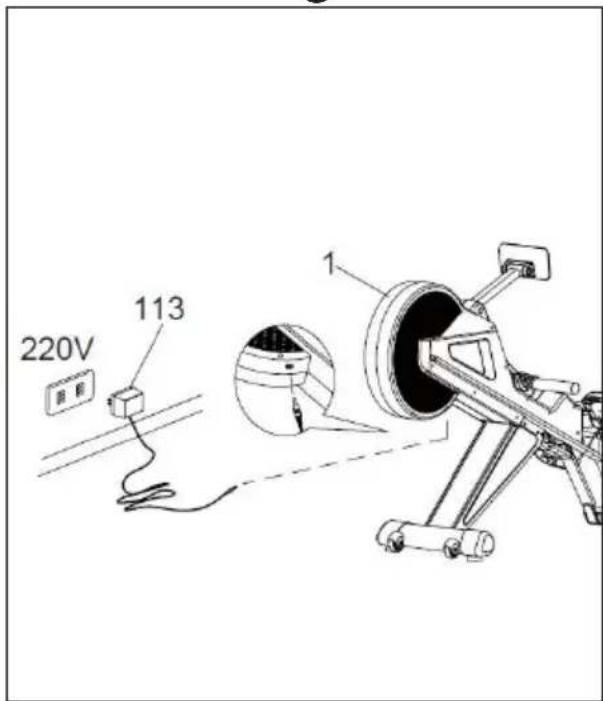
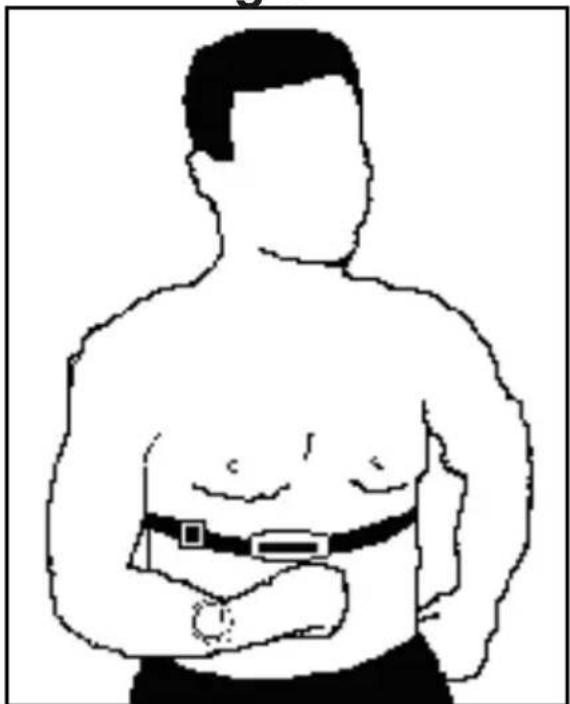
The monitor is equipped to receive signals from a telemetric pulse measurement system.
The system comprises of a receiver and a transmitter (chest band) Fig.3.
TEST MEASUREMENTS: FITNESS.-
This electronic device is equipped with a recovery test function. This offers you the advantage of being able to measure how long it takes your heart rate to recover after having finished the exercise. During the exercise, with the chest belt correctly placed, press the «Recovery» button, this will start a one minute countdown. Only the Time and Pulse rate function read-outs will remain displayed. The electronic device will measure your pulse rate during this minute. The heart rate recovery time will be displayed on the Heart rate line.
If, at any time during this minute, you decide to abandon this test then press the «RECOVERY » and this will take you back to the main screen.
When the minute is up, the electronic device will work out the difference and your fitness rating will be displayed up on the screen: «F1, F2,..., F5, F6»; where «F1» is the best (fitness «Excellent») and «F6» the worst (fitness «Very Poor»).
The comparison between the worked heart rate and the recovery heart rate provides a fast, simple method of gauging how fit you are.
Your fitness rating is a guideline that shows you how fast your heart recovers after physical exertion. If you exercise regularly then you will see your fitness rating improve.
The test does not work unless you have the chest belt placed and the heart rate is already shown in the screen.
TROUBLESHOOTING GUIDE.-
Problem: The display comes on but only the Time function works.
Solution:
a.- Make sure that the connection cable is connected.
Problem: Display segments of a function read-out are not visible or error messages for a particular function appear.
Solution:
a.- Unplug it from the 220 V mains socket for 15 seconds and then plug it back in.
b.- If the above steps do not help then replace the electronic monitor.
Transformer 6V 1Amp
Problem: The monitor does not switch on.
Solution:
a.- Check the 220 V mains connection b.- Check the output connection from the transformer to the machine. c.- Check the cable connections for the main post.
Avoid leaving the electronic monitor in direct sunlight as this might damage the liquid crystal display. Similarly, do not expose it to water or knocks.
Do not hesitate to get touch with the Technical Assistance Service if you have any queries by phoning customer services (see last page in manual)
BH RESERVES THE RIGHT TO MODIFY THE SPECIFICATIONS OF ITS PRODUCTS WITHOUT PRIOR NOTICE
Français
MISE EN MARCHE.-
PROGRAMMA DEI WATTS COSTANTI
WATT-CONTINU PROGRAMMA
Transformer 6V 1 Amp
e-mail: info@bhfitness.pt
BH SERVICE PORTUGAL
Tel.: +351 234 729 510
Fax: +351 234 729 519
e-mail: info@bhfitness.pt
BH GERMANY GmbH
Grasstrasse 13
45356 ESSEN
GERMANY
Tel: +49 2015 997018
e-mail:
technik@bhgermany.com
BH FITNESS NORTH AMERICA
20155 Ellipse
Foothill Ranch
CA 92610
Tel: + 1 949 206 0330
Toll free: +1 866 325 2339
service.uk@bhfitness.com
BH FITNESS ASIA
BH Asia Ltd.
No.80, Jhongshan Rd.,
Daya Dist.,
Taichung City 42841,
Taiwan. R.O.C.
Tel.: +886 4 25609200
Fax: +886 4 25609280
Block A, NO.68, Branch Lane
455, Lane 822,
Zhen Nan RD., Li Zi Yuan,
Putuo, Shanghai 200331, P.R.C.
Tel: +86-021-5284 6694
Fax:+86-021-5284 6814
e-mail: info@i-bh.cn
BH FITNESS FRANCE
SAV FRANCE
Tel : +33 0810 000 301
Fax : +33 0810 000 290
savfrance@bhfitness.com
BH SE RESERVA EL DERECHO A MODIFICAR LAS ESPECIFICACIONES DE SUS PRODUCTOS SIN PREVIO AVISO.
SPECIFICATIONS MAY BE CHANGED WITHOUT PRIOR NOTICE DUE TO OUR PROGRAMME OF CONTINUOUS PRODUCT DEVELOPMENT.
BH SE RÉSERVE LE DROIT DE MODIFIER LES SPECIFICATIONS DE SES PRODUITS SANS PRÉAVIS.