1002W - Projecteur extérieur à LED Livarno Lux - Free user manual and instructions
Find the device manual for free 1002W Livarno Lux in PDF.
Download the instructions for your Projecteur extérieur à LED in PDF format for free! Find your manual 1002W - Livarno Lux and take your electronic device back in hand. On this page are published all the documents necessary for the use of your device. 1002W by Livarno Lux.
USER MANUAL 1002W Livarno Lux
Operating and safety information FR BE CH
Before you start reading, please fold out the illustrations page and familiarise yourself with all of the item’s functions.
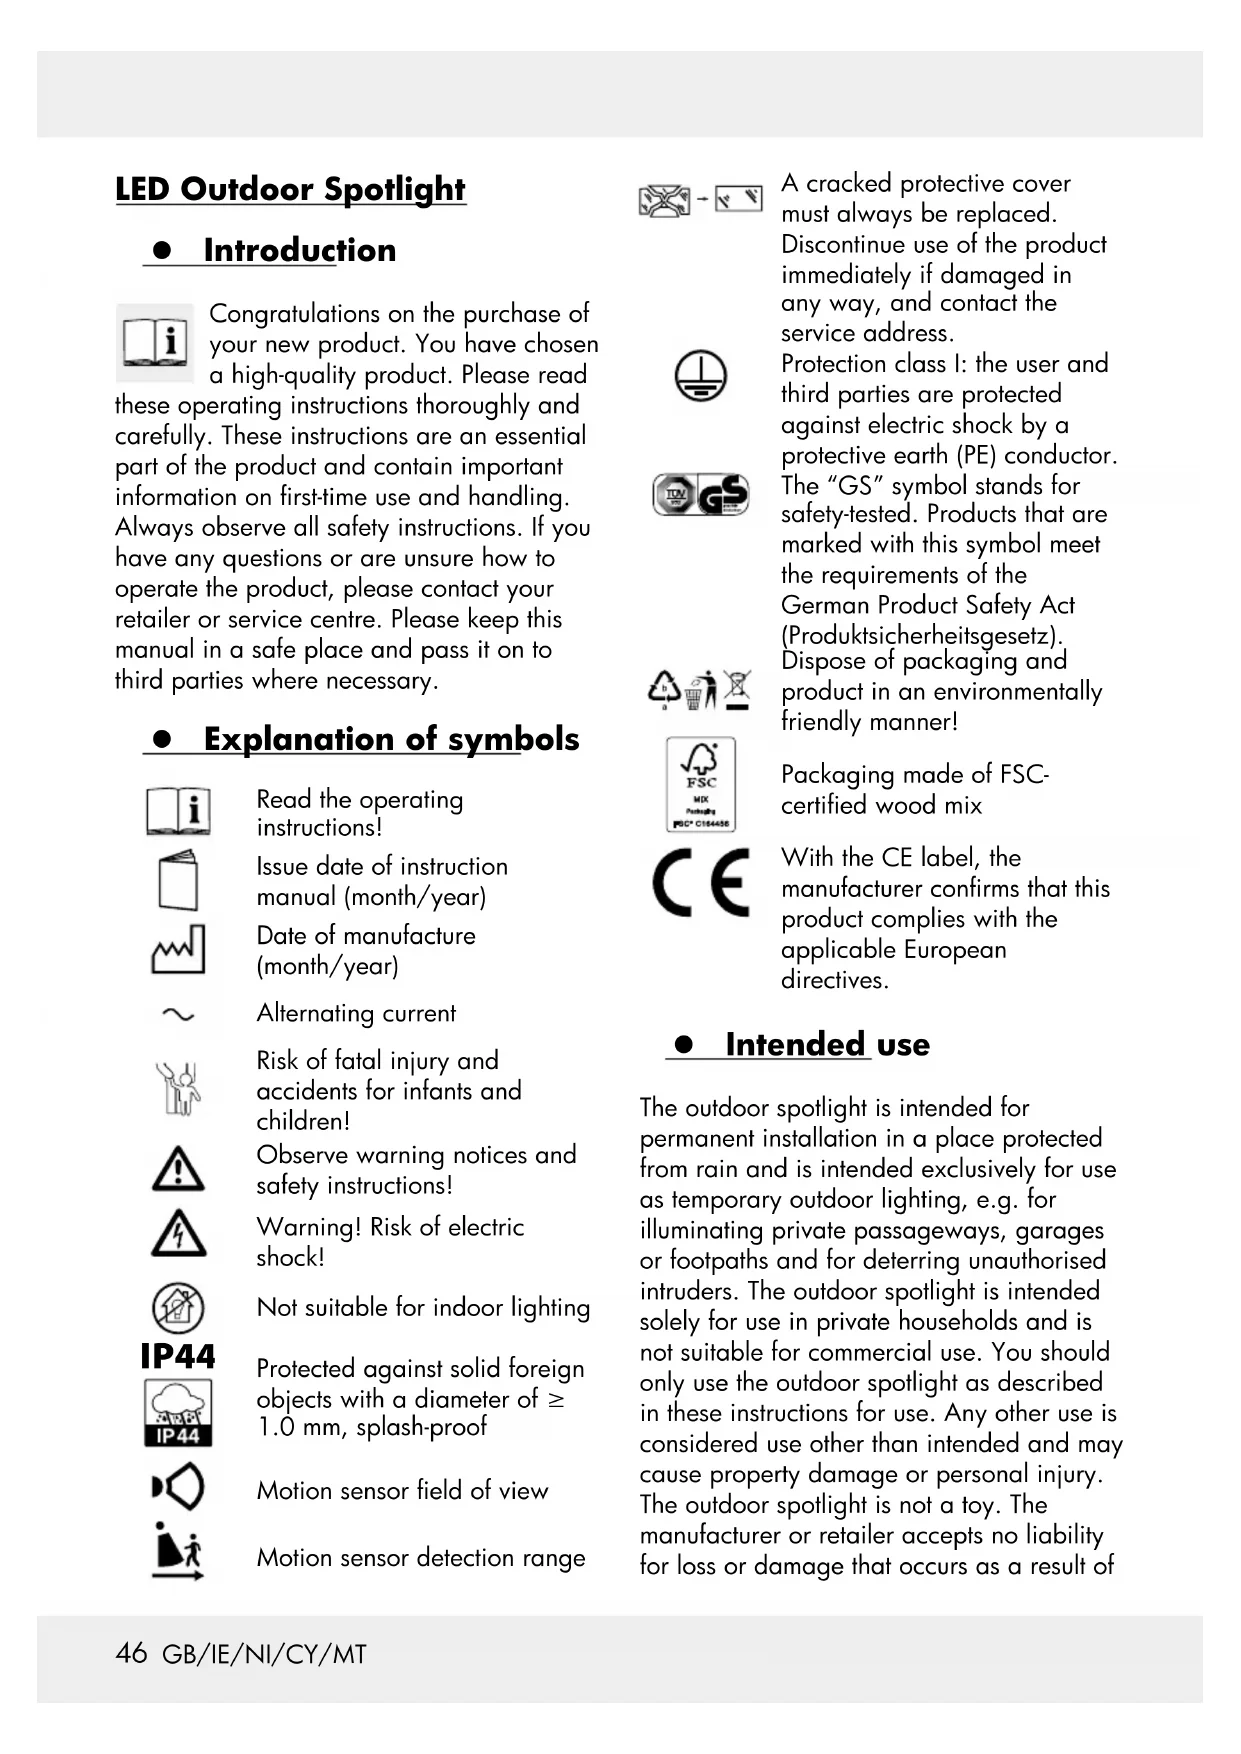
Service Suisse Tél.: 00800 80040044 E-Mail: administration@mynetsend.de IAN 383230_2110 Veuillez conserver le ticket de caisse et le numéro de l’article (par ex. IAN 123456) comme preuve d’achat. Vous trouverez une version actuelle de la notice d’utilisation sur : www.citygate24.de46 GB/IE/NI/CY/MT LED Outdoor Spotlight z Introduction Congratulations on the purchase of your new product. You have chosen a high-quality product. Please read these operating instructions thoroughly and carefully. These instructions are an essential part of the product and contain important information on rst-time use and handling. Always observe all safety instructions. If you have any questions or are unsure how to operate the product, please contact your retailer or service centre. Please keep this manual in a safe place and pass it on to third parties where necessary. z Explanation of symbols Read the operating instructions! Issue date of instruction manual (month/year) Date of manufacture (month/year) Alternating current Risk of fatal injury and accidents for infants and children! Observe warning notices and safety instructions! Warning! Risk of electric shock! Not suitable for indoor lighting IP44 Protected against solid foreign objects with a diameter of ≥
1.0 mm, splash-proof
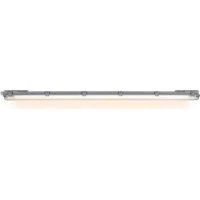
Motion sensor eld of view Motion sensor detection range A cracked protective cover must always be replaced. Discontinue use of the product immediately if damaged in any way, and contact the service address. Protection class I: the user and third parties are protected against electric shock by a protective earth (PE) conductor. The “GS” symbol stands for safety-tested. Products that are marked with this symbol meet the requirements of the German Product Safety Act (Produktsicherheitsgesetz). Dispose of packaging and product in an environmentally friendly manner! Packaging made of FSC- certied wood mix With the CE label, the manufacturer conrms that this product complies with the applicable European directives. z Intended use The outdoor spotlight is intended for permanent installation in a place protected from rain and is intended exclusively for use as temporary outdoor lighting, e.g. for illuminating private passageways, garages or footpaths and for deterring unauthorised intruders. The outdoor spotlight is intended solely for use in private households and is not suitable for commercial use. You should only use the outdoor spotlight as described in these instructions for use. Any other use is considered use other than intended and may cause property damage or personal injury. The outdoor spotlight is not a toy. The manufacturer or retailer accepts no liability for loss or damage that occurs as a result of47 GB/IE/NI/CY/MT use other than intended or incorrect use. This product uses a light source with a Class F energy efciency rating. z Specications supplied 1 LED outdoor spotlight 1 wall bracket (for mounting on building walls or corners) inc. xings (4 wall plugs, 2 screws (10mm), 4 screws (25mm)) 1 instruction manual z Description of parts
Motion and twilight sensor
LUX control (for setting sensitivity of twilight sensor)
TIME control (for setting the illumination time)
SENS control (for setting the detection range)
Household mains live conductor L
Household mains protective earth conductor PE (green/yellow)
Household mains neutral conductor N
Guide holes for xing screws (when mounting on straight walls)
Guide holes for xing screws (when mounting on corners)
Screw (10mm) z Technical data Model number: 1002-W/1002-G Input power: max. 24W Power supply: 220-240 V AC, 50/60 Hz Dimensions: approx. 190 x 230 x 200mm Weight: 650 g Luminous power: 1,900lm with diffusor Beam width: 100 ° Max. projection area: 294cm² Protection class: IP44 Motion detector: eld of view approx. 110°, range max. 12m Rated ambient temperature: -21°C to +25°C Mounting height: up to 3m Suitable conductor cross-section for power supply terminal: H05RN-F, 3x 1,0 mm² z Safety instructions Safety instructions WARNING!
CHILDREN! Never leave children unsupervised with the packaging material. There is a danger of suffocation from the packaging material. Children often underestimate the dangers. Always keep children away from the product. This product can be used by children aged48 GB/IE/NI/CY/MT 8 years and over, as well as by persons with limited physical, sensory or mental abilities or lacking in experience and knowledge if they have been supervised and instructed as to the safe use of the product and understand the resulting hazards. Do not let children play with the product. Cleaning and maintenance may not be carried out by children without proper supervision.
SUFFOCATION RISK! Keep the product, packing/protective foil and small parts away from children. Children may swallow small parts or protective foil and choke or suffocate on them. Do not use the product if you notice any damage. The LEDs are not replaceable. Once the light source reaches the end of its service life, the product must be replaced.
RISK OF ELECTRIC SHOCK! Incorrect electrical installation or a power supply voltage that is too high can potentially cause electric shocks. Installing this product involves working on the mains electricity supply so it may only be carried out by a competent person according to the national regulations for installation and connection in the country of use. Never tamper with or modify the product. If the product has any identiable faults, stop using it immediately. Do not open up the casing and only have the product repaired by qualied professionals. To that end you should contact a specialist repairer. No liability or warranty claims are accepted in cases where repairs have been carried out by unauthorised persons or the product has been incorrectly wired or used. The manufacturer/distributor of this product accepts no responsibility whatsoever for personal injury or damage resulting from incorrect installation or use. Do not exceed the specied mains voltage (see “Technical data”). Do not immerse the product in water or any other liquids. Keep the product away from naked ames and hot surfaces. Install the product in a position where it will be protected from rain. Before starting installation, cleaning or maintenance work or if ever a fault occurs, remove the mains fuse or switch off the circuit-breaker for the circuit. Use a voltage tester to check that the product is isolated from the power supply.
RISK OF INJURY! Incorrect handling of the product may potentially result in personal injury. Any protective cover that is split or cracked must be replaced. Never look directly into the light source. Never point the light into the eyes of other people or animals.
PLEASE NOTE! Incorrect handling of the light may lead to damage to the product. Check the screw xings at regular intervals. z Assembly and installation Please note: remove the product from its packaging. Check that all package contents are present. Check if the product or individual parts are damaged. Should you detect damage, do not use the product. Please contact the retailer via the service address indicated. Choosing the installation position Fix the outdoor spotlight at a height of 2-3m to a sturdy wall that is not subject to vibration. Only install the outdoor spotlight outside of the hand-contact zone so as to prevent it being touched. Position it at least 20cm away from other objects so as to ensure good ventilation.49 GB/IE/NI/CY/MT If possible, mount the outdoor security in a position where it will not be exposed to dirt or dust and is protected from rain (e.g. under a roof overhang), sun and other weathering effects. Take care to ensure that the outdoor spotlight is not affected by interference from another light source. Do not point the motion sensor
(see Fig. A) towards heating fans, air conditioning units, swimming pools or other objects with rapidly changing temperatures. Do not point the motion sensor towards trees, bushes or areas where moving animals can be detected. Take into account that the motion sensor responds primarily to movement across its eld of view and not so sensitively to movement directly towards or away from it. Mounting the outdoor spotlight RISK OF ELECTRIC SHOCK! Incorrect electrical installation or a power supply voltage that is too high can potentially cause electric shocks. Failure to take account of that risk endangers not only yourself but other people as well. You should only have the product installed by a qualied electrician. When drilling the xing holes, take care to avoid drilling through wiring, cables or pipes (e.g. water or gas pipes). Make sure the power supply is disconnected during installation. Switch off the circuit-breaker for the circuit concerned or remove the fuse. Safeguard it against being switched on again (e.g. by displaying a warning notice). Observe the correct polarity when connecting the wires to the terminal strip
. Refer to Figure C for details of how to connect the wiring/supply cable to the terminals. Make sure that the mains power supply is switched off. The outdoor spotlight can be mounted either on a straight wall or on a corner using the wall bracket
(see Fig. F). Please note: make sure that you mount the wall bracket the correct way round. Refer to Figure F for guidance. With the wall bracket
in its intended mounting position, mark the positions on the wall for the xing holes using either the guide holes
(for mounting on building corner) or guide holes
(for mounting on straight wall) (see Figs. E and F). Drill two holes (dia. 6mm) and insert the matching wall plugs
(for straight-wall or corner mounting) in place by inserting the screws (25mm)
through the guide holes
and rmly tightening them. Check that the wall bracket is xed rmly in place. Unscrew the gland nut
from the outdoor spotlight. Remove the screws
from the cover plate
(see Fig. D) and pull it away far enough to be able to access the terminal strip
attached to the cover plate. Feed the power supply cable rst through the gland nut
, and nally through the cover plate
before starting installation. Connect the power supply cable to the terminal strip
(see Fig. C). Make sure that the individual cable cores are correctly connected. Take care to ensure that the earth conductor
is made longer than the other conductors so that if the cable is torn away from the outdoor spotlight, the earth conductor comes away last. Connect the neutral conductor
to the terminal marked N and the live conductor
to the terminal marked L so as to avoid incorrect installation and consequent damage to the product or personal injury. Secure the connecting lead (inc. outer sleeve) with the strain-relief clamp
back into the50 GB/IE/NI/CY/MT casing and screw the cover plate
back onto the outdoor spotlight. Position the cable grommet
between the cover plate and nut so as to obtain the best possible seal and x it in place by hand-tightening the gland nut
Slot the outdoor spotlight onto the wall bracket
from above and screw it to the bracket using the two screws (10mm)
(see Fig. G). Note: The screw heads of the cover plate must be countersunk so that the outdoor spotlight can be tted onto the wall bracket. Switch the circuit-breaker for the circuit back on or replace the fuse. Setting the beam width Tilt the LED module
into the desired position (see Fig. H). z Operation The outdoor spotlight is operated by means of the three control knobs on the bottom end of the light (see Fig. B). Push the ON/OFF/AUTO button
(see Fig. D) into position ‘II’ for permanent light mode. Push the ON/OFF/AUTO button into position ‘0’ to switch the product off. Turn the ON/OFF/AUTO button into position ‘I’ for automatic (motion detector) mode. When the product is in automatic mode, you can select the following settings: Setting the detection range Turning the SENS control
(see Fig. B) clockwise increases the detection range so that the motion sensor responds to movement as far away as approx. 12m. Turning the SENS control
anticlockwise decreases the detection range so that the motion sensor only responds to movement as close as approx. 0.5m. Setting the burn time Turning the TIME control
anticlockwise decreases the illumination time (min. 10 seconds). Setting the sensitivity of the twilight sensor Turning the LUX control
(see Fig. B) clockwise increases the sensitivity so that the motion sensor will respond even in brighter ambient light conditions (e.g. daylight). Turning the LUX control
anticlockwise decreases the sensitivity so that the motion sensor will respond only in darker ambient light conditions (e.g. at night). z Cleaning and storing
RISK OF BURNS! The light becomes hot when switched on. Always allow the outdoor spotlight to completely cool down before cleaning it.
SHORT-CIRCUIT RISK! Water penetrating into the casing can potentially cause a short circuit. Before cleaning, remove the mains fuse or switch off the circuit-breaker for the circuit to isolate the outdoor spotlight from the mains power supply. Use a voltage tester to check that the outdoor spotlight is isolated from the power supply. Do not immerse the outdoor spotlight in water. Make sure that no water gets into the casing.
RISK OF DAMAGE! Cleaning the outdoor spotlight incorrectly can potentially cause damage. Do not use corrosive cleaning agents, brushes with metal or nylon bristles or sharp51 GB/IE/NI/CY/MT or metallic cleaning implements such as knives, hard spatulas or the like. They may damage the surfaces. Do not use any chemicals for cleaning. Switch off the circuit-breaker or remove the fuse for the circuit. Use a voltage tester to check that the outdoor spotlight is isolated from the power supply. Allow the outdoor spotlight to completely cool down. Wipe down the outdoor spotlight with a slightly moistened cloth. Allow all parts to dry completely. If storing the outdoor spotlight away, keep it in a dry place where it is safely out of the reach of children. z Troubleshooting = Fault = Cause = Solution = The outdoor spotlight fails to function. = There is a fault with the power supply or cable. = Have it checked by a competent person. = The outdoor spotlight is incorrectly adjusted. = Use the control knobs to adjust the settings properly. = The wiring is incorrect. = Have it checked by a competent person. = The detection range of the motion sensor is badly adjusted. = Readjust the detection range of the motion sensor. = The outdoor spotlight constantly switches on and off. = The outdoor spotlight constantly responds to movement. = Check the detection zone for moving objects/animals. = Check the adjustment of the outdoor spotlight. = Readjust the detection range of the motion sensor. = Adjust the illumination time. = Adjust the sensitivity of the twilight sensor. = The outdoor spotlight gets hot. = That is quite normal and not a fault. = Make sure that the outdoor spotlight is well ventilated. Please note! Any other repairs may only be carried out by a qualied electrician. z Disposal Note the labels on the packaging materials when sorting the waste; they are marked with abbreviations (a) and numbers (b) with the following meanings: 1-7: Plastics 20-22: Paper and cardboard 80-98: Composite materials You can nd out how to dispose of the used product by contacting your local district or city council. The product and packaging materials are recyclable. Please dispose of them separately for better treatment of waste.The Triman logo is only applicable to France. In the interest of environmental protection, when the product has reached the end of its useful life, do not dispose of it as general household waste but have it properly recycled. For information on recycling centres and their opening times, please contact your local council.52 GB/IE/NI/CY/MT z Warranty Dear customer, This product comes with a 3-year warranty from the date of purchase. In the event that this product is faulty, you have legal rights against the seller of the product. These statutory rights are not restricted by our warranty as set out below. Warranty terms The warranty period begins with the date of purchase. Please keep the original receipt in a safe place. It is required as proof of purchase. If a material or manufacturing defect occurs within three years of the date of purchase, we will repair or replace the product for you free of charge, or refund the purchase price, at our discretion. This warranty service is granted provided that the faulty device and the proof of purchase (receipt) are presented within three years, along with a brief written description of the fault and of when it occurred. If the fault is covered by our warranty, we will return the xed product or send you a new one. No new warranty period shall begin upon repair or replacement of the product. Warranty period and statutory warranty claims The warranty period is not renewed after a warranty service has been granted. This rule shall also apply for any replaced or repaired parts. Any damage or faults that already existed when buying the product must be reported immediately upon unpacking the product. A fee is charged for any repairs that are carried out after the end of the warranty period. Warranty scope The device was carefully manufactured according to the strictest quality guidelines and thoroughly tested before delivery. The warranty applies to material or manufacturing defects. This warranty does not apply to product parts that are subject to normal wear and tear and can therefore be regarded as wearing parts, or damage to fragile parts, such as switches, rechargeable batteries or parts that are made of glass. This warranty is void if the product has been damaged, improperly used or serviced. To ensure proper use, all instructions included in the manual must be followed carefully. All uses and actions that users are discouraged from or warned of in the manual must be avoided under all circumstances. The product is intended for private household use only, and not for commercial activities. The warranty is void, if the product is treated inappropriately, if force is applied, and in the case of any manipulation that is not carried out by our authorised service branch. Warranty processing To ensure your request is handled swiftly, please observe the following Notes: Please have the receipt and the article number (e.g. IAN 123456) ready as proof of purchase for all enquiries. Please refer to the type plate on the product, an engraving on the product, the cover of the manual (bottom left) or the sticker on the back or base of the product to nd out the product number. In the case of any malfunctions or other defects, please call or email the service department indicated below as a rst step. After your product has been registered as faulty, you can send it to the specied service address, free of charge. Please include the proof of purchase (receipt) and information about the defect and about when it occurred.53