HG06591 - Lint remover AQUAPUR - Free user manual and instructions
Find the device manual for free HG06591 AQUAPUR in PDF.
| Product type | Fabric shaver |
| Brand | AQUAPUR |
| Model | HG06591 |
| Power supply | 2 AA 1.5 V batteries (LR6), voltage 3 V, rated current 0.8 A |
| Noise level | < 70 dB(A) |
| Main functions | Remove lint and fluff from clothing and furniture |
| Cutting height adjustment | Adjustable spacer ring: 3 positions (small, medium, large lint) |
| Speeds | 2 speeds (1 and 2) |
| Automatic stop | Yes, if the grid is detached |
| Package contents | 1 shaver, 1 quick start guide, 1 cleaning brush, 2 AA batteries, 1 protective cap |
| Cleaning and maintenance | Clean with the provided brush; do not rinse under water; empty the collection container regularly |
| Safety | Do not use without grid or container; sharp blades; do not lubricate; do not use on skin or other surfaces |
| Spare parts provided | Grid, blades, spacer ring, protective cap, cleaning brush |
| Warranty | 3 years |
| Intended use | Household use only; do not use for commercial purposes |
Frequently Asked Questions - HG06591 AQUAPUR
User questions about HG06591 AQUAPUR
0 question about this device. Answer the ones you know or ask your own.
Ask a new question about this device
Download the instructions for your Lint remover in PDF format for free! Find your manual HG06591 - AQUAPUR and take your electronic device back in hand. On this page are published all the documents necessary for the use of your device. HG06591 by AQUAPUR.
USER MANUAL HG06591 AQUAPUR
FUSSELRASIERER / LINT REMOVER / RASOIR ANTI-BOULOCHES AFR 3 F1
DE AT CH
FUSSELRASIERER
Operation and safety notes Translation of the original instructions
FR BE
RASOIR ANTI-BOULOCHES
natural_image
Line drawing of a handheld device with a label pointing to its top (no text or symbols present)
natural_image
Simple line drawing of a medical or laboratory instrument with a central handle and top block (no text or symbols)B
10
C
D
natural_image
Technical line drawing of a mechanical component with two side views and directional arrows indicating movement (no text or symbols)E
natural_image
Diagram of a cylindrical container with internal granular structure and downward arrow indicating flow or movement (no text or symbols)EXPLOSIONSGEFAHR! Laden
List of pictograms used ...... Page 25
Introduction Page 25
Intended use.... Page 25
Scope of delivery.... Page 26
Description of parts ...... Page 26
Technical data ...... Page 26
Safety instructions.... Page 27
Safety instructions for batteries/ rechargeable batteries.... Page 29
Before first use.... Page 32
Inserting/removing the batteries (Fig. A, B).... Page 32
Initial use (Fig. B, C) ...... Page 33
Removing/replacing the adjustable spacer (Fig. D) ..... Page 34
Cleaning and care ...... Page 34
Disposal Page 35
Warranty Page 37
Warranty claim procedure.... Page 38
Service Page 39
EC declaration of conformity .... Page 40
| List of pictograms used | |
 | Direct current/voltage |
 | Batteries included |
 | CE mark indicates conformity with relevant EU directives applicable for this product. |
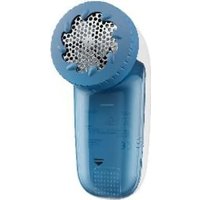
LINT REMOVER
Introduction
We congratulate you on the purchase of your new product. You have chosen a high quality product. The instructions for use are part of the product. They contain important information concerning safety, use and disposal. Before using the product, please familiarise yourself with all of the safety information and instructions for use. Only use the product as described and for the specified applications. If you pass the product on to anyone else, please ensure that you also pass on all the documentation with it.
Intended use
This product is only intended to remove knots and lint on clothes or furniture. This product must not be used on other surfaces, such as skin, wood, plastic or metal.
The product is designed for private household use only and must not be used in commercial areas. The manufacturer is not liable to damage caused by improper use.
- Scope of delivery
1 Lint remover
1 Short manual
1 Cleaning brush
2 Batteries, type AA (LR6)
1 Protection cap
● Description of parts
1 ON/OFF switch
2 Batteries
3 Battery compartment cover
4 Cleaning brush
5 Fluff container
6 Protection cap
7 Adjustable spacer
8 Gliding part
9 Crop blades
10 Battery compartment
- Technical data
Voltage: 3 V
Rated current: 0.8 A
Batteries: 2 x 1.5 V
Emissions sound pressure level: < 70 dB(A) K = 3 dB
三
==, AA (LR6)
Safety instructions
PLEASE READ INSTRUCTIONS BEFORE USE! KEEP INSTRUCTIONS IN A SAFE PLACE!
⚠️ ATTENTION! DANGER OF INJURY! THIS PRODUCT IS NOT A TOY!
This product can be used by children aged from 8 years and above and persons with reduced physical, sensory or mental capabilities or lack of experience and knowledge if they have been given supervision or instruction concerning use of the product in a safe way and understand the hazards involved. Children shall not play with the product.
Cleaning and user maintenance shall not be made by children without supervision.
■ Never use the product without the lint fluff container 5 or the gliding part 8 in place.
Do not touch the crop blade 9 while the product is switched on!
■ Never use the product with damaged crop blades 9.
■ Never put any strong pressure onto the crop blades 9 while in use.
The crop blade 9 are sharp. Take proper care, otherwise there is a risk of injury.
Do not oil or grease the crop blades 9! Your clothes could get dirty!
Safety instructions for batteries/rechargeable batteries
⚠️ DANGER TO LIFE! Keep
batteries/rechargeable batteries out of reach of children. If accidentally swallowed seek immediate medical attention.
Swallowing may lead to burns, perforation of soft tissue, and death.
Severe burns can occur within 2 hours of ingestion.
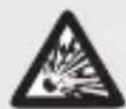
DANGER OF EXPLOSION!
Never recharge non-rechargeable batteries. Do not short-circuit batteries/rechargeable batteries and/or open them. Overheating, fire or bursting can be the result.
■ Never throw batteries/rechargeable batteries into fire or water.
Do not exert mechanical loads to batteries/rechargeable batteries.
The connection terminals must not be short-circuited.
Risk of leakage of batteries/rechargeable batteries
- Avoid extreme environmental conditions and temperatures, which could affect batteries/rechargeable batteries, e.g. radiators/direct sunlight.
If batteries/rechargeable batteries have leaked, avoid contact with skin, eyes and mucous membranes with the chemicals! Flush immediately the affected areas with fresh water and seek medical attention!

WEAR PROTECTIVE GLOVES!
Leaked or damaged batteries/rechargeable batteries can cause burns on contact with the skin. Wear suitable protective gloves at all times if such an event occurs.
In the event of a leakage of batteries/rechargeable batteries, immediately remove them from the product to prevent damage.
■ Remove batteries/rechargeable batteries if the product will not be used for a longer period.
Risk of damage of the product
Only use the same type of batteries/rechargeable batteries. Do not mix used and new batteries/rechargeable batteries.
- Insert batteries/rechargeable batteries according to polarity marks (+) and (−) on the battery/rechargeable battery and the product.
Use a dry lint-free cloth or cotton swab to clean the contacts on the battery/rechargeable battery and in the battery compartment before inserting!
■ Remove exhausted batteries/rechargeable batteries from the product immediately.
Before first use
Note: Remove all packaging materials from the product.
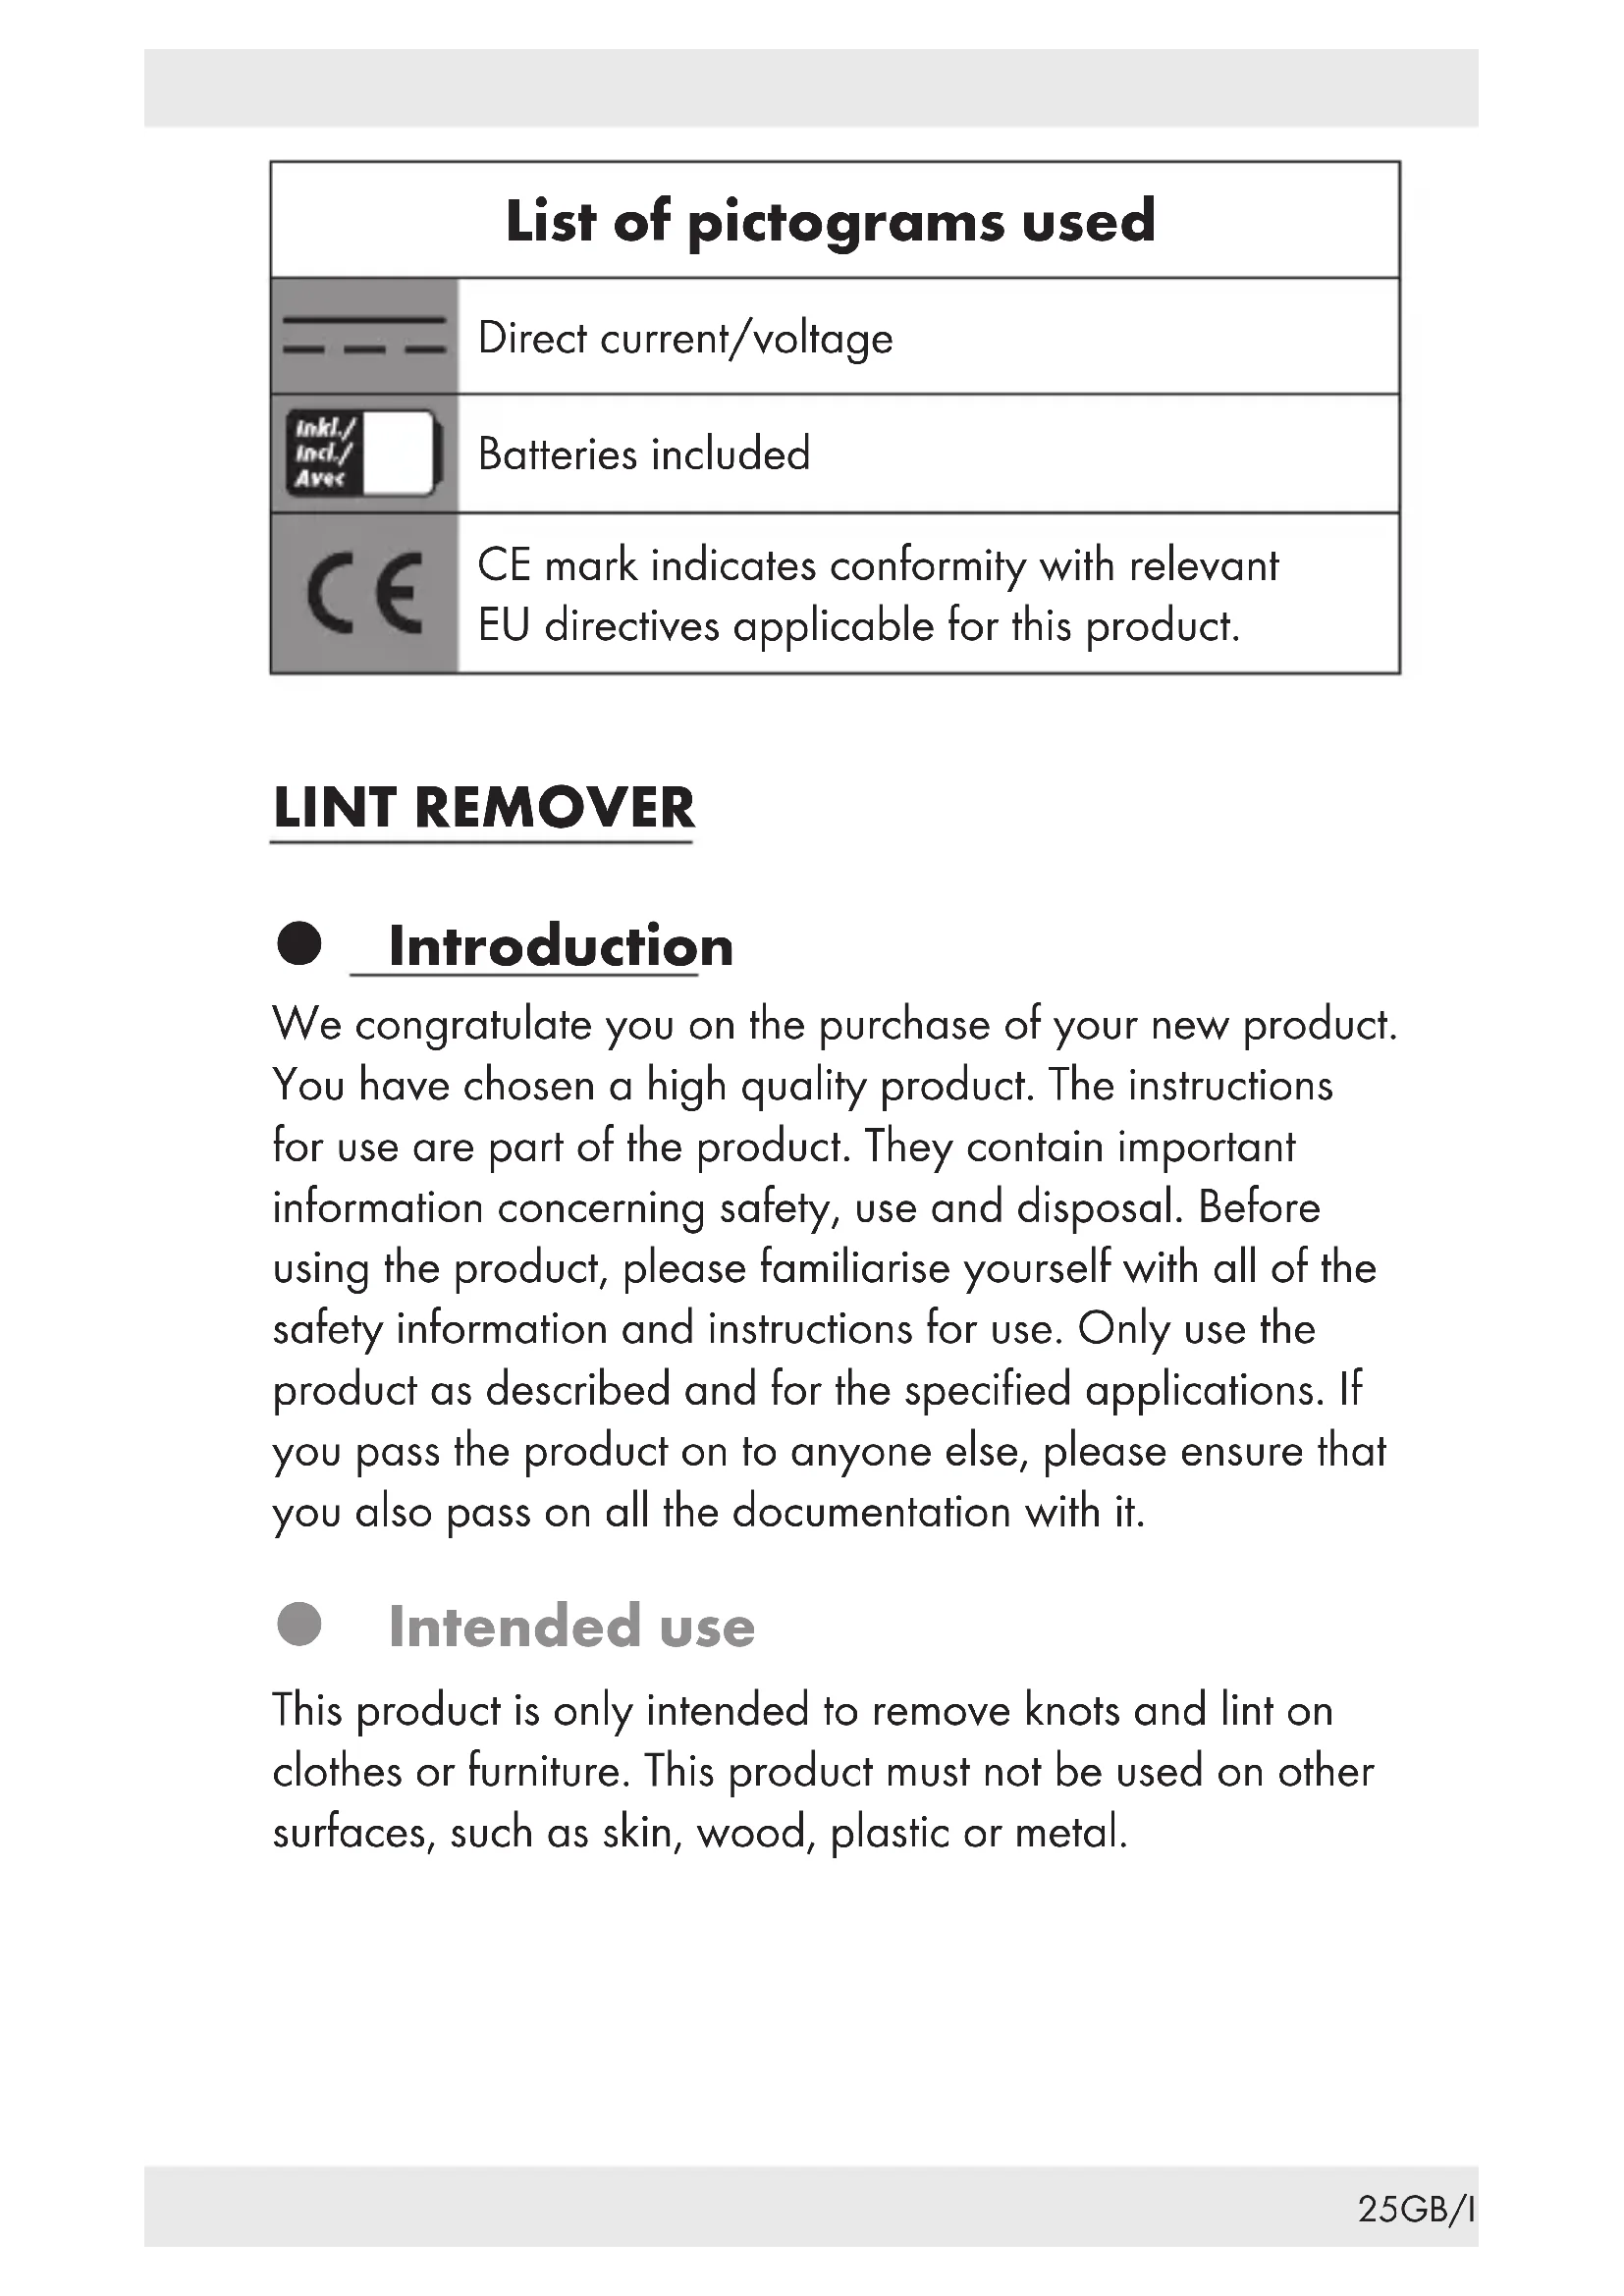
- Inserting/removing the batteries (Fig. A, B)
Pull off the battery compartment cover 3.
■ Remove batteries from the battery compartment ^10 , if any.
■ Insert 2 x 1.5 V—, AA (LR6) batteries.
Note: Insert the batteries into the battery compartment 10 and ensure that the polarity is correct. To do so, refer to the marking inside the battery compartment 10.
■ Slide the battery compartment cover 3 back on so that it clicks into place.
● Initial use (Fig. B, C)
Put the garment onto an even and clean surface.
Turn the adjustable spacer 7 to the desired position or remove it completely (see chapter "Removing/ replacing the adjustable spacer").
| Highest "1" | For large bobbles and coarse textiles (large distance to the crop blades 9) |
| Medium "1." For | medium-sized bobbles and textiles with medium structure (medium distance to the crop blades 9) |
| Lowest "1" For small lint/bobbles and fine textiles (small distance to the crop blades 9) | |
Switch the product on by sliding the ON/OFF switch 1 into required speed level. Guide the gliding part 8 using repeated, light, circular movements over the surface of the item of clothing. We recommend that you start working at speed level "1". If the results are satisfactory and you feel comfortable handling the product then you can switch up to speed level "2".
■ Always make sure not to apply pressure. In that way lint and knots are shaven off and are kept in the fluff container 5.
Switch the product off by sliding the ON/OFF switch 1 into position "0".
Note: The product will shut off automatically when screwing off the gliding part 8.
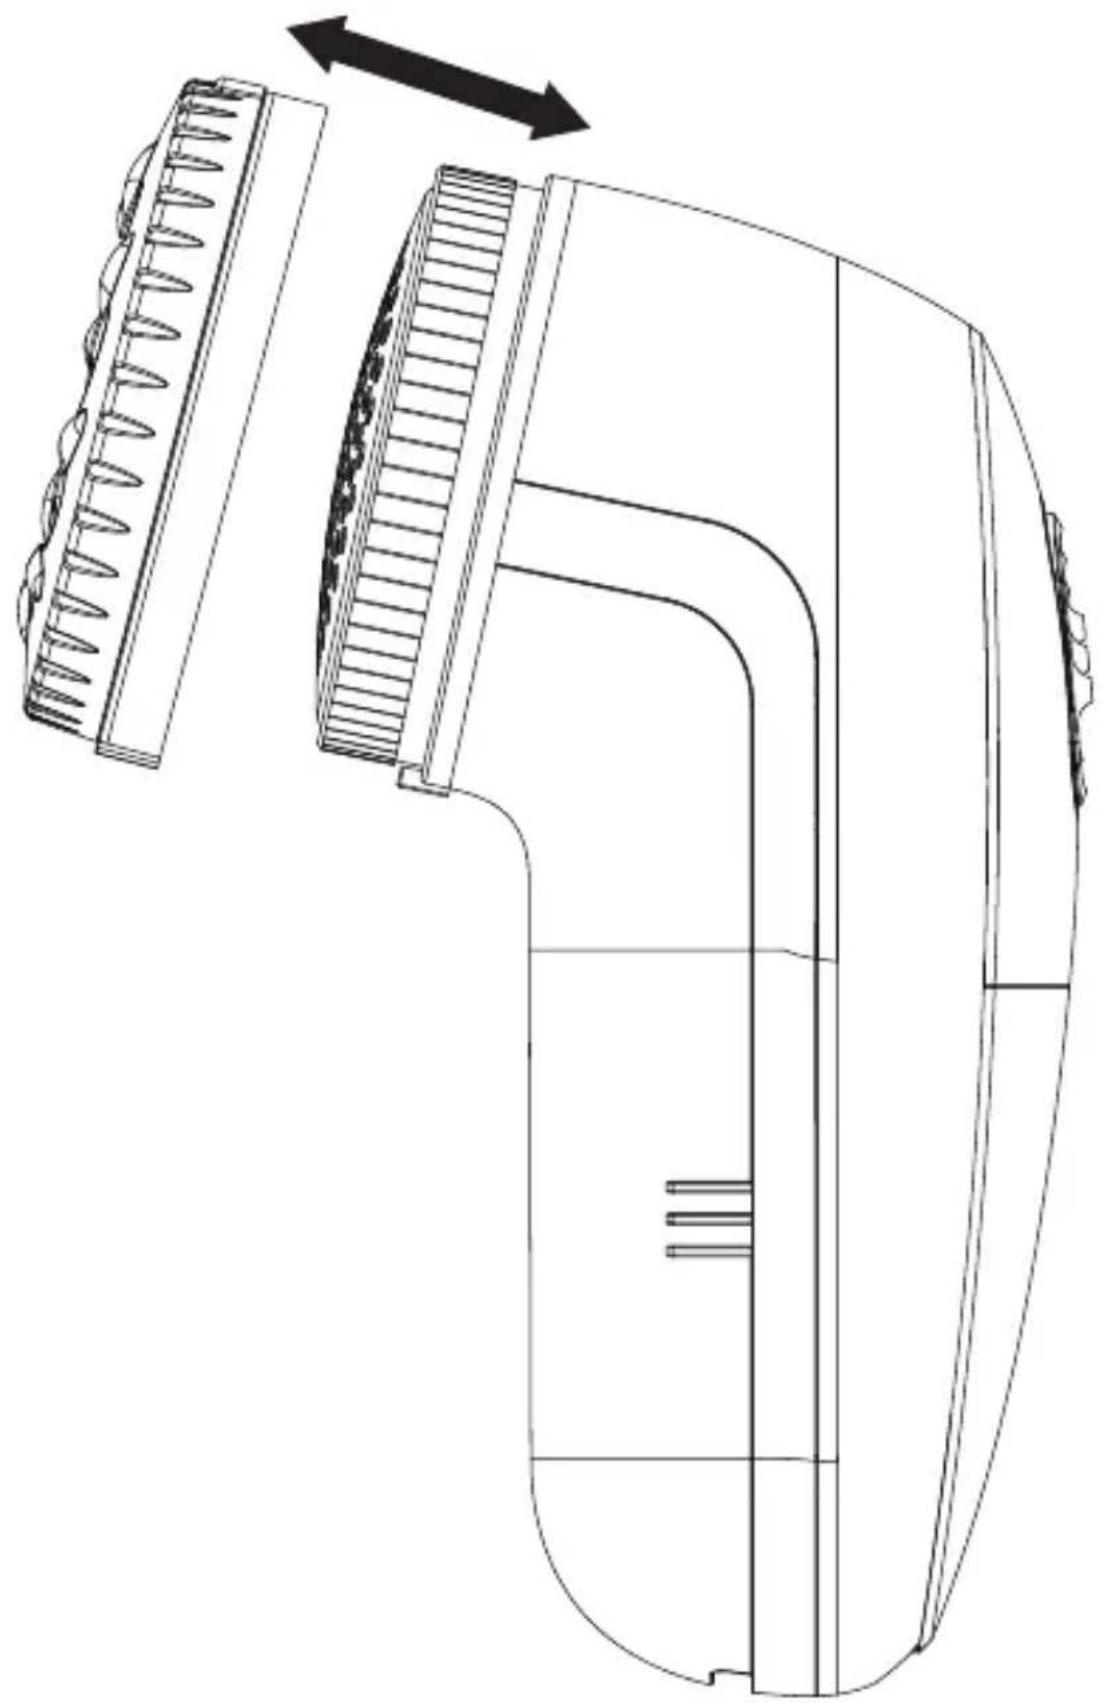
- Removing/replacing the adjustable spacer (Fig. D)
To attach the adjustable spacer 7, place it on the gliding part 8 and press it firmly.
Note: Ensure that the small tab on the product grips into the recess on the adjustable spacer 7.
To remove the adjustable space 7, pull it forwards and off.
To protect the gliding part 8, you should remove the adjustable spacer 7 when not using the product and place the protective cap 6 on the gliding part 8.
● Cleaning and care
Before cleaning the product, always switch it off. Remove the batteries. Pull off the protective cap 6 or adjustable spacer 7. Then screw off the gliding part 8 by turning counter-clockwise.
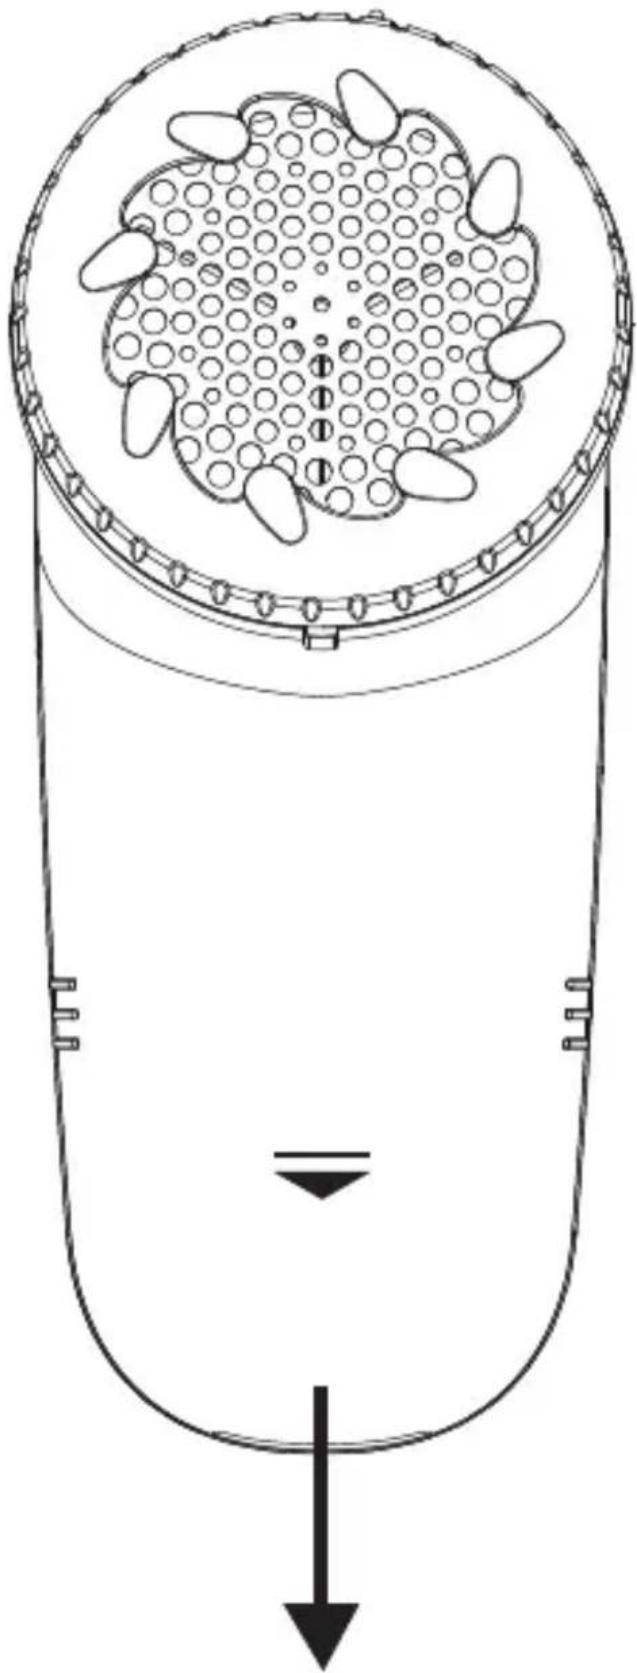
The fluff container 5 should be emptied regularly!
Fluff container 5: Pull off by sliding down the fluff container 5 in the direction of the arrow (marked on the fluff container 5 (Fig. E) and empty it. The fluff container 5 should never be more than 34 full.
Crop blades 9: Pull off the crop blades 9 carefully. Brush fluff and lint remnants from the crop blades 9 with the cleaning brush 4.
⚠️ ATTENTION: When removing fluff remains be careful not to damage the crop blades 9.
WARNING! Never put the product in water for cleaning. Only clean the product with a damp cloth. Keep the product dry. To store the product, always remove the adjustable spacer 7 and put on the protective cap 6 (Fig. D).
● Disposal
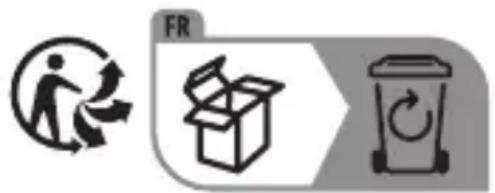
The packaging is made entirely of recyclable materials, which you may dispose of at local recycling facilities.
text_image
FR FRThe product and packaging materials are recyclable, subject to extended manufacturer responsibility. Dispose it separately, following the illustrated packaging symbols, for better waste treatment.
The Triman logo is valid in France only.
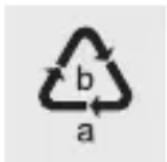
Observe the marking of the packaging materials for waste separation, which are marked with abbreviations (a) and numbers (b) with following meaning: 1–7: plastics / 20–22: paper and fibreboard / 80–98: composite materials.
Contact your local refuse disposal authority for more details of how to dispose of your worn-out product.

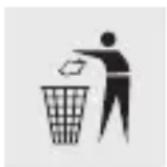
To help protect the environment, please dispose of the product properly when it has reached the end of its useful life and not in the household waste. Information on collection points and their opening hours can be obtained from your local authority.
Faulty or used batteries / rechargeable batteries must be recycled in accordance with Directive 2006/66/EC and its amendments. Please return the batteries / rechargeable batteries and / or the product to the available collection points.

Environmental damage through incorrect disposal of the batteries / rechargeable batteries!
Batteries / rechargeable batteries may not be disposed of with the usual domestic waste. They may contain toxic heavy metals and are subject to hazardous waste treatment rules and regulations. The chemical symbols for heavy metals are as follows: Cd = cadmium, Hg = mercury, Pb = lead. That is why you should dispose of used batteries / rechargeable batteries at a local collection point.
Warranty
The product has been manufactured to strict quality guidelines and meticulously examined before delivery. In the event of product defects you have legal rights against the retailer of this product. Your legal rights are not limited in any way by our warranty detailed below.
The warranty for this product is 3 years from the date of purchase. The warranty period begins on the date of purchase. Please keep the original sales receipt in a safe location. This document is required as your proof of purchase.
Should this product show any fault in materials or manufacture within 3 years from the date of purchase, we will repair or replace it – at our choice – free of charge to you. This warranty becomes void if the product has been damaged, or used or maintained improperly.
The warranty applies to defects in material or manufacture. This warranty does not cover product parts subject to normal wear, thus possibly considered consumables (e.g. batteries) or for damage to fragile parts, e.g. switches, rechargeable batteries or glass parts.
● Warranty claim procedure
To ensure quick processing of your case, please observe the following instructions:
Please have the till receipt and the item number (IAN 393017_2201) available as proof of purchase.
You will find the item number on the rating plate, an engraving, on the front page of the instructions for use (bottom left), or as a sticker on the rear or bottom of the product.
If functional or other defects occur, please contact the service department listed either by telephone or by e-mail.
You can return a defective product to us free of charge to the service address that will be provided to you. Ensure that you enclose the proof of purchase (till receipt) and information about what the defect is and when it occurred.
Service
GB
Service Great Britain
Tel.: 08000569216
E-Mail: owim@lidl.co.uk
IE
Service Ireland
Tel.: 1800 200736
E-Mail: owim@lidl.ie
CE
EC declaration of conformity
EC DECLARATION OF CONFORMITY
IAN:
393017_2101
Product identification:
"AquaPur" LINT REMOVER
Model Number:
HG09482
The object of the declaration described above is in conformity with the relevant Union harmonisation legislation:
| Directive 2006/42,EC |
| Directive 2014/30,EU |
| Directive 2011/65,EU |
References to the relevant harmonised standards used or references to the other technical specifications in relation to which conformity is declared:
| N / Parts |
| Directive 2006/42/EC |
| EN 60335-2-8:2015/A1:2016 |
| EN 60335-1:2012/A2:2019 |
| EN ISO 12100:2016 |
| EN 62233:2008 |
| Directive 2014/30/EU |
| EN 55014-1:2017/A11:2020 |
| EN 55014-2:2015 |
The object of the declaration described above is in conformity with Directive 2011/65/EU of the European Parliament and of the Council of 8 June 2011 on the restriction of the use of certain hazardous substances, electrical and electronic equipment:
| N°/ Parts |
| Directive 2011/60/94 |
| EN IEC 63000:2018 |
Keeper of the technical documentation: OWIM GmbH & Co.KG
Signed for and on behalf:
This declaration of conformity is issued under the sole responsibility of the manufacturer.
Original declaration of conformity
| Neckarsium | 15.03.2022 | ||
| Place | Date | Berjamin SteebManaging Director | Dpa.Jeyl BuchheimAuthorised Signatory |
DÉCLARATION DE CONFORMITÉ CE
IAN :
393017_2201
"AquiPur" RAICIR ANTI-BOULOCHES
Numéro de modèle :
HG05482
Gooi batterijen/accu's nooit in vuur of water.
Authorised Signatory
NL
DEKLARACJA ZGODNOŚCI WE
Authorised Signatory
| Neckarsulm | 15.03.2022 | ||
| Sted | Dato | Benjamin StreebManaging Director | Epa.John BuchheimAuthorised Signatory |
DI
"AquiPur" LEVAPELUCCOL ELETTRICO
Numero di modello:
HG09482
text_image
Neckarsuin 15.03.2022 Hely Oltum Beljagin Steeb Oppa.Jerh Buchheim Managing Director Authorised SignatoryH0
Legenda uporabljenih piktogramov .... Stran 191
Uvod.... Stran 191
Predvidena uporaba .... Stran 191
Obseg dobave.... Stran 192
Opis delov.... Stran 192
Tehnični podatki. . . . . . . . . . . . . . . . . . . . . . . . . . . . . . . . . . . . . . . . . . . . . . . . . . . . . . . . . . . Stran 192
Varnostni napotki .... Stran 193
Varnostni napotki za baterije/polnilne baterije.... Stran 195
Pred prvo uporabo.... Stran 198
Vstavljanje/odstranjevanje baterij (sl. A, B) .... Stran 198
Prva uporaba (sl. B, C).... Stran 199
NAVODILA ZA UPORABO SKRBNO
HRANITE!
⚠️ POZOR! NEVARNOST TELESNIH POŠKODB! TA IZDELEK NI IGRAČA!
Pooblaščeni serviser:
OWIM GmbH & Co. KG
Stiftsbergstraße 1
74167 Neckarsulm
NEMČIJA