USER MANUAL Cecofry&Grill Smokin' 11000 CECOTEC
Safety instructions 9
- Parts and components 69
2.Before use 70
- Operation 71
- Cleaning and maintenance 81
5.Troubleshooting 82
- Technical specifications 83
- Disposal of old electrical and electronic appliances 84
8.Technical support and warranty 84
- Copyright 84
- Simplified EU Declaration of Conformity 84
SOMMAIRE
EN • The coding in this manual is generic and applies to all code variants of the appliance.
Before using the appliance, read the following instructions carefully. Keep this instruction manual for future reference or new users.
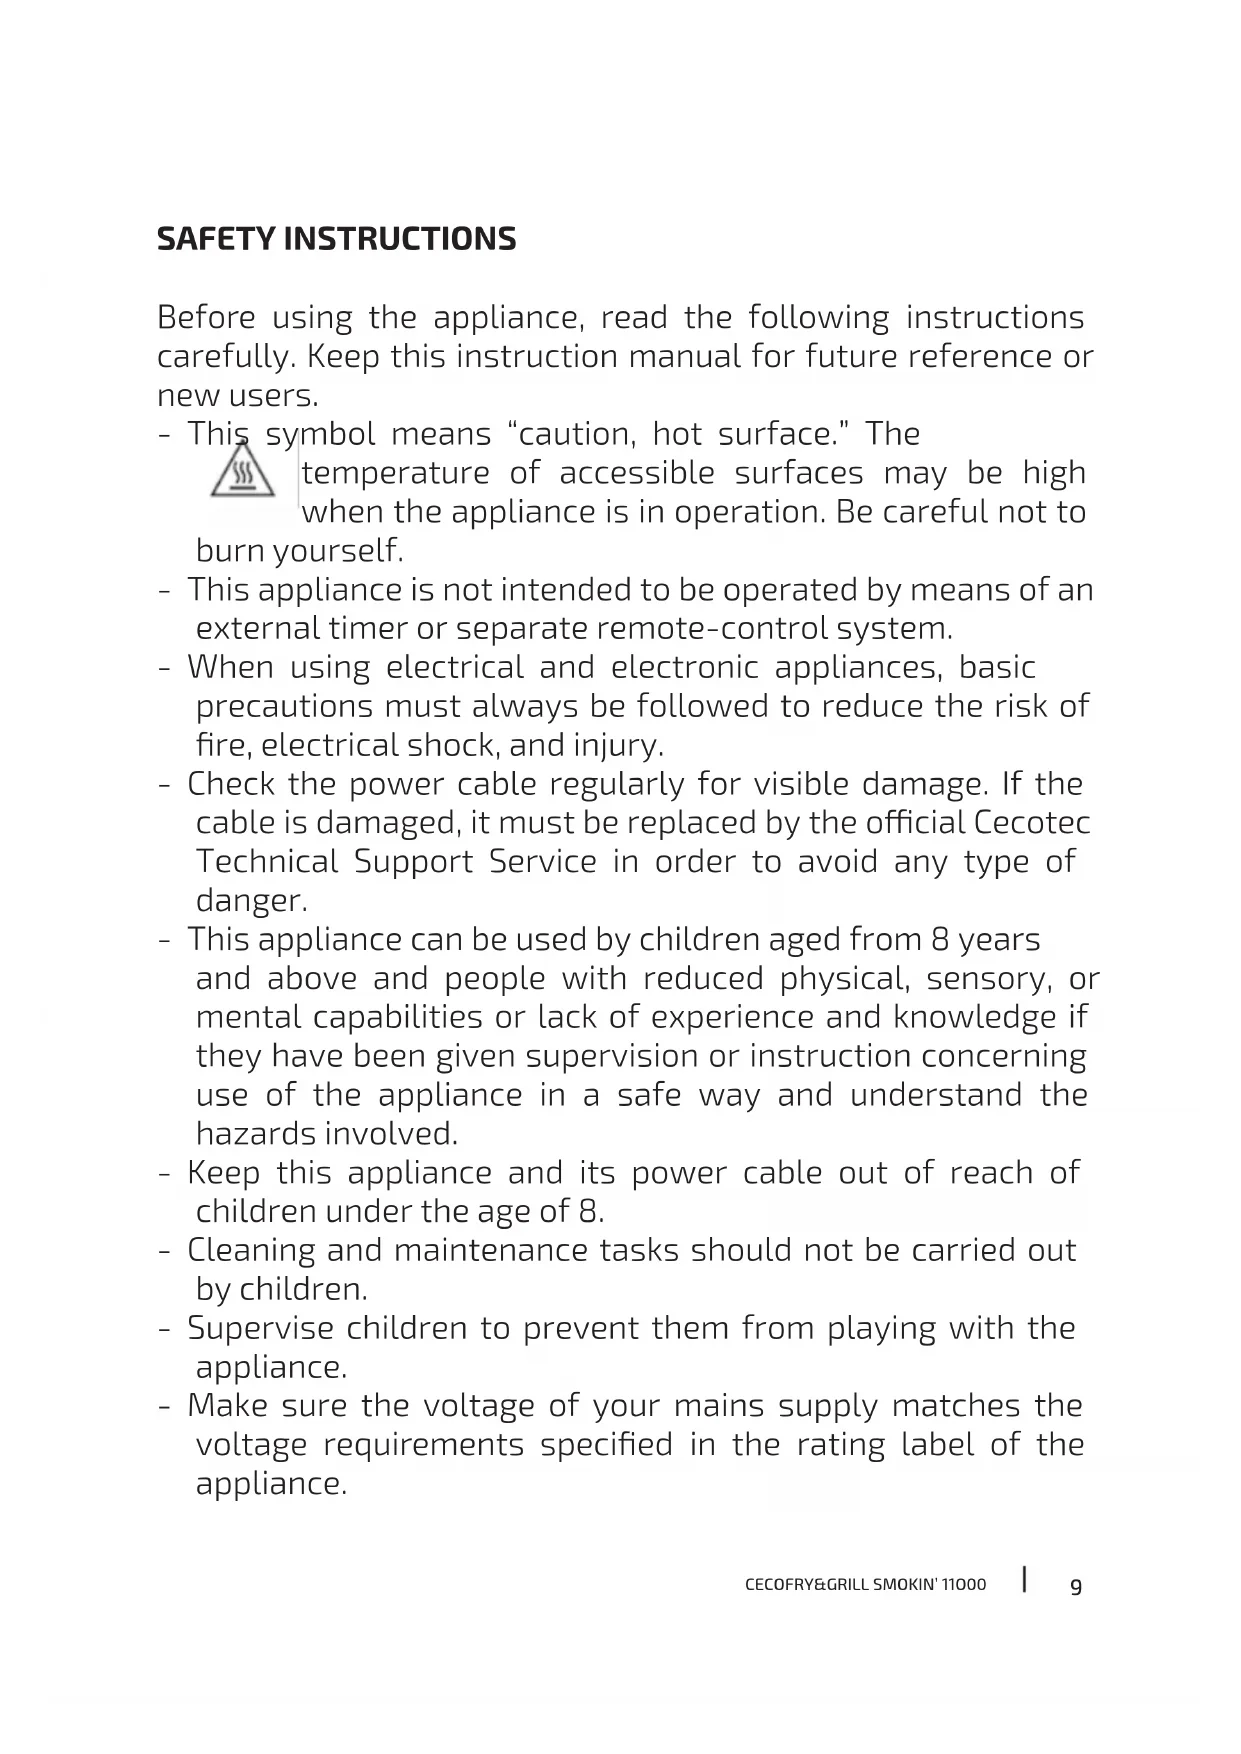
- This symbol means "caution, hot surface." The
temperature of accessible surfaces may be high when the appliance is in operation. Be careful not to.
ourselves.
- This appliance is not intended to be operated by means of an external timer or separate remote-control system.
- When using electrical and electronic appliances, basic precautions must always be followed to reduce the risk of fire, electrical shock, and injury.
- Check the power cable regularly for visible damage. If the cable is damaged, it must be replaced by the official Cecotec Technical Support Service in order to avoid any type of danger.
- This appliance can be used by children aged from 8 years and above and people with reduced physical, sensory, or mental capabilities or lack of experience and knowledge if they have been given supervision or instruction concerning use of the appliance in a safe way and understand the hazards involved.
- Keep this appliance and its power cable out of reach of children under the age of 8.
- Cleaning and maintenance tasks should not be carried out by children.
- Supervise children to prevent them from playing with the appliance.
-
Make sure the voltage of your mains supply matches the voltage requirements specified in the rating label of the appliance.
-
We recommend that the room where you intend to use the appliance is equipped with a working kitchen hood or is well ventilated.
- Use the appliance only for the purposes described in this instruction manual. Any other use is not recommended by the manufacturer and could have a detrimental effect on the lifespan of the appliance and/or the safety of the user.
- Unplug the appliance from the mains supply before moving it, carrying out any cleaning or maintenance task, or when not in use.
- Do not twist, bend, pull, or damage the power cable. Protect it from sharp edges and heat sources. Do not allow the cable to touch hot surfaces. Do not let the cable hang over the edge of the working surface or worktop.
- Do not use extension cords, unless advised by a qualified electrician. Using the wrong type of extension lead could cause damage or injuries to the user.
- Do not use the appliance if its cable, plug, or housing are damaged, nor after it malfunctions or has been dropped or damaged in any way.
- The appliance should not be used in potentially dangerous locations, such as flammable, explosive, chemical-laden, or wet atmospheres.
- Place the appliance on an even, heat-resistant surface. Be careful when placing the basket out of the air fryer. Place the handle inwards to prevent spillage of what's inside. Do not place the appliance near heat sources, places with high humidity levels, or combustible materials.
- Do not insert or allow fingers or foreign objects to enter any ventilation or exhaust openings, as it could cause electrical shock or fire.
- Do not fill the basket with oil to avoid causing a fire hazard.
-
Do not touch the interior of the appliance while in operation.
-
Do not immerse the cable, plug, or any other non-removable part of the appliance in water or any other liquid. Do not expose the electrical connections to water.
- Always place the ingredients to be cooked inside the basket to prevent them from touching the heating elements.
- Make sure your hands are dry before handling the plug on switching on the appliance.
- Unplug the appliance from the outlet when not in use or during cleaning. Allow it to cool down completely before attaching or removing parts and before cleaning the appliance.
- Do not leave the appliance unsupervised while plugged to the mains.
- Do not touch the surface of the appliance when in operation, as it will become hot when in use.
- Cleaning and maintenance must be carried out according to this instruction manual to make sure the appliance operates properly.
- Do not place the appliance against the wall. Leave a safety distance of 10cm on the back of the appliance and 10cm on each side. Do not place any object on top of the appliance when in use.
- Hot steam is released through the air outlet openings of the appliance during operation. Keep your hands and face at a safety distance from the steam and from the air outlet openings. Hot air may come out when removing the basket from inside the appliance.
- Unplug the appliance immediately if you notice black smoke coming out of it. Wait until the smoke disappears to remove the basket from the appliance.
-
We recommend the use of gloves when touching the basket and rack.
-
Do not use the appliance for any use other than the one specified in this manual.
- Do not attempt to repair the appliance yourself.
INSTRUCTIONS DE SECURITE
- Basket compartment 1 selection icon (left)
- Temperature increase icon
- Temperature operation indicator light
- Temperature decrease icon
- Sync function icon
- Preheating function icon
- Smoking programme icon
- Power and Start/Stop icon
- Inner light icon
- Double heating element function icon
- Timer icon
- Match function icon
- Time decrease icon
- Time operation indicator light
- Time increase icon
- Basket compartment 2 selection icon (right)
- Time indicator light
- Temperature indicator light
- Basket compartment 2 display (right)
- Basket compartment 1 display (left)
- Preset menus
a. Steak/Fillet
b. Frozen chips
c. Pizza
d. Chicken wings/thighs
e. Fish
f. Vegetables
g. Dessert
h. Dehydration
ENGLISH
i. Fermentation
j. DIY (manual function)
Note:
The graphics in this manual are schematic representations and may not exactly match the appliance.
2. BEFORE USE
- This appliance includes a safety package to protect it during transport. Unpack the appliance and keep the original packaging and materials in a safe place. It will help prevent any damage if the appliance needs to be transported in the future. In case the original packaging is disposed of, make sure all packaging materials are recycled accordingly.
- Make sure all parts and components are included and in good conditions. If there is any piece missing or in bad conditions, contact the official Cecotec Technical Support Service immediately.
- Clean the interior and the exterior of the appliance with a damp cloth. Do not wet the heating elements.
- Clean the basket and rack thoroughly with hot water, washing-up liquid, and a non-abrasive sponge.
- Place the rack properly in the basket and place the basket back in the appliance for use.
- Do not fill the appliance with oil or any other liquid.
Box content:
Air fryer
- Instruction manual
Smoker lid
- 15 g bag of wood chips
Purchase wood chips using the following QR code:

Do not remove the serial number of the appliance in order to keep a correct traceability of it in case of assistance.
3. OPERATION
Using the air fryer
- Place the air fryer on a flat, stable, and heat-resistant surface, away from any possible splashing water or heat source.
- If desired, place the basket divider following the guides on the walls and on the top of the basket interior.
- Place the basket inside the air fryer properly.
- Do not place any objects on top of the appliance to avoid interrupting the air flow.
- Connect the power cable to an earthed outlet, the power icon will light up.
- Remove the basket from the air fryer with extreme care.
- Put the ingredients in the basket.
- Use the control panel as follows:
WARNING: Place the basket divider following the top guide on the basket to avoid this divider to come into direct contact with the heating elements, as it can cause damage.
NOTE: never exceed the MAX indicator on the basket, as the end result of the dish and the quality of the appliance may be affected.
TIP: to ensure perfect cooking results, it is recommended that you avoid overfilling the surface of the basket with food, otherwise the food will not be cooked evenly.
Powericon
Once the basket and rack are securely in place in the air fryer, the power icon will light up. By pressing the power icon, the left and right basket compartment selection icons will light up. It is necessary to select one of the two basket compartments (by clicking on 1 or 2) in order to assign a preset menu to it or to activate the other compartment. Once the desired preset menu has been selected, pressing the power icon again will start the cooking process. When the process starts, the fan and the heating element will begin to work.
These icons allow you to choose from the 10 preset menus. These menus are a quick and general option designed for the food to which they refer to. The cooking time and temperature values are set by default (see "Table of preset menus" in this section). If you wish to adjust the time and/or temperature of these preset menus, you can do so by pressing any programme and using the icons to increase and decrease the temperature and time. The programme is designed for a specific food item, so you will be able to vary the values within a logical range.
NOTE:
If you want to customise your own cooking programme, you can also do so by directly selecting the DIY programme (manual function), which allows you to adjust the entire time and/or temperature range of the appliance.
ENGLISH
Time control icons
Press the time increase and/or decrease icons to adjust the cooking time according to the allowed ranges (see "Table of preset menus" in this section).
Temperature control icons
Press the temperature increase and/or decrease icons to adjust the cooking temperature according to the allowed ranges (see "Table of preset menus" in this section).
Inner light icon
Press this icon during the cooking process to turn on the inner basket light and check the doneness of your food. If you press the icon during the cooking process, the light will stay on for 1 minute and then turn off. You can also turn it off manually by pressing the same icon again. If you are not currently cooking, the light will turn off after 10 seconds.
Only the light of the selected basket compartment will come on. If the Match function is activated, the light of both baskets will be switched on.
Double heating element operation
- The appliance has a double heating element, the top one generates more heat, and the bottom one is used to increase the temperature of the base of the basket.
- It is recommended to use the double heating element, as cooking the food using two heat sources ensures better results. In addition, the use of the double heating element is also recommended with programmes where the preheating function has been set up beforehand. This allows the basket's grill to reach a higher temperature and may even sear certain foods.
- The grill has a flatter side for cooking pizza and a rack side for searing meat.
- Each time you select a programme, the double heating element function will be activated by default. If you press the double heating element icon, only the top heating element will work. Keep in mind that the double heating element function can be activated and deactivated together in both basket compartments, not individually. In other words, if you select a programme with double heating element in basket compartment 1, the double heating element will be activated by default in basket compartment 2. If you only select the top heat source in basket compartment 1, only the top heat source will work in basket compartment 2 as well.
Double heating element icon
When a cooking programme is selected, the double heating element function will be activated by default, and the corresponding icon will stay on. The operation of the top and bottom heating elements is synchronised and operate alternately to maintain the selected cooking temperature.
If you need to deactivate the double heating element function and only keep the top heat source activated, press the double heating element icon. The icon will flash indicating that the
double heating element function is disabled. It is recommended to always activate the double heating element function for best results.
Preheating operation
- The appliance has a 5-minute preheating function, which allows both the inside of the basket and the grill to reach a suitable temperature for cooking and grilling food. This function is already activated in the meat, pizza, fish and DIY preset menus, although it is also possible to deactivate it by pressing the preheating function icon.
- It is possible to activate the preheating function before the rest of the cooking programmes, except for dehydration and fermentation. The preheating function can be activated without having selected a previous cooking programme.
NOTE: When the preheating process is completed, the appliance will beep several times and display "ADD" to indicate that the food should be added. The next programme will start automatically after the beeps.
Preheating function icon
The preheating function is activated when the corresponding icon is flashing. The preheating function is deactivated when the corresponding icon remains steady on.
Smoking operation
This appliance has a 10-minute smoking function that provides a unique flavour and special aroma to the cooked food. Below are the steps you need to follow to use this function.
- Place the wood chips in the basket's right cavity. The amount of wood chips should not exceed the height of the cavity and should cover the entire surface evenly.
- Make sure that there are no wood chips along the basket, they should only be placed in the basket's right cavity.
- Place the smoker lid on top of the wood chips, matching the outer edge of the side guide with the outline of the smoker lid. It is necessary to place this element when smoking, otherwise the smoking process will not be safe, and the result will not be satisfactory. It also protects the food from directly touching the wood chips.
- Place the grill on top of the smoker lid and put the food on the grill.
- To achieve a more intense smoked flavour, it is recommended to add the divider, and only put food in the basket compartment where the wood chips are placed. If, on the other hand, you prefer a milder smoked flavour, do not place the divider and put food along the entire length of the basket.
- When setting the smoking programme, you can activate it in the whole basket, or only in basket compartment 2:
a. Smoking and cooking in basket compartment 2 (with divider):
Select a preset menu in basket compartment 2, then press the smoking
ENGLISH
programme icon. This will only be available in the basket compartment 2 settings, since this is the part of the basket where the wood chips are placed. The smoking programme will be activated when the corresponding icon is flashing. It is also possible to activate the smoking programme from the basket compartment 2 settingswithouthavingselectedapreviouscookingprogramme.
b. Smoking and cooking in the whole basket (without divider):
Select a preset menu in basket compartment 2 and press the Match icon. When both basket compartments are working as one, press the smoking programme icon. This will only be available in the basket compartment 2 settings, since this is the part of the basket where the wood chips are placed. The smoking programme will be activated when the corresponding icon is flashing. Although this programme is only activated from the basket compartment 2 settings, the smoke from the wood chips will permeate the entire basket if you do not use the divider. It is also possible to activate the smoking programme without having selected a previous cooking programme.
- Remember to press the start/stop icon to start the smoking process.
NOTE:
- If you select the smoking programme, followed by a fish, meat or chicken wing preset menu, the cooking time for the latter will be reduced automatically by 20% to achieve a better cooking result.
- It is recommended to use the appliance under a kitchen hood or in a well-ventilated area to minimise the smoke build-up in the room.
- It is recommended to let the air fryer cool down after the smoking process.
WARNING
- Be careful when removing the accessories necessary for the smoking programme, as they may be very hot.
- Use all the accessories mentioned for the smoking process. The lid, especially, is essential to isolate the wood chips from the food. Incorrect use of these elements can affect the performance and end result of the food.
When the smoking process has finished, if no cooking programme has been selected, the appliance will beep several times and display "OFF". If a cooking programme has been selected after the smoking process, this programme will start immediately after. Do not remove the remaining wood chips until the cooking process is fully completed.
Smoking programme icon
The smoking programme is activated when the corresponding icon is flashing. The smoking programme is deactivated when the corresponding icon remains steady on.
Timer operation
The appliance has a timer function, which allows you to programme the start of the cooking process. This time range is from 30 minutes to 24 hours. Once the cooking programme has been selected, you can activate the timer by pressing the timer icon and adjust the time using the time increase/decrease icons. To deactivate the timer, press the timer icon again. Remember to press the start/stop icon to start the countdown. When the selected time is up, the programmed cooking process will start.
Timer function icon
The timer is activated when the corresponding icon is flashing. The timer is deactivated when the corresponding icon remains steady on.
Sync operation
The appliance has a Sync function, which allows you to synchronise both basket compartments so that they finish at the same time. To activate this function, select both programmes and then press the Sync function icon. If the Sync function is activated, at the start of the cooking process, the basket compartment with the programme with the shortest cooking time will display "HoLd" until both compartments have the same remaining cooking time. This way, they will finish at the same time. To deactivate the Sync function, press the corresponding icon again.
Sync function icon
The Sync function will be activated when the corresponding icon is flashing. The Sync function will be deactivated when the corresponding icon remains steady on.
Match operation
The appliance has a Match function, which allows you to transfer the cooking programme settings from one compartment to the rest of the basket. This way, you will not need to set up basket compartment 1 with one programme and then basket compartment 2 with the same programme. Simply select the programme in compartment 1 or 2 that you want to apply to the whole basket and then press the Match function icon.
Match function icon
The Match function will be activated when the corresponding icon is flashing. The Match function will be deactivated when the corresponding icon remains steady on.
- In order to improve the result of certain foods, ingredients can be shaken or turned over halfway through the cooking process. To shake or turn over the ingredients, remove the basket from the appliance by the handle and shake or turn the ingredients in the basket with clamps. Put the basket back in the air fryer.
ENGLISH
WARNING:
- Be very careful when shaking the basket, as it contains hot food.
- Do not use metal utensils, as they could damage the inner coating of the basket or the grill.
NOTE:
The steak and DIY programmes are special programmes that beep to turn over the food in the middle of the cooking cycle. When the cooking cycle has reached the halfway point, the appliance will beep several times and display "TRN" to indicate that the food should be turned over. The programme will not stop, it will just beep.
- When you hear the beeping, the set cooking time will have elapsed. Remove the basket from the appliance and place it on a heat-resistant surface. Make sure the food is cooked. If the food isn't cooked enough, slide the basket back into the air fryer and add a few more minutes.
- To remove food, e.g. chips, remove the basket from the air fryer and place it on a heat-resistant surface. Use non-metallic tongs to remove the ingredients. Be careful not to burn yourself. Do not place the basket upside down to remove the food.
WARNING:
- Do not overfill the basket so that the cooking result is not affected.
- Do not touch the basket during or immediately after operation to avoid burns. Hold the basket only by the handle.
Table of preset menus
| Symbol Type Preheating Temperature (℃) Time (min) | |
| Steak* Yes, 5 min 200 | 6 | | |
| French fries | 195 | 20 | |
| Temperature range (min-max) | Time range (min-max) Notes | |
| 170-200 1-30 | | Add food warning (ADD)
Turn over warning (TRN) |
| 160-200 1-60 | | |
ENGLISH
| Pizza* Yes, 5 min 180 10 |
| Chicken 200 25 |
| Fish* Yes, 5 min 190 14 |
| Vegetables 175 16 |
| Dessert 160 20 |
| Dehydration 55 6 h |
| Fermentation 40 60 |
| 120-200 1-60 Add food warning | (ADD) | |
| 100-200 1-60 | | |
| 150-200 1-60 Add food warning | (ADD) | |
| 140-190 1-60 | | |
| 100-190 1-60 | | |
| 40-100 1-24 h | | |
| 40-90 1-24 h | | |
ENGLISH
NOTE:
- As ingredients differ in origin, size, shape, and brand, we cannot guarantee the best setting for the ingredients that you are using. If necessary, change the times and/or temperature values to adjust the cooking to the type of ingredient.
- *The indicated programmes have a 5-minute preheating time. This preheating time improves the end result of the dish.
- If you select the smoking programme, followed by a fish, meat or chicken wing preset menu, the cooking time for the latter will be reduced by 20% to achieve a better cooking result.
Access the recipe book through the following QR code:

Tips for cooking
- Smaller ingredients require a shorter preparation time than larger ones.
- A larger quantity of ingredients only requires a slightly longer preparation time, and a smaller quantity of ingredients only requires a slightly shorter preparation time.
- Shaking smaller food midway through the cooking process optimises the end result and prevents uneven cooking.
- Add some oil to the fresh potatoes for a crispier result. Cook the food in the air fryer just after adding oil to it.
- Do not cook extremely fatty ingredients such as sausages in the air fryer.
- Oven-ready food can also be cooked in the air fryer. The optimal amount for preparing potato chips is 500 grams.
- Pre-made dough requires a shorter preparation time. Pre-made dough requires a shorter preparation time than home-made dough.
- Place a baking pan or baking dish in the air-fryer's basket if you want to bake a cake or quiche or if you want to fry fragile or stuffed foods.
| 40-2001-60 | | Add food warning (ADD)
Turn over warning (TRN) |
- You can also use the air fryer to reheat food.
4. CLEANING AND MAINTENANCE
- Clean the appliance after every use.
- The basket and rack have a non-stick coating. Do not use metal utensils or abrasive products to clean the basket and/or rack, as this may damage their non-stick surface.
-
After each use, do not leave hot food inside the appliance as condensation may affect the metal parts of the appliance.
-
Unplug the appliance and allow it to cool down before cleaning. NOTE: remove the basket to let the appliance cool down more quickly.
- Clean the interior and the exterior of the appliance with a damp cloth.
- Clean the basket and rack thoroughly with hot water, washing-up liquid, and a non-abrasive sponge. If the smoker lid is used, repeat the same cleaning process. The use of a degreasing liquid is recommended to remove any remains.
TIP: if there is dirt stuck to the rack, basket, or smoker lid, fill the basket with hot water and a little dishwashing liquid and soak the remaining accessories for about 10 minutes.
- Clean the inside of the appliance with hot water and a non-abrasive sponge.
- Clean the heating element with a soft brush to remove any food residue. Make sure all its parts are clean and dry before storing or using the appliance again.
Storage
| Problem Possible causes | Possible solution | |
| E1 Temperature sensor is not working | Contact the official Cecotec Technical Support Service | |
| E2 Short-circuit in the temperature sensor | Contact the official Cecotec Technical Support Service | |
| E3 Appliance overheating | Contact the official Cecotec | Technical Support Service |
| The air fryer does not work | The appliance is not plugged in. | Plug the appliance to an earthed wall socket. |
| The double heating element is not operating | The food is not cooked The use of special programmes with preheating is recommended to improve the meat doneness. | |
| The ingredients fried with the air fryer are not done. | The food is too big. Put smaller batches of food in the basket. Food cooks faster if small. | |
| The temperature used is too low. | Increase the cooking temperature (see the “Operation” section). |
| The preparation time is too short. | Increase the cooking time (see the “Operation” section). |
| The ingredients have been cooked unevenly. | Some types of food need to be shaken during the cooking process. | Ingredients that lie on top of or across each other (e.g. chips) need to be shaken halfway through the preparation time. See the “Operation” section. |
| Fried foods are not crispy when they are removed from the air fryer. | You used a type of food that is meant to be prepared in a traditional deep fryer. | Cook oven food or brush food with a little oil for crispier results. |
| The basket does not slide into the appliance properly. | There are too many ingredients in the basket. | Do not fill the basket beyond the max. indication. |
| The rack is incorrectly placed inside the basket. | Push the rack downwards into the basket until you hear a click sound. |
| White smoke comes out of the appliance. | You are preparing greasy ingredients. | When cooking fatty foods in the air fryer, a large amount of oil seeps into the basket. Oil produces white smoke. This does not affect the appliance or the result. |
| The basket still contains grease residue from previous use. | The white smoke is due to the fat heating up in the basket. Make sure you clean the appliance properly after each use. |
| Chips are unevenly fried. | You did not use the right potato type. | Use fresh potatoes and make sure they stay put during frying. Use potatoes of the types suggested. |
| You did not rinse the potato sticks properly before you fried them. | Rinse the potatoes well in water for 3 minutes to remove the starch and dry thoroughly afterwards. |
| Chips are not crispy when they come out of the air fryer. | The right kind of potato is not being used. | Make sure you dry the potato sticks properly before adding the oil. |
| Cut potatoes into smaller pieces. |
| Add a little bit more of oil for a crispier result. |
6. TECHNICAL SPECIFICATIONS
Product name: Cecofry&Grill Smokin' 11000
Reference: EU01_101138
Rated voltage: 220-240 V
Rated frequency: 50/60 Hz
Basket capacity: 11 L
Rated input power: 2900 W
Technical specifications may change without prior notice to improve product quality.
Made in China | Designed in Spain
ENGLISH
7. DISPOSAL OF OLD ELECTRICAL AND ELECTRONIC APPLIANCES

This symbol indicates that, according to the applicable regulations, the product and/or battery must be disposed of separately from household waste. When this product reaches the end of its shelf life, you should dispose of the cells/batteries/accumulators and take them to a collection point designated by the local authorities. Consumers must contact their local authorities or retailer for information concerning the correct disposal of old appliances and/or their batteries. Compliance with the above
guidelines will help protecting the environment.
8. TECHNICAL SUPPORT AND WARRANTY
Cecotec shall be liable to the end user or consumer for any lack of conformity that exists at the time of delivery of the product under the terms, conditions, and deadlines established by the applicable regulations. It is recommended that repairs are carried out by qualified personnel. If at any moment you detect any problem with your product or have any doubt, do not hesitate to contact the official Cecotec Technical Support Service at +34 96 321 07 28.
9. COPYRIGHT
The intellectual property rights over the texts in this manual belong to CECOTEC INNOVACIONES, S.L. All rights reserved. The contents of this publication may not, in whole or in part, be reproduced, stored in a retrieval system, transmitted, or distributed by any means (electronic, mechanical, photocopying, recording or similar) without the prior authorization of CECOTEC INNOVACIONES, S.L.
CE Cecotec Innovaciones hereby declares that this appliance complies with the essential requirements and other relevant provisions of the regulations applicable in the European Union. This appliance has been designed, manufactured and tested to meet the required safety and quality standards. The full text of the EU Declaration of Conformity can be found on the following website: https://cecotec.es/es/information/declaration-of-conformity
1. PIEÇES ET COMPOSANTS
Appareil.Img.1
5. PROBLEEMOPLOSSING
2. PIPIN AIO TH XPHSEH
- Autn to Tpoiov diathetai oukeuaia oxediouevn yia tvn Tpootai a nC kata n eTAPopa. Apaipote TN oukeun ato To kouti Tc kai atnoNKeuote To apxiko kouti kai tic aaee c oukeuaiec oaaaalec mepos. Auto tha aac bonnoe va atopuyete zneic oTo Tpoiov ev xpeiaote i va to tepetoe oTo mllov. Eav etioueite va tetaeTe nV apxikn oukeuaia, 8betaiowte ot avakukwve te ola ta komuatia oomega.
- Bεβαιωθείτε οτιόλα τα μέρη και τα εξαρτήματα περιαμβάνονται και βρισκονται σε καλή κατασταση. Eav éxετε ερωτήσεις, επικοινωνήσει με το επίσημο κέντρο εξυπηρεπόns TnC Cecotec.
- Xpnoiopoioiote eva uypo Tavi yia va kathetaeTo 00 To EeWTEPIKO 00 KAI TO eOwTEPIKOTnS OUsKEUnC kai oTeYVwote To. Mny pexTe Ta eepavtik a StoiXia.
- Kaθαρίοτε καλά το καλάθι και ην βάση μέ ζεότονερό, απόρμιαντικό και ενα μη λειαντικό σφουγγάρι.
- ToTIOeTIoTE TnV βaON OwOTá OTO KaλAθI KAI ETTAVATOTTOEITNOTE TO KaλAθI OTN OUOKeUN YIA VA Tn XpnoIμoTOnOeTE.
- Mny yeuizete n ouokeun e lai n otioohtnote aallo uypó.
PepiexoEva Tou Koutiou:
-Φpītěgα αερος
- Odyies xphons
- KaṭaKiKaTiViOri
- ZakoUa 15g pokaviδia ξuλou
PpOaon otyn ayopapokavidiw yeou aokouou kwikou QR:

EAAHNIKA
Mny aipaite ToV oepiako apioaou Tou Poiovoc, TPOKIEvou va diatnpetai n Owotn duvatotnta evtontiou tou eottlioou ocse TEPITIWon avayknC.
3. AEITOYPTIA
XpnoTnG φpTiEzαaepos
- TOnoTheTne Tn 0piteZa e iA eTTIEbn, Otaeepn, 0epmoavEKTIK n ETTIpaVEia, paKpi aTTO tUxov TTIOAIiEc Vepou n Tnyec 0epmuotntac.
- TOnoTheTne To diaxwpiotiko twv diaepiouatwv, evr To eTIuueite, aKoAouOwVtac Touc oynouc Tnou ETTETe OTA TOIXWmuata Tns DEgauvcns KAI OTNv OPOPn OTO EOWTepiok Tng DEgauvcns.
- TOnoTeIto KaIaOTo n pIteca.
- Mny tototheite avikeiEv aTvaw oTo Tpoiov yia va mnv diakotteai npou aepa.
- Συνδεοτε το καλώδιο τροφοδοσίας σε γειωμένη πρία, το εικόνίδιο αφής ενεργοπούης θα ανάψει.
- ApaipéoTE TPOOeKTIKA TO KAλaθI aTIO Tn φpITEca.
- TOnoTeTnOte Ta uAikα OTo kaλaθI.
- Xpnoioutoinote Tov nivaka eEyxou oTiwC Tepipapetai Tnapakatw:
IPOEIANOIHsH:ToTIOeTNOTE TO diaxwpiOTIKo Tov TmNpATWv aKoAouOwVtacTov avwTepo oynoTc opoNc OTO eawTEPIKOu TUaTTOAPUYETVa epEi To diaxwpiOTIKo e aueon ETTaPn ME Tc AVTIOTAOEIC, KaOHc MTOpei va dnoiuOpynoei atuxnata.