IVR 50242 Sc - Vacuum Cleaner Kärcher - Free user manual and instructions
Find the device manual for free IVR 50242 Sc Kärcher in PDF.
Download the instructions for your Vacuum Cleaner in PDF format for free! Find your manual IVR 50242 Sc - Kärcher and take your electronic device back in hand. On this page are published all the documents necessary for the use of your device. IVR 50242 Sc by Kärcher.
USER MANUAL IVR 50242 Sc Kärcher
- 3 x 1,5 Teilenummer (EU) 9.988-393.0 Kabellänge m 10 IVR 100/24-2 Sc General notes p. 12
- Intended use p. 13
- Environmental protection p. 13
- Accessories and spare parts p. 13
- Scope of delivery p. 13
- Safety devices p. 13
- Description of the unit p. 15
- Initial startup p. 15
- Operation p. 15
- Ending operation p. 16
- Transport p. 16
- Storage p. 16
- Care and servicing p. 16
- Troubleshooting guide p. 17
- Warranty p. 17
- Technical data p. 18
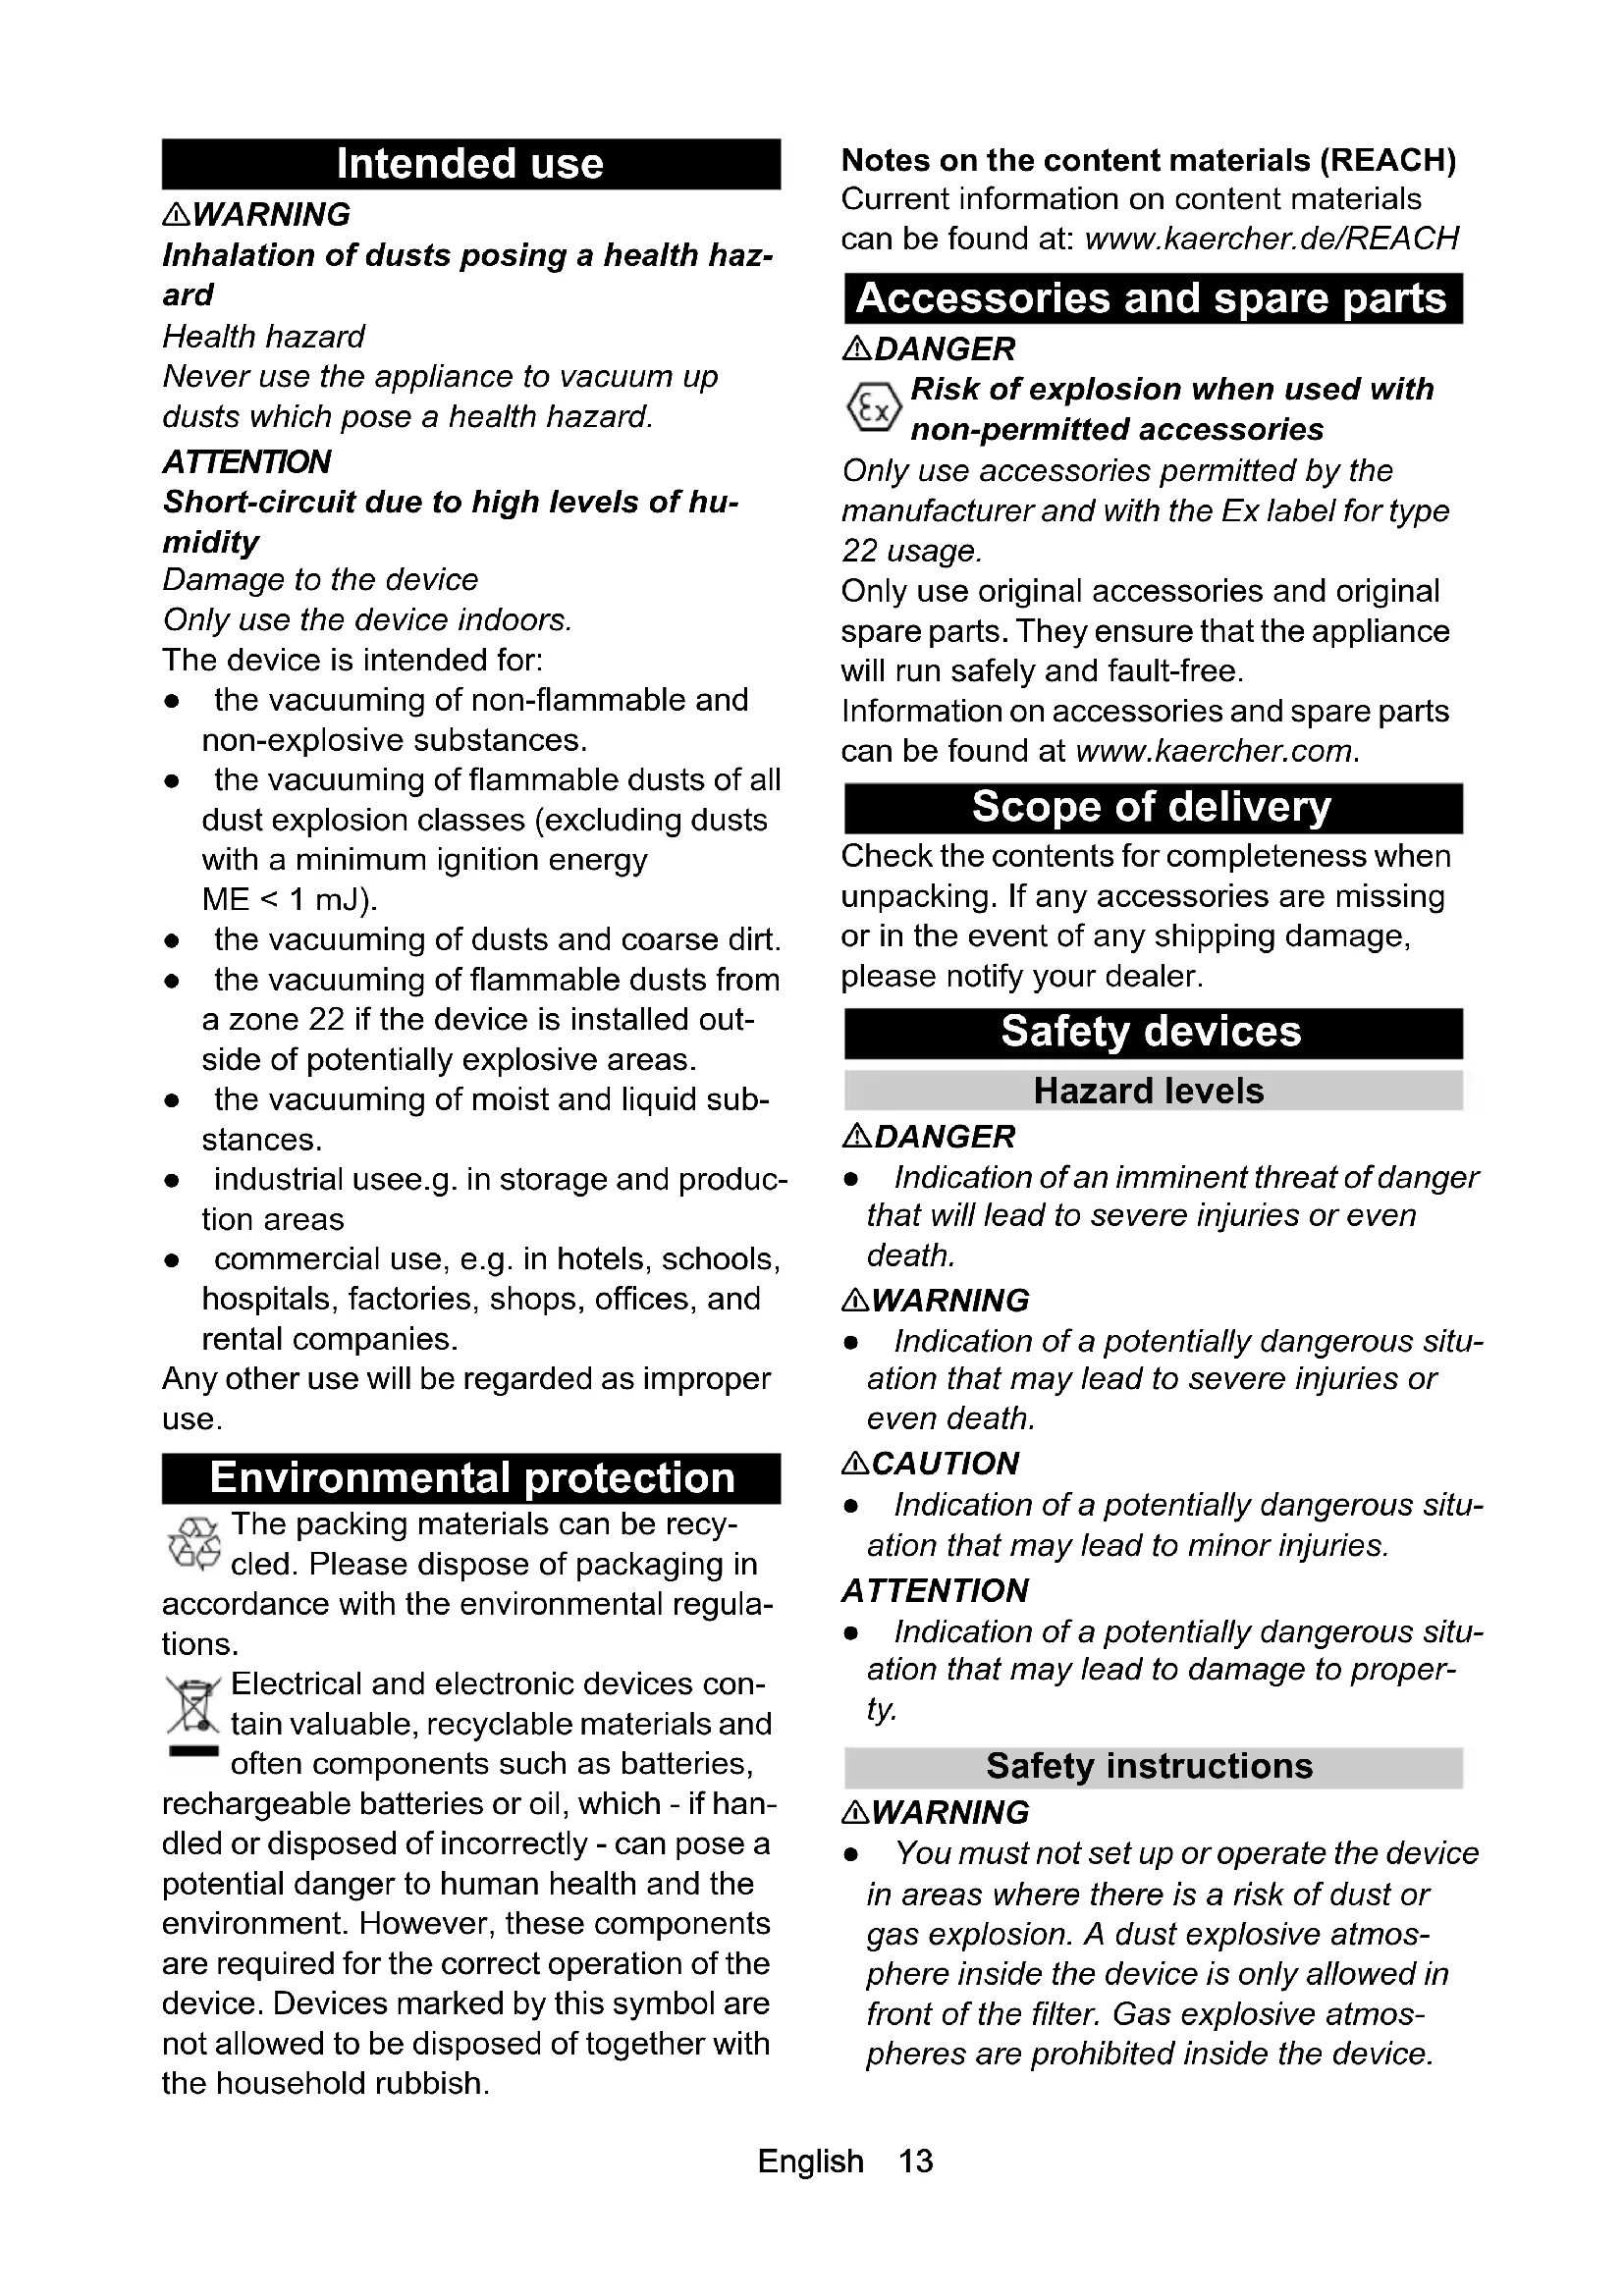
- Declaration of Conformity English 13 Intended use 몇 WARNING Inhalation of dusts posing a health haz- ard Health hazard Never use the appliance to vacuum up dusts which pose a health hazard. ATTENTION Short-circuit due to high levels of hu- midity Damage to the device Only use the device indoors. The device is intended for: ● the vacuuming of non-flammable and non-explosive substances. ● the vacuuming of flammable dusts of all dust explosion classes (excluding dusts with a minimum ignition energy ME < 1 mJ). ● the vacuuming of dusts and coarse dirt. ● the vacuuming of flammable dusts from a zone 22 if the device is installed out- side of potentially explosive areas. ● the vacuuming of moist and liquid sub- stances. ● industrial usee.g. in storage and produc- tion areas ● commercial use, e.g. in hotels, schools, hospitals, factories, shops, offices, and rental companies. Any other use will be regarded as improper use. Environmental protection The packing materials can be recy- cled. Please dispose of packaging in accordance with the environmental regula- tions. Electrical and electronic devices con- tain valuable, recyclable materials and often components such as batteries, rechargeable batteries or oil, which - if han- dled or disposed of incorrectly - can pose a potential danger to human health and the environment. However, these components are required for the correct operation of the device. Devices marked by this symbol are not allowed to be disposed of together with the household rubbish. Notes on the content materials (REACH) Current information on content materials can be found at: www.kaercher.de/REACH Accessories and spare parts DANGER Risk of explosion when used with non-permitted accessories Only use accessories permitted by the manufacturer and with the Ex label for type 22 usage. Only use original accessories and original spare parts. They ensure that the appliance will run safely and fault-free. Information on accessories and spare parts can be found at www.kaercher.com. Scope of delivery Check the contents for completeness when unpacking. If any accessories are missing or in the event of any shipping damage, please notify your dealer. Safety devices Hazard levels DANGER ● Indication of an imminent threat of danger that will lead to severe injuries or even death. 몇 WARNING ● Indication of a potentially dangerous situ- ation that may lead to severe injuries or even death. 몇 CAUTION ● Indication of a potentially dangerous situ- ation that may lead to minor injuries. ATTENTION ● Indication of a potentially dangerous situ- ation that may lead to damage to proper- ty. Safety instructions 몇 WARNING ● You must not set up or operate the device in areas where there is a risk of dust or gas explosion. A dust explosive atmos- phere inside the device is only allowed in front of the filter. Gas explosive atmos- pheres are prohibited inside the device.14 English ● The device is not suitable for vacuuming up dusts that are harmful to human health. ● The device is not suitable for sucking up ignition sources and dusts with a glow temperature ≤ 190 °C. ● The device is not suitable for the suction of explosive or equivalent substances within the meaning of §1 SprengG, explo- sive steam-air mixtures, as well as Al and Mg dusts. ● The device is not suitable for the suction- ing or vacuuming of flammable liquids (flammable, easily flammable, highly flammable according to Dangerous Sub- stances Directive 67/548/EEC) (flash point below 55 °C) and mixtures of flam- mable dusts and liquids. ● The device is not suitable for the vacuum- ing of dusts with extremely low minimum ignition energy (ME <1 mJ), e.g. toner, mesh, aluminium powder, lead acid suita- ble. ● Protect the device from rain. Do not store the device outdoors. ● Every time before use, check whether the equipotential bonding conductors (earth- ing conductors) are connected. 몇 CAUTION ● Switch off the device after each use and remove the mains plug. ATTENTION ● Only use the device indoors. ● Risk of crushing! Wear gloves when re- moving or installing the suction head, fil- ter inlay or collection container. ● Risk of damage! Never vacuum without a filter or with a damaged filter. ● Wear safety shoes when operating the device. ● Only move the device at walking speed, and to move down a decline, have two workers steady the device as necessary. ● Be careful to ensure that there is no dust spillage when replacing accessories. ● Surface temperatures can rise to 100 °C during normal operation. Behaviour in the event of an emergency DANGER Risk of injury and material damage when vacuuming inflammable materi- als, or in the case of a short-circuit or other electrical faults Danger of inhalation of gases hazardous to health, danger of electric shock, danger of burns. In the event of an emergency, switch off the device and unplug the mains plug. Electrical connection The device may only be connected to an electrical connection which has been set up by a qualified electrician as per IEC 60364. For the connection values see Technical data and type plate. Use of an extension cable is prohibited. DANGER Danger of electric shock Danger of death Avoid damaging the power cables by driv- ing over them or otherwise crushing them, or by jerking them. Protect the cables from heat, oil and sharp edges. Check the mains connection of the device for damage every time before operation. Do not operate the device using a damaged cable. Have any damaged cables replaced by a qualified electrician. Symbols on the device Industrial vacuum for flammable dust, until list/set-up outside zone 22 The device is not suitable for: ● Intake of liquids with high risk of explo- sion and for mixtures of flammable dusts and liquids. ● Connection to dust-producing ma- chines. ● Absorption of glowing dust or other igni- tion sources. Observe the warning sign on the device!English 15 The device is not suitable for: ● Operation in potentially explosive at- mospheres. Description of the unit See graphics page for illustrations Illustration A 1 Collection container 2 PE dust bag 3 PE dust bag fastener 4 Push handle 5 Suction hose connection 6 Equipotential bonding cable 7 Bag filter 8 Mains cable 9 Gauge 10 Power switch 11 Equipotential bonding cable 12 Suction head lock 13 Equipotential bonding cable 14 Pressure equalization tube 15 Accessory holder 16 Lower collection container lever 17 Steering rollers with parking brake Initial startup See graphics pages for illustration p. 18
1. Bring the device into the working posi-
3. Ensure that the suction head is fitted
4. Insert the suction hose into the suction
hose connection. Illustration B
5. Plug the desired accessory onto the suc-
tion hose. Operation See graphics pages for illustration
1. Plug the mains plug into the socket.
2. Switch on the device using the trigger.
Illustration C The switch has multiple level settings: 0 The device is off. 1 Motor 1 is switched on. 2 Motors 1 and 2 are switched on.
3. Start the vacuuming process.
Suction process See graphics page for illustrations Illustration D 1 Holder 2 Suction hose 3 Accessory holder 4 Nozzle
1. Switch the device on.
2. Remove the suction hose from the hold-
3. Take the desired nozzle out of the ac-
cessory holder and attach it to the suc- tion hose.
4. Vacuum up the desired material.
5. Take the nozzle off the suction hose and
place it into the accessory holder.
6. Place the suction hose on the holder.
7. Switch off the device.
Cleaning the dust filter See graphics page for illustration Note Clean the filter regularly to avoid declining suction power. Illustration E
1. Move the filter cleaning handle back and
forth several times to clean the filter. Reading the minimum volumetric flow A gauge is mounted on the front of the de- vice that shows the vacuum intensity. (see chapter Description of the unit) The table shows the maximum vacuum in- tensity value. This value depends on the unit performance and the suction hose used. ATTENTION Suction loss If the specified value is exceeded, the air speed in the suction hose drops below 20 m/s. Clean the bag filter when the value is reached, or sooner. If cleaning does not significantly lower the value, change out the bag filter.
(see chapter Replacing the pocket filter)16 English Clean the filter before or when the spec- ified value is reached. Emptying the collection container See graphics page for illustrations
1. Switch the device off and disconnect it
from the power supply.
2. Clean the dust filter.
3. Push down the lever to lower the collec-
tion container. Illustration F
4. Pull the collection container out of the
device. Illustration G
5. Empty the collection container into the
6. Dispose of or reuse the contents in ac-
cordance with applicable law.
7. Empty the collection container after
each use and otherwise as needed. Note Only move the collection container only on its rollers. Do not use a crane, forklift or sim- ilar means. Remove PE dust bag See graphics page for illustrations Illustration H
1. Disconnect the pressure equalisation
hose from the collection container.
2. Take the collection container out of the
3. Remove the fastener from the PE dust
5. Dispose of the dust bag in accordance
with statutory regulations.
6. Insert the new dust bag into the collec-
7. Place the fastener inside.
Ensure that the PE dust bag is not dam- aged.
8. Insert the collection container into the
device and connect the pressure equali- sation hose. Removing the suction head See graphics page for illustration
1. Switch off the device and disconnect
from the power supply.
2. Open the suction head lock.
3. Remove the suction head and put it to
one side. Ending operation
1. Switch off the device using the on/off
2. Empty and clean the collection contain-
3. Remove the accessories and clean and
dry them as necessary. Transport 몇 CAUTION Failure to observe the weight Risk of injury and damage Be aware of the weight of the device during transport and storage.
1. When transporting in vehicles, secure
the device against slipping and tipping over according to the applicable guide- lines. Storage 몇 CAUTION Failure to observe the weight Risk of injury and damage Be aware of the weight of the device during transport and storage.
1. Store the device indoors only.
1. Rinse off the device and accessories at
regular intervals using a suitable liquid and allow to dry.
2. Check the bag filter regularly for dam-
age. Replace the bag filter if damaged. Hose diameter Value DN40 180 mbar (18 kPA) DN50 160 mbar (16 kPA)English 17 Replacing the filter For the figures, please refer to the graphics pages Illustration J
1. Unscrew the hexagon screw.
2. Unscrew the screw plug.
3. Remove and replace the filter.
4. Insert the new filter.
Ensure that the filter is inserted correctly during installation.
5. Screw in and tighten the screw plug.
6. Screw in and tighten the hexagon screw.
Replacing the pocket filter See graphics page for illustrations Illustration K 1 Screws 2 Clamping ring 3 Pocket filter 4 Cleaning fixture
1. Remove the suction head (see chapter
Removing the suction head).
2. Remove the filter unit from the device
using the handles and turn it over. Illustration L
3. Remove the screws and remove the
4. Loosen the clamping ring screw connec-
5. Remove the pocket filter.
6. Dispose of the foam filter.
9. Fit the tensioning ring and screw it in
place. 10.Fit the cleaning device and screw it on. 11.Insert the filter inlay. In doing so, make sure the tab on the fil- ter inlay fits into the shaft. Illustration M Troubleshooting guide DANGER Risk of injury Danger of the device unintentionally start- ing and danger of electric shock Switch off the device and unplug the mains plug before performing any work on the de- vice. Have all checks and work on electrical parts performed by an qualified technician. The motor (suction turbine) does not start up No electrical voltage present Check the socket and the power supply fuse. Check the mains cable and the mains plug of the device. The suction power decreases Nozzle, suction hose or suction pipe clogged. Check the nozzle, the suction hose and the suction pipe and clean if necessary. The filter is dirty. Clean the filter. Customer Service department If the malfunction cannot be corrected, the device must be checked by the Customer Service department. Warranty The warranty conditions issued by our rele- vant sales company apply in all countries. We shall remedy possible malfunctions on your appliance within the warranty period free of cost, provided that a material or manufacturing flaw is the cause. In a war- ranty case, please contact your dealer (with the purchase receipt) or the next author- ised customer service site. (See overleaf for the address) Further warranty information (if available) can be found in the service area of your lo- cal Kärcher website under "Downloads".18 English Technical data Subject to technical modifications. Declaration of Conformity We hereby declare that the machine de- scribed below complies with the relevant basic safety and health requirements in the EU Directives, both in its basic design and construction as well as in the version placed in circulation by us. This declaration is invalidated by any changes made to the machine that are not approved by us. Product: Dry vacuum cleaner Product: Wet/dry vacuum cleaner Type: 9.986-xxx Type: 9.989-xxx Currently applicable EU Directives 2006/42/EC (+2009/127/EC) 2014/30/EU 2011/65/EU IVR 100/24-2 Sc Electrical connection Mains voltage V 220-240 Phase ~ 1 Power frequency Hz 50-60 Degree of protection IPX4 Protection class I Nominal power W 2400 Power protection (slow-blowing) A 16 Dimensions and weights Typical operating weight kg 103 Length x width x height mm 915 x 760 x 1580 Ambient conditions Ambient temperature °C +40 Device performance data Tank content l 100 Air quantity l/s 2 x 74 Air flow volume during operation l/s 76.5 Vacuum kPa (mbar) 23 (230) Operating pressure kPa (mbar)
Sound pressure level L
EN 61000-3-3: 2013 + A1: 2019 EN 61000-3-11: 2000 EN 62233: 2008 EN IEC 63000: 2018 The signatories act on behalf of and with the authority of the Executive Board. Documentation supervisor: A. Haag Kärcher Industrial Vacuuming GmbH Robert-Bosch-Straße 4-8 73550 Waldstetten (Germany) Ph.: +49 7171 94888-0 Fax: +49 7171 94888-528 Waldstetten, 2024/04/01 We hereby declare that the product de- scribed below complies with the relevant provisions of the following UK Regulations, both in its basic design and construction as well as in the version put into circulation by us. This declaration shall cease to be valid if the product is modified without our prior approval. Product: Dry vacuum cleaner Product: Wet/dry vacuum cleaner Type: 9.986-xxx Type: 9.989-xxx Currently applicable UK Regulations S.I. 2008/1597 (as amended) S.I. 2016/1091 (as amended) S.I. 2012/3032 (as amended) Designated standards used EN 55014-2: 2015 EN 55014-1: 2017 + A11: 2020 EN 60335-1 EN 60335-2-69
3. Odstranite filter in pripravite nov filter.
www.kaercher.com/REACH