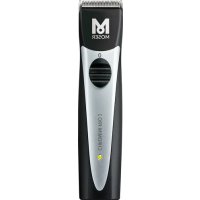
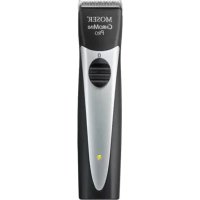
Neo 1886 - Beard trimmer MOSER - Free user manual and instructions
Find the device manual for free Neo 1886 MOSER in PDF.
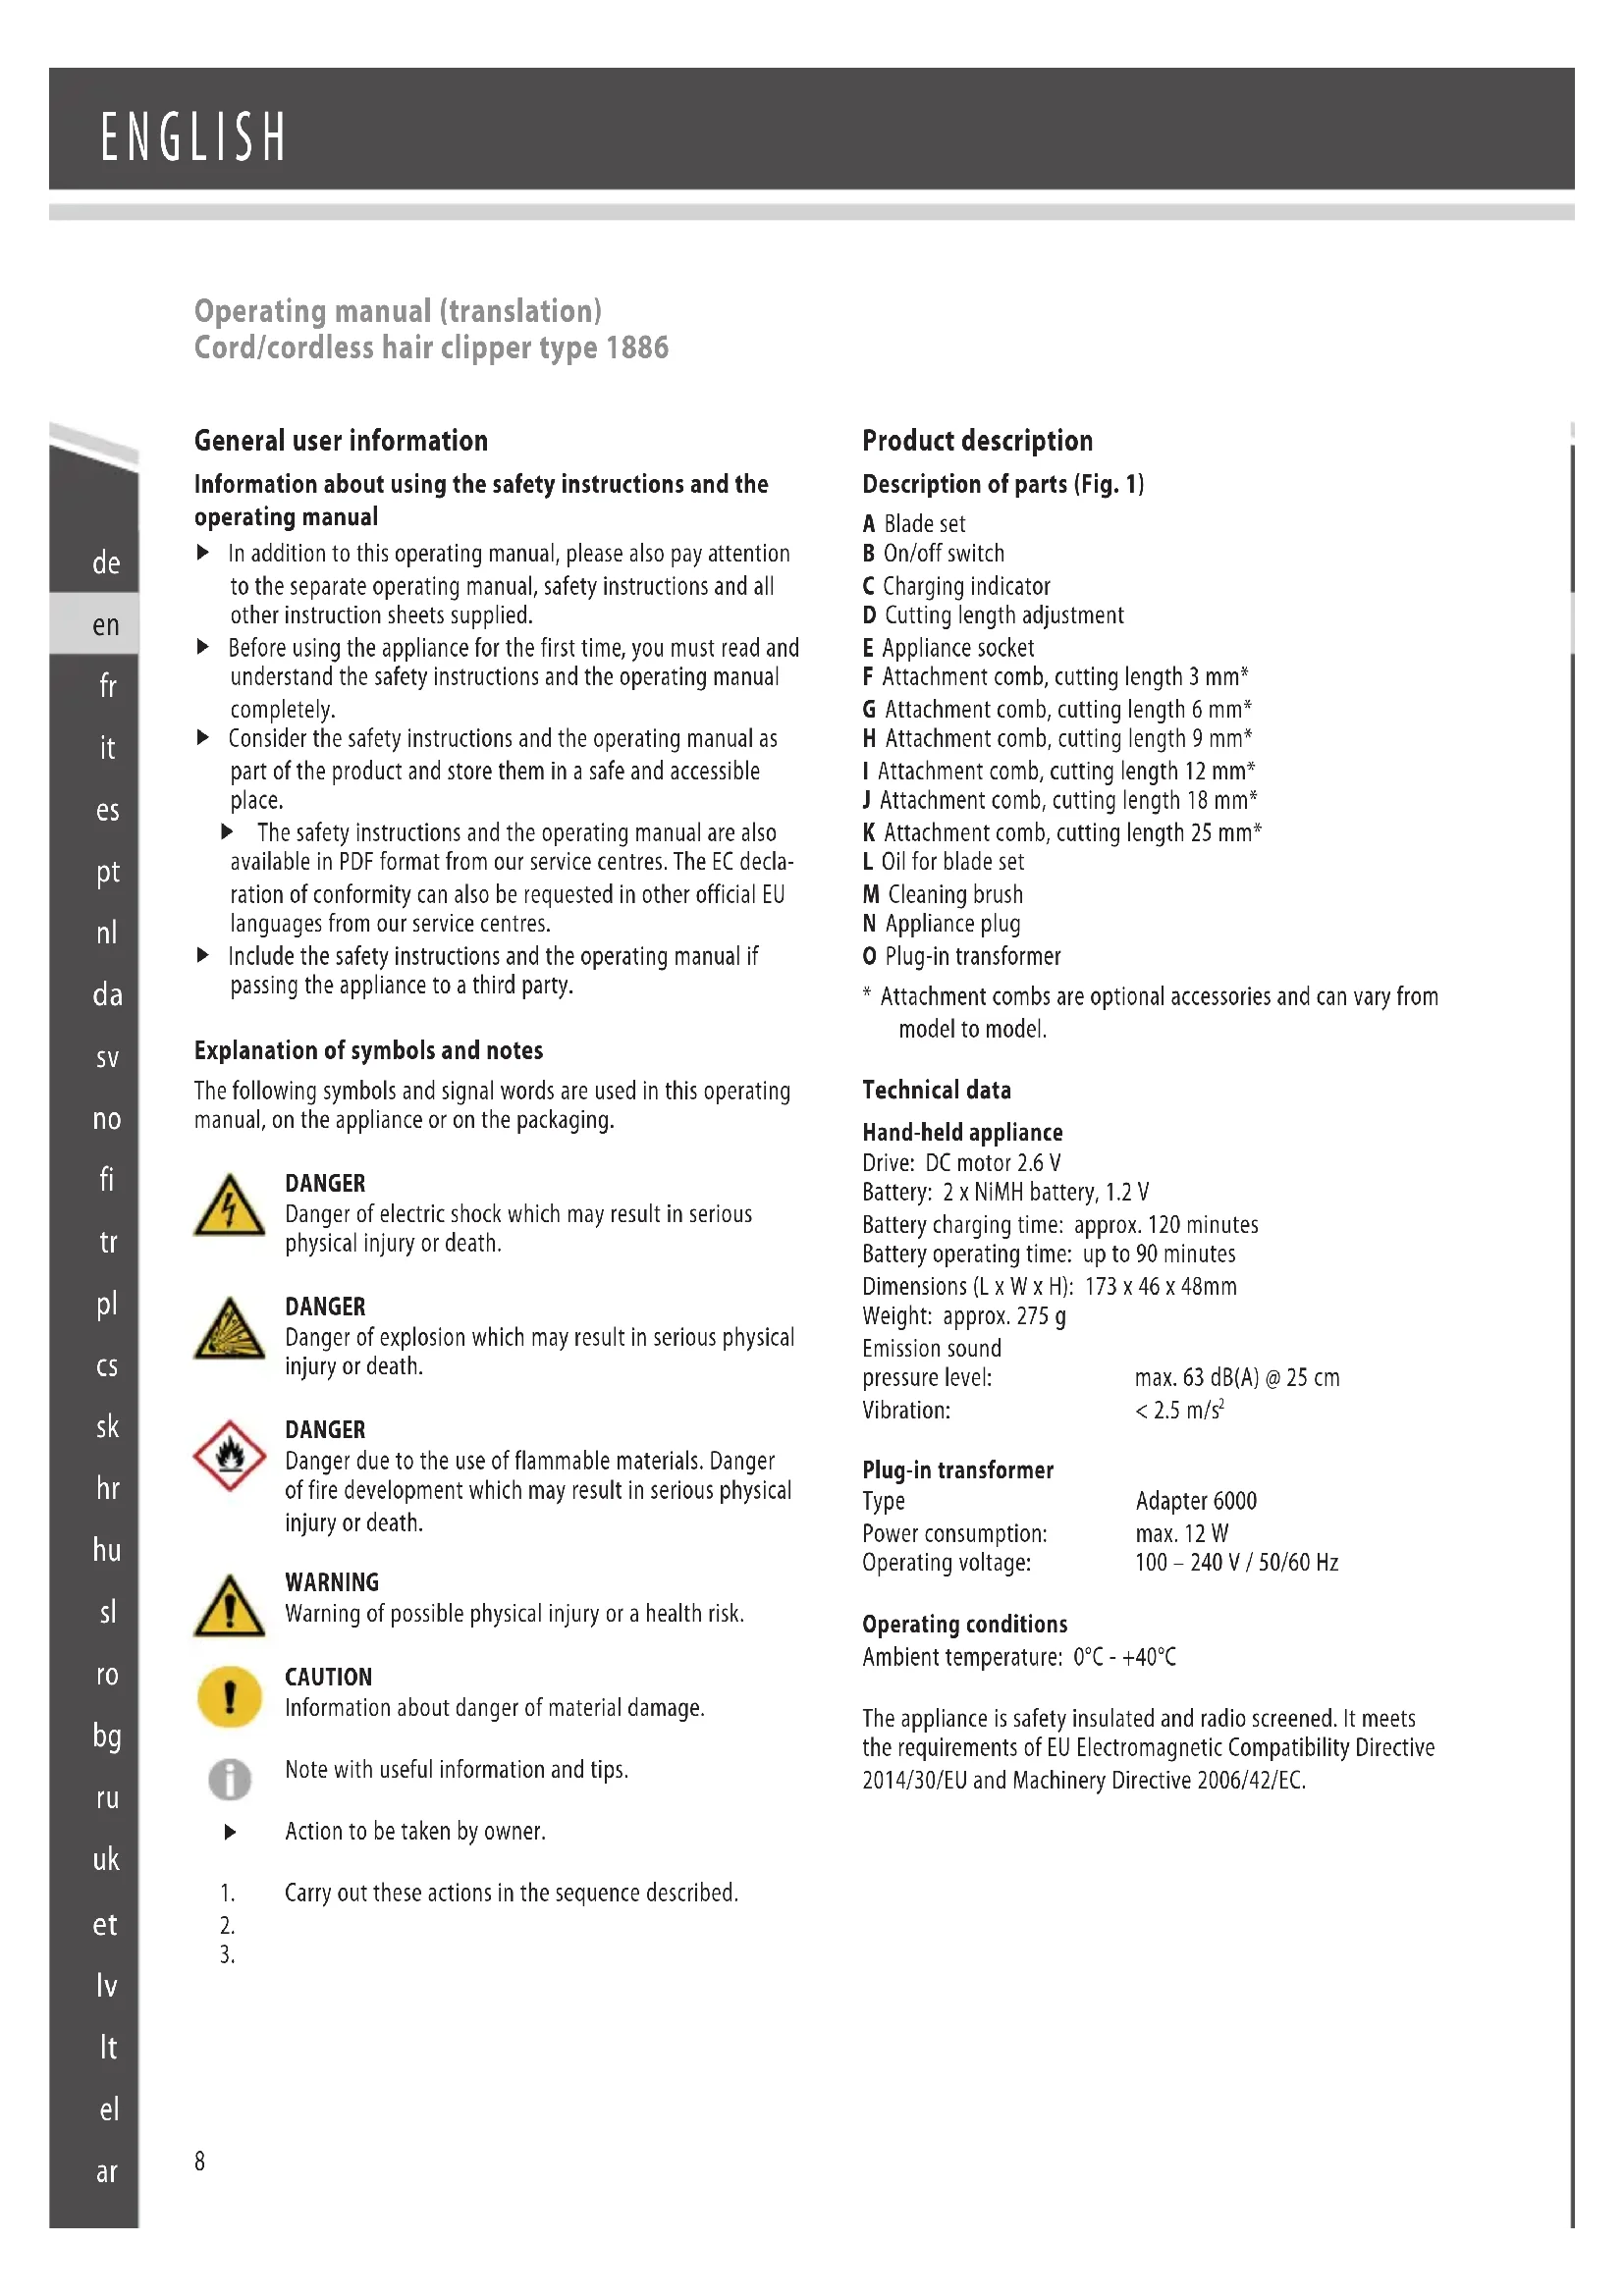
| Product Type | Cordless / cord beard trimmer |
| Brand | Moser |
| Model | Neo 1886 |
| Dimensions (L x W x H) | 173 x 46 x 48 mm |
| Weight | Approx. 275 g |
| Motor | 2.6 V DC motor |
| Battery | 2 × NiMH 1.2 V |
| Charging time | Approx. 120 minutes |
| Runtime | Up to 90 minutes |
| Power supply voltage | 100-240 V, 50/60 Hz (power adapter) |
| Power consumption | Max. 12 W |
| Built-in cutting adjustment | 5 positions from 0.7 to 3 mm |
| Supplied combs | 3 mm, 6 mm, 9 mm, 12 mm (depending on model) |
| Included accessories | Cutting head oil, cleaning brush, power adapter |
| Cutting head | Interchangeable, removable for cleaning |
| Sound level | Max. 63 dB(A) at 25 cm |
| Vibrations | < 2.5 m/s² |
| Safety | Double insulation, anti-interference, battery overload protection |
| Maintenance | Clean with brush, oil cutting head regularly |
| Operating conditions | 0 °C to +40 °C |
Frequently Asked Questions - Neo 1886 MOSER
User questions about Neo 1886 MOSER
0 question about this device. Answer the ones you know or ask your own.
Ask a new question about this device
Download the instructions for your Beard trimmer in PDF format for free! Find your manual Neo 1886 - MOSER and take your electronic device back in hand. On this page are published all the documents necessary for the use of your device. Neo 1886 by MOSER.
USER MANUAL Neo 1886 MOSER
natural_image
3D rendering of a silver hairbrush with a black clip and textured head (no text or symbols visible)1
text_image
A B C
text_image
Made in Germany D E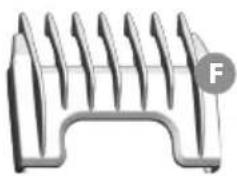
natural_image
Illustration of a multi-plate fish or rod structure with no visible text or symbols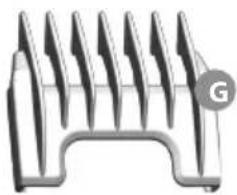
natural_image
Pure diagram of a mechanical component with no text or symbols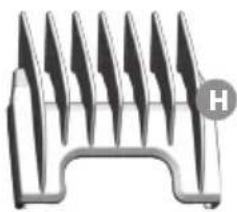
natural_image
Close-up of a metallic tool or cutting edge with multiple blades, no visible text or symbols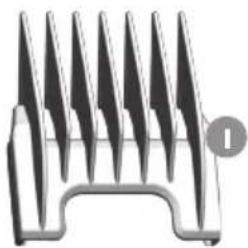
natural_image
Pure mechanical component diagram without any text, numbers, or symbols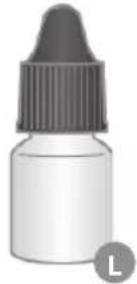
natural_image
Pure diagram of a mechanical component with multiple blades and a base, no text or symbols present.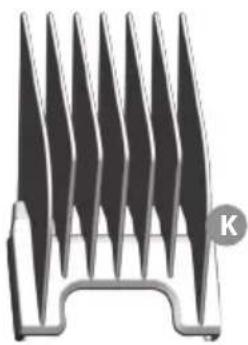
natural_image
Abstract geometric pattern with multiple sharp spikes and a central horizontal bar (no text or symbols)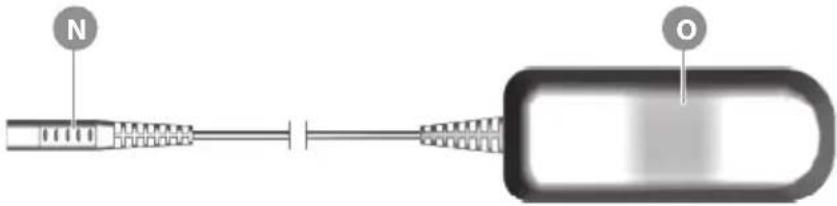
natural_image
Diagram of a medical device with labeled parts (N and O), showing internal structure and connector (no text or symbols beyond labels)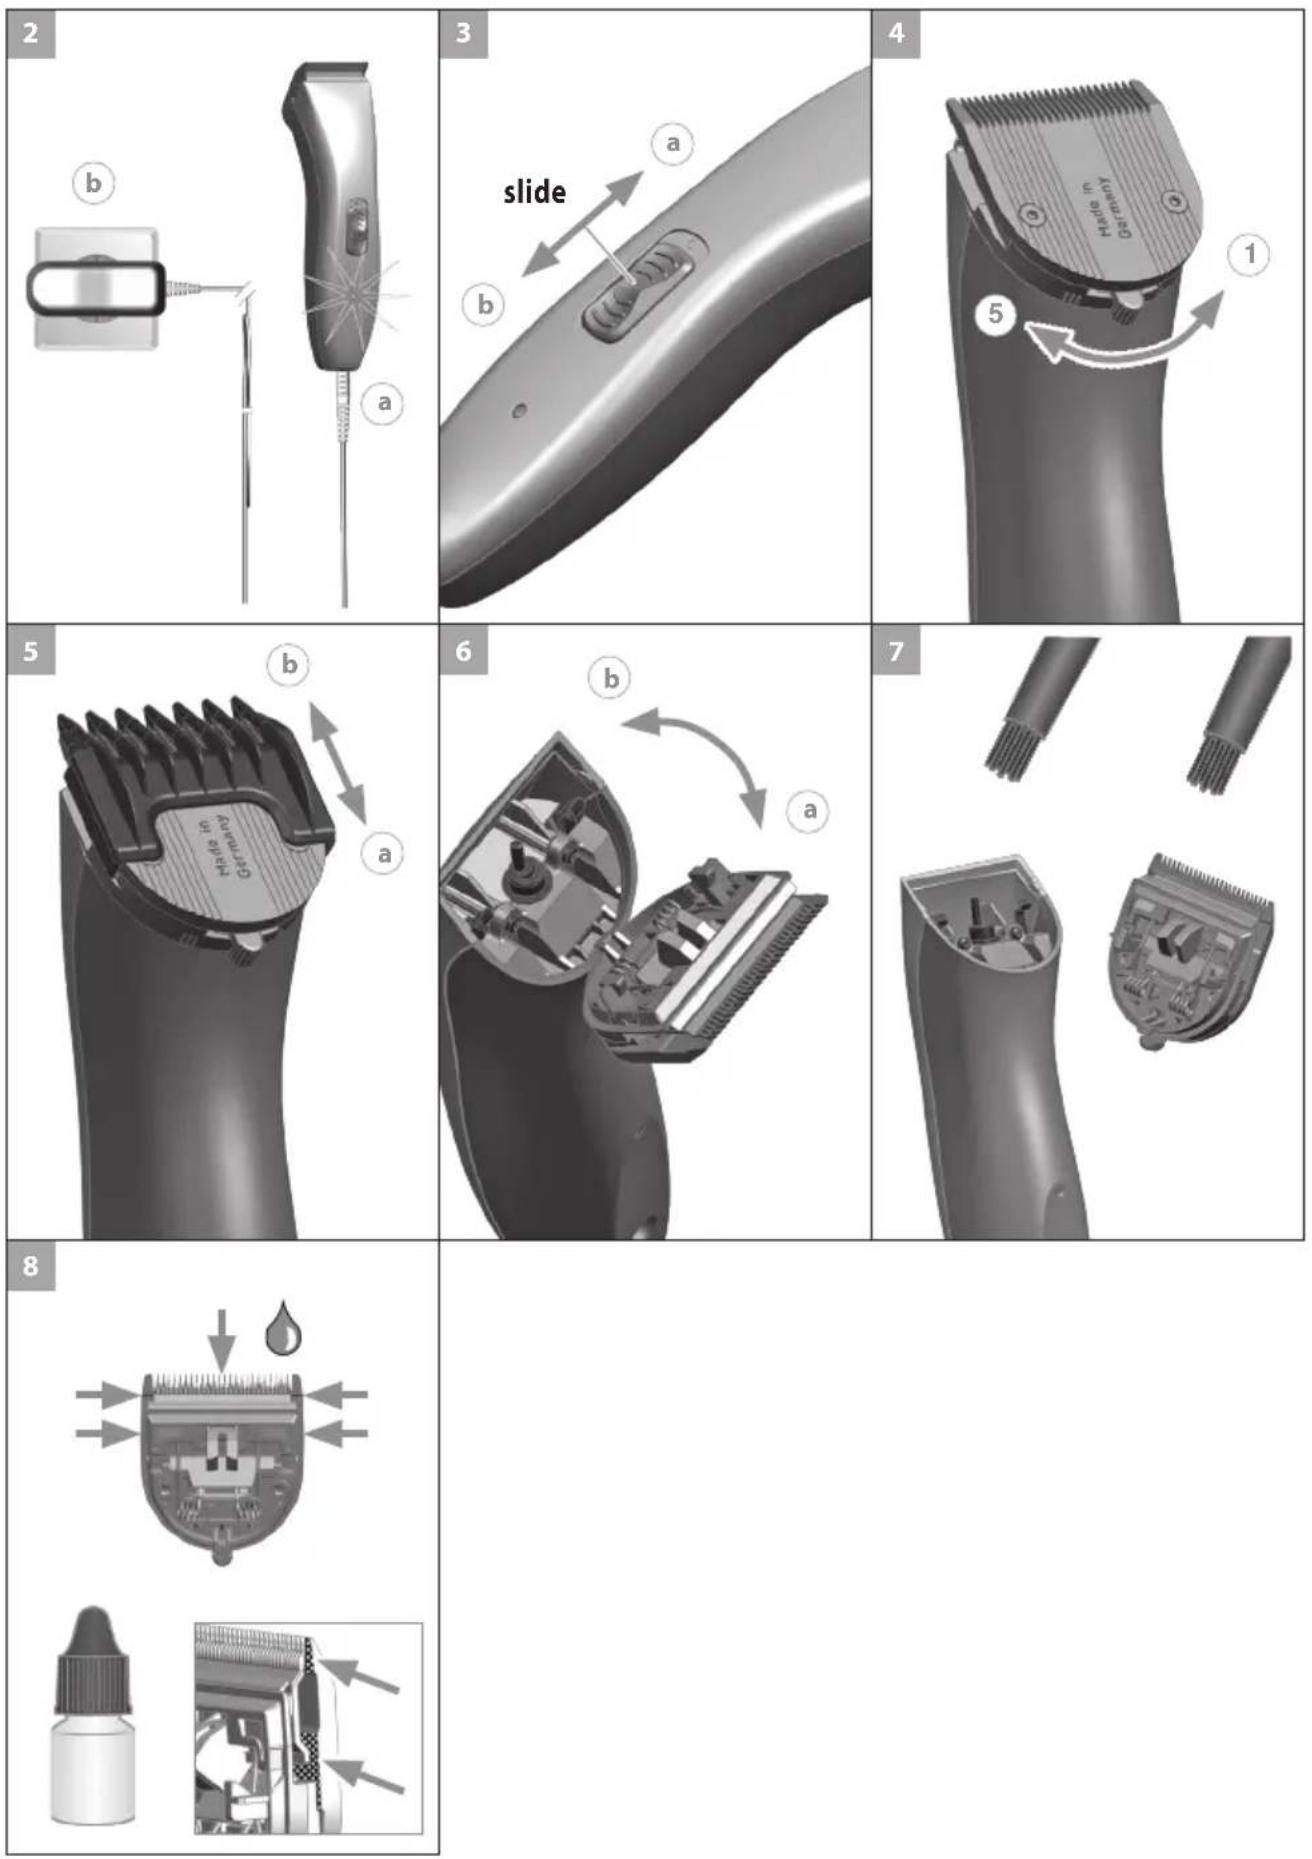
| de | Betriebsanleitung (Original) – Netz-/Akku-Haarschneidemaschine Typ 1886 ...... 5 |
| en | Operating manual (translation) – Cord/cordless hair clipper type 1886 ...... 8 |
| fr | Mode d'emploi (traduction) – Tondeuse à cheveux avec / sans fil, type 1886 ...... 11 |
| it | Istruzioni per l'uso (traduzione) – Tagliacapelli a rete / a batteria tipo 1886 ...... 14 |
| es | Manual de uso (traducción) – Máquina de corte de pelo con alimentación de red/por batería 1886 ...... 17 |
| pt | Manual de instruções (tradução) – Máquina de corte de cabelo com bateria e ligação à rede elétrica tipo 1886 ...... 20 |
| nl | Gebruiksaanwijzing (vertaling) – Netstroom-/accutondeuse type 1886 ...... 23 |
| da | Betjeningsvejledning (oversættelse) – Net-/akku-hårklipper type 1886 ...... 26 |
| sv | Bruksanvisning (översättning) – El-/batteridriven hårklippningsmaskin typ 1886 ...... 29 |
| no | Bruksanvisning (oversettelse) – Nett-/batteridrevet hårklippemaskin type 1886 ...... 32 |
| fi | Käyttöohje (käännös) – Tyyppi 1886 verkko-/akkukäyttöinen hiustenleikkuukone ...... 35 |
| tr | Kullanım kılavuzu (çeviri) – Elektrikli / bataryalı saç kesme makinesi tip 1886 ...... 38 |
| pl | Instrukcja obsługi (tłumaczenie) – Maszynka do strzyżenia włosów z zasilaniem sieciowym/akumulatorowym Typ 1886 ...... 41 |
| cs | Návod k použití (překlad) – Zastřihovač vlasů s napájením ze sitě/akumulátoru typ 1886 ...... 44 |
| sk | Návod na obsluhu (preklad) – Sieťový/akumulátorový strihač vlasov typ 1886 ...... 47 |
| hr | Upute za uporabu (prijevod) – Šišač za kosu na struju i baterije, tip 1886 ...... 50 |
| hu | Használati utasítás (fordítás) – 1886 típusú hálózatról működő/akkumulátoros hajvágó gép ...... 53 |
| sl | Navodila za uporabo (prevod) – Aparat za striženje las na omrežni / akumulatorski pogon tip 1886 ...... 56 |
| ro | Manual de utilizare (traducere) – Maşină de tuns părul tip 1886 cu alimentare de la rețea/acumulator ...... 59 |
| bg | Инструкция за експлоатация (превод) – Работеща на ток и с акумулатор машинка за подстригване тип 1886 ...... 62 |
| ru | Руководство по эксплуатации (перевод) – Машинка для стрижки волос с питанием от сети/аккумулятора, тип 1886 ...... 65 |
| uk | Посібник користувача (переклад) – Машинка для підстригання волосся, що працює від мережі або акумулятора Тип 1886 .... 69 |
| et | Kasutusjuhend (tölge) – Võrgu-/akutoitel juukselõikusmasin, tüüp 1886 ...... 72 |
| lv | Lietošanas instrukcija (tulkojums) – Tīkla/akumulatora matu griežamās mašinas modela 1886 ...... 75 |
| lt | Naudojimo instrukcija (vertimas) – Iš elektros tinklo maitinama / akumuliatorinė plaukų kirpimo mašinėlė 1886 ...... 78 |
| el | Обнүгіес λειτουργίας (Μετάφραση) – Κουρευτική μηχανή ρεύματος/μπαταρίας túlou 1886 ...... 81 |
| ar | (جهاز حلالقة الشعر يعمل بال.ceرباء وبالبطارية طراز 1886 – تعلمимات النشغيل (ترجمة) 84 |
Operating manual (translation)
Cord/cordless hair clipper type 1886
General user information
Information about using the safety instructions and the operating manual
In addition to this operating manual, please also pay attention to the separate operating manual, safety instructions and all other instruction sheets supplied.
Before using the appliance for the first time, you must read and understand the safety instructions and the operating manual completely.
▶ Consider the safety instructions and the operating manual as part of the product and store them in a safe and accessible place.
The safety instructions and the operating manual are also available in PDF format from our service centres. The EC declaration of conformity can also be requested in other official EU languages from our service centres.
▶ Include the safety instructions and the operating manual if passing the appliance to a third party.
Explanation of symbols and notes
The following symbols and signal words are used in this operating manual, on the appliance or on the packaging.

DANGER
Danger of electric shock which may result in serious physical injury or death.

DANGER
Danger of explosion which may result in serious physical injury or death.

DANGER
Danger due to the use of flammable materials. Danger of fire development which may result in serious physical injury or death.

WARNING
Warning of possible physical injury or a health risk.

CAUTION
Information about danger of material damage.

Note with useful information and tips.

Action to be taken by owner.
1.
2.
3.
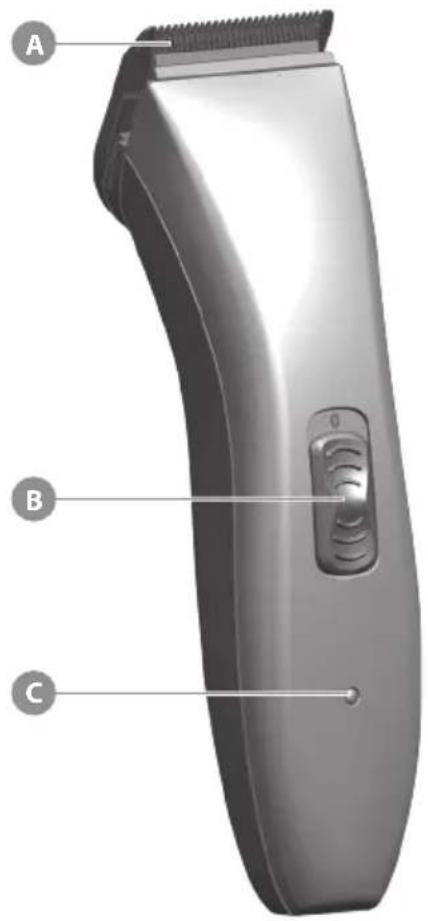
Product description
Description of parts (Fig. 1)
A Blade set
B On/off switch
C Charging indicator
D Cutting length adjustment
E Appliance socket
F Attachment comb, cutting length 3 mm*
G Attachment comb, cutting length 6 mm*
H Attachment comb, cutting length 9 mm*
I Attachment comb, cutting length 12 mm*
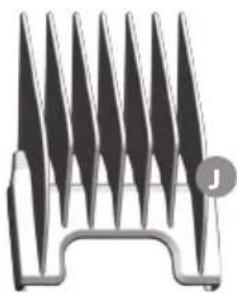
J Attachment comb, cutting length 18 mm*
K Attachment comb, cutting length 25 mm*
L Oil for blade set
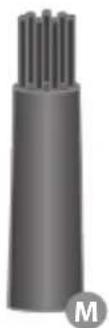
M Cleaning brush
N Appliance plug
- Plug-in transformer
* Attachment combs are optional accessories and can vary from model to model.
Technical data
Hand-held appliance
Drive: DC motor 2.6 V
Battery: 2 x NiMH battery, 1.2 V
Battery charging time: approx. 120 minutes
Battery operating time: up to 90 minutes
Dimensions (L x W x H): 173 x 46 x 48mm
Weight: approx. 275 g
Emission sound
pressure level: max. 63 dB(A) @ 25 cm
Vibration: < 2.5 m/s ^4
Plug-in transformer
Type Adapter 6000
Power consumption: max. 12 W
Operating voltage: 100 - 240 V / 50/60 Hz
Operating conditions
Ambient temperature: 0°C - +40°C
The appliance is safety insulated and radio screened. It meets the requirements of EU Electromagnetic Compatibility Directive 2014/30/EU and Machinery Directive 2006/42/EC.
Operation
Preparation

Keep the packaging material for safe storage or transport later.
▶ Check that the contents are complete.
▶ Check all the parts for possible transport damage.
Safety

Caution! Damage due to incorrect power supply.
▶ Only operate the appliance with the voltage stated on the nameplate.
Caution! Damage due to deep discharge of battery
▶ Always switch the appliance off with the on/off switch after use (Fig. 3(b)).
▶ Always switch the appliance off with the on/off switch when charging the battery (Fig. 3⑥).
Charging the battery
- Switch off the appliance using the on/off switch (Fig. 3 ⑥).
- Connect the appliance plug on the plug-in transformer to the appliance socket (Fig. 2(a)).

Battery overcharging is prevented thanks to intelligent charge management.

- Connect the plug-in transformer to the mains socket (Fig. 2 ⑥).
During charging, the charging indicator flashes. - As soon as the battery is fully charged, the charging indicator flashes at a different rate (10 on / 1 off).
Battery operation
- Switch on the appliance using the on/off switch, and switch off after use (Fig. 3(a)/b).

In case of insufficient maintenance of the blade set, the operating time can be reduced considerably.
Mains operation

Caution! Damage due to use of the appliance with the plug-in transformer permanently plugged in (mains operation)
The appliance is not designed to be used with the plug-in transformer permanently plugged in (mains operation). The plug-in transformer connecting cable is not designed for mechanical stress in continuous operation.
▶ Mains operation is only recommended for short periods of use if the battery is empty.
- Connect the appliance plug on the plug-in transformer to the appliance socket (Fig. 2(a)).
- Connect the plug-in transformer to the mains socket (Fig. 2 ⑥).
- Switch on the appliance using the on/off switch, and switch off after use (Fig. 3(a)/b).
Operation
Setting the cutting length
The cutting length can be adjusted to between 0.7 mm and 3 mm (5 possible positions) using the cutting-length adjustment integrated into the blade set (Fig. 4).
Cutting with the attachment comb
The appliance can also be operated with attachment combs.
In order to achieve the indicated cutting length, the cutting length adjustment lever should be set to position 1 (Fig. 4).

Depending on the model, the following attachment combs are included as standard: 3 mm, 6 mm, 9 mm and 12 mm cutting lengths.
Attaching/removing the attachment comb
- Slide the attachment comb on to the blade set in the direction of the arrow until it reaches the limit stop (Fig. 5a).
- The attachment comb can be removed by pushing it in the direction of the arrow (Fig. 5(b)).
Maintenance

Warning! Injuries and material damage due to incorrect handling.
▶ Switch off the appliance before cleaning it or performing any maintenance and disconnect it from the mains.
Cleaning and care

Danger! Electric shock due to penetration of liquid.
▶ Do not immerse the appliance in water!
▶ Do not allow any liquid to get inside the appliance.

Caution! Danger from aggressive chemicals.
Aggressive chemicals could damage the appliance and accessories.
▶ Never use solvents or scouring agents.
▶ Only use cleaning agents and blade set oil recommended by the manufacturer.

Accessories and spare parts are available from your dealer or our service centre.
Remove the attachment comb (Fig. 5) and lift the blade set out of the housing (Fig. 6a). Use the cleaning brush to remove any cut hairs from the housing opening and from the blade set (Fig. 7).
▶ Only wipe the appliance with a soft, slightly damp cloth.
▶ Oil the blade set with blade set oil (Fig. 8).

For a good and long-lasting cutting performance, it is important to oil the blade set frequently.
▶ If the cutting performance deteriorates after long use despite regular cleaning and oiling, the blade set should be replaced.
Changing the blade set
- Slide the blade set off the housing in the direction of the arrow (Fig. 6(a)). Remove the blade set.
- Replace the blade set by hooking it into the housing and pressing it down until it clicks into position (Fig. 6b).
Problem solving
Blade set is cutting badly or pulling hair out.
Cause: Blade set is dirty or worn out.
▶ Clean and oil the blade set. If this does not resolve the problem, replace the blade set.
Skin injury
Cause: Too much pressure on the skin.
▶ Reduce pressure when cutting close to skin.
Cause: Damaged blade set.
▶ Check whether the blade edges were damaged during use and replace the blade set if necessary.
Battery operating time is too short
Cause: A blade set that is very dirty and has not been oiled can reduce the available battery operating time substantially!
▶ Carefully clean and oil the blade set. If the blade set is clean and oiled and the battery operating time is still far too short, it is likely that the batteries are nearing the end of their life.
Charging indicator does not light up
Cause: appliance socket is dirty.
▶ Clean the appliance socket.
Cause: Defective power supply.
▶ Make sure that there is a faultless contact between the plug-in transformer and the socket.
▶ Check the mains cable for possible damage.
In the event that this information does not help you resolve your problem, please contact our service centre. Never attempt to repair the appliance yourself!
Disposal

Handle with care! Environmental damage in the event of incorrect disposal.
▶ Discharge batteries prior to disposal!
▶ Correct disposal will ensure environmental protection and prevent any potentially harmful impact on people and the environment.
Adhere to the relevant legal requirements when disposing of the appliance.
Information on the disposal of electrical and electronic appliances in the European Community:

Within the European Community, national regulations are specified for the disposal of electrical appliances, based on EU Waste Electrical and Electronic Equipment Directive 2012/19/EC (WEEE). In accordance with this, the appliance can no longer be disposed of with the local or domestic waste. The appliance will be accepted free of charge by local collection points or recycling centres. The packaging for this product is made from recyclable materials. Dispose of this in an environmentally friendly manner by recycling it.
Batarya: 2 x NiMH batarya 1,2 V
Ambient: 0^ - +40^
Akumulators: 2 x NiMH akumulatori, 1,2 V
2006/42/EC Machinery Directive including amendments
2014/30/EU Electromagnetic Compatibility Directive including amendments
2009/125/EC Ecodesign Directive including amendments and (EC) No 278/2009
2011/65/EU RoHS Directive including amendments
EU DECLARATION OF CONFORMITY
We
WAHL GmbH
Roggenbachweg 9
declare under our sole responsibility that the product
Hair clippers / animal hair clippers type 1586, 1886 with AC/DC Adapter 6000
corresponds to the regulations of
2006/42/EC Machinery Directive including amendments
2014/30/EU Electromagnetic Compatibility Directive including amendments
2009/125/EC Ecodesign Directive including amendments and (EC) No 278/2009
2011/65/EU RoHS Directive including amendments
and corresponds to the national standards transposing the following harmonised standards.
EN 60 335-1:2012 + A11:2014 + AC:2014 + A13:2017
EN 60 335-2-8:2015 + A1:2016
EN 55 014-1:2006 + A1:2009 + A2:2011
EN 55 014-1:2017
EN 55 014-2:1997 + A1:2009 + A2:2008
EN 55 014-2:2015
EN 61 000-3-2:2014
EN 61 000-3-3:2013
EN 61 000-6-2:2005
EN 61 000-6-3:2007 + A1:2011
EN 62 233:2008
The conformity assessment follows Module A.
Year in which CE mark was affixed: 2016
Responsible for the technical documentation
Heinrich Schwer
(Manager R&D)