
KSH 4220 WD - Shaver Koenic - Free user manual and instructions
Find the device manual for free KSH 4220 WD Koenic in PDF.
| Product type | Rechargeable electric shaver |
| Brand | Koenic |
| Model | KSH 4220 WD |
| Power supply | AC adapter 100-240 V~, 50/60 Hz, output 5 V, 800 mA |
| Battery type | Lithium-ion, 3.7 V, 500 mAh |
| Runtime | 60 minutes of cordless use |
| Charging time | Approximately 90 minutes (first charge: 120 minutes) |
| Protection rating (IP) | IPX5 (shaver), IP44 (charger) |
| Usage | Dry or wet shaving, with or without foam, integrated hair clipper |
| Box contents | 1 shaver, 1 AC adapter, 1 cleaning brush, 1 storage pouch, 1 replacement shaving head, 2 blade blocks, 1 user manual |
| Cleaning | Cleaning brush included; shaving head washable under water (unplugged), dry thoroughly |
| Blade replacement | Recommended after 1 year of daily use |
| Safety | Do not use near water, not for children under 8 years without supervision, power button lock |
| Dimensions (approx.) | 15 cm x 5 cm x 4 cm (estimated) |
| Weight (approx.) | 200 g (estimated) |
Frequently Asked Questions - KSH 4220 WD Koenic
User questions about KSH 4220 WD Koenic
0 question about this device. Answer the ones you know or ask your own.
Ask a new question about this device
Download the instructions for your Shaver in PDF format for free! Find your manual KSH 4220 WD - Koenic and take your electronic device back in hand. On this page are published all the documents necessary for the use of your device. KSH 4220 WD by Koenic.
USER MANUAL KSH 4220 WD Koenic
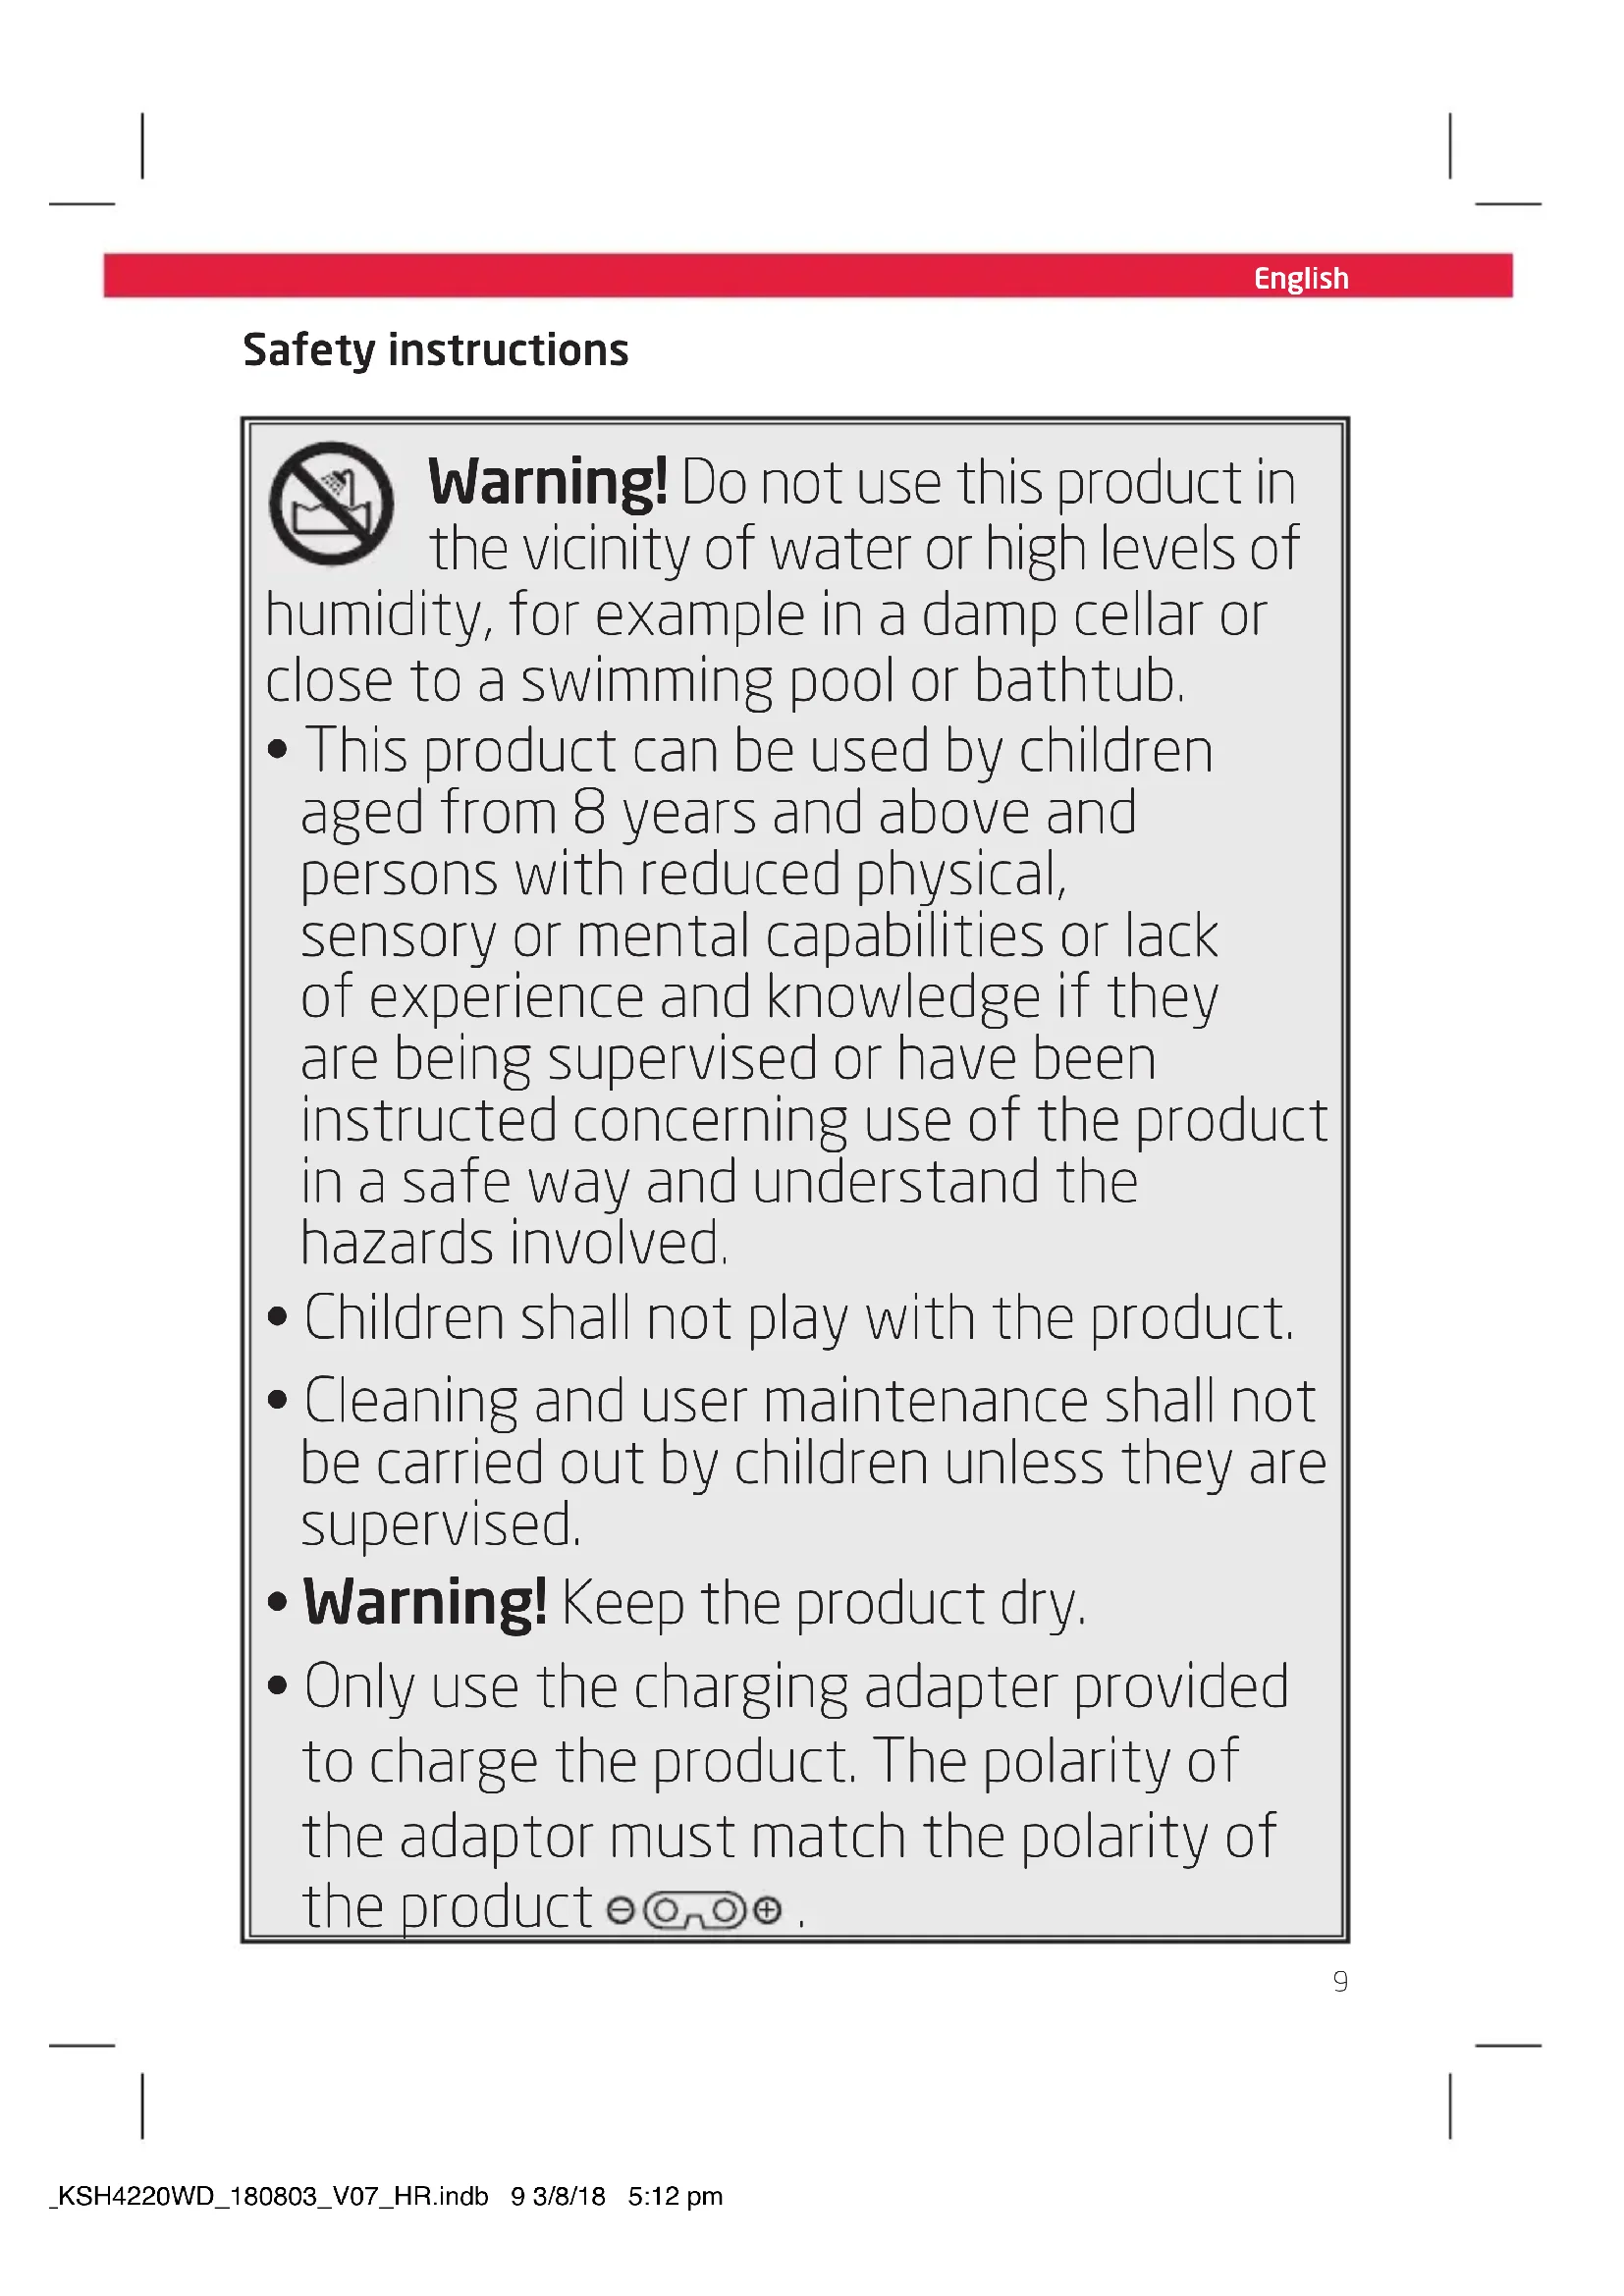
Warning! Do not use this product in the vicinity of water or high levels of
humidity, for example in a damp cellar or close to a swimming pool or bathtub.
- This product can be used by children aged from 8 years and above and persons with reduced physical, sensory or mental capabilities or lack of experience and knowledge if they are being supervised or have been instructed concerning use of the product in a safe way and understand the hazards involved.
- Children shall not play with the product.
- Cleaning and user maintenance shall not be carried out by children unless they are supervised.
- Warning! Keep the product dry.
- Only use the charging adapter provided to charge the product. The polarity of the adaptor must match the polarity of the product .
English
Safety instructions
- Read this user manual thoroughly before first use and pass it on with the product. Pay attention to the warnings on the product and in this user manual. It contains important information for your safety as well as for the use and maintenance of the equipment.
- Use the product only for its intended purpose and with recommended accessories and components. Improper use or wrong operation may lead to hazards.
- Never leave the product unsupervised while it is switched on.
- Never immerse electrical parts of the product in water during cleaning or operation. Never hold the product under running water.
- Do not under any circumstances attempt (e.g. damage in power cord, product has been dropped, etc.) to repair the product yourself. For servicing and repairs, please consult an authorised service agent.
- Use this product in dry indoor areas only and never outdoors.
-
Never use, expose or put the product near to:
-
direct sunlight and dust;
-
fire (fireplace, grill, candles), water (water splashes, vases, ponds, bath tube) or heavy moisture.
-
This product is not intended for commercial use. It is designed for household use only.
-
Clean the product and all other accessories after each use.
- Follow the instructions in the chapter Cleaning and care.
- The shaver is suitable for being cleaned under running water.
- Attention! The handheld part must be disconnected from the connection line before being cleaned with water.
Battery
- Remove the batteries from the product before disposal.
- Never expose rechargeable batteries to excessive heat (e.g. bright sun, fire), and never throw them into fire. The rechargeable batteries could explode.
- The rechargeable battery is permanently built into the product and cannot be replaced.
- When disposing the product, please consult an electrician or your retailer to remove and dispose the built in batteries in an environmentally friendly manner.
- Never short-circuit the contacts of the rechargeable battery. Do not throw the rechargeable battery or the product into fire. There is a danger of fire and explosion!
- Never charge the rechargeable battery of the product unattended.
English
Congratulations!
Thank you for your purchase of KOENIC product Please read this manual carefully and keep it for future reference.
Intended use
This product is only suitable for shaving dry or wet beards, with or without shaving cream, as well as for trimming beards and sideburns. Any other use may result in damage to product or injuries. This product is not intended for commercial use. It is designed for household use only.
The Imtron GmbH assumes no liability for damage to the product, for property damage or for personal injury due to careless or improper usage of the product, or usage of the product which does not meet the manufacturer's specified purpose.
Before first time use
Remove the product and accessories carefully from the original packaging. Inspect the delivery contents for completeness and damages. Should the delivery contents be incomplete or damaged, contact your sales outlet immediately.
Note
- For first time use, charge the product for at least 2 hours. The general charging time is about 90 minutes which also depends on the condition of the battery.
- When the battery is fully charged, the product can be used for 60 minutes. The time may vary (depending on the battery condition).
Disposal

Do not dispose of this product as municipal waste. Return it to a designated collection point for the recycling of electrical and electronic equipment. Contact your retailer
or local authorities for more information.

Please dispose of batteries in an environmentally friendly manner Do not put batteries into the household waste.
Please use the return and collection systems in your community or contact the dealer where you purchased the product.
Content
1×Shaver
1 x Charging power supply
1 x Cleaning brush
1×Storagebag
1 x Replacement shaving head and 2 blade blocks
1 × User manual
Controls and Components
A Protective cap
B Shaving head
C Shaving head release button, both sides
On/off button
Display
F Charging socket
Hair trimmer
H Charging power supply with DC cable and plug
Cleaning brush
Storage bag
Spare parts
K Shaving head with shear foil
L Blade block (2x)
Technical Data
Shaver
Battery operated: 3.7V = = =
Rated input :5V=800mA
voltage/current
IP code: IPX5
Charging adaptor (HX-SV0500800)
Rated input:100-240V\~,50/60Hz
Rated output:5V 800mA
IP code: IP44
Protection class : II
Battery
Re-chargeable :Li-Ion,3.7V=
battery 500mAh
English
Preparation
1 Insert the DC plug of the charging power supply into the charging socket and plug the charging power supply in a suitable power outlet.
The symbol lights up red in the display and indicates that the battery is being charged. The battery symbol shares green when the battery is fully charged. Charge the battery for at least 120 minutes before first use. For standard charging, the empty battery is fully charged after a maximum charging time of 90 minutes, as indicated by the green battery icon on the display.
After completing the charging process, remove the charging plug and unplug the charging power supply from the socket.
Note
Ensure that the product is switched off before charging.
LED indicator
| LED-Color Condition | |
| Plug symbol, red | During charging or mains operated. |
| Battery symbol, green | Charging completed or when used cordless. Fully charged. |
| Plug symbol, red, flashing | During operation, when the battery level is less than 20%. |
Operation
Switch on the device
-
Switch on the device by pressing the on/off button.
-
The display shows a green battery symbol.
-When used in mains mode, the green battery symbol and the red plug symbol flash alternately.
- To switch off the device press the on/off button again.
The battery symbol turns off.
4 Foil shave
Note
Do not use the product if you have:
-skin lesions
-inflamed skin
-sunburn
-spots and blisters
Familiarisation:
After using the product you may have red or irritated skin for a while. This is a normal reaction because the skin has to first get used to this kind of shave. Consult a doctor if the redness or irritation continues for longer than this period.
- Remove the protective cap.
- Switch on the device with the on/off button.
- When shaving, keep the device as perpendicular as possible to the surface of the skin.
- Tighten the skin with your free hand in problematic areas, eg. on the cheeks, to achieve a better result.
Also shave against the beard growth direction to remove stubble as best as possible.
Control shaving progress by touching your skin with your free hand. If beard stubbles are present repeat the process again and again until the skin is smooth and free of beard stubbles. - Switch off the device with the on/off button after use.
Note
The beard should not be longer than a few millimetres as longer hair will impair the shaving. If the beard is too long, use the hair trimmer to cut it before using the actual razor.
English
Wet shaving
Wetting your face and apply thin layer shaving foam to the parts of your face which shall be shaved.
- Follow steps as given above in chapter 1. Shaving.
Note
Only proper shaving foam may be used with the razor, as shaving gel will gum up the shaving head and impair the result.
5 Hair trimmer
The hair trimmer on the back of the device allows the cutting of sideburns for example.
- Slide the hair trimmer on the back of the unit all the way up until it clicks into place.
- Switch on the device with the on/off button.
- Carefully guide the hair trimmer to the ends of the hair to be trimmed and cut the desired shape.
After use, switch off the device with the on/off button and push the hair trimmer back down until it clicks into place.
Using the switch lock
-
Push and hold the on/off switch for more than 3 seconds to lock the on/off switch. The battery and plug symbols will flash three times and indicate the switch lock is activated.
-
To unlock the on/off switch push and hold it for more than 3 seconds again. The shaver will switch on automatically. Push the on/off switch again to switch off the shaver. Connecting the shaver to the power supply as given in chapter Preparation will also deactivate the on/off switch lock.
Cleaning and care

Warning
When cleaning, never use solvents or abrasive materials, hard brushes, metallic or sharp objects. Solvents are harmful to human health and can attack plastic parts, while abrasive cleaning mechanisms and tools may scratch the surface(s).
6 After every use, please use the cleaning brush to thoroughly brush and blow out hair.
- Press the shaving head release on both sides and remove the shaving head.
The shaving head can also be rinsed under running water. But then you have to dry it well.
Gently tap or blow out the shaving head. Use the cleaning brush to clean the two blade blocks and the housing underneath.
- Place the shaving head on the shaver so that it clicks in place on both sides.
Clean the product's exterior surfaces with a slightly damp cloth and then dry them thoroughly.
Make sure that no water enters the product interior (for example, through the on/off button). Keep the product in a dry, cool location which is protected against moisture and direct sunlight. Keep this product out of the reach of children.
English
Replacing shear foils and blade blocks

Attention
The blade blocks are sharp. Avoid injuries by accidentally touching them.
7 Assuming the razor is used once a day, we recommend replacing the shear foils and blade blocks after 1 year.
- Remove the shaving head as described in chapter on Cleaning and care (I).
- Press in one of the lugs on the short sides of the shear foil holder (II) and push the shear foil with its holder gradually out of the shaving head housing (III). Now place the new shear foil with its holder in the shaving head housing (IV).
3.Pull the blade blocks upwards and clip the newblade blocks onto the brackets (V) - Attach the shaving head back to the shaver as described in chapter Cleaning and care.
Remove the integrated battery

Warning
Make sure the product is disconnected from the adaptor before removing the battery.
- Risk of Explosion! Never Replace the battery.
According to European Battery Directive, the battery inside the product cannot be disposed with normal household waste.
- Remove the screws and take off the enclosure.
- Cut the battery wires and remove the battery.
Troubleshooting
If there are any problems during operation, please refer to the following table. If problems cannot be solved as indicated under Solution, please contact your manufacturer.
| Problem Possible causes Solution | ||
| Product does not work • Interrupted power supplyBatteries empty | Check the power supplyRe-charge batteries | |
| LED indicator does not light on during charging batteries | No power supplyCharging cord is not connected to product | Check the power supplyCheck the charging cord connection |