
DGS1005D - Switch D-LINK - Free user manual and instructions
Find the device manual for free DGS1005D D-LINK in PDF.
| Product Type | Network Switch |
| Brand | D-Link |
| Model | DGS1005D |
| Number of Ports | 5 Gigabit Ethernet ports 10/100/1000 Mbps |
| Power Supply | External power adapter |
| LED Indicators | Power (green), Link/Act (green flashing) |
| Wall Mountable | Yes, with screws (not included) |
| Key Functions | Gigabit switching, auto-detection, Plug-and-Play |
| Operating Temperature | 0°C to 40°C |
| Operating Humidity | 10% to 90% non-condensing |
| Dimensions (L x W x H) | Approx. 140 x 80 x 30 mm |
| Weight | Approx. 200 g |
| Maintenance | Clean with a dry cloth; avoid moisture |
| Safety | Use only the provided adapter; do not expose to water |
| Spare Parts | Not available; power adapter included |
| Technical Support | D-Link website: http://www.dlink.com/support |
Frequently Asked Questions - DGS1005D D-LINK
User questions about DGS1005D D-LINK
0 question about this device. Answer the ones you know or ask your own.
Ask a new question about this device
Download the instructions for your Switch in PDF format for free! Find your manual DGS1005D - D-LINK and take your electronic device back in hand. On this page are published all the documents necessary for the use of your device. DGS1005D by D-LINK.
USER MANUAL DGS1005D D-LINK
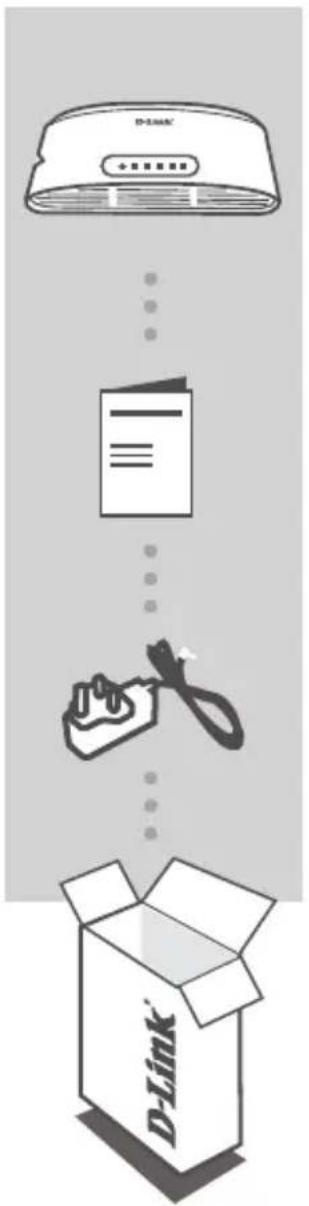
If any of these items are missing from your packaging, contact your reseller.
PRODUCT SETUP
SWITCH SET-UP
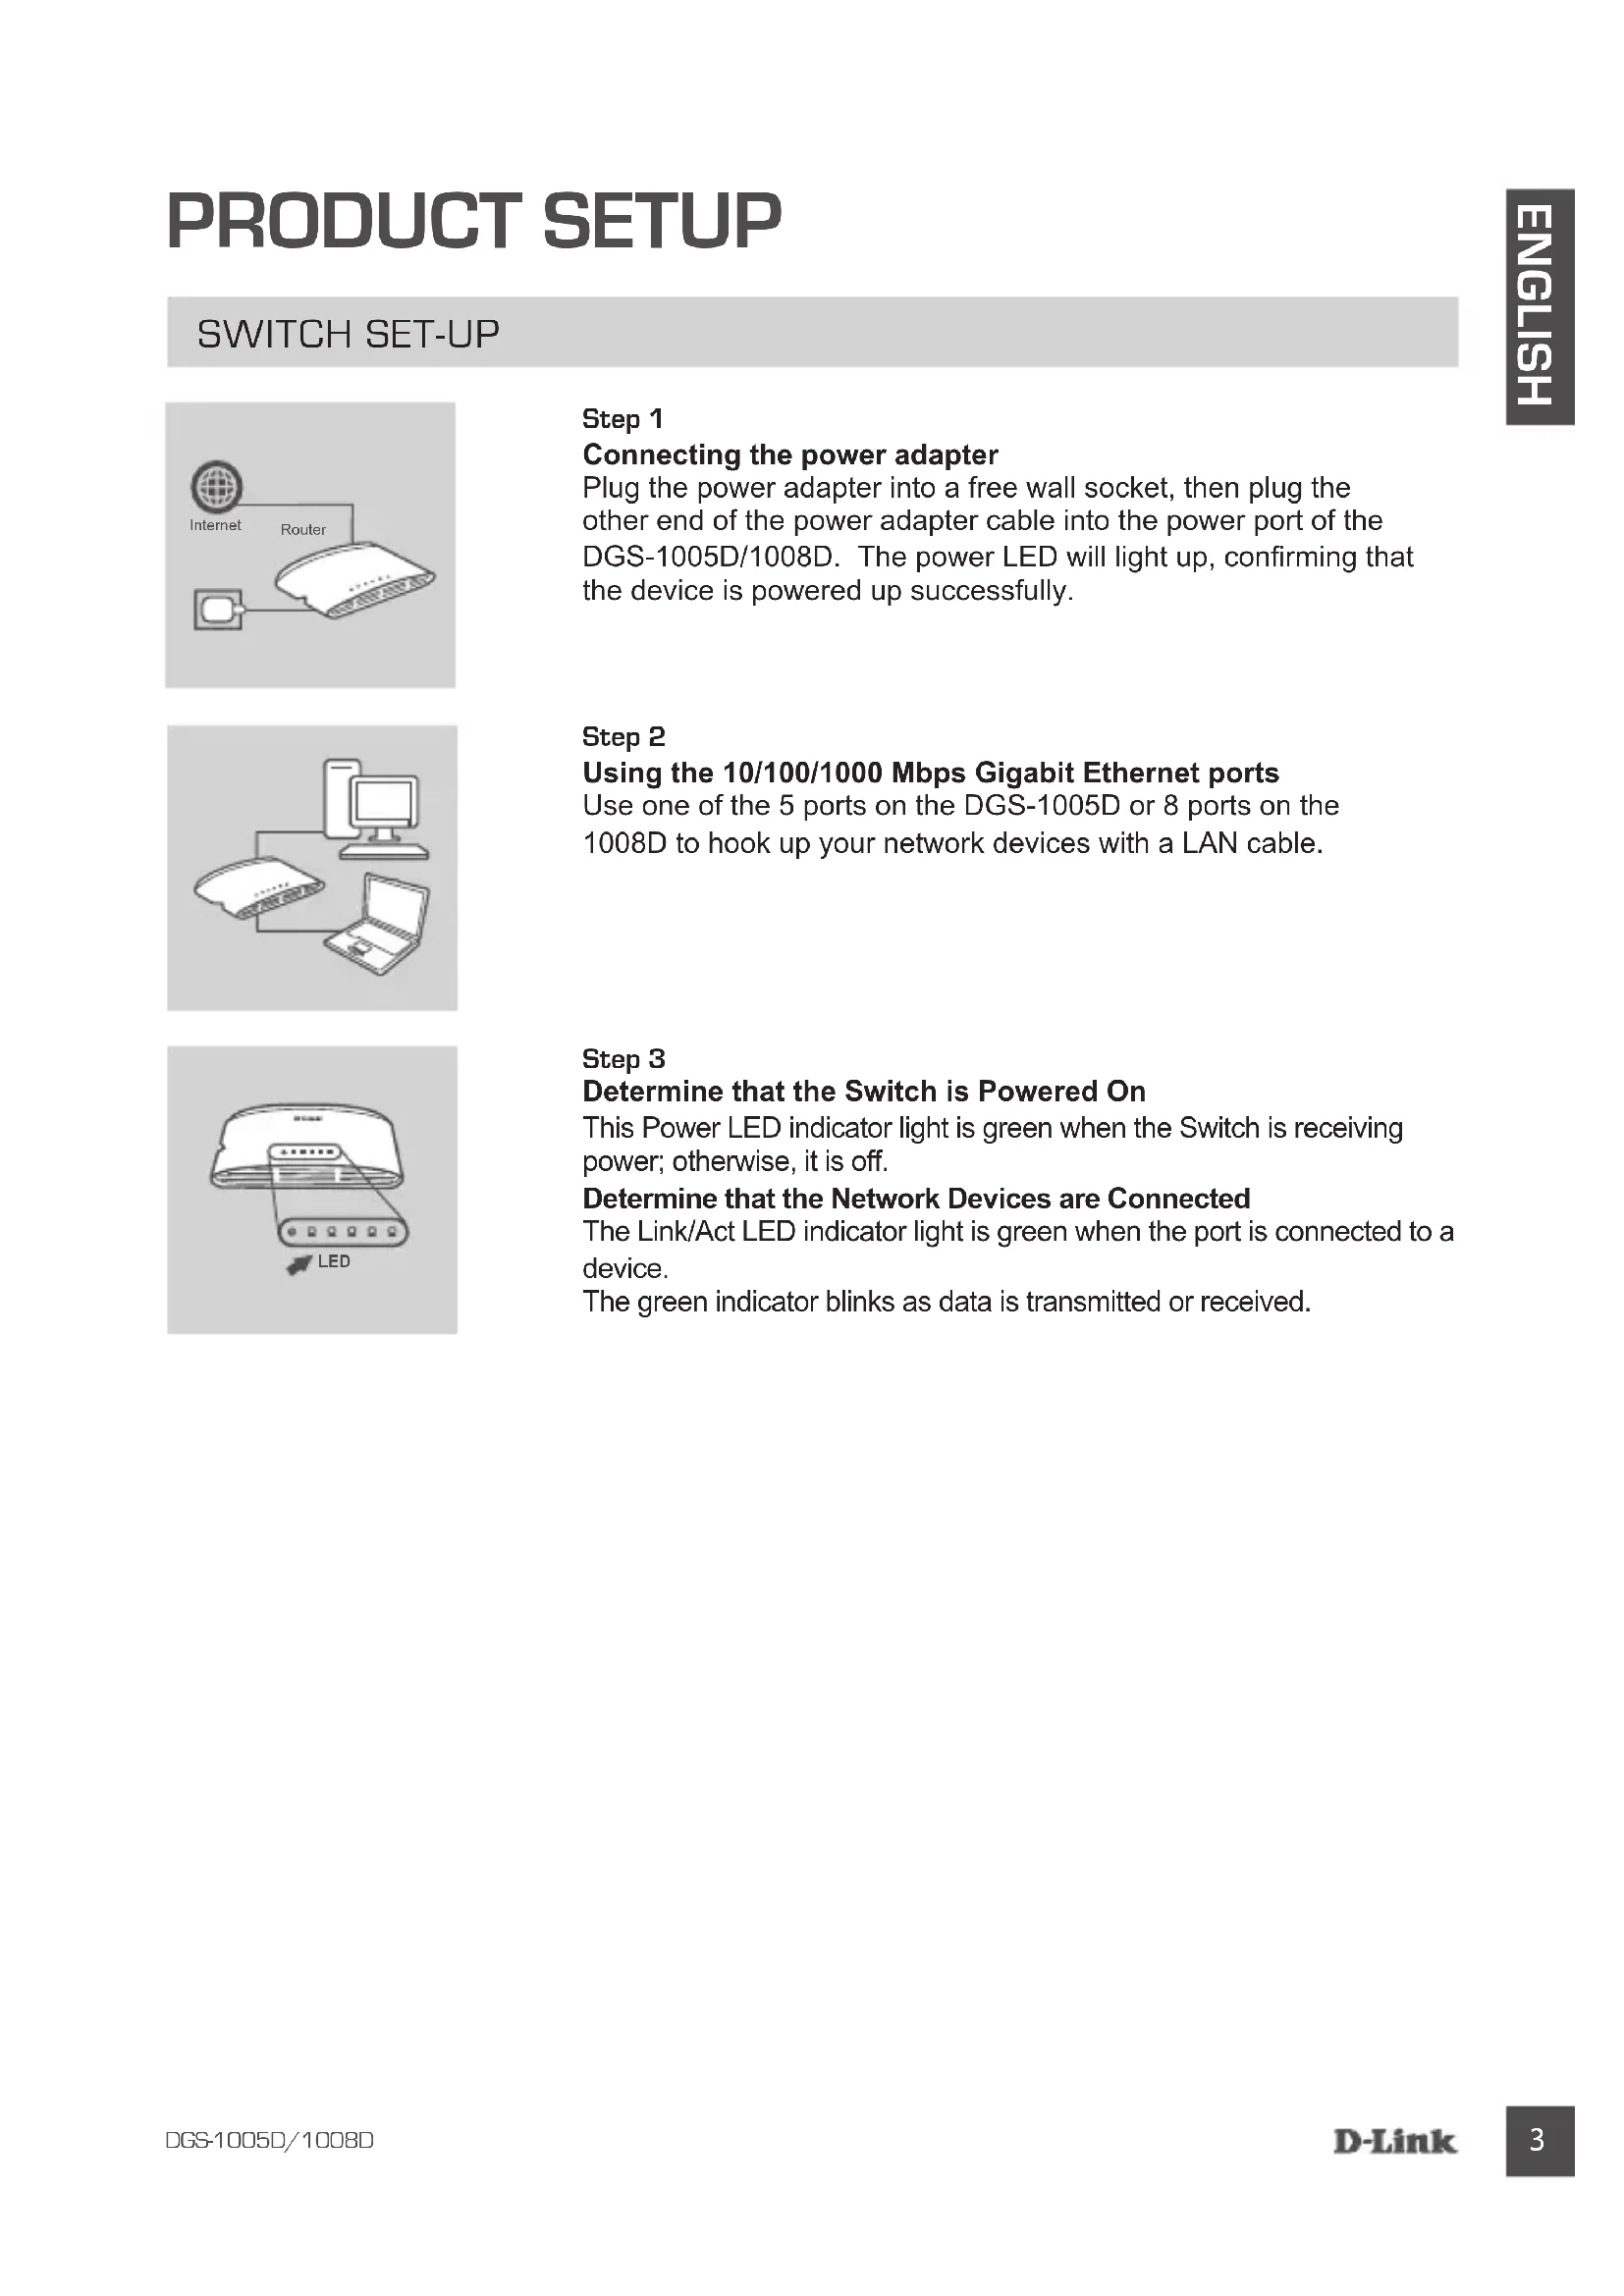
Step 1
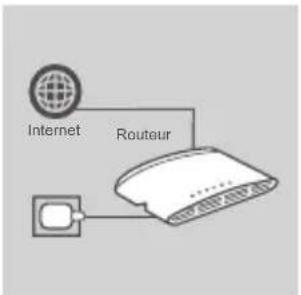
Connecting the power adapter
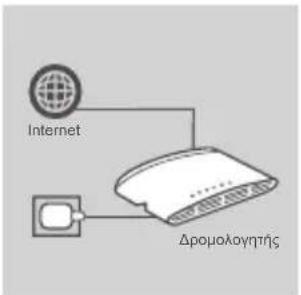
Plug the power adapter into a free wall socket, then plug the other end of the power adapter cable into the power port of the DGS-1005D/1008D. The power LED will light up, confirming that the device is powered up successfully.
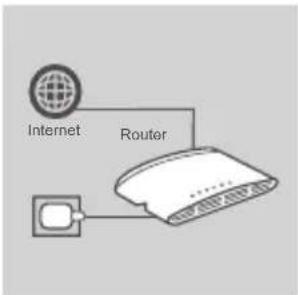
Step 2
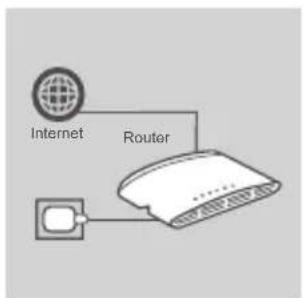
Using the 10/100/1000 Mbps Gigabit Ethernet ports
Use one of the 5 ports on the DGS-1005D or 8 ports on the 1008D to hook up your network devices with a LAN cable.

Step 3
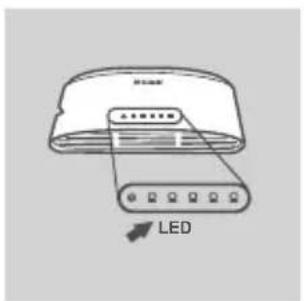
Determine that the Switch is Powered On
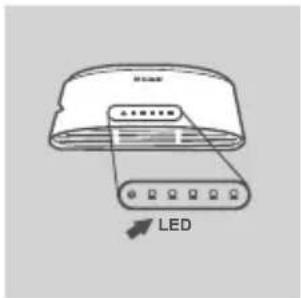
This Power LED indicator light is green when the Switch is receiving power; otherwise, it is off.
Determine that the Network Devices are Connected
The Link/Act LED indicator light is green when the port is connected to a device.
The green indicator blinks as data is transmitted or received.
MOUNTING
WALL CONFIGURATIONS
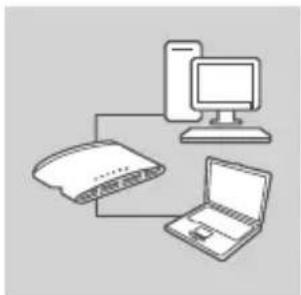
The DGS-1005D/1008D can be mounted to a wall. Two mounting slots are provided on the bottom of the switch for this purpose. Please make sure that the front panel is exposed in order to view the LEDs. Please refer to the illustration below:
A. MOUNTING ON A CEMENT WALL
- Mount the Nylon screw anchors into a cement wall.
- Drive the T3 x 15L screws into the Nylon screw anchors.
- Hook the mounting holes of the switch back onto the screws.
B. MOUNTING ON A WOOD WALL
-
Drive the T3 x 15 L screws into the wood wall.
-
Hook the mounting holes of the switch back onto the screws; you have completed the wall-mount.
a) Minimum 3/4 inch screw required for wood wall
b) Minimim 3 inch screw required for cement wall
C. MOUNTING ON A METAL WALL
- Mount the magnetic base screws (optional) onto the mounting holes of the switch.
- Attach the switch to a metallic surface.
Note: The mounting and magnet kits are not included in the package.
TROUBLESHOOTING
SETUP AND CONFIGURATION PROBLEMS
1. WHAT TO DO IF THE POWER LED IS NOT LIT UP?
Check if the power adapter is properly connected to a wall socket and the back of the DGS-1005D/1008D.
2. WHAT TO DO IF A CONNECTED DEVICE IS NOT DETECTED?
First check if the Port LED is flashing. If the Port LED is not illuminated, try connecting the device using a different LAN cable.
TECHNICAL SUPPORT


http://www.dlink.com/support
INHALT
5/8-PORT GIGABIT EASY DESKTOP SWITCH
DGS-1005D/1008D
CONFIGURATION DU PRODUIT
CONFIGURATION DU COMMUTATEUR
Etape 1
Nagaan of de switch is ingeschakeld
OPSÄETNING AF PRODUKT
OPSAETNING AF SWITCH
Trin 1
- HVAD GØR JEG, HVIS STRØM-LED'EN IKKE LYSER?
Utilizar as portas Ethernet Gigabit de 10/100/1000 Mbps
Utilize una das 5 portas no DGS-1005D ou 8 portas no 1008D para hacer un es suys dispositivos de rede com um cabo LAN.
Passo 3
△IAMOPΦΩΣH METAΓΩΓEA
Bnμa 1 Σuvδεση Tou Tpopoδoδotikou
Suvodote to tpofootik oE mia eueutheta np EITIOxia Tpica kai KATOTIV ouvodote to aallo akpo tou kaawoiou tou tpofootikou OTn Uupa npoxnc pemuato tsou DGS-1005D/1008D. Oa avapei n evdoi ng LED aeitoupyiac, eTIIebetaiwovtac ot n ouokeu n Tpofootei tai eTTUxwC ME pEu.

Bnμa 2 Xpno n twv thupwv Gigabit Ethernet 10/100/1000 Mbps
Xpnoiopoioaneiaatotic 5 tO upeoctooovTeLo DGS-1005D n tic 8 upeoctooovTeLo 1008D yia tn ouvdeon twv ouokewv diktou oac eva kaawio LAN.
Bnua 3 ELeyxte oTI O pETaywyeaç eivai OE Aeioupyia
Otau o Metaywyeac tropooboteiai e peu, autn n evdEiN LED Power (Aitoupyia) evai npaoivn · diaopoptika, evai