
R5050e - Stapler RAPID - Free user manual and instructions
Find the device manual for free R5050e RAPID in PDF.
| Product Type | Electric office stapler |
| Brand | RAPID |
| Model | R5050e |
| Dimensions (L × W × H) | 245 × 120 × 157 mm |
| Weight | Approximately 1.5 kg (estimated) |
| Power supply | Power adapter (see rating plate) |
| Staple type | Specific Rapid cassette (model 5050e) |
| Number of staples per cassette | Approximately 200 (estimated) |
| Max paper capacity (80 g/m²) | Not specified, estimated 30 sheets |
| Max stapling depth | Not specified, adjustable via lever |
| Max stapling speed | 500 staples/min |
| Noise level | 68 dB(A) at max speed |
| Operation | Automatic triggering by inserting object under the safety guard |
| Safety guard | Yes, with safety switch and lock button |
| Staple level indicator | Green (OK) → Red (19 staples remaining) |
| Included accessories | Power adapter, safety guard, staple cassette (initial) |
| Options | Trigger pedal (optional), support table |
| Maintenance | Cleaning by blowing or damp cloth; remove staples by shaking |
| Repairs | Reserved for an authorized Isaberg AB technician |
| Warranty | Not specified, refer to dealer |
Frequently Asked Questions - R5050e RAPID
User questions about R5050e RAPID
0 question about this device. Answer the ones you know or ask your own.
Ask a new question about this device
Download the instructions for your Stapler in PDF format for free! Find your manual R5050e - RAPID and take your electronic device back in hand. On this page are published all the documents necessary for the use of your device. R5050e by RAPID.
USER MANUAL R5050e RAPID
natural_image
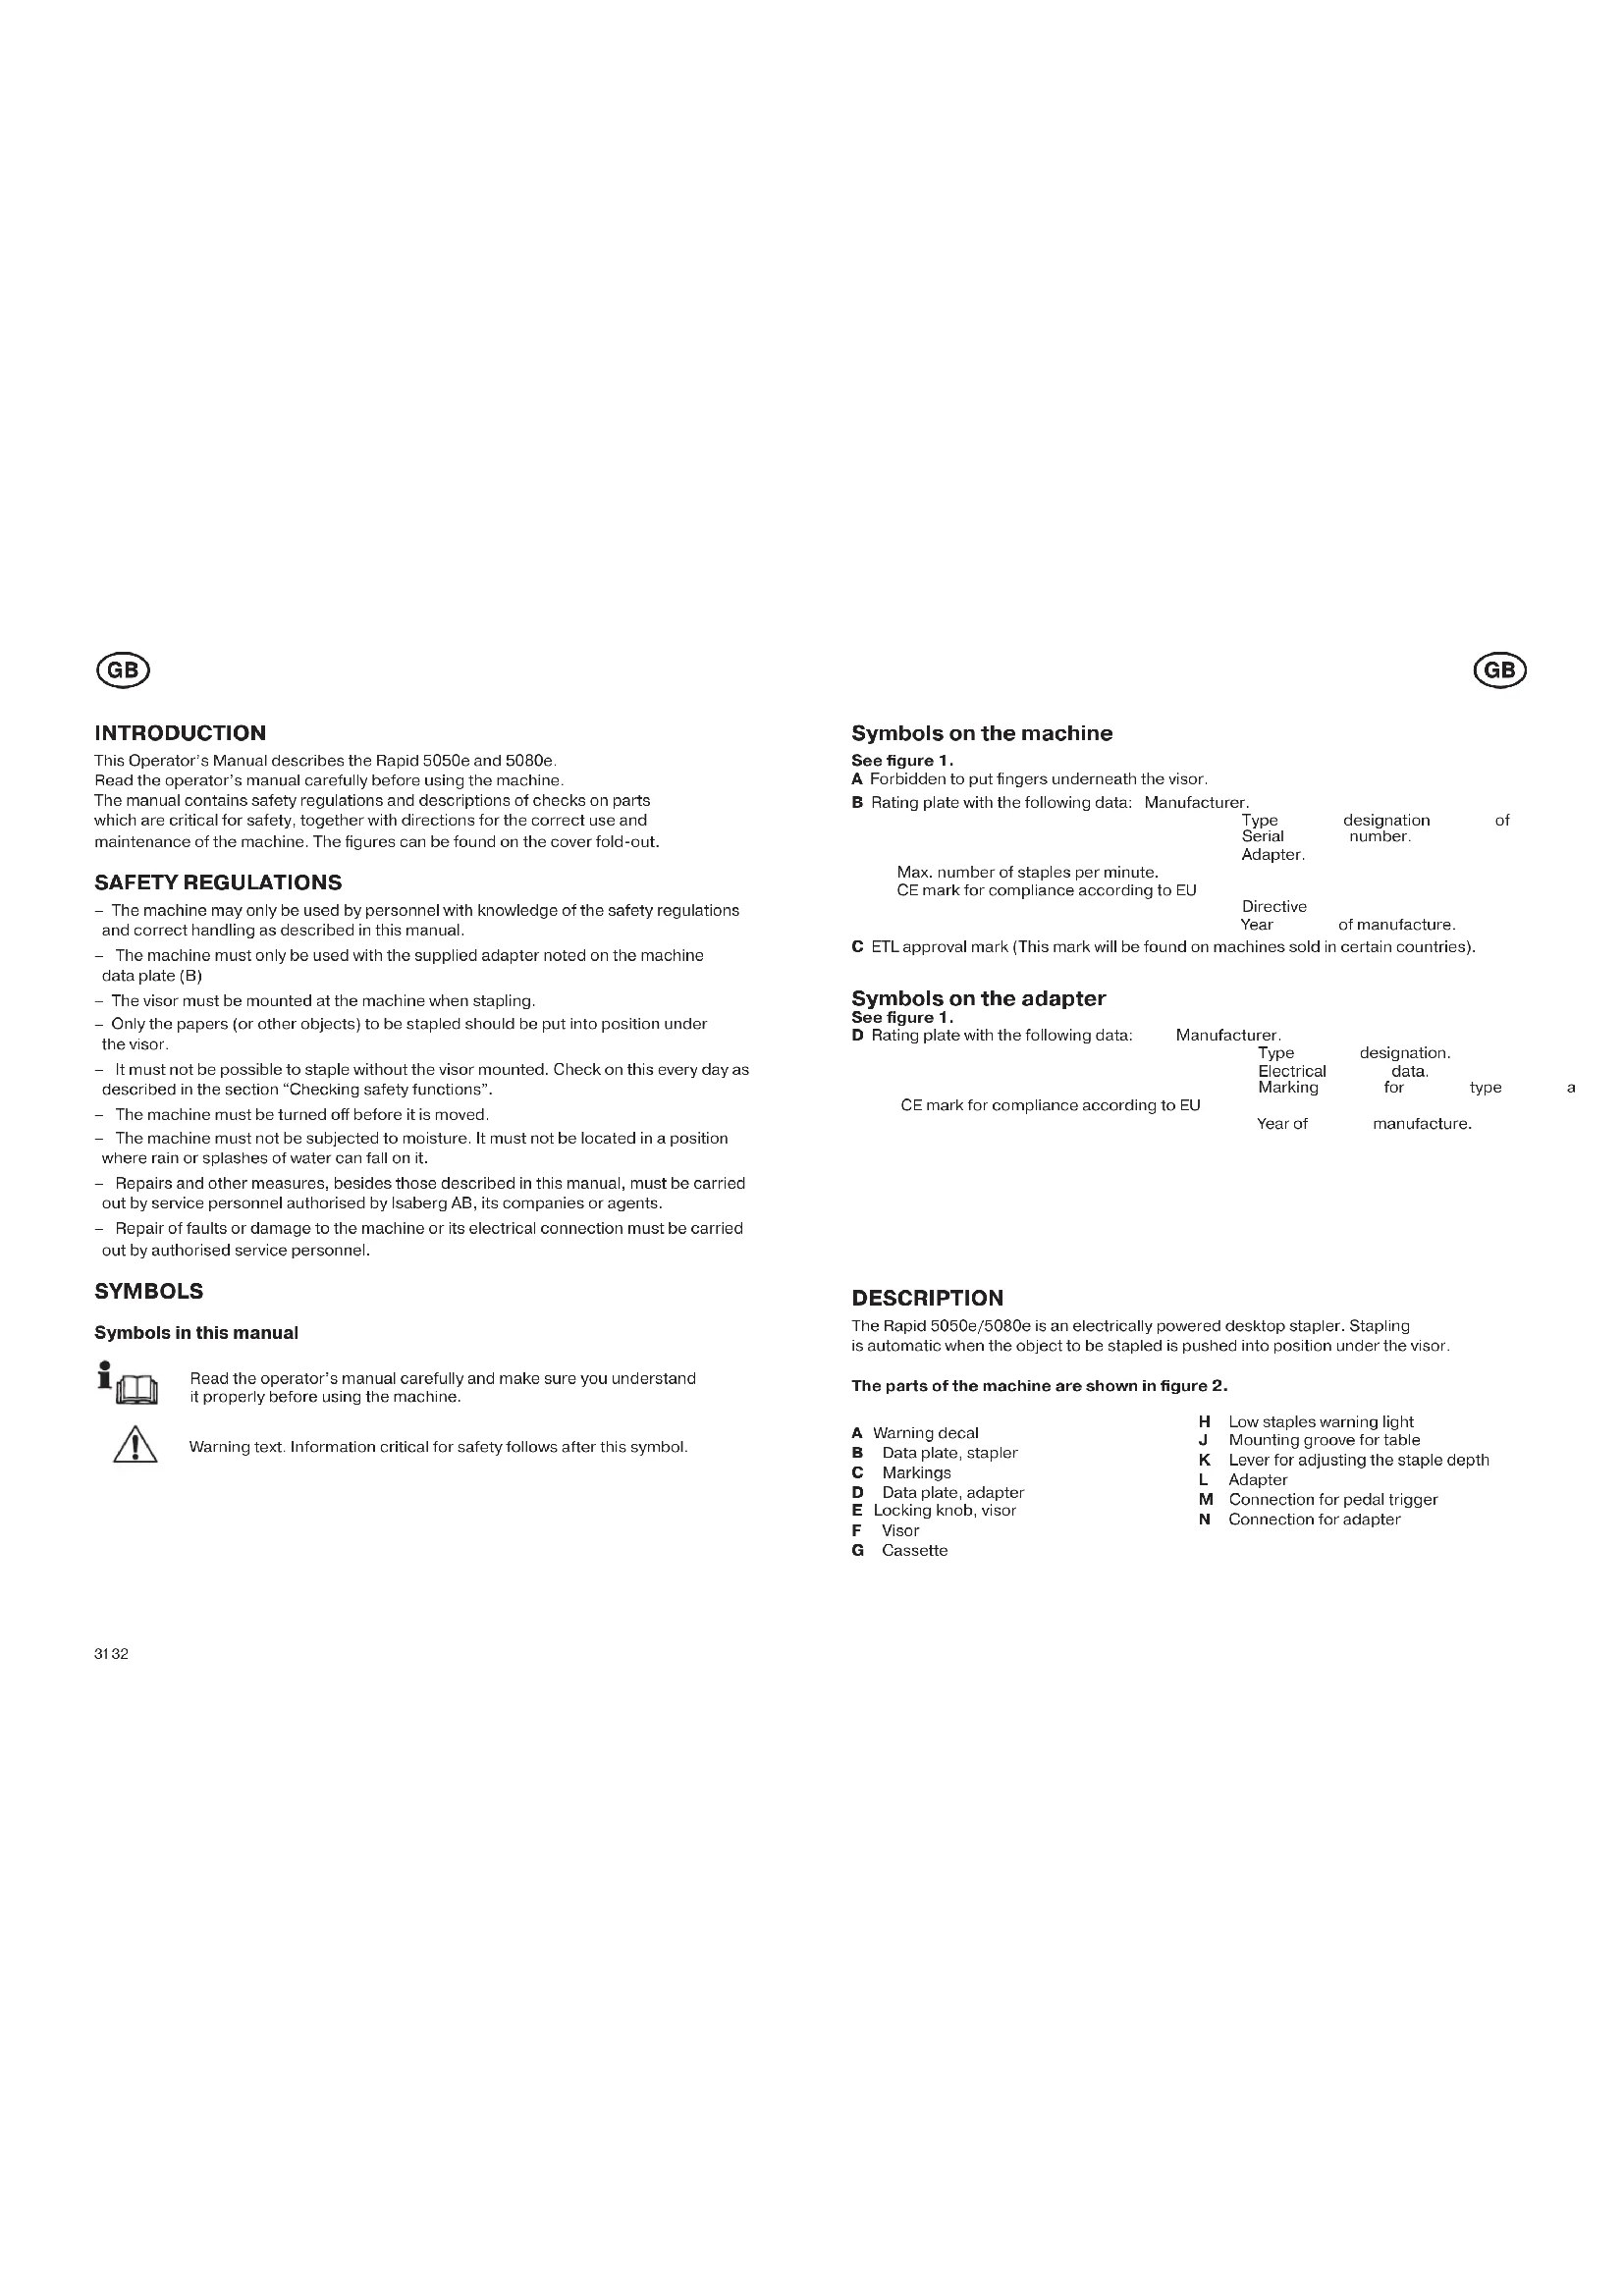
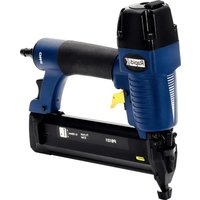
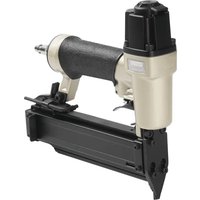
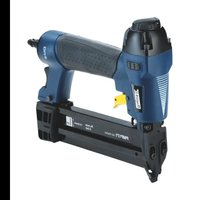
Illustration of a white stapler with black lid and transparent casing (no text or symbols visible)
GB Operator's manual Read these instructions carefully and make sure you understand them before using the machine.
Fig. 3
natural_image
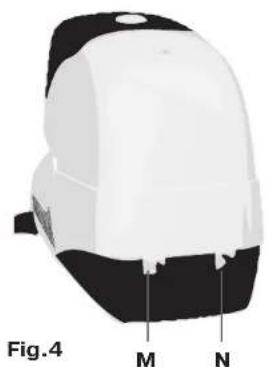
3D model of a white and black helmet with labeled parts M and N, shown as Figure 4 (no text or symbols on the object itself)
natural_image
Line drawing of a mobile phone rear panel with internal components (no text or symbols)Fig.5
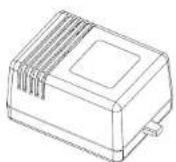
Fig. 6
line
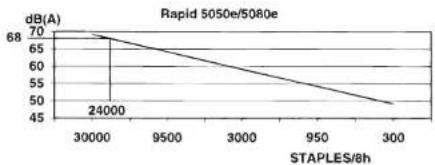
| STAPLES/8h | dB(A) | | ---------- | ----- | | 30000 | 70 | | 9500 | 65 | | 300 | 50 |Fig. 7
s
INLEDNING
This Operator's Manual describes the Rapid 5050e and 5080e.
Read the operator's manual carefully before using the machine.
The manual contains safety regulations and descriptions of checks on parts which are critical for safety, together with directions for the correct use and maintenance of the machine. The figures can be found on the cover fold-out.
SAFETY REGULATIONS
- The machine may only be used by personnel with knowledge of the safety regulations and correct handling as described in this manual.
- The machine must only be used with the supplied adapter noted on the machine data plate (B)
- The visor must be mounted at the machine when stapling.
- Only the papers (or other objects) to be stapled should be put into position under the visor.
- It must not be possible to staple without the visor mounted. Check on this every day as described in the section "Checking safety functions".
- The machine must be turned off before it is moved.
- The machine must not be subjected to moisture. It must not be located in a position where rain or splashes of water can fall on it.
- Repairs and other measures, besides those described in this manual, must be carried
out by service personnel authorised by Isaberg AB, its companies or agents.
– Repair of faults or damage to the machine or its electrical connection must be carried out by authorised service personnel.
SYMBOLS
Symbols in this manual


Read the operator's manual carefully and make sure you understand it properly before using the machine.
Warning text. Information critical for safety follows after this symbol.
Symbols on the machine
See figure 1.
A Forbidden to put fingers underneath the visor.
B Rating plate with the following data: Manufacturer.
Type
Serial
Adapter.
designation
number.
Max. number of staples per minute.
CE mark for compliance according to EU
Directive
of manufacture.
C ETL approval mark (This mark will be found on machines sold in certain countries).
Symbols on the adapter
See figure 1
D Rating plate with the following data:
Manufacturer.
Type
Electrical
Marking
designation.
data.
for type
CE mark for compliance according to EU
Year of
manufacture.
DESCRIPTION
The Rapid 5050e/5080e is an electrically powered desktop stapler. Stapling is automatic when the object to be stapled is pushed into position under the visor.
The parts of the machine are shown in figure 2.
A Warning decal
B Data plate, stapler
C Markings
D Data plate, adapter
E Locking knob, visor
F Visor
G Cassette
H Low staples warning light
J Mounting groove for table
K Lever for adjusting the staple depth
L Adapter
M Connection for pedal trigger
N Connection for adapter
GB
GB
ACCESSORIES
Pedal intended for triggering the stapling. When the pedal is connected, the internal trigger is disabled.
Support table for the object to be stapled.
INSTALLATION
The Rapid 5050e/5080e is installed as follows:
1 Position the machine on a stable horizontal surface. The machine shall be placed on a smooth and clean surface so that the feet are fixed to the surface.
2 Check that the correct adapter is used. See data plate (B)
3 Insert the adapter's plug into the electric supply and the low voltage socket (N) to the machine.
OPERATION
Replacing the staple cassette
When only 19 staples are remaining in the cassette, the warning light (H) changes from green to red. Replace the staple cassette (G) as follows.
See fig. 2 and 3:
Fill the machine with staples when required as shown in figure 3:
1 Press the visor (F) locking knob (E) and remove the visor.
2 Hold the cassette in its upper part and pull it straight horizontally outwards.
3 Mount a new cassette in the opposite order.
4 Mount the visor. Check that its front part is correct positioned and that the locking knob snaps up.
5 The warning light shows green and the stapling can start.
Adjusting the trigger position
See fig. 3
The distance between the staple and the edge of the stapling object is determined by adjusting the staple depth with the lever (K). The distance is read at the scale above the lever.
Note that corner stapling and edge stapling can require different positions.
Stapling
Stapling is performed as follows:
1 Check that the lever (K) is adjusted for the correct stapling depth.
2 Connect the machine to the electrical supply. The warning light (H) will show green.

WarningOnly the stapling object is allowed to be placed under the visor.
3 Move the stapling object forward to the stapling position so that the trigger is pushed in.
4 Disconnect the machine from the electrical supply when the stapling is performed.
MAINTENANCE
Checking safety functions
One of the safety checks that should be done every day before the machine is used is to check on the visor's safety function.
Check the visor's safety switch as follows:
1 Connect the machine to the electrical supply.
2 Remove the visor by pressing its knob.
3 Test whether or not the machine will staple a piece of paper with the visor removed.
If the machine operates without the visor it must be disconnected immediately and sent for repair.
Cleaning
The machine should be cleaned when required as follows:
1 Remove the adapter by disconnecting its cables.
2 Clean the machine as required by blowing away dust and paper remnants.
3 If the machine is heavily soiled it should be cleaned with a moist rag.
4 If there are loose staples in the machine, lift it up and turn it in different positions when shaking it. The staples will fall out through the holes in the bottom of the machine.
GB
GB
TROUBLE SHOOTING
Staples not bent sufficiently
If the staple is insufficient bent or is folded over the object to be stapled, the following faults can have arisen:
- Stapling object too thick. At least 3mm of the staple legs must penetrate through the object to ensure satisfactory results.
- Stapling object is too hard.
- Always use the correct original Rapid staple cassette.
- Loose staple in the mechanism. Send the machine for service.
Stapling movement is triggered but the machine does not staple
- The cassette is empty. The warning light shows red. Replace the cassette according to the instructions.
- A staple has stuck in the mechanism. Replace the cassette or remove carefully the defect staple. In the last case, cut the staple tape with a sharp knife or similar. Remove the cut staples and feed the staple band forward.
- Always use the correct original Rapid staple cassette with the correct marking.
- The cassette is damaged or worn. Replace the cassette according to the instructions.
Stapling movement not triggered
- No power supply.
Check that the adapter is connected to the machine and to the electrical supply. Check that the on-off warning light shows steady green.
Check that there is voltage at the electric socket (a fuse may have blown).
– Check that the trigger springs back again when stapling.
- The machine is damaged. Send it away for service.
- The warning light is flashing, green or red. Send the machine away for service.
Measures at interrupted stapling cycle
A stapling cycle can be interrupted due to different reasons, e.g. powerfailure or a plug has been removed. An interrupted stapling cycle is measured as follows:
- Check that the machine is connected to the power supply. E.g. reconnect the plug if it has been removed.
- Remove the visor by pressing its knob and pull it outwards.
- Remove the cassette.
- Remove the object to be stapled.
- Mount a new cassette.
Note! The defect cassette can be repaired by service personnel.
TECHNICAL SPECIFICATION
Complete designation Rapid 5050e Rapid 5080e
Width 120 mm 120 mm
Length 245 mm 245 mm
| Height | 157 mm | 160 mm |
| Weight | 2,2 kg | 2,2 kg |
| Max. capacity (80g copying paper) | 50 sheets | 80 sheets |
| Max. stapling depth | 50 mm | 50 mm |
| Staple cassette type | See the front of the cassette | |
| No. of staples in the cassette | 5000 | 5000 |
| Adapter: | Use only adapter according to the stapler data plate (B) | |
Power/Current, adapter See the data plate of the adapter
When stapling at maximum frequency, 50 staples/min (24000 staples/8h, example in fig. 7), the equivalent noise level is 68 db(A).
Noise measurements carried out according to ISO 7779 with supplementary proposal
"Electrical staplers: Noise test code".
A maximum 70 dB(A) equivalent noise level is a requirement in Germany in general premises of such as, shops, airport check-in areas, receptions, and similar.
FR
FR
INTRODUCTION
If the machine operates without the visor it must be disconnected immediately and sent for repair.
Limpeza
της οδηγίας της Year of manufacture.

- s
- INLEDNING
- SAFETY REGULATIONS
- SYMBOLS
- Symbols in this manual
- Symbols on the machine
- See figure 1.
- Symbols on the adapter
- See figure 1
- DESCRIPTION
- The parts of the machine are shown in figure 2.
- GB
- ACCESSORIES
- INSTALLATION
- The Rapid 5050e/5080e is installed as follows:
- OPERATION
- Replacing the staple cassette
- See fig. 2 and 3:
- Fill the machine with staples when required as shown in figure 3:
- Adjusting the trigger position
- See fig. 3
- Stapling
- Stapling is performed as follows:
- MAINTENANCE
- Checking safety functions
- Check the visor's safety switch as follows:
- Cleaning
- The machine should be cleaned when required as follows:
- TROUBLE SHOOTING
- Staples not bent sufficiently
- Stapling movement is triggered but the machine does not staple
- Stapling movement not triggered
- Measures at interrupted stapling cycle
- TECHNICAL SPECIFICATION
- FR
- INTRODUCTION
- Limpeza
Brand : RAPID
Model : R5050e
Category : Stapler