Alpha Pro - Drone Prixton - Free user manual and instructions
Find the device manual for free Alpha Pro Prixton in PDF.
| Technical Features | Prixton Alpha Pro drone with HD camera, range of 300 meters, flight time of 15 minutes, LiPo 3.7V 1000mAh battery. |
|---|---|
| Usage | Ideal for aerial photography, outdoor leisure, and beginners thanks to its user-friendly interface. |
| Maintenance and Repair | Regularly check the condition of the propellers and battery. Replace damaged parts with original parts. |
| Safety | Do not fly the drone near airports or restricted areas. Comply with local regulations on drone usage. |
| General Information | Weight: 250g, dimensions: 30 x 30 x 10 cm, compatible with smartphones for control via app. |
Frequently Asked Questions - Alpha Pro Prixton
User questions about Alpha Pro Prixton
0 question about this device. Answer the ones you know or ask your own.
Ask a new question about this device
Download the instructions for your Drone in PDF format for free! Find your manual Alpha Pro - Prixton and take your electronic device back in hand. On this page are published all the documents necessary for the use of your device. Alpha Pro by Prixton.
USER MANUAL Alpha Pro Prixton
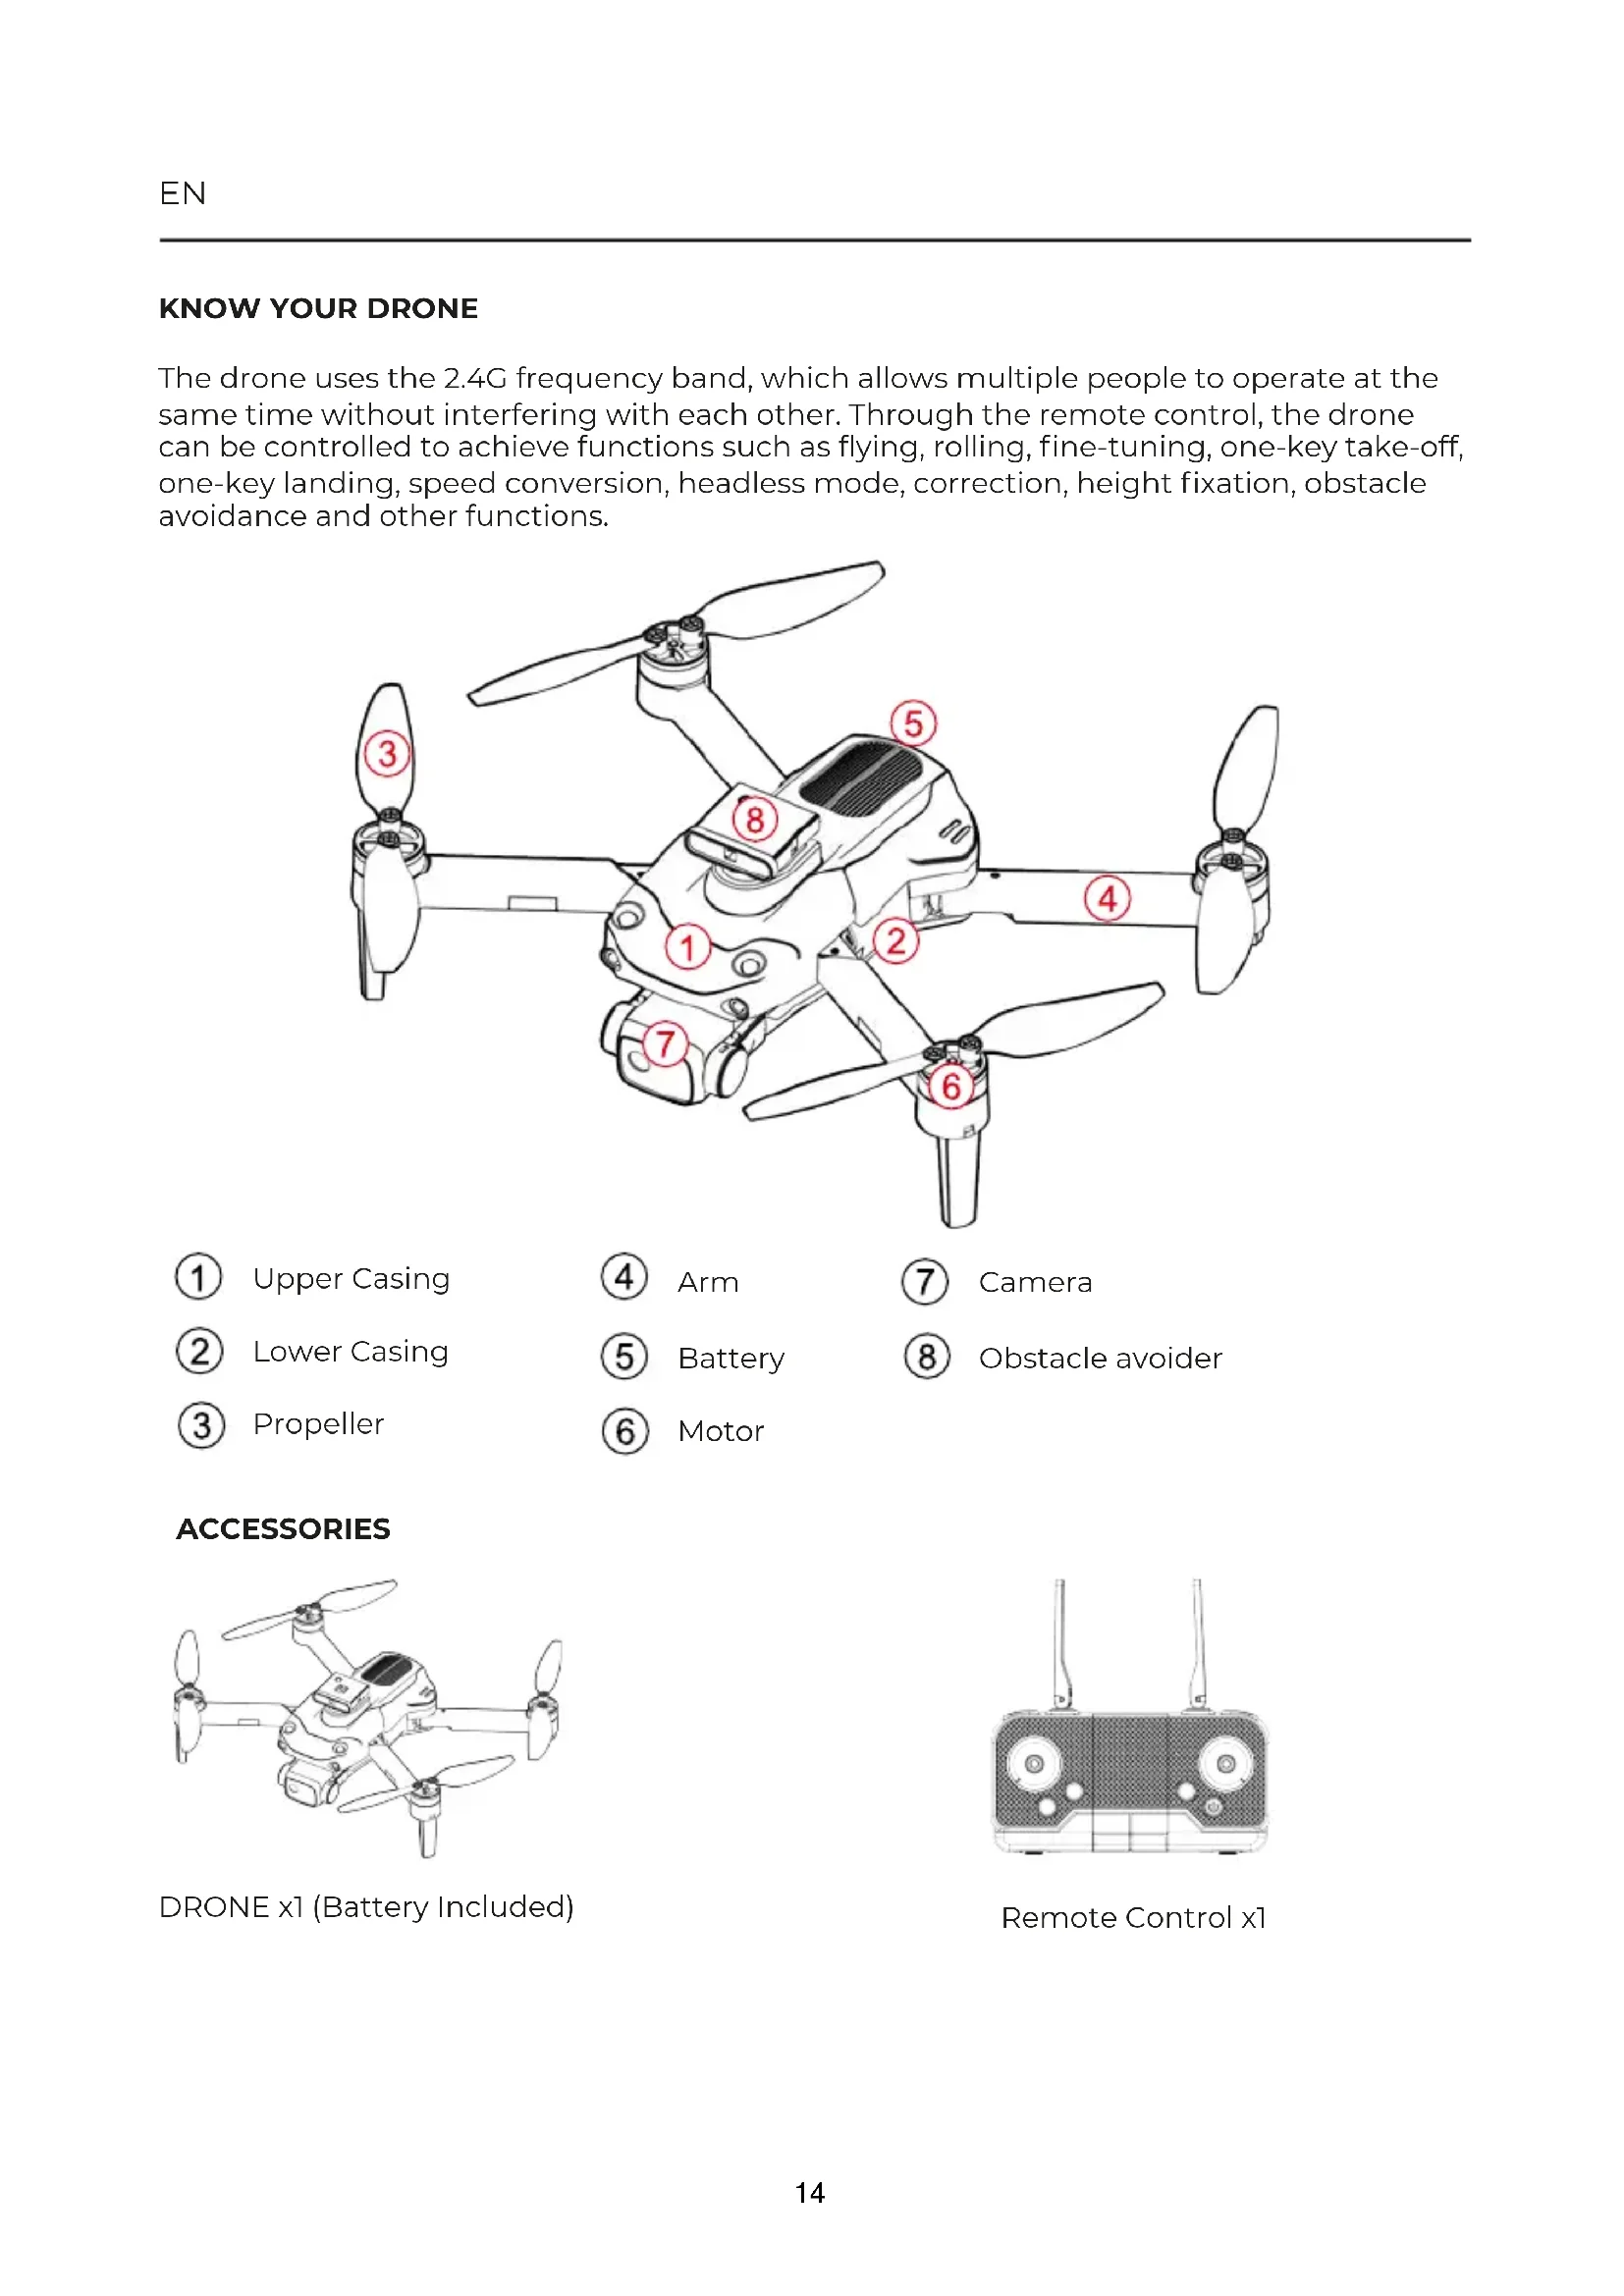
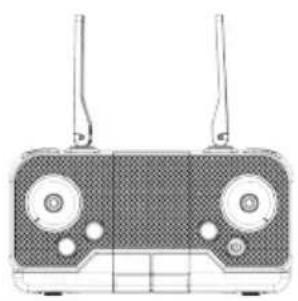
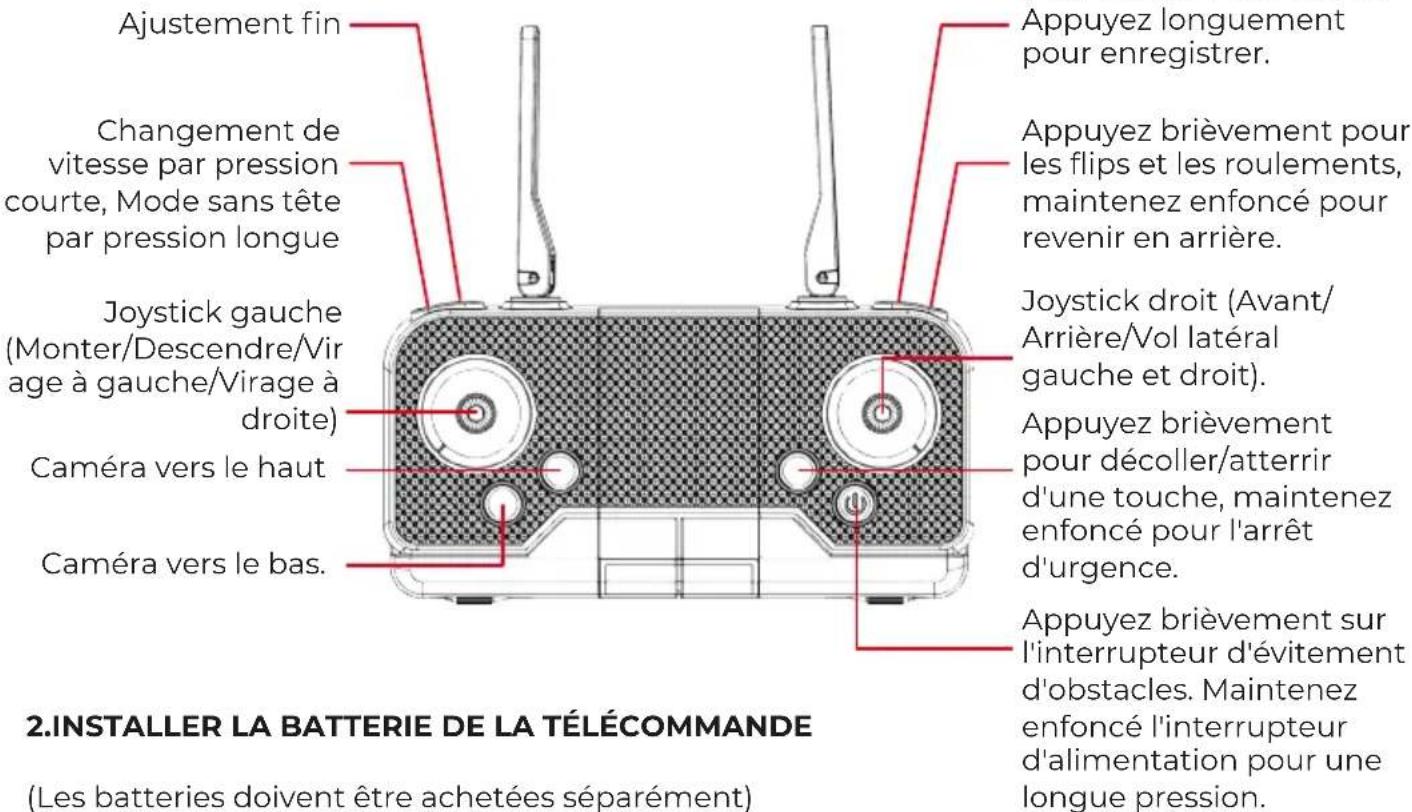
The drone uses the 2.4G frequency band, which allows multiple people to operate at the same time without interfering with each other. Through the remote control, the drone can be controlled to achieve functions such as flying, rolling, fine-tuning, one-key take-off, one-key landing, speed conversion, headless mode, correction, height fixation, obstacle avoidance and other functions.
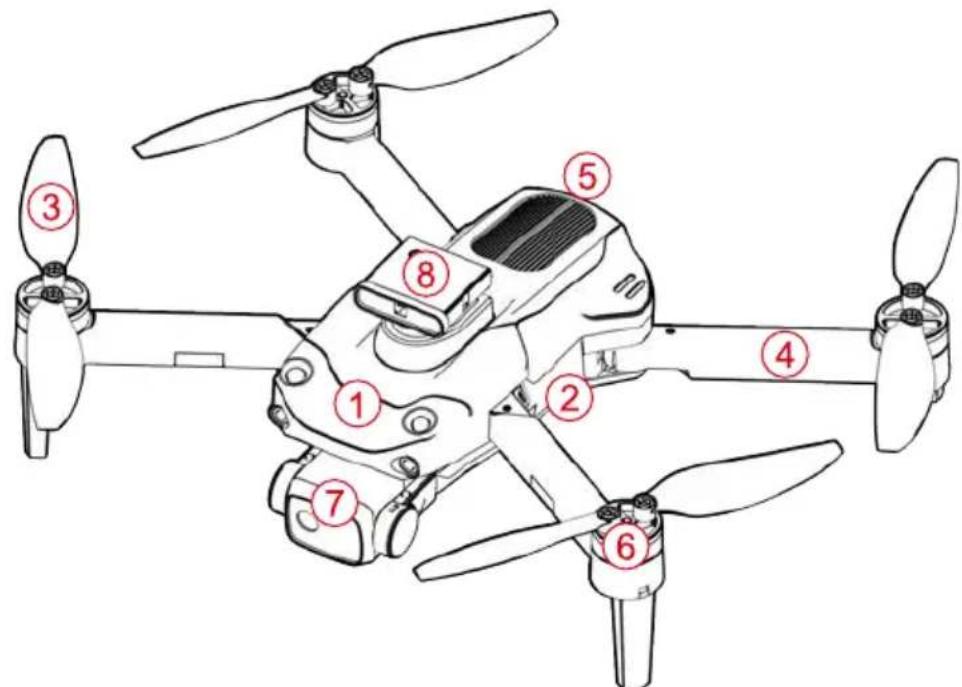
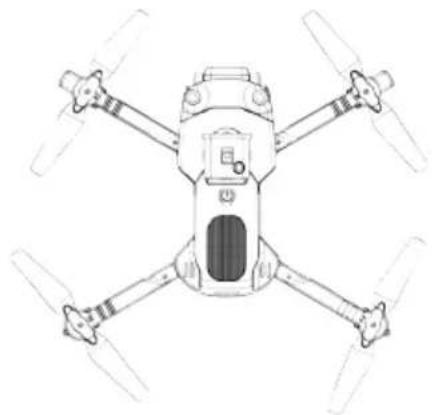
1 Upper Casing
(4) Arm
⑦ Camera
② Lower Casing
⑤ Battery
Obstacle avoider
③ Propeller
6 Motor
ACCESSIONS
DRONE x1 (Battery Included)
Remote Control x1
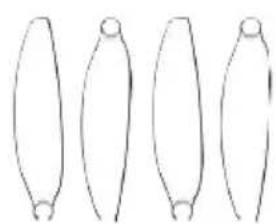
Backup Propellers Ax2 Bx2
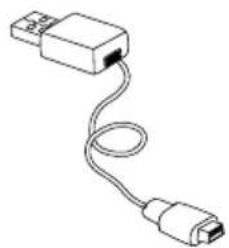
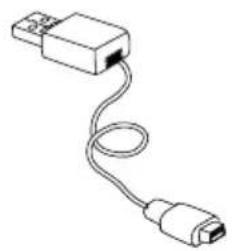
USB Charger x1
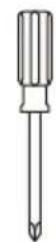
Screwdriver x1
PRE-FLIGHT PREPARATION
1.FLIGHT ENVIRONMENT
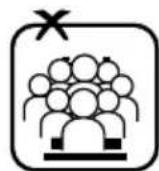
Indoor: Spacious spaces away from barriers, crowds or pets are preferred.
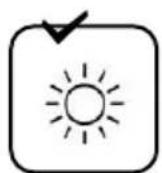
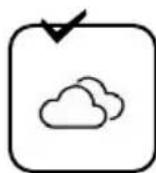
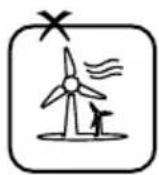
Outdoor: Sunny, windless and breezy weathers are preferred.
Please keep the drone in sight during the flight and keep it away from barriers, high-tension cables, trees and people.


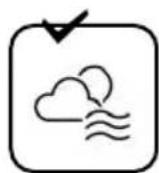
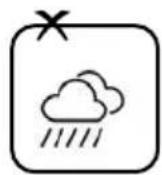
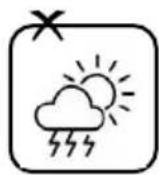
Do not fly in extreme environment, such as hotness, coldness, strong wind or heavy rain.
2. OPEN THE WINGS OPENING STEPS
① Open the front arm(close to camera)
② Open the back arm. Fold the back arm firstly and then the front arm when folding.
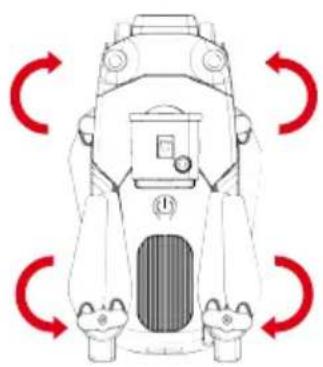
Opening arm
3.ASSEMBLING PROPELLERS

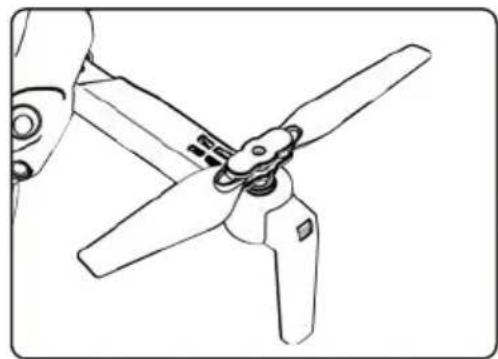
Align the blades with the motor shaft and install them (the arm identification must be consistent with the blade identification), Tighten the screw clockwise.
4. BATTERY CHARGING FOR DRONE
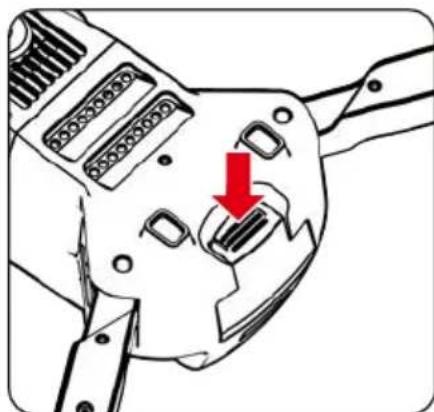
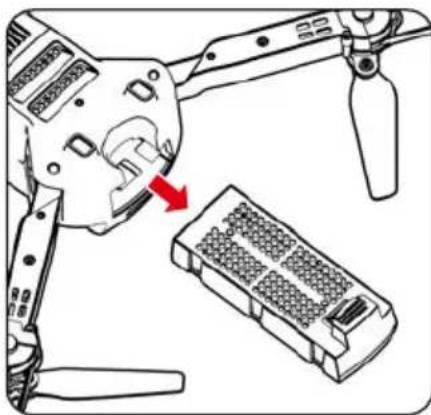
A. Remove the lithium battery from the bottom of the drone.
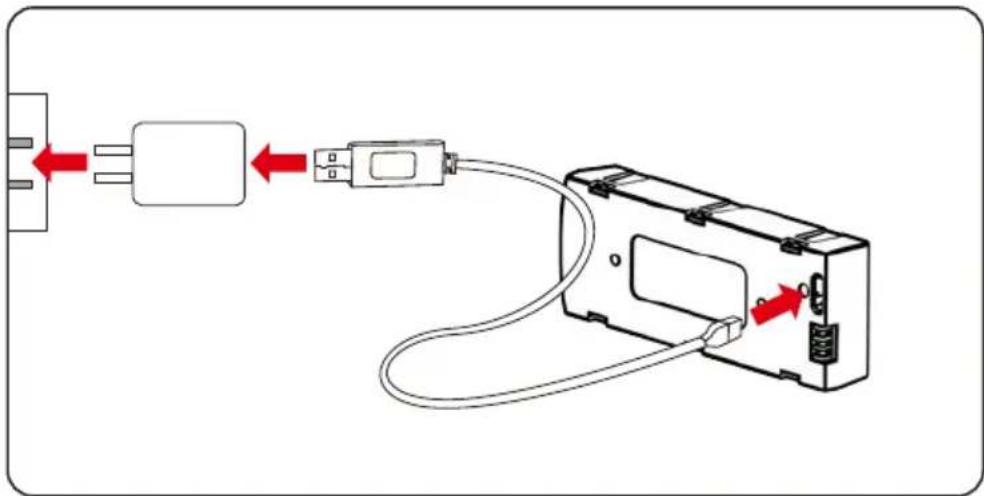
B. Connect USB charging cable with the charging interface of the lithium battery.
NOTES
The battery lights up in red when charging, and turns off when the battery is full. Charging time is about 100-120 minutes.

BATTERY INSTRUCTIONS
There is a certain risk when using lithium battery. It may cause fire, body injury or property loss. Users must be aware of the risks and take full responsibility of using battery improperly.
If battery leakage occurs, please avoid contacting your eyes or skin with electrolyte. Once it happens, please wash your eyes with clean water and seek medical care immediately.
Please remove the plug immediately if you sense any peculiar smell, noise or smog.
BATTERY CHARGING
Please use the charger from original factory to ensure your safe usage.
Do not charge dilatant or outworn battery.
Do not over charge battery. Please unplug the charger once fully charged.
Do not charge the battery next to inflammables, such as carpet, timber floor or wood furniture or on the surface of electro-conductive objects.
Please always keep an eye on the battery when charging.
Do not charge battery which not cool down yet.
The charging temperature should be between 0^ to 40^ .
BATTERY RECYCLING
Do not dispose the battery as daily rubbish. Please familiarize yourself with the local garbage disposal method and dispose it according to the special requirement.
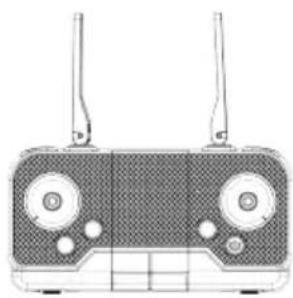
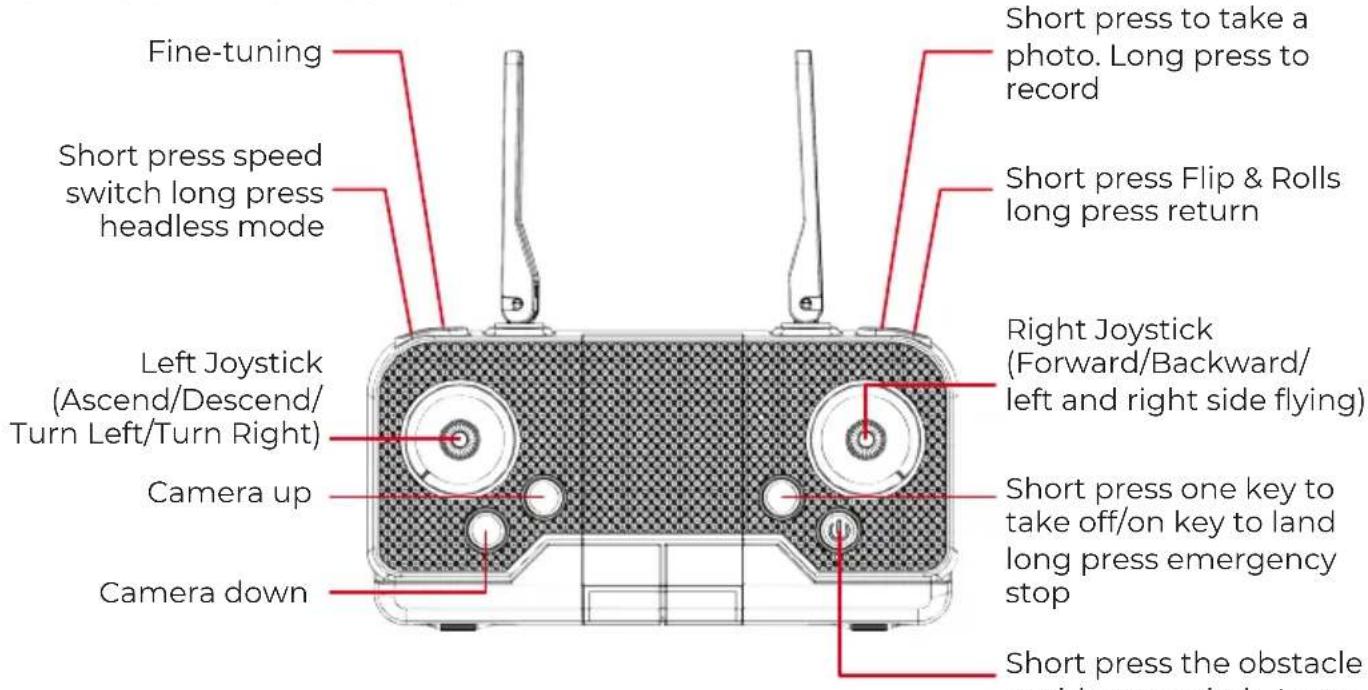
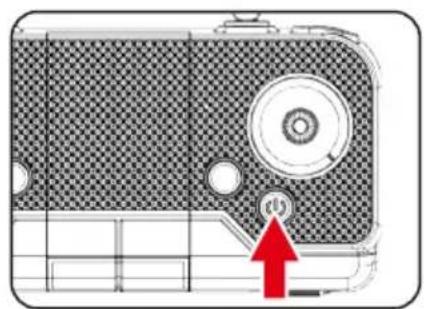
KNOW YOUR REMOTE CONTROL 1.PARTS OF REMOTE CONTROL
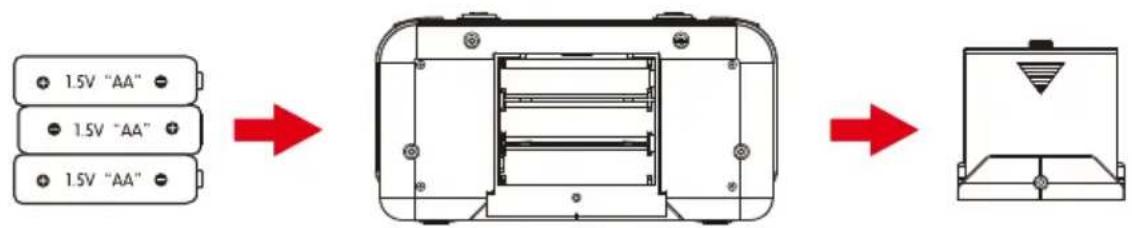
2.INSTALL THE REMOTE CONTROL BATTERY
(Batteries need to be purchased separately)
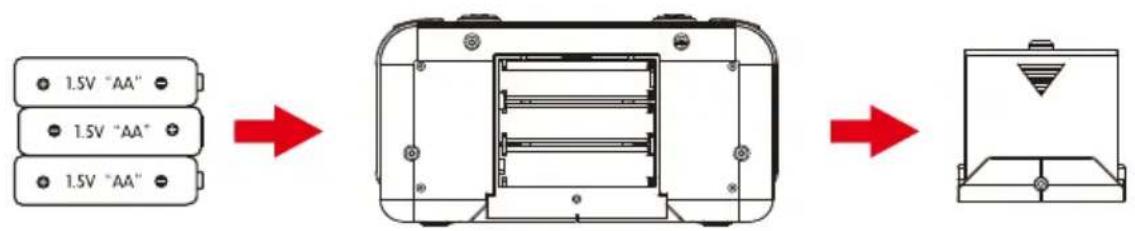
Open the battery cover and insert 3 AA batteries correctly according to the electrode instructions.
NOTES
- Make sure the battery are loaded correctly according to the polarity indications on the battery compartment.
- Please do not mix old and new batteries together.
- Please do not mix different types of batteries together.
SIGNAL CONNECTION OF TRANSMITTER AND RECEIVER
- Turn on the drone and place it on a level surface, the indicator light of transmitter and the LED of drone flashing.
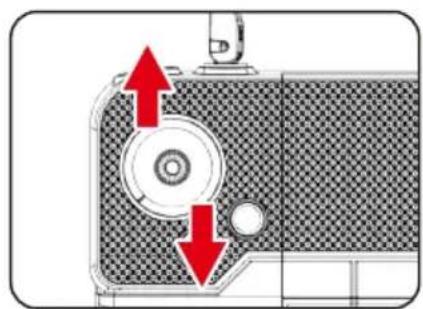
- Push the throttle joystick to the highest point then push back to the lowest point, and when you hear two beeps, the indicator light of transmitter and the LED of drone become normally on, the signal connection as completed.
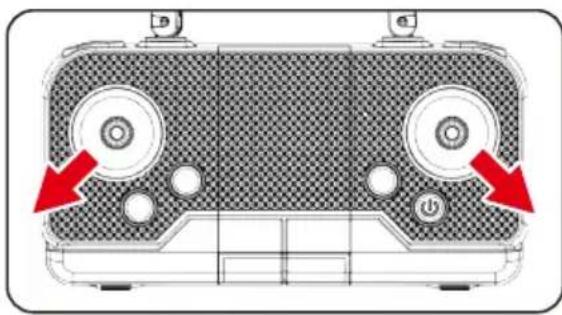
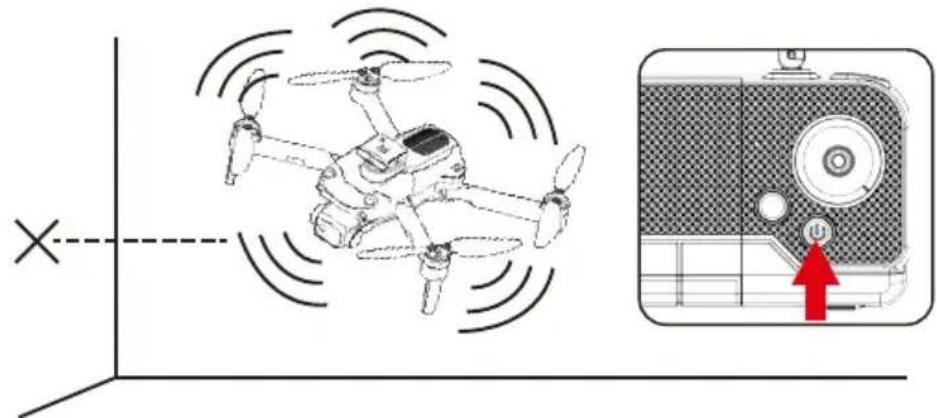
TRANSMITTER CALIBRATION
You can use the horizontal calibration function to calibrate the aircraft when it drifts in a certain direction in the air or when it rotates on the spot. Place the aircraft on a horizontal surface, hold the two joysticks on the remote control for 3 seconds, the remote control will make a beep, and the aircraft lights will flicker. Wait for about 3 seconds, the aircraft lights will stay on and the calibration is complete.
START YOUR FLIGHT
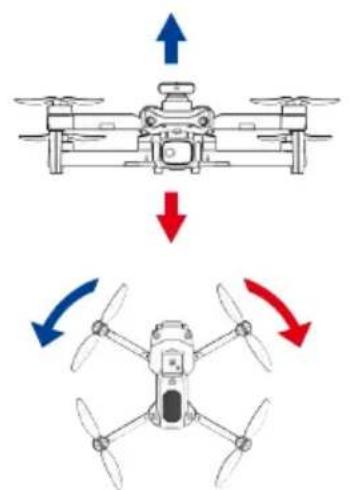
1. One-key Ascend
Press the "One-key Ascend" button, the drone blades rotate and automatically fly to a height of 1.5 meters.
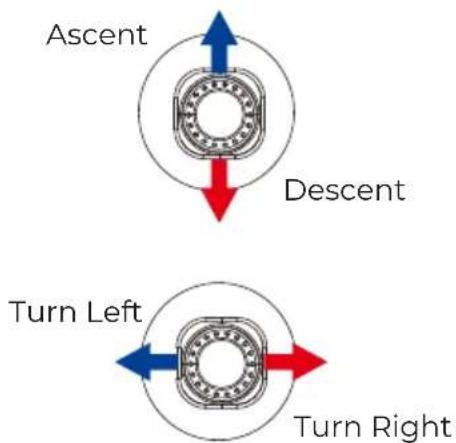
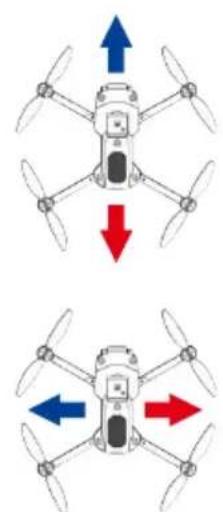
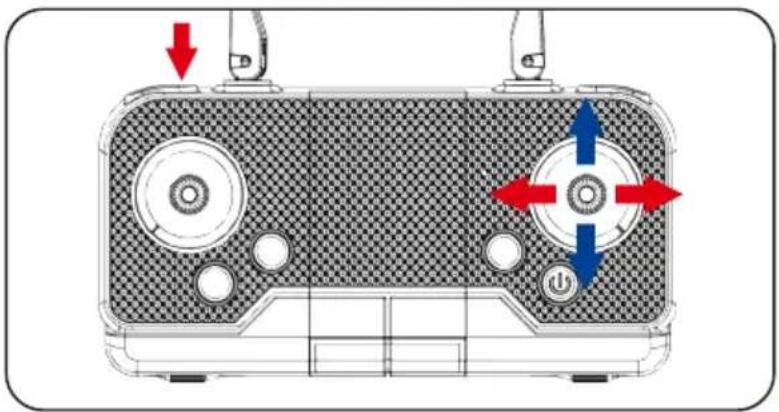
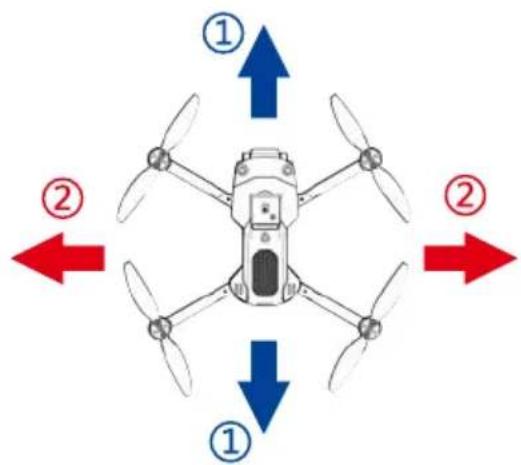
2. Basic Flight
Use the left joystick to control the flight altitude and turn left/right, and the right joystick to control the forward, backward, left and right sidde flight directions.
Left joystick
Right joystick
OBSCTACLE AVOIDANCE MODE
If an obstacle is sensed 0.5-1 meters after entering obstacle avoidance, it will stop moving in the direction of the obstacle. Obstacle avoidance can only recognize light-colored objects, but dark, black, and transparent objects cannot be recognized. The obstacle avoidance function is only recommended for indoor use.
It is recommended to turn on the obstacle avoidance function in an indoor flight environment with a length and width of 6 × 6 meters or more. When the UAV turns on the obstacle avoidance mode, the speed will slow down and the fast gear cannot be turned on. Therefore, it is recommended to fly indoors when the obstacle avoidance mode is turned on.
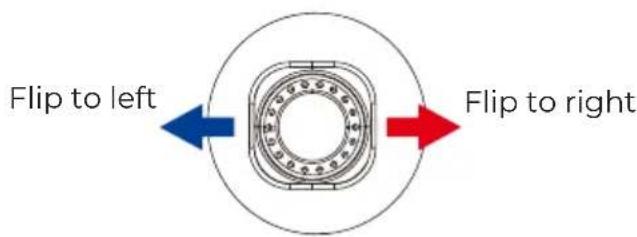
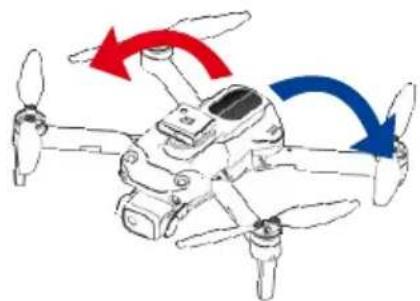
FLIPS & ROLLs
When the drone is reaching more than 3 metershigh, click "360° flips and rolls" and move theright joystick to a certain direction, the drone will rotate in that direction.
Right joystick
Headless Mode
The flight direction of drone is subjected to the direction of remote control.
-
When drone adjust the frequency, the drone is default as common mode. Then the indication light of drone is normally on. When you press the headless function key of remote control, the remote control beeps once and enters headless state. When you press the headless function key again, you listen to a beep sound and the drone exits the headless mode.
-
In the headless state, operator doesn't need to identify the direction of nose, but control the drone according to the operating lever of remote control.
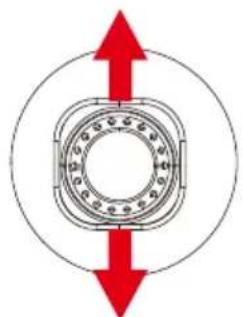
Hover
When you release the left joystick (throttle) after the ascent/descent action the drone will hover at a certain height
Left joystick
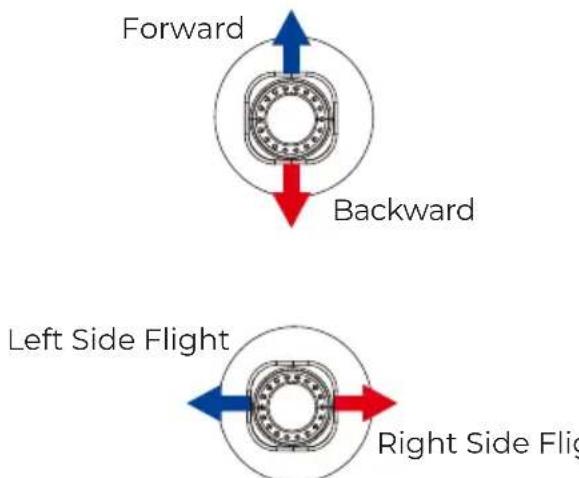
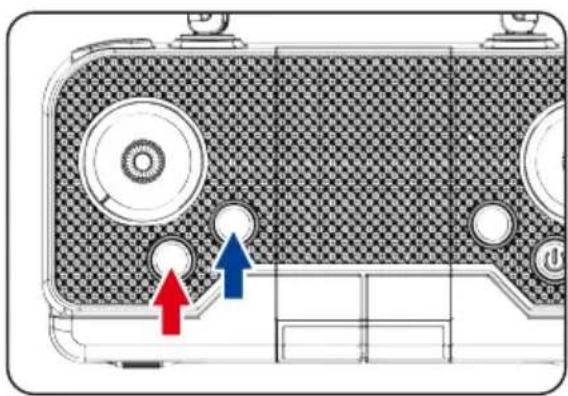
fine-tuning function
When the aircraft spins in the air or tilts in different directions, you can use fine-tuning to correct the action. Press the fine-tuning button and hear a beep, then move the joystick in the opposite direction to adjust and calibrate until the aircraft does not deviate. If there is no operation for 5-6 seconds after entering the fine-tuning, the fine-tuning function will automatically exit.
Forward/Backward Fine-tuning
Left/Right Side Fly Fine-tuning
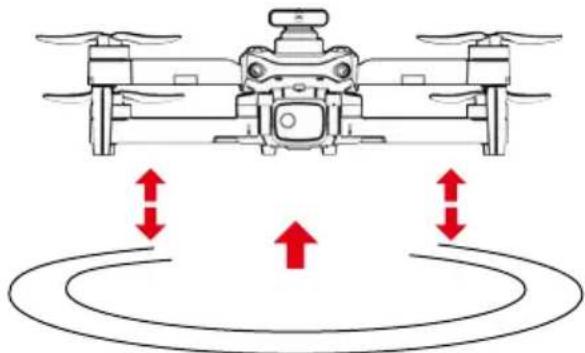
Notes
When the drone is within 30cm from the ground, it will be affected by the blade vortex made by itself and become unstable. This is "ground effect". The lower the drone is, the greater the effect will be.
FAQ
Problem: Control failure
Causes: Not connect with the quadcopter battery. Too strong wind force
Solutions: Connect the quadcopter battery in right way. Do not fly in windy days. The performance and the control of the quadcopter will be affected by the strong winds.
Problem: Fail to ascent
Causes: The rotation speed of main blades is too slow. The battery of the quadcopter is not fully charged.
Solutions: Push up the throttle joystick. Please full charge the quadcopter.
Problem: Landing too soon
Causes: The throttle stick is pulled down too fast.
Solutions: Pull down the throttle stick slowly to perform a smooth landing.
Problem: Out of control
Causes: Beyond the effective controlling distance.
Solutions: Ensure operation within the controllable distance: remote control of 100 meters and WIFI control of 40-50 meters
WiFi camera angle adjustment
WiFi
Note: This feature is limited to cameras with servos.
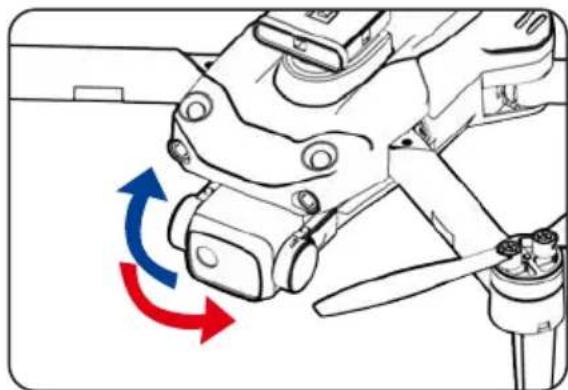
Press the "Camera Up" button to control the camera up adjustment. Press the "Camera Down" button to control the camera down adjustment.
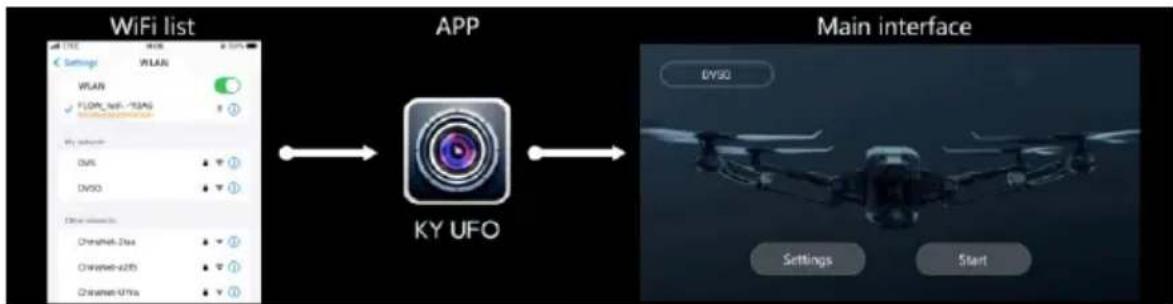
App operation manual
Download and install mobile App
- Search "KY UFO" in "app store" or "Google play" to download and install.
- Scan the QR code below to download and install.

Connection settings:
- Turn on the power switch of the product.
- Open the mobile phone setting option, start WiFi, find "Flow-xxxxxx" in the WiFi search list, and click Connect until the connection is successful.
- Open the app and click the "start" icon to enter the real-time interface.
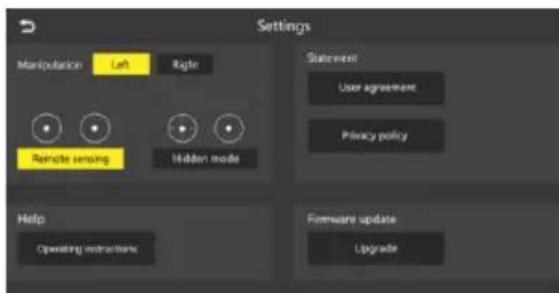
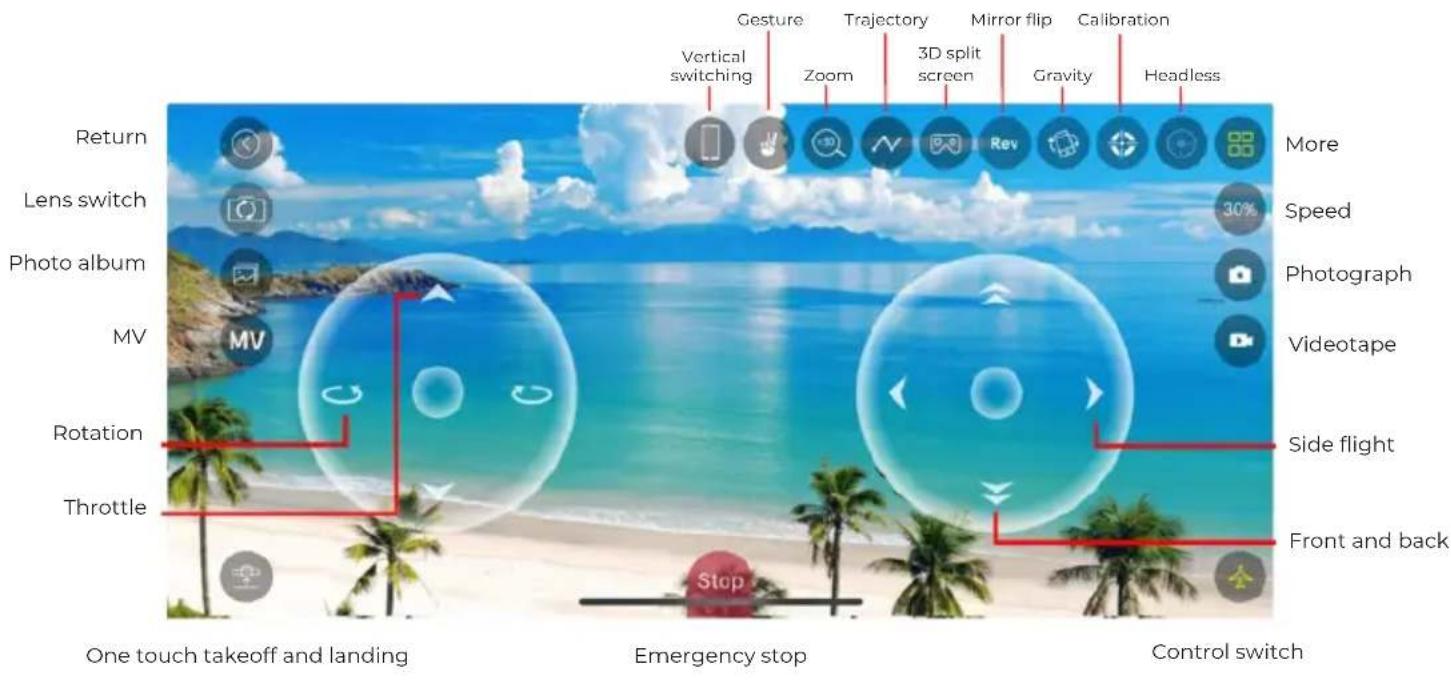
Operating instructions:
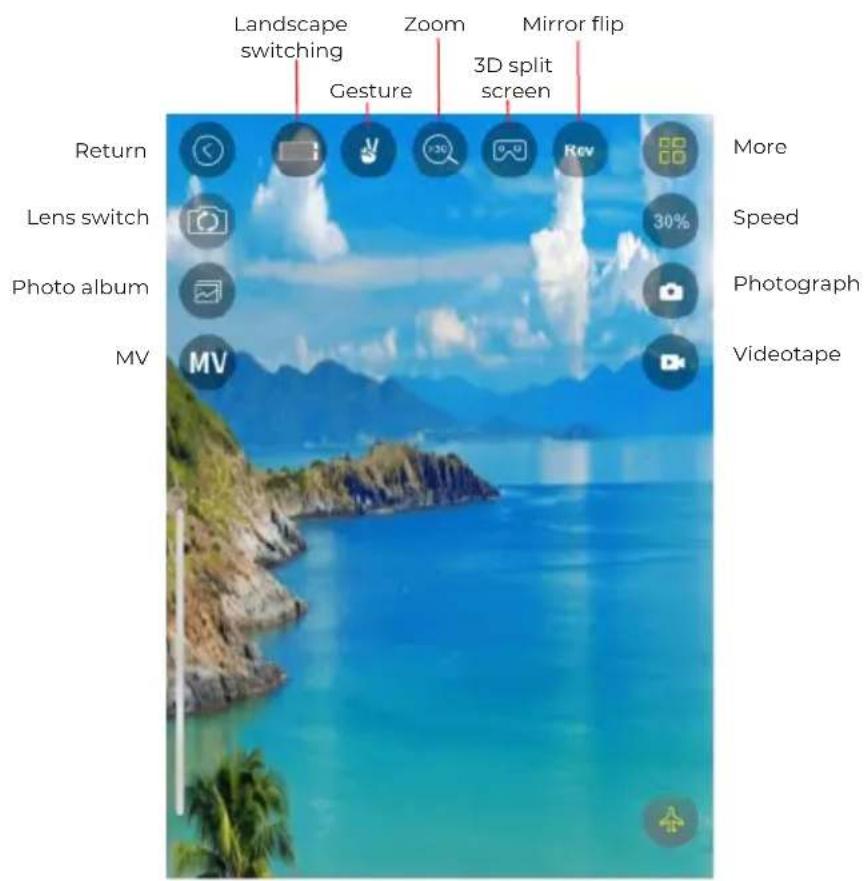
Various functions are shown in the figure below:
When switching to vertical screen, it is not possible to perform flight control on the device.
Warranty policy
This product complies with the warranty law in force in the country of purchase. When you have a problem that you can not solve, you must access the web www.prixton.com and click on the contact option to send us your assistance form.
These technical and electrical specifications are those of typical units and may be changed without prior notice in order to provide improved equipment.
Simplified EU Declaration Of Conformity
We, La Trastienda Digital located in Avenida Cervantes 49, modulo 25, Basauri 48970, Bizkaia hereby declare that the following goods, imported and selling at European market:
| BRAND | MODEL NAME DESCRIPTION | CATEGORY |
| Prixton ALPHA PRO | Humidifier | Home |
Are in compliance with the EC Council Directive of 2014/53/EU (EM DIRECTIVE) and harmonized standards and with the board of the 16th of April 2014.
The complete text of the UE Declaration of conformity is available anytime at this website address:
www.prixton.com
LA TRASTIENDA DIGITAL
CONNAISSEZ VOTRE DRONE

DRONE x1 (battery incluse)
Telecommande x1
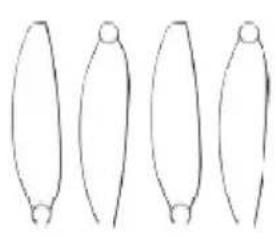
Hélices de secours Ax2 Bx2

Chargeur USB x1
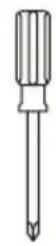
Tournevis x1
PREPARATION AVANT LE VOL
1 ENVIRONNEMENT DE VOL
Do not dispose the battery as daily rubbish. Please familiarize yourself with the local garbage disposal method and dispose it according to the special requirement.
CONNAITRE VOTRE TELÉCOMMANDE 1.PIÈCES DE LA TELÉCOMMANDE
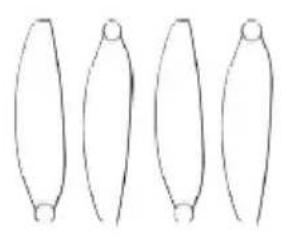
Reserve Propellers Ax2 Bx2
USB Oplader x1
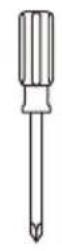
Schroevendraaier x1