Sensor Controller PLUS 2214 - Irrigation timer HOZELOCK - Free user manual and instructions
Find the device manual for free Sensor Controller PLUS 2214 HOZELOCK in PDF.
| Brand | Hozelock |
| Model | Sensor Controller PLUS 2214 |
| Product type | Watering timer with light sensor |
| Power supply | 2 AA 1.5V (LR6) alkaline batteries (non-rechargeable) |
| Operating pressure | 0.5 - 10 bar |
| Operating temperature | 0 - 55 °C |
| Max. water temperature | 30 °C |
| Protection rating | IP44 |
| Max. watering cycles | 2 per day (sunrise and/or sunset) |
| Watering duration | 2, 5, 10, 20, 30 or 60 minutes |
| Sensor | Daylight sensor (detects sunrise/sunset) |
| Included adapters | G1/2 (21 mm), G3/4 (26.5 mm), G1 (33.3 mm) BSP |
| Battery life | Approximately 8 months with 2 waterings per day |
| Connection | Outdoor tap or tank with filter |
| Main functions | Automatic watering at sunrise/sunset, manual watering (10, 30, 60 min), interval programming (2, 3, 5, 7 days), 1-hour delay for two controllers, low battery safety mode |
| Maintenance and winter storage | Drain and store indoors in winter (freezing temperatures) |
| Safety | Automatic shutdown if batteries low (fail-safe mode), do not use for drinking water |
Frequently Asked Questions - Sensor Controller PLUS 2214 HOZELOCK
User questions about Sensor Controller PLUS 2214 HOZELOCK
0 question about this device. Answer the ones you know or ask your own.
Ask a new question about this device
Download the instructions for your Irrigation timer in PDF format for free! Find your manual Sensor Controller PLUS 2214 - HOZELOCK and take your electronic device back in hand. On this page are published all the documents necessary for the use of your device. Sensor Controller PLUS 2214 by HOZELOCK.
USER MANUAL Sensor Controller PLUS 2214 HOZELOCK
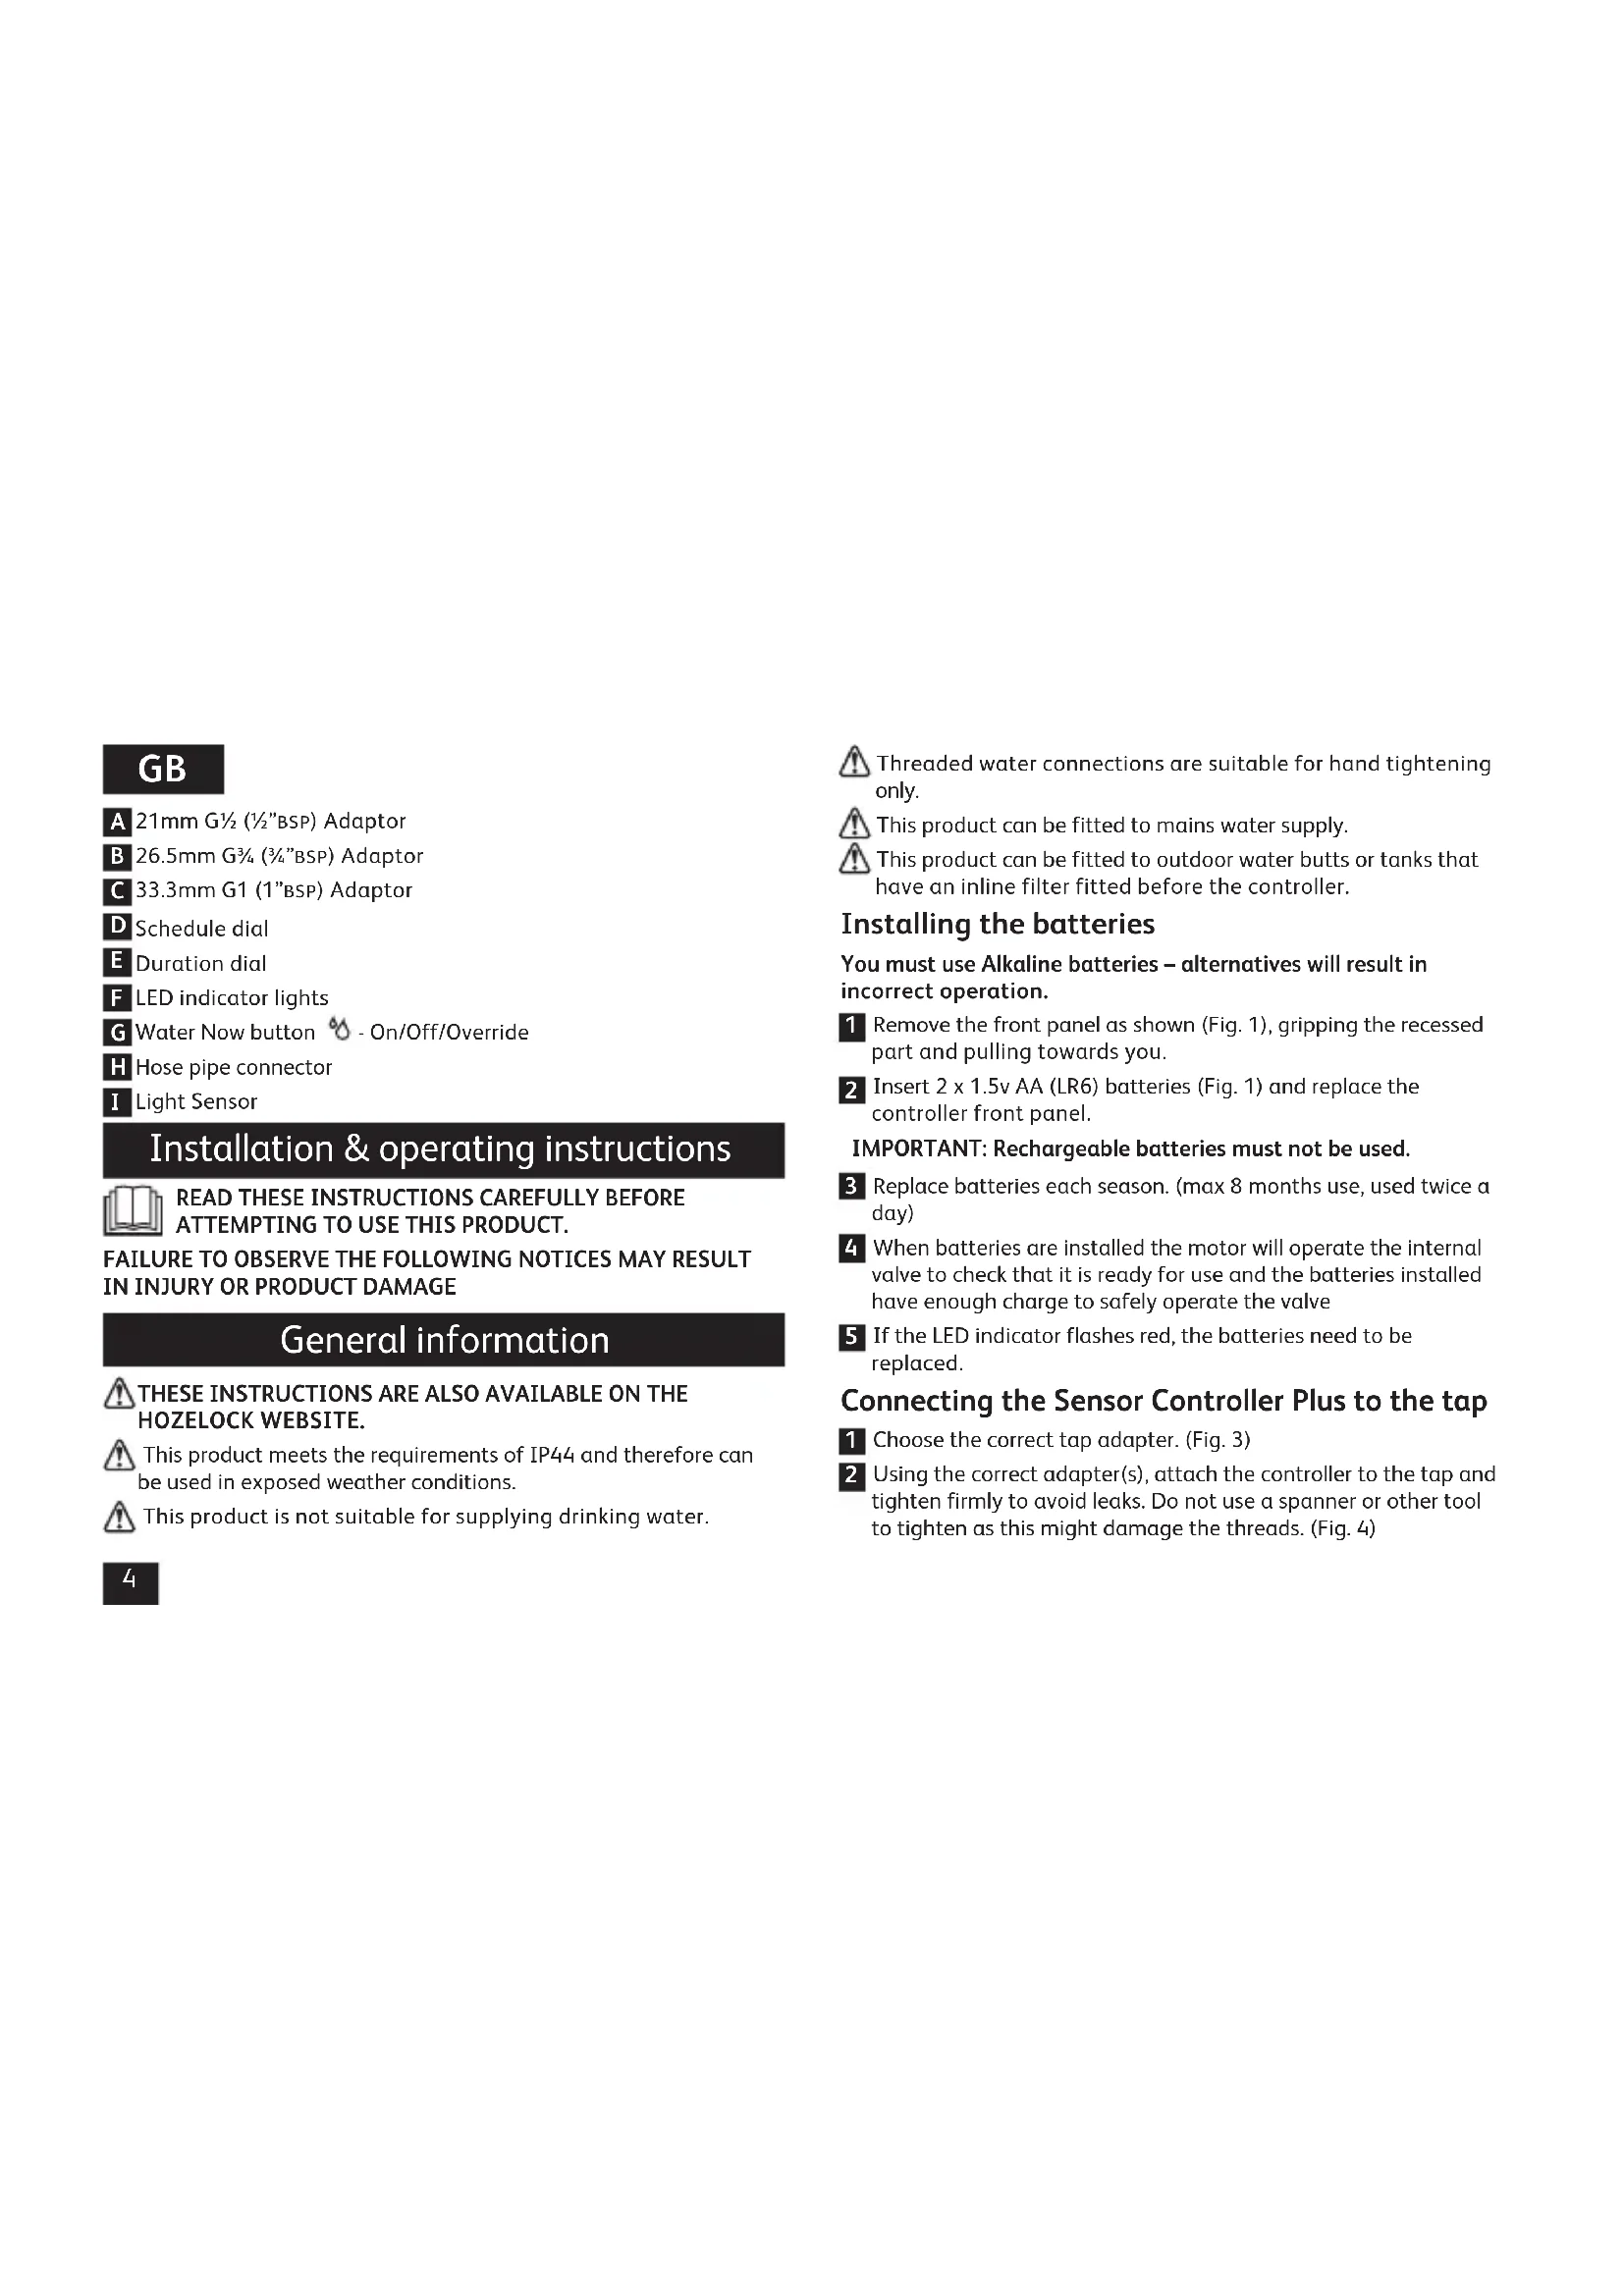
A 21mm G½ (½"BSP) Adaptor
B 26.5mm G% (3% BSP) Adaptor
C 33.3mm G1 (1" BSP) Adaptor
D Schedule dial
Duration dial
F LED indicator lights
Water Now button - On/Off/Override
H Hose pipe connector
Light Sensor
Installation & operating instructions

READ THESE INSTRUCTIONS CAREFULLY BEFORE ATTEMPTING TO USE THIS PRODUCT.
FAILURE TO OBSERVE THE FOLLOWING NOTICES MAY RESULT IN INJURY OR PRODUCT DAMAGE
General information
THESE INSTRUCTIONS ARE ALSO AVAILABLE ON THE HOZELOCK WEBSITE.
This product meets the requirements of IP44 and therefore can be used in exposed weather conditions.
This product is not suitable for supplying drinking water.
Threaded water connections are suitable for hand tightening only.
This product can be fitted to mains water supply.
This product can be fitted to outdoor water butts or tanks that have an inline filter fitted before the controller.
Installing the batteries
You must use Alkaline batteries - alternatives will result in incorrect operation.
1 Remove the front panel as shown (Fig. 1), gripping the recessed part and pulling towards you.
2 Insert 2 × 1.5 ~V AA (LR6) batteries (Fig. 1) and replace the controller front panel.
IMPORTANT: Rechargeable batteries must not be used.
3 Replace batteries each season. (max 8 months use, used twice a day)
4 When batteries are installed the motor will operate the internal valve to check that it is ready for use and the batteries installed have enough charge to safely operate the valve
5 If the LED indicator flashes red, the batteries need to be replaced.
Connecting the Sensor Controller Plus to the tap
1 Choose the correct tap adapter. (Fig. 3)
2 Using the correct adapter(s), attach the controller to the tap and tighten firmly to avoid leaks. Do not use a spanner or other tool to tighten as this might damage the threads. (Fig. 4)
3 Turn on the Tap.
How to set up the Sensor Controller Plus - automatic watering
Sunrise and Sunset is the best time to water your garden to avoid evaporation and leaf scorch. The Daylight sensor automatically adjusts the watering schedule to coincide with the changing time for sunrise and sunset.
Cloudy or overcast mornings and evenings might cause a slight delay to the watering times, but these are not significant to have any adverse effects on your garden.
1 Rotate the control dial to select from the 3 marked sections - Sunrise (once a day), Sunset (once a day) or Sunrise and Sunset (twice a day). (See Fig. 5)
2 Choose from the required watering durations - 2, 5, 10, 20, 30 or 60 minutes of watering.
How to set the daily watering schedule
If you do not want to water your garden every day you can set the water timer to water every 2, 3, 5 or 7 days (once a week). To set the watering intervals rotate the top dial to the required setting: (Fig. 6) Please note: If you change the watering interval the internal memory is updated with your new setting at the next sunrise.
If you have turned the dial anti-clockwise (increasing the number of watering days per week) and the water timer was due to water the following day, then the next watering will occur on the following day and will continue to water according to the new setting of the dial.
If the water controller was due to water every 5 days and was due to
water in 4 days but you then set the dial to water every 2 days, the controller would decrease the interval to the new 2 day interval at the following sunrise. This means you will not need to wait for the previously set 5 day interval to fully lapse once the dial has been reset to a more frequent interval.
If you have turned the dial clockwise (decreasing the number of watering days per week) the controller will wait until the previously set watering day interval has lapsed before commencing to water at the new longer interval.
How do I water once a week on a specific day
For detailed instructions go to: www.hozelock.com/sensorcontrollerplusinstructions
How to turn off the Sensor Controller Plus
If you do not want the controller to automatically come on turn the rotary dial to the "OFF" position. You can still use the button to manually water your garden.
Initial synchronisation period
When you install new batteries there is a 6 hour lockout period to prevent the controller from watering while you are setting up your system. After a 24 hour cycle of Sunrise and Sunset the controller will be synchronised with the changing light levels. You can manually water your garden using the button during the 6 hour lockout period.
Positioning your Sensor Controller Plus outdoors
It is important that your water controller is in an outdoor location. Do not point the control panel directly towards outdoor security
lights or other bright lights that come on during the night as these might interfere with the recorded light levels and cause the controller to come on at the wrong time.
Ideally, you should not set up your controller in a heavily shaded passageway or behind buildings where light levels remain low all day long. Do not position the controller inside buildings such as garages or sheds where it will not receive natural daylight to function correctly.
The controller is designed to be positioned directly underneath an outdoor tap. Do not position the controller on its side or lying on the ground whereby rainwater cannot flow away from the product.
1 hour delay (when using 2 Sensor Controllers together)
If you install two Sensor Controllers you might want to stagger the start times to prevent pressure loss when two appliances are used simultaneously – for example sprinklers.
Remove the delay plug from the storage location on the back of the control panel (Fig. 2) and fit the plug on the location below the batteries.
With the plug inserted the one hour delay affects all automatic watering. The delay period of one hour cannot be changed.
Manual operation (water now)
You can turn on the water controller at any time by pressing the Water Now button.
| Water now function | |
| Press ↑ Once | 10 minutes watering |
| Press ↑ Twice | 30 minutes watering |
| Press ↑ Three times | 60 minutes watering |
| Press ↑ Four times | Cancels Water Now |
The LED light will come on to indicate you have turned the controller on and will start to flash when the valve has opened. Depending on the mode selected the lights will count down as the time lapses; So if you press the button 3 times to water for 60 minutes, after the first 30 minutes the top light will stop flashing and the bottom two lights will continue to flash.
If you decide to stop manual watering at any time simply press on the Water Now button until all the green lights stop flashing. You will hear the motor operate the internal valve turning the water off.
Note: To protect battery life the water controller can only be turned on and off a maximum of 3 times in one minute.
How do I cancel an automatic watering operation
The button can also be used as a manual override to cancel any current automatic watering operation that has started. The schedule will then resume.
| Battery Level Check (Press And Hold Down The Water Now ❶ Button) | |
| 3x Green Lights Battery level is Excellent | |
| 2x Green Lights Battery level is Good | |
| 1x Green Light Battery level is ok but consider replacing them soon | |
| 1x Red Light Battery level is low - replace the batteries now |
Failure prevention mode
A built in safety feature detects when the battery levels have dropped to a level that could fail whilst the valve is open and result in wasting water. The safety mode prevents the controller from turning on until the batteries have been replaced. The LED indicator light will flash red when the failure prevention mode has been activated. The Water Now function will also not operate until the batteries have been replaced.

This product is not designed to be used in sub-zero (frost) temperatures. During winter months drain any remaining water out of your timer and bring it indoors until the next watering season.
Troubleshooting
| Problem Possible cause | Use Solution | |
| Valve opens but no water comes out | Garden tap is off Turn | on tap |
| Hose pipe twisted or blocked | Untwist/unblock hose hose | |
| Button pressed but valve doesn't open | Wrong or flat batteries | Check battery type and/or replace with fresh batteries |
| Button pressed Light came on but valve did not open | 1 minute lock out has operated | Wait three minutes and try again |
| Controller set up correctly but did not come on at sunset | Controller waiting to synchronise | Wait 24hrs and observe again |
| Controller activated when outside lights come on | Outside lights too bright | Move or rotate controller away from light sources |
| Technical Data | |
| Operating Pressure 0.1 – 10 Bar | |
| Operating Temperature 0 - 55°C | |
| Max. Water Temperature 30°C | |
| Battery Type 2x 1.5V AA (LR6) | Alkaline Batteries |
| Average Battery Life 8 months | used twice a day |
| Watering Cycles Max. 2x water | ng cycles per day |
| Watering Durations 2, 5, 10, 20 | 30 or 60 minutes |
| Purpose of Control Electrically | operated water valve |
| Mounting Method Surface mounting | |
| Action Type Type 1 | |
| Pollution Degree 4 | |
Contact details
If you have any further problems with your water timer please contact Hozelock customer services.
Hozelock Limited
Midpoint Park, Brimingham. B76 1AB.
Tel: +44 (0)121 313 1122
Internet: www.hozelock.com
Email: consumer.service@hozelock.com
F
www.hozelock.com/sensorcontrollerplusinstructions
www.hozelock.com/sensorcontrollerplusinstructions
Sà HAR SLAR du av Sensor Controller Plus
www.hozelock.com/sensorcontrollerplusinstructions
www.hozelock.com/sensorcontrollerplusinstructions
Sādan slukkes Sensor Controller Plus
The LED light will come on to indicate you have turned the controller on and will start to flash when the valve has opened. Depending on the mode selected the lights will count down as the time lapses; So if you press the button 3 times to water for 60 minutes, after the first 30 minutes the top light will stop flashing and the bottom two lights will continue to flash.
If you decide to stop manual watering at any time simply press on the Water Now button until all the green lights stop flashing. You will hear the motor operate the internal valve turning the water off.
Tiaio aeioeic oyniec eiokeoite tn oaiia www.hozelock.com/sensorcontrollerplusinstructions
Vcva aenepepyoioane tov npoypaumatn eaohtnpa Plus
Av v EeEVEVeyoTOIEiA autOaTa o npoypaMaIOTn, yupote tov enilooyea otn eoN *OFF.EgakoLouOeite va uTopeite va xpoioantoioeTe to koupiYia un autoato nToiaou KNTou OAC.
www.hozelock.com/sensorcontrollerplusinstructions
Iopno6hne Hnctpykun MOKHO HAHTN Ha Be6-caiTe: www.hozelock.com/sensorcontrollerplusinstructions
BbIKIOUeHne KOHTpOJInepa Ha OCHOBE DaTcIKOB pacuHpeHHoB Bercnn
Ecnn BbI He JeKeaTe, YTo6bI KOHTpolnep BKIOUanCn aBTOMATHueCKN, yCTAHOBNTpepyrJTopB NOLOXKeHne "BblKJI".B DAHHOM Cnyuae Bbl CMOXeTe BKIOUaTb NOLNBpyHyO C NOMOUsbIO COOTBeTCTByIOUeK HONK.
NepnohauaJIbHOcHHxPOH3aunn
Iocne yctahOBKn HObIx 6atapeB BKHouaeTc6-ycaOBoN nepno6IoknOBKN,HTO6bI H36eKaTb BkHoueHNA NOINBA BO BpeMaHactpoKN CNTembl.10OKOHuaHN 24-ycaOBoro zKknA (CBOxCODOM 3akATOM) KOHTpONJIep IPOHBeTeCT CNHXPOHn3aUHO c N3MeHNOUMNCy yPOBHm OCBeueEHOCtN.B TeueHNE6-ycaOBOrOp nepNoDa 6LOKnOBKn MOXHO OcyEcTBnTb NOINB BpyHyIO, C NOMOUsbCOOTBetCTByIOSe KHOJKN.
PacnoNoXeHne KOHTpOJIpeHa OCHOBe DaTnKOB pacuHpeHHoB BepCN Ha yInue
KoHTpOJIepeHc6xOJIMNo yCTaHabNIBaTb BHe NOMEeHn. He pa3MeaIte NaHeIb ynpaBLeHn HEnocpeDCTBeHNO B HanpaBLeHn 3IeMeHToB yInuHOrO OCBeUeHn HIN INhIX npkX OCBeITeNbHbIX pIn6OpOB, pa60TaIOux HOby, TAK KAK 3TO MoKeT NOMEaTb KOHTpOJIepe Cpa6aTbIBaTb B HyKHOe BpeM Ha OCHObE 3AnporpAMmPobAHhbix ypOBHeN OCBeUeHHoCTn.
KeIaTeIbHo He yctaHabInBaTb ycToPcTBO Ha TpOtyapax C cIbHbIM 3aTeMHeHem HIN 3a 3daHnA M, rge ypoBeHb OCBeueHHocTH OCTaeTcH N3KHM HA npOTaKeHN BCero DnH. He pacNoIaRaTe KOHTpOJIeB POMeUeHNX, HApNMeP B rapaKaX HIN NOI HAcBcAMn, TAK KAK DaTUnKHe CMOrYT 3aHKnCnpoBaTb eCTeTBehHOe dHeBHOe OCBeueHne HycToPcTBO 6ydet pa6oTaTb HenpaBnIbHo.
KoHTpOJIneP npEHa3HaueH dIy yCTaHOBKn HEnOCpeDCTBeHHNO pOuYnUHbIM BOOpnpOBOHbIM KpaHOM. He pa3MeuaTe KOHTpONJIep c60ky IIN Ha 3emIe, YTO6bl N36ExKaTb CkONJIeHr DOJXDeBOI BODbl BOKpyr YcTpoCTBa.
3aepkaHa 1 yac (npn OJHOBpeMeHHOM HcNoIb3OBaHNN DByX KOHTpOJIePOB Ha OCHOBE daTCHKOB)
B clyae yctahOBKn DByx KOHTpOJInepoB NOINBA Bbl, BO3MOXHO, noKeIaTe HAcTPOITb pa3Hoe BPem BkIOUeHHBO I36EkaHne nOtepb daBleHn npn OJNOHBpeMeHHOM IcN0JIb3OBAHnn Cpa3y dByx npn6OpOB, HanpIMep pacnbIInTeJe.
DocaHbTe 3aRnykU 3aepKKn H3 MeTa ee xpaHeHHc 3aDHei cTOpOnbI NaHeIn ynpabLeHHn (Pnc.2) n yctahOBnTe Byka3aHHOe MeTo noD 6aTapeMn.
CycahOBLeHHo 3aRnykO OdHouacOBa 3aepKApnmeHHTcK KO Bcem peXHMAM ABTomatueeCKOro NOINBa. Nepno3aepKKn B OAnH Yac H3MeHHTb HeBO3MOxHO.
PyuHoe ynpabneHne (HeMeIeHHbI noINB)
BbMOKeTe BkIIOUHTb KOHTpOJIeP B IIO60MmOeH, HAKAB OINH pa3 Ha KHOIIky BKI. HeMeIeHHOro NOLBa.
Declaration of Conformity to CE
Hozelock Ltd declare that the following Electrically Operated Water Valves:
- Sensor Controller Plus (2214)
Comply with:
- the Essential Health and Safety Requirements of the Machinery Directive 2006/42/EC and its amending directives.
EMC Directive - 2014/30/EU
RoHS Directive 2011/65/EU
and conforms to the following harmonised standards:
EN61000-6-1:2007
EN61000-6-3:2011
Date of Issue: 09/11/2015
Signed by:
Nick Iaciofano
Technical Director, Hozelock Ltd.
Midpoint Park, Sutton Coldfield, B76 1AB. England.
WEEE
Do not dispose of electrical appliances as unsorted municipal waste, use separate collection facilities. Contact you local government for information regarding the collection systems available. If electrical appliances are disposed of in landfills or dumps, hazardous substances can leak into the groundwater and get into the food chain, damaging your health and well-being.
In the EU, when replacing old appliances with new ones, the retailer is legally obligated to take back your old appliance for disposals at least free of charge.