
SD 340 - Drill AEG - Free user manual and instructions
Find the device manual for free SD 340 AEG in PDF.
| Product type | Impact wrench |
| Brand | AEG |
| Model | SD 340 |
| Category | Drill (used as impact wrench) |
| Power supply voltage | 12 V DC (cigarette lighter socket or vehicle battery) |
| Torque range | 80 – 340 Nm |
| Torque setting | In steps of 10 Nm, from 080 to 340 |
| Digital torque display | 3-digit display |
| Fuse protection | 15 A max |
| Use | Removing and tightening wheel nuts |
| Rotation direction switch | Right (tightening) / left (loosening) |
| Continuous use duration | 8 minutes max (to avoid overheating) |
| Direct battery power supply | Yes, with supplied adapter cable (red/black clamps) |
| Maintenance | No maintenance required; clean with a dry cloth |
| Aggressive cleaning prohibited | Do not use solvents or aggressive cleaning products |
| Safety precautions | Use a jack and axle stands, handbrake engaged, vehicle immobilized |
| Included accessories | Eyelet nuts 16 and 17, battery adapter cable |
| Repairability | Repairs by qualified personnel only |
| Disposal | Do not dispose of in household waste; recycle according to WEEE directive |
Frequently Asked Questions - SD 340 AEG
User questions about SD 340 AEG
0 question about this device. Answer the ones you know or ask your own.
Ask a new question about this device
Download the instructions for your Drill in PDF format for free! Find your manual SD 340 - AEG and take your electronic device back in hand. On this page are published all the documents necessary for the use of your device. SD 340 by AEG.
USER MANUAL SD 340 AEG
Intended use
Scope of delivery Page 14
Part description Page 14
Technical data.. Page 15
Security
General safety notices for electrical tools.. Page 15
1) Workplace Page 15
2) Electrical safety. Page 15
3) Personal safety. Page 16
4) Careful handling of electrical tools.. Page 16
5) Service Page 16
Special safety notices for impact wrenches.. Page 16
Operation
Connection to 12V-socket/bushing
Connecting to the battery.. Page 17
Loosen/tighten wheel nuts.. Page 17
Setting the torque.. 5
Replacing the fuse on the 12V-plug.
Maintenance and care.. Page 18
Service
Disposal
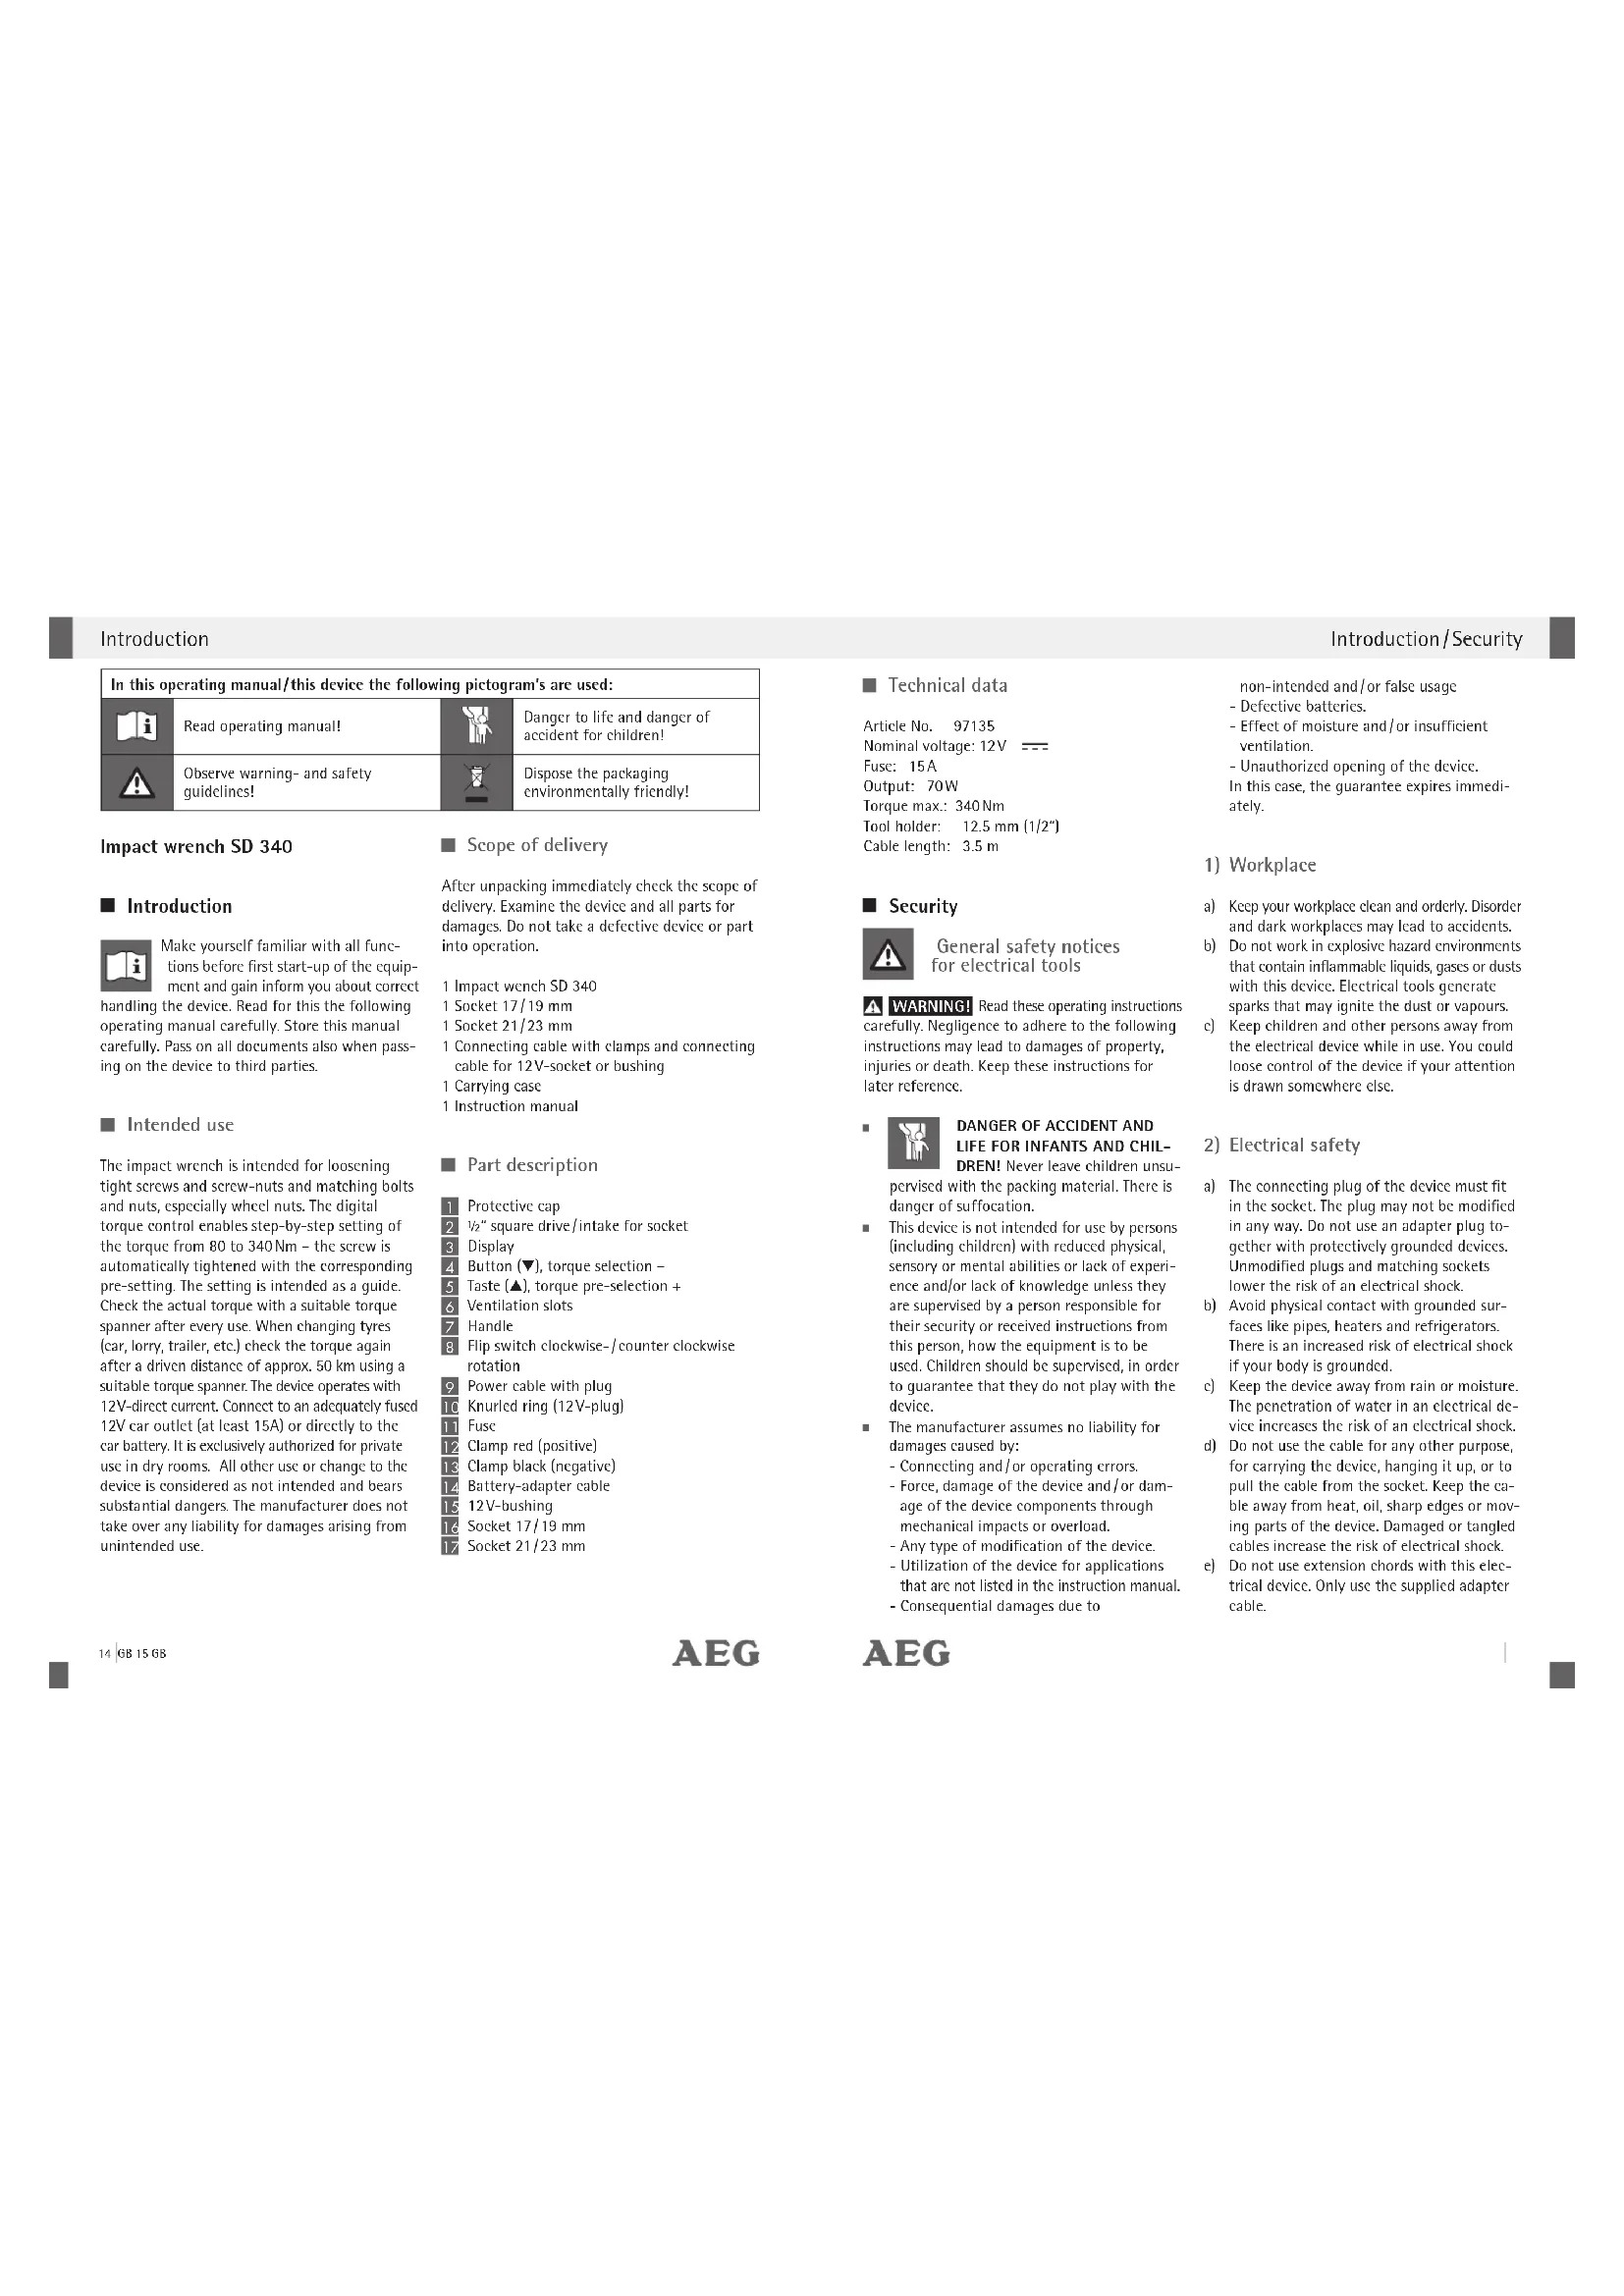
Introduction
Introduction/Security
In this operating manual/this device the following pictogram's are used:

Impact wrench SD 340
Introduction
Make yourself familiar with all functions before first start-up of the equipment and gain inform you about correct handling the device. Read for this the following operating manual carefully. Store this manual carefully. Pass on all documents also when passing on the device to third parties.
Intended use
The impact wrench is intended for loosening tight screws and screw-nuts and matching bolts and nuts, especially wheel nuts. The digital torque control enables step-by-step setting of the torque from 80 to 340Nm - the screw is automatically tightened with the corresponding pre-setting. The setting is intended as a guide. Check the actual torque with a suitable torque spanner after every use. When changing tyres (car, lorry, trailer, etc.) check the torque again after a driven distance of approx. 50km using a suitable torque spanner. The device operates with 12V-direct current. Connect to an adequately fused 12V car outlet (at least 15A) or directly to the car battery. It is exclusively authorized for private use in dry rooms. All other use or change to the device is considered as not intended and bears substantial dangers. The manufacturer does not take over any liability for damages arising from unintended use.
Scope of delivery
After unpacking immediately check the scope of delivery. Examine the device and all parts for damages. Do not take a defective device or part into operation.
- Impact wcnch SD 340
1 Socket 17/19 mm
1 Socket 21/23 mm
1 Connecting cable with clamps and connecting cable for 12V SOCKET or bushing
1 Carrying case
1 Instruction manual
Part description
1 Protective cap
2 12 " square drive/intake for socket
3 Display
4 Button (▼), torque selection -
5 Taste () torque pre-selection +
6 Ventilation slots
7 Handle
8 Flip switch clockwise-/counter clockwise rotation
Power cable with plug
Knurled ring (12V-plug)
Fuse
12 Clampred (positive)
13 Clamp black (negative)
12 Battery-adapter cable
12V-bushing
16 Socket 17/19 mm
17 Socket 21/23 mm
Technical data
Article No. 97135
Nominal voltage: 12V
Fuse: 15A
Output:70W
Torque max.: 340Nm
Tool holder: 12.5 mm (1/2")
Cable length: 3.5m
Security

General safety notices for electrical tools
WARNING! Read these operating instructions carefully. Negligence to adhere to the following instructions may lead to damages of property, injuries or death. Keep these instructions for later reference.

DANGER OF ACCIDENT AND
LIFE FOR INFANTS AND CHIL
DRENI Never leave children unsupervised with the packing material. There is danger of suffocation.
This device is not intended for use by persons (including children) with reduced physical, sensory or mental abilities or lack of experience and/or lack of knowledge unless they are supervised by a person responsible for their security or received instructions from this person, how the equipment is to be used. Children should be supervised, in order to guarantee that they do not play with the device.
The manufacturer assumes no liability for damages caused by:
- Connecting and/or operating errors
- Force, damage of the device and/or data
age of the device components through
mechanical impacts or overload. - Any type of modification of the device.
- Utilization of the device for applications
that are not listed in the instruction manual.
Consequential damages due to
non-intended and/or false usage
Defective batteries.
Effect of moisture and/or insufficient
ventilation.
- Unauthorized opening of the device. In this case, the guaranteec expires immediately.
1) Workplace
a) Keep your workplace clean and orderly. Disorder and dark workplaces may lead to accidents.
b) Do not work in explosive hazard environments that contain inflammable liquids, gases or dusts with this device. Electrical tools generate sparks that may ignite the dust or vapours.
c) Keep children and other persons away from the electrical device while in use. You could loose control of the device if your attention is drawn somewhere else.
2) Electrical safety
a) The connecting plug of the device must fit in the socket. The plug may not be modified in any way. Do not use an adapter plug together with protectively grounded devices. Unmodified plugs and matching sockets lower the risk of an electrical shock.
b) Avoid physical contact with grounded surfaces like pipes, heaters and refrigerators. There is an increased risk of electrical shock if your body is grounded.
c) Keep the device away from rain or moisture. The penetration of water in an electrical device increases the risk of an electrical shock.
d) Do not use the cable for any other purpose, for carrying the device, hanging it up, or to pull the cable from the socket. Keep the cable away from heat, oil, sharp edges or moving parts of the device. Damaged or tangled cables increase the risk of electrical shock.
e) Do not use extension chords with this electrical device. Only use the supplied adapter cable.
Security
Security/Operation
3) Personal safety
a) Pay attention to what you do and be sensible when using an electrical tool. Do not use the device if you are tired or under the influence of drugs, alcohol or medicine. One moment of distracted attention when using the electrical device can lead to serious injuries.
b) Wear personal protective gear and always wear protective glasses. Wearing personal protective gear like a dust mask, slip-proof safety shoes, protective helmet and hearing protection, depending on the type and usage of the electrical tool reduces the risk of injuries.
c) Avoid unintentional start-up. Ensure yourself that the flip switch 8 is not on before plugging in the power cable. Having your finger on the switch when carrying it or connecting it to the power when it is already on can lead to accidents.
d) Do not bend over. Ensure a secure stand and keep your balance at all times. This way you are better able to control the device in unexpected situations.
c) Wear adequate clothing. Do not wear loose clothing or jewellery. Keep hair, clothing and gloves away from moving parts. Loose clothing, jewellery or long hair can be caught in moving parts.
4) Careful handling of electrical tools
a) Do not subject the device to overload. Use the intended electrical tool for your work. Using the right electrical tool makes your work faster and safer in the stated work area.
b) Do not use an electrical tool with a broken power switch. An electrical tool that cannot be switched on or off is dangerous and needs to be repaired.
c) Should replacement of the connecting cable be necessary, this must be done by the manufacturer or his representative to prevent safety risks.
d) Pull the plug from the socket before changing the accessory parts or put the device
away. This measure prevents unintentional start-up of the device
e) Keep electrical tools not in use out of the reach of children. Do not let people use the device that are not familiar with the device or did not read these instructions. Electrical tools are hazardous if they are used by inexperienced people.
f) Take care of the device. Check whether movable parts work faultlessly and do not get stuck, whether parts are broken or damaged such that the function of the device is impeded. Have damaged parts repaired prior to using the device. Many accidents are caused by poorly serviced electrical tools.
g) Use electrical tools, accessories etc. according to these instructions and in the way it is prescribed for this special type of device. Consider the working conditions and the task to be done. Using electrical tools for purposes other than those intended may lead to dangerous situations.
5) Service
a) Only have electrical tools repaired by specialists. Only identical spare parts may be used. This way, the safety of the device is guaranteed.

Special safety notices for impact wrenches
Only use the impact wrench with 12 V-direct current. Never try to connect it to other sources of power.
Do not use the impact wrench for more than 8 minutes without interruptions in order to prevent the tool motor from overheating.
Ensure that you have read and understood the instructions and all safety instructions that were supplied with the vehicle before starting on the repairs or service work on the vehicle.
Ensure that the cigarette light bushing / 12V - bushing of the vehicle is protected with a fuse
of at least 15 A. Read the vehicle manual or ask the manufacturer in case of doubt.
Pay attention that the ignition of the vehicle on which the impact wrench is used is set to OFF.
Ensure that the vehicle on which the impact wrench is used is secured and cannot roll away. Pay attention that the handbrake is tightened.
Remove the impact wrench from the cigarette lighter bushing / 12 V-bushing and from the wheel nuts before trying to drive the vehicle.
For longer periods of non-use, remove the impact wrench from the bushing. Some vehicle models continue to supply the cigarette lighter bushing / 12 V-bushing with power, even if the ignition was turned off, this means that the car battery may loose power then.
Avoid all contact with battery acid, it is caustic. Should your face come into contact with battery acid, rinse it thoroughly with running water and contact your physician. Should battery acid come into contact with your eyes, rinse them with running water for at least 10 minutes and contact your physician.
Pay attention to correct polarity. Avoid short circuits.
The digital torque preset does not replace a torque spanner. Check the actual torque after every step using a suitable torque spanner.
Operation
Connection to 12V-socket/bushing
WARNING! Only connect it to a cigarette lighter bushing / 12 V-bushing if it is protected with a fuse of more than 15 A. Should the cigarette lighter bushing / 12 V-bushing be secured with less than 15 A, connect the impact wrench directly to the battery.
Remove the cigarette lighter from the cigarette lighter bushing resp. the cover etc. from the 12 V-bushing of the vehicle.
Connect the 12V plug to the cigarette lighter bushing j 12V-bushing of the vehicle.
Ensure the 12V outlet is adequately fused (at least 15
Connecting to the battery
WARNING! Pay attention when connecting the clamps 12 and 3 that no electrical connection is created by conducting material between the two clamps.
The impact wrench can be connected directly to car battery using the included battery adapter cable 12.
Connect the clamp red (positive) 12 of the battery adapter cable 12 to the positive (+) connection of the carc battery.
Connect the clamp black (negative) 13 of the battery adapter cable 12 to the negative (-) connection to the car battery.
Connect the 12 V-plug to the 12 V-bushing 15.
Loosen/tighten wheel nuts
WARNING! Before using the impact wrench to loosen or tighten the wheels nut, please use jack to lift up the wheels and use jack stand as support.
And only use on hard level surface.
Connect the impact wrench to a 12 V-power source like described before.
Select the matching socket 16 or 17 and connect it to the square drive 2 of the impact wrench.
If applicable, remove covers of the wheel nuts and place the socket tightly onto the wheel nut or the wheel bolt.
Activate the flip switch to clockwise/ or counter clockwise rotation 8, by pushing down on it on the upper side (symbol = Loosen /counter clockwise). You can tell by the engine sound that the impact wrench builds up torque first and then transfers to the screw with one "impact". Due to the increasing torque with every impact, the screw is loosened. You can now remove it by hand.
- Proceed the same with all wheel nuts, until you can remove the wheel.
Operation/Maintenance and care/Service/Warranty/Disposal
Disposal
Place the other / new wheel in position. Pay attention that the holes in the rim match the drillings of the wheel carrier.
First, tighten all wheel nuts by hand.
Place the socket onto the wheel nut and activate the flip switch clockwise / counter clockwise rotation by pressing down on the lower side (symbol -tighten / clockwise).
After display of the blinking symbol "END" the wheel nuts are sufficiently tightened.
When using a spare tire, check the air pressure promptly.
When assembling aluminium rims, the impact wrench should be used with care. Before, set the torque according to the specifications of the rim manufacturer.
Check the actual torque using a suitable torque spanner.
Setting the torque
The electronics of the impact wrench allow a torque selection of 80 to 340 Nm. The set torque is shown in the 3-digit display 3. When the previously set torque is reached, the display will show 3:END.
Press the button 5 to increase the torque. The torque increases by 10Nm with every activation.
Press the button 4 [▼] to lower the torque. The torque is reduced by 10 Nm with every activation.
To set the torque back to 0, press the buttons 5 and 4 at the same time (reset). Notice: The following displays are possible: 000 080 090 The display is increased in steps of 10 and goes to 340 Nm.
Replacing the fuse on the 12V-plug
Loosen (and remove) the knurled ring by turning it counter clockwise.
Remove the defective fuse and replace it with a new, max. 15 A fuse.
Tighten the knurled ring again by turning it clockwise.
■ Maintenance and care
The device is maintenance-free.
WARNING Always separate electrical devices from the power supply, before you carry out service etc.
- Disconnect the device from the 12 V-power source.
Clean the device with a dry cloth. Do not use solvents or other aggressive detergents under any circumstances.
Service
Should you have any questions regarding commissioning or operating in spite of studying these operating instructions, or if a problem should occur against all expectations, please get in contact with your specialist supplier.
Disposal
The packing consists of pollution free materials, which can dispose of you over the local recycling stations.

Do not throw electrical appliances into the domestic waste!
In accordance with European guideline 2002/96/EC for electrical and old electronic devices and conversion to national law, used electrical appliances must be collected separately and brought to a environmental fair recycling.
For disposal possibilities for retired electrical appliances please inform yourself at your community or city administration.
Illustrations may vary slightly from the product itself. We reserve the right to administer changes due to technical progress. Decoration not included.
Introduction
Service
Elimination. 27
Sécurité
Sécurité/Maniement


- Security
- Operation
- Introduction
- Introduction/Security
- In this operating manual/this device the following pictogram's are used:
- Impact wrench SD 340
- Intended use
- Scope of delivery
- Part description
- Technical data
- DANGER OF ACCIDENT AND
- LIFE FOR INFANTS AND CHIL
- 1) Workplace
- 2) Electrical safety
- Security/Operation
- 3) Personal safety
- 4) Careful handling of electrical tools
- 5) Service
- Special safety notices for impact wrenches
- Connection to 12V-socket/bushing
- Connecting to the battery
- Loosen/tighten wheel nuts
- Operation/Maintenance and care/Service/Warranty/Disposal
- Setting the torque
- Replacing the fuse on the 12V-plug
- ■ Maintenance and care
- Service
- Disposal
- Sécurité
- Sécurité/Maniement
Brand : AEG
Model : SD 340
Category : Drill