
DH 7160 - Humidifier Master - Free user manual and instructions
Find the device manual for free DH 7160 Master in PDF.
| Product type | Dehumidifier |
| Brand | Master |
| Model | DH 7160 |
| Power supply | 220-240 V ~ 50 Hz |
| Operating temperature range | 5 °C to 35 °C |
| Adjustable humidity | 30 % to 90 % RH (continuous mode below 30 %) |
| Display | Digital humidity display |
| Functions | Memory function, automatic defrost, phase protection, automatic shut-off at target humidity |
| Drainage capacity | Continuous drainage via hose (no tank) |
| Filter | Washable air filter (clean at least once a month) |
| Maintenance and cleaning | Clean the filter with warm water and mild detergent; Vacuum for dust; Do not use solvents |
| Safety | Phase protection (code E5); Do not use below 0 °C; Do not use extension cord; Automatic shut-off in case of fault |
| Repairability | Repairs by qualified personnel only; Error code E1 (humidity sensor), E2 (temperature sensor) |
| Spare parts | Replaceable air filter; Water drain hose |
| General information | Transport in vertical position; Do not tilt more than 45°; Indoor use only; Ensure minimum 10 cm distance from walls |
Frequently Asked Questions - DH 7160 Master
User questions about DH 7160 Master
0 question about this device. Answer the ones you know or ask your own.
Ask a new question about this device
Download the instructions for your Humidifier in PDF format for free! Find your manual DH 7160 - Master and take your electronic device back in hand. On this page are published all the documents necessary for the use of your device. DH 7160 by Master.
USER MANUAL DH 7160 Master
natural_image
Gradient gray background with no text, symbols, or identifiable objectsMCS Italy S.p.A.
Via Tione 12,-37010-
Pastrengo (VR), Italy
info@mcsitaly.it
MCS Central Europe Sp. z o.o.
ul. Magazynowa 5A,
62-023 Gadki, Poland
office@mcs-ce.pl
MCS Russia LLC
ul. Transportnaya - 22 ownership 2,
142802, STUPINO, Moscow region, Russia
info@mcsrussia.ru
MCS China LTD
Unit A1, No. 1515, Jinshao Rd.,
Baoshan Industrial Zone
Shanghai, 200949, China
office@mcs-china.cn
MCS Italy S.p.A.
Виа Тионе, 12, 37010
MCS Central Europe Sp. z o.o.
ул. Магазинова, 5А,
Fig. 1
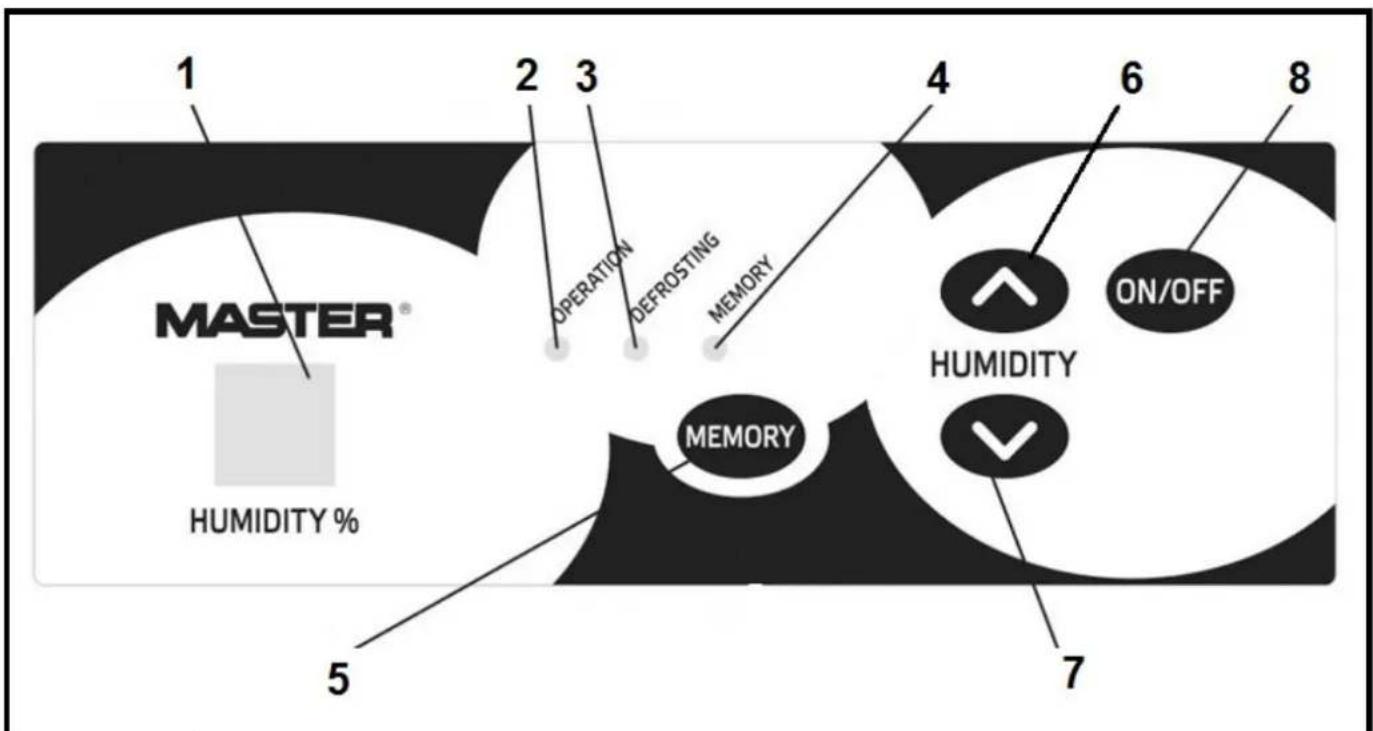
Fig. 2
natural_image
Simple line drawing of a connector with three blocks and a prohibition symbol (no text or labels)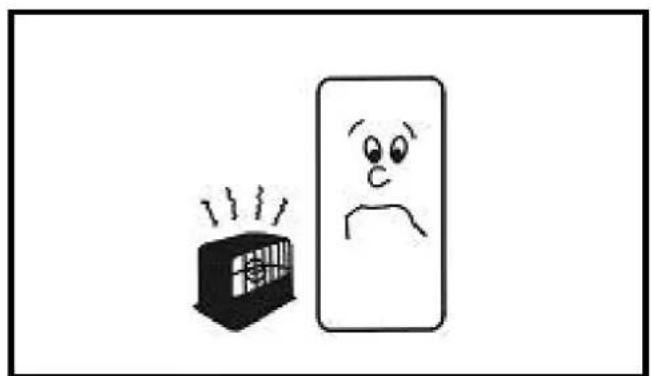
natural_image
Simple line drawing of a distressed face next to a smiling box with steam (no text or symbols)Fig. 4Fig
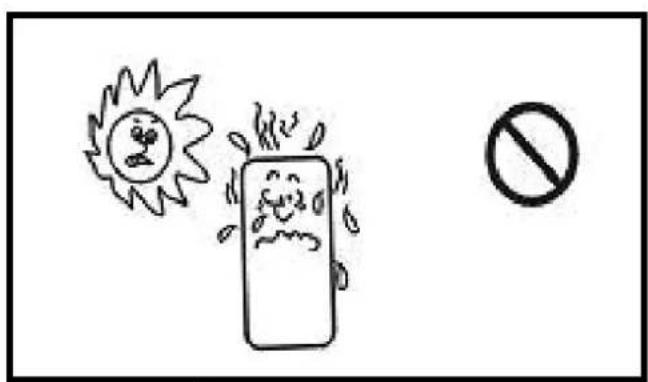
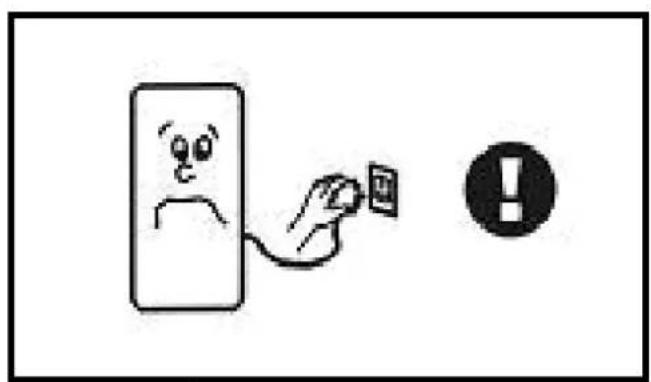
Fig. 6Fig
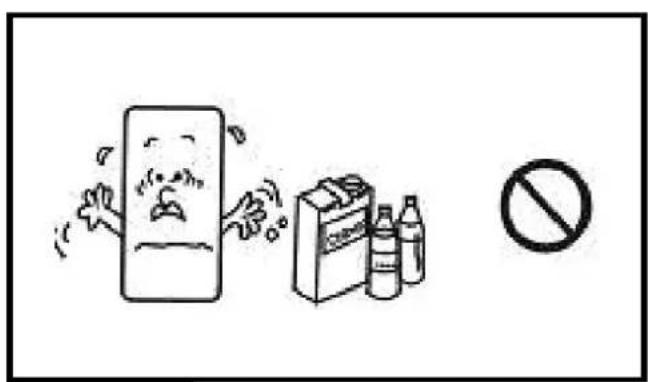
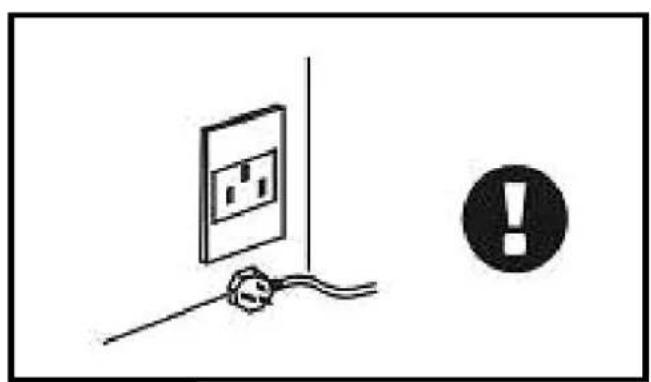
Fig. 8Fig
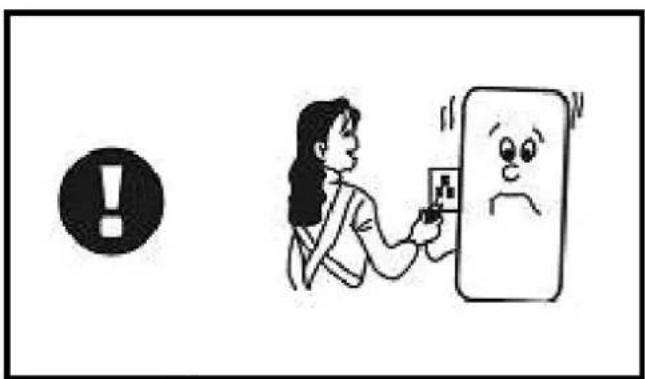
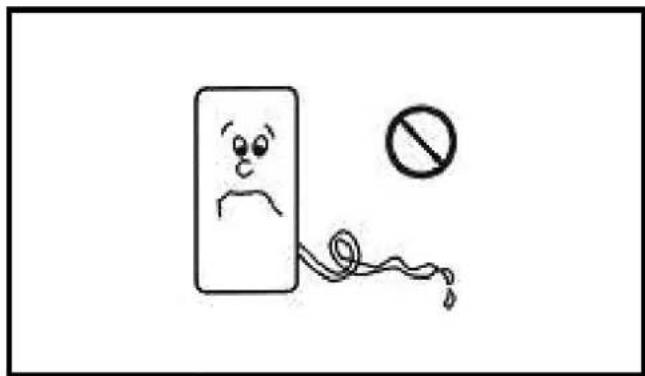
Fig. 10F
natural_image
Simple line drawing of a smiling face on a surface with a black exclamation mark in the corner (no text or symbols)Fig. 12F
natural_image
Simple line drawing of a rectangular device with a black square on top and curved sides (no text or symbols)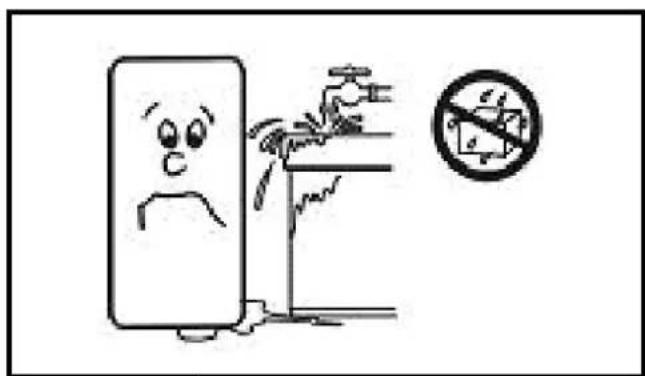
Fig. 14F
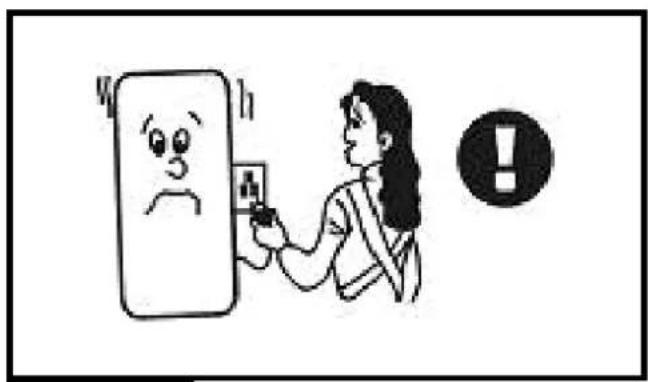
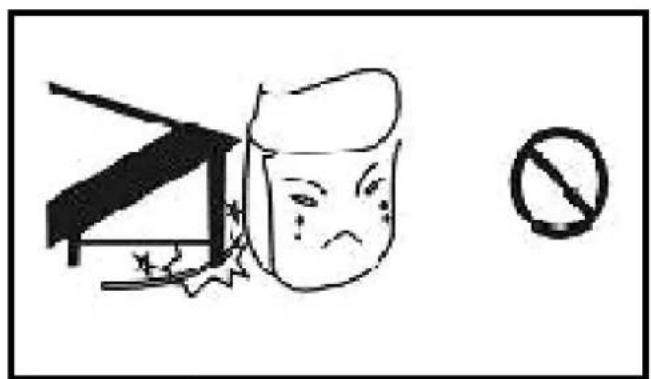
Fig. 16F
natural_image
Simple line drawing of a hand holding a wall-mounted device with an exclamation mark in the corner (no text or symbols on the device itself)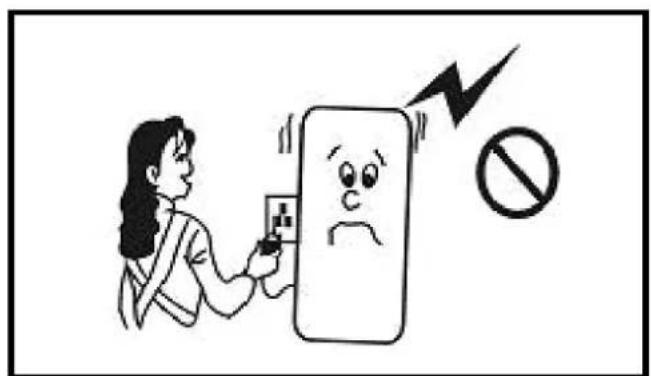
Fig. 18F
ИНСТРУКЦИЯ ЗА ОБСЛУЖВАНЕ
▶▶ 1. POKYNY PŘED UŽITÍM
▶▶ 6. DIAGNOSTICAR LOS PROBLE-MAS
EL APARATO NO FUNCIONA
▶ Análisis
▶ dehumidifier should be transported upright
▶ please do not cut off the power by pulling the wire
▶ please do not plug or unplug to startup or shut off the unit
▶ please be careful when moving the unit, do not mangle the wire
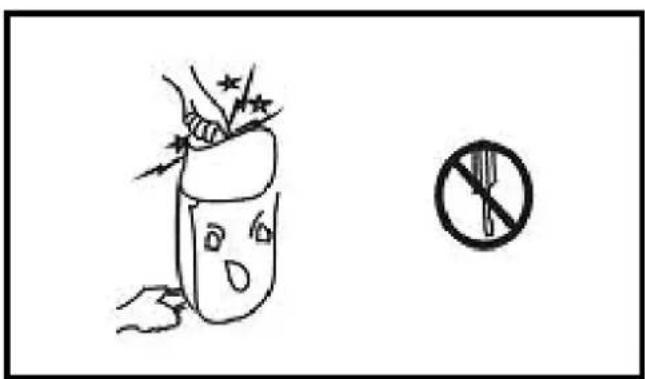
▶ please do not put fingers or sticks into the grid
▶ please prohibit child to climb, stand or sit on the unit
▶ please unplug the unit before cleaning or maintenance
NOTICE: WE SUGGEST THAT ANY RE- PAIRS SHOULD BE EXECUTED BY PRO- FESSIONAL SERVICEMEN
▶ please make sure the unit is grounded
▶ please do not use unit in airproof conditions
▶ please follow the instructions thoroughly
▶ The device has no water tank therefore you must ensure proper condensate drain on your own.
PRODUCT INTRODUCTION
Dehumidifiers can reduce air humidity in room and thus make people live comfortably and goods stored properly. Due to their neat appearance, compact configuration, high quality and easy operation, our dehumidifiers are widely used in research institutions, industry, transportation, medical centers, measuring institutions, stores, underground constructions, computer rooms, archives, warehouses, bathrooms, etc. Keeping apparatus, meters, computers, communication equipments, drugs and files away from moisture, eroding, and mildew.
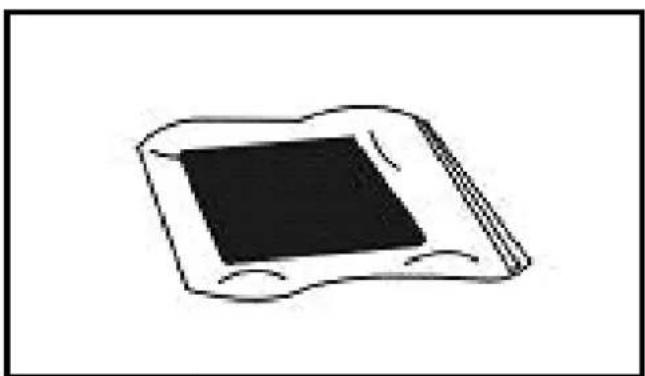
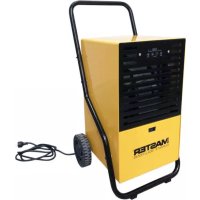
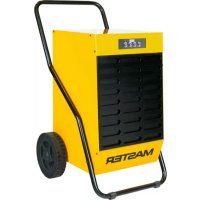
▶▶ 2. CONSTRUCTION
▶ Dehumidifier FIG. 1
- Control panel
- Air inlet grille with the filter
- Handle
- Wheel
- Water drain pipe
- Air outlet grille
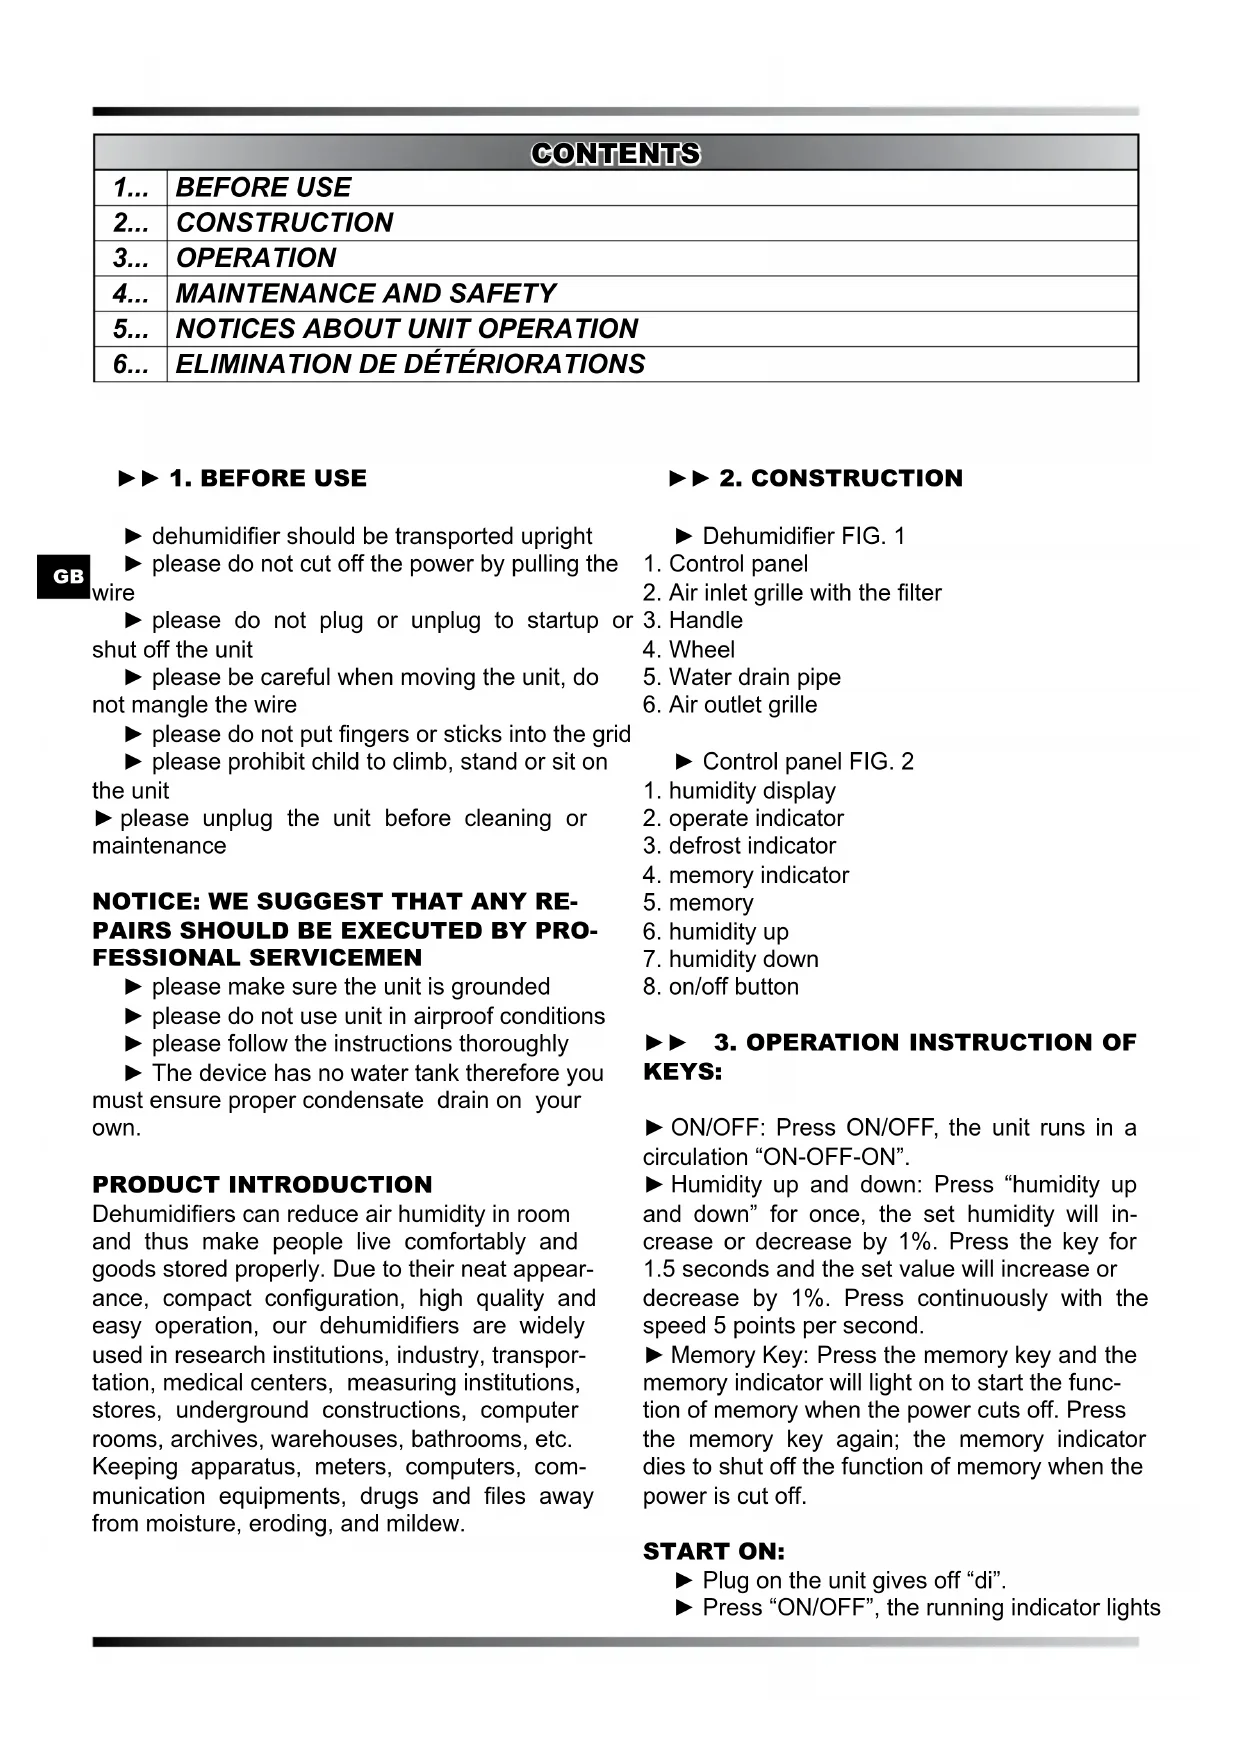
▶ Control panel FIG. 2
- humidity display
- operate indicator
- defrost indicator
- memory indicator
- memory
- humidity up
- humidity down
- on/off button
▶▶ 3. OPERATION INSTRUCTION OF KEYS:
▶ ON/OFF: Press ON/OFF, the unit runs in a circulation "ON-OFF-ON".
▶ Humidity up and down: Press “humidity up and down” for once, the set humidity will increase or decrease by 1%. Press the key for 1.5 seconds and the set value will increase or decrease by 1%. Press continuously with the speed 5 points per second.
▶ Memory Key: Press the memory key and the memory indicator will light on to start the function of memory when the power cuts off. Press the memory key again; the memory indicator dies to shut off the function of memory when the power is cut off.
START ON:
▶ Plug on the unit gives off "di".
▶ Press "ON/OFF", the running indicator lights
on, and the humidity display window lights on to display the previously set humidity. The initial humidity setting is 60% and 3 seconds later the humidity display window lights on to display current humidity.
▶ Press humidity up or down key to adjust the humidity needed. If the set humidity is 3% less than current humidity, the unit runs; if the set humidity is 3% more than current humidity, the unit stops running.
▶ When set humidity is less than 30%, the unit dehumidifies continuously, and the humidity display window reads “CO”.
CAUTION: The device is provided with the phase protection. If the phases in the electrical outlet to which the devices are connected are in the wrong sequence, then the humidity display will show the ES symbol and the buttons on the control panel will be deactivated. In such a case change the phase sequence in the electrical outlet and restart the device. This activity should be performed by an electrical fitter or a person who has the relevant licence to perform work related to electrical systems.
SHUT OFF:
▶ Press "ON/OFF" when the unit is running, the unit stops running and all indicators die.
NOTICES:
▶ When the set humidity is higher than current humidity, the unit will not run.
▶ When dehumidifying, the fan motor and compressor must be running at least for 3 minutes, once the compressor starts on. It is strongly forbidden to restart the compressor again within 3 minutes after the shut off.
▶ When operating in low temperature, the unit judges the system temperature automatically to defrost. When defrosting, the defrosting indicator lights on, the compressor runs but fan motor shuts off automatically.
▶ When you press the memory key, the controller will record current humidity even if the power is off. The unit will run under previous mode after power supplied again.
▶ The humidity display window shows humidity from 30% to 90%.
▶ Keep the unit unplugged if not used for a long time.
▶▶ 4. MAINTENANCE AND SAFETY
▶ FIG. 3
Do not use any relay, prolonged wire or adaptor. Otherwise, it might result in fire, radiation, or an electric shock.
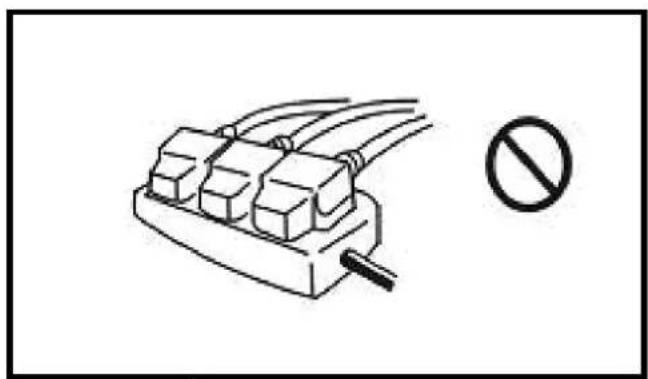
▶ FIG. 4
Do not put the unit nearby stove or heater. Otherwise parts of unit might melt down or even catch fire.
▶ FIG. 5
Do not use the unit in the direct sunshine, wind or rain. (only for indoor usage)
▶ FIG. 6
In case of any other problems (for example smell of scorch), please shut off the unit and unplug it. Otherwise, it might result in fire, electric shock or other malfunctions.
▶ FIG. 7
Do not use the unit in places easily affected by chemicals. Strong chemicals might damage the unit and cause the leakage.
▶ FIG. 8
Please unplug the unit when not used for a long time.
▶ FIG. 9
When cleaning, shut off and unplug the unit. Otherwise, it might result in an electric shock.
▶ FIG. 10
Do not use the device when the ambient temperature is below 0^ C.
▶ FIG. 11
Do not repair or disconnect the unit yourself. Otherwise it might result in fire or an electric shock.
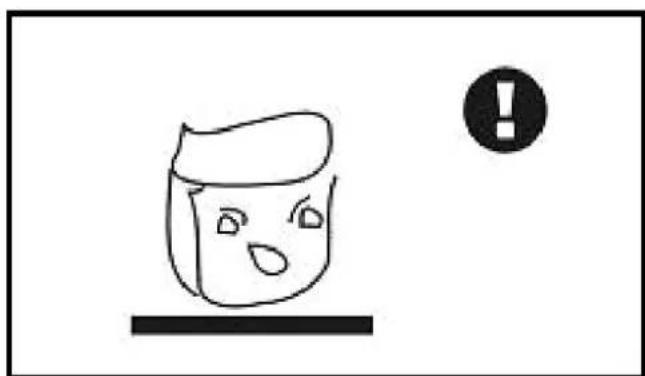
▶ FIG. 12
Put the unit stably. If the unit turns over, the water will flow out from the tank and damage the objects nearby. Moreover, because of the damage, it might result in fire or an electric shock
▶ FIG. 13
Make the filter more endurable. When off for a long time, seal the filter in a plastic bag.
▶ FIG. 14
Do not use the unit near water. The unit might be damaged when soaked in water, so as to result in fire or electric shock.
▶ FIG. 15
Use the standard electric source of 220-240V/\~50Hz. Otherwise it might result in fire or electric shock.
▶ FIG. 16
GB Do not damage the wire. Do not put anything heavy on the wire or heat or pull the wire. Otherwise it might result in fire of an electric shock.
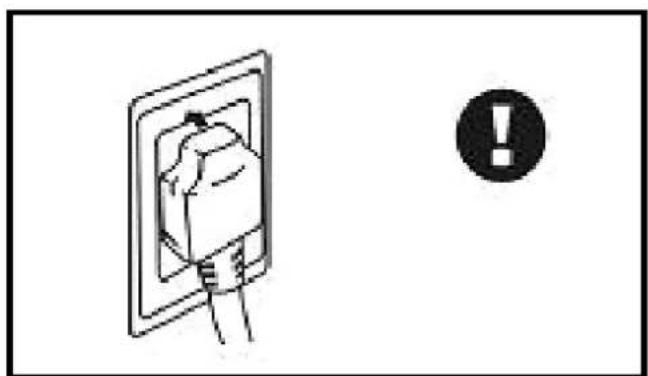
▶ FIG. 17
Clean the dirt on the plug and fix it tightly. If the plug is not fixed tightly, it might cause an electric shock.
▶ FIG. 18
Do not regard the plug as a switch. Otherwise it might result in fire or an electric shock.
▶▶ 5. NOTICES ABOUT UNIT OPERATION
▶ When moving the unit, do not tilt over 45^ to avoid any damaging of the compressor.
▶ The unit should be operated between 5^ 32^ .
▶ When dehumidifying, because of the heat resulted from the running compressor, the indoor temperature will rise by 1^ 3^ . Such a reaction should be considered as normal.
▶ When indoor temperature is below 10^ , and the ambient absolute humidity is quite low, it is unnecessary to use the machine.
▶ Air inlet and air outlet should be at least 10cm away from the wall.
▶ Try to keep the room closed to enhance the dehumidification effect.
▶ Too much dirt on the filter affects dehumidification, may even result in malfunctioning of it, thus it should be cleaned at least once a month. If there is a great amount of powder in the air, the filter must be cleaned once a week, or even every day. Pull the front panel out and clean the filter. If necessary, you may slightly knock all over the filter, use a vacuum cleaner to remove
bigger pieces of dirt or even wash the filter in warm clean water ( ≤ 40% with some neutral detergents) and then dry it.
▶▶ 6. TROUBLE-SHOOTING
UNIT DOES NOT WORK
▶ Analysis
- Power cut
2.Switch off
3.Unplugged
4.Fuse melted
▶ Solution
- Power on
2.Switch on
3.Plug on - Exchange fuse
DEHUMIDIFIES IN INADEQUATELY
▶ Analysis
1.Filter choked by dirt
2. Some barrier
in air inlet or outlet
3. Door or windows open
4. Refrigerant leakage
▶ Solution
- Clean the filter
- Remove the barrier
- Close the door and windows and seclude from the sunshine
- Contact the manufacturer or seller
WATER LEAKAGE
▶ Analysis
- The unit is inclined
- The water drain is blocked
▶ Solution
- Adjust the unit to be stable
- Unblock the water drain
STRANGE NOISE
▶ Analysis
- Until instable
- Filter choked
▶ Solution
- Place the unit stably
- Clean the filter
▶ When above malfunctions occur and they could not be removed, please contact the sup-
plier or seller, do not disassemble the machine yourself.
▶ When the unit starts or stops running, it makes certain noises of refrigerating circulation, which should not be considered as a malfunction.
▶ Hot air coming from the air outlet is normal.
INSTRUCTION ON MALFUNCTION CODES:
The unit analyzes malfunction automatically and displays the code on the humidity window.
ERROR CODE E1
▶ Sensor of humidity
ERROR CODE E2
▶▶ 6. KLÜMJU NOVĚRŠANA
IERİCE NEDARBOJAS
▶ Analize
OMSCHRIJVING VAN HET PRODUCT
ER LOOPT WATER UIT HET APPARAAT
▶▶ 4. VEDLIKEHOLD OG SIKKERHET
▶ FIG. 3
▶▶ 4. KONSERWACJA I BEZPIE-CZEŃSTWO
▶ FIG. 3
▶▶ 3. DRIFT BESKRIVNING AV KNAPPAR:
FR DÉCLARATION CE DE CONFORMITÉ
GB EC DECLARATION OF CONFORMITY
GB - Disposal of your old product
- You product is designed and manufactured with high quality materials and components, which can be recycled and reused.
- When this crossed-out wheeled bin symbol is attached to a product it means the product is covered by the European Directive 2002/96/EC.
- Please inform yourself about the local separate collection system for electrical and electronic products.
- Please act according to your local rules and do not dispose of your old product with your normal household waste. The correct disposal of your old product will help prevent potential negative consequences for the environment and human health.
natural_image
Pure electrical circuit lines without any symbolsNOTE:
NOTE:
CZ
DE
DK
EE
ES
FI
FR
GB
HR
HU
IT
LT
LV
NL
NO
PL
RO
RU
SE
SI
SK
UA

- ▶▶ 1. POKYNY PŘED UŽITÍM
- ▶▶ 6. DIAGNOSTICAR LOS PROBLE-MAS
- EL APARATO NO FUNCIONA
- NOTICE: WE SUGGEST THAT ANY RE- PAIRS SHOULD BE EXECUTED BY PRO- FESSIONAL SERVICEMEN
- PRODUCT INTRODUCTION
- ▶▶ 2. CONSTRUCTION
- ▶▶ 3. OPERATION INSTRUCTION OF KEYS:
- START ON:
- SHUT OFF:
- NOTICES:
- ▶▶ 4. MAINTENANCE AND SAFETY
- ▶ FIG. 3
- ▶ FIG. 4
- ▶ FIG. 5
- ▶ FIG. 6
- ▶ FIG. 7
- ▶ FIG. 8
- ▶ FIG. 9
- ▶ FIG. 10
- ▶ FIG. 11
- ▶ FIG. 12
- ▶▶ 5. NOTICES ABOUT UNIT OPERATION
- ▶▶ 6. TROUBLE-SHOOTING
- UNIT DOES NOT WORK
- ▶ Analysis
- ▶ Solution
- DEHUMIDIFIES IN INADEQUATELY
- WATER LEAKAGE
- STRANGE NOISE
- INSTRUCTION ON MALFUNCTION CODES:
- ERROR CODE E1
- ERROR CODE E2
- ▶▶ 6. KLÜMJU NOVĚRŠANA
- IERİCE NEDARBOJAS
- OMSCHRIJVING VAN HET PRODUCT
- ER LOOPT WATER UIT HET APPARAAT
- ▶▶ 4. VEDLIKEHOLD OG SIKKERHET
- ▶▶ 4. KONSERWACJA I BEZPIE-CZEŃSTWO
- ▶▶ 3. DRIFT BESKRIVNING AV KNAPPAR:
- GB - Disposal of your old product
- NOTE:
Brand : Master
Model : DH 7160
Category : Humidifier