CMPWNPCI41 - Network card / adapter KONIG - Free user manual and instructions
Find the device manual for free CMPWNPCI41 KONIG in PDF.
| Product Type | Wireless Network Card |
| Brand | KONIG |
| Model | CMPWNPCI41 |
| Interface | PCI |
| Wi-Fi Standard | IEEE 802.11b/g/n |
| Frequency Band | 2.4 GHz |
| Maximum Data Rate | 300 Mbps |
| Wireless Security | WEP, WPA, WPA2 |
| Antennas | 2 internal antennas |
| Dimensions (L x W x H) | 120 x 80 x 20 mm |
| Weight | 50 g |
| Power Supply | Via PCI bus |
| Supported Operating Systems | Windows XP/Vista/7/8/10 |
| Key Features | Configuration utility, Site Survey, Profile Management, Statistics, WPS (PIN and PBC) |
| LED Indicator | Yes, flashes during data transmission |
| Package Contents | Network card, installation CD-ROM, quick start guide |
| Maintenance and Cleaning | Clean with a soft, dry cloth. Do not use abrasive products. |
| Safety | Do not open the device. Keep out of reach of children. |
| Spare Parts and Repairability | No user-serviceable parts. Repair by a professional only. |
| General Information | Design and specifications subject to change without notice. Recycle according to WEEE directive. |
Frequently Asked Questions - CMPWNPCI41 KONIG
User questions about CMPWNPCI41 KONIG
0 question about this device. Answer the ones you know or ask your own.
Ask a new question about this device
Download the instructions for your Network card / adapter in PDF format for free! Find your manual CMPWNPCI41 - KONIG and take your electronic device back in hand. On this page are published all the documents necessary for the use of your device. CMPWNPCI41 by KONIG.
USER MANUAL CMPWNPCI41 KONIG
MANUAL DE USO (p. 42)
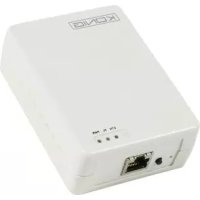
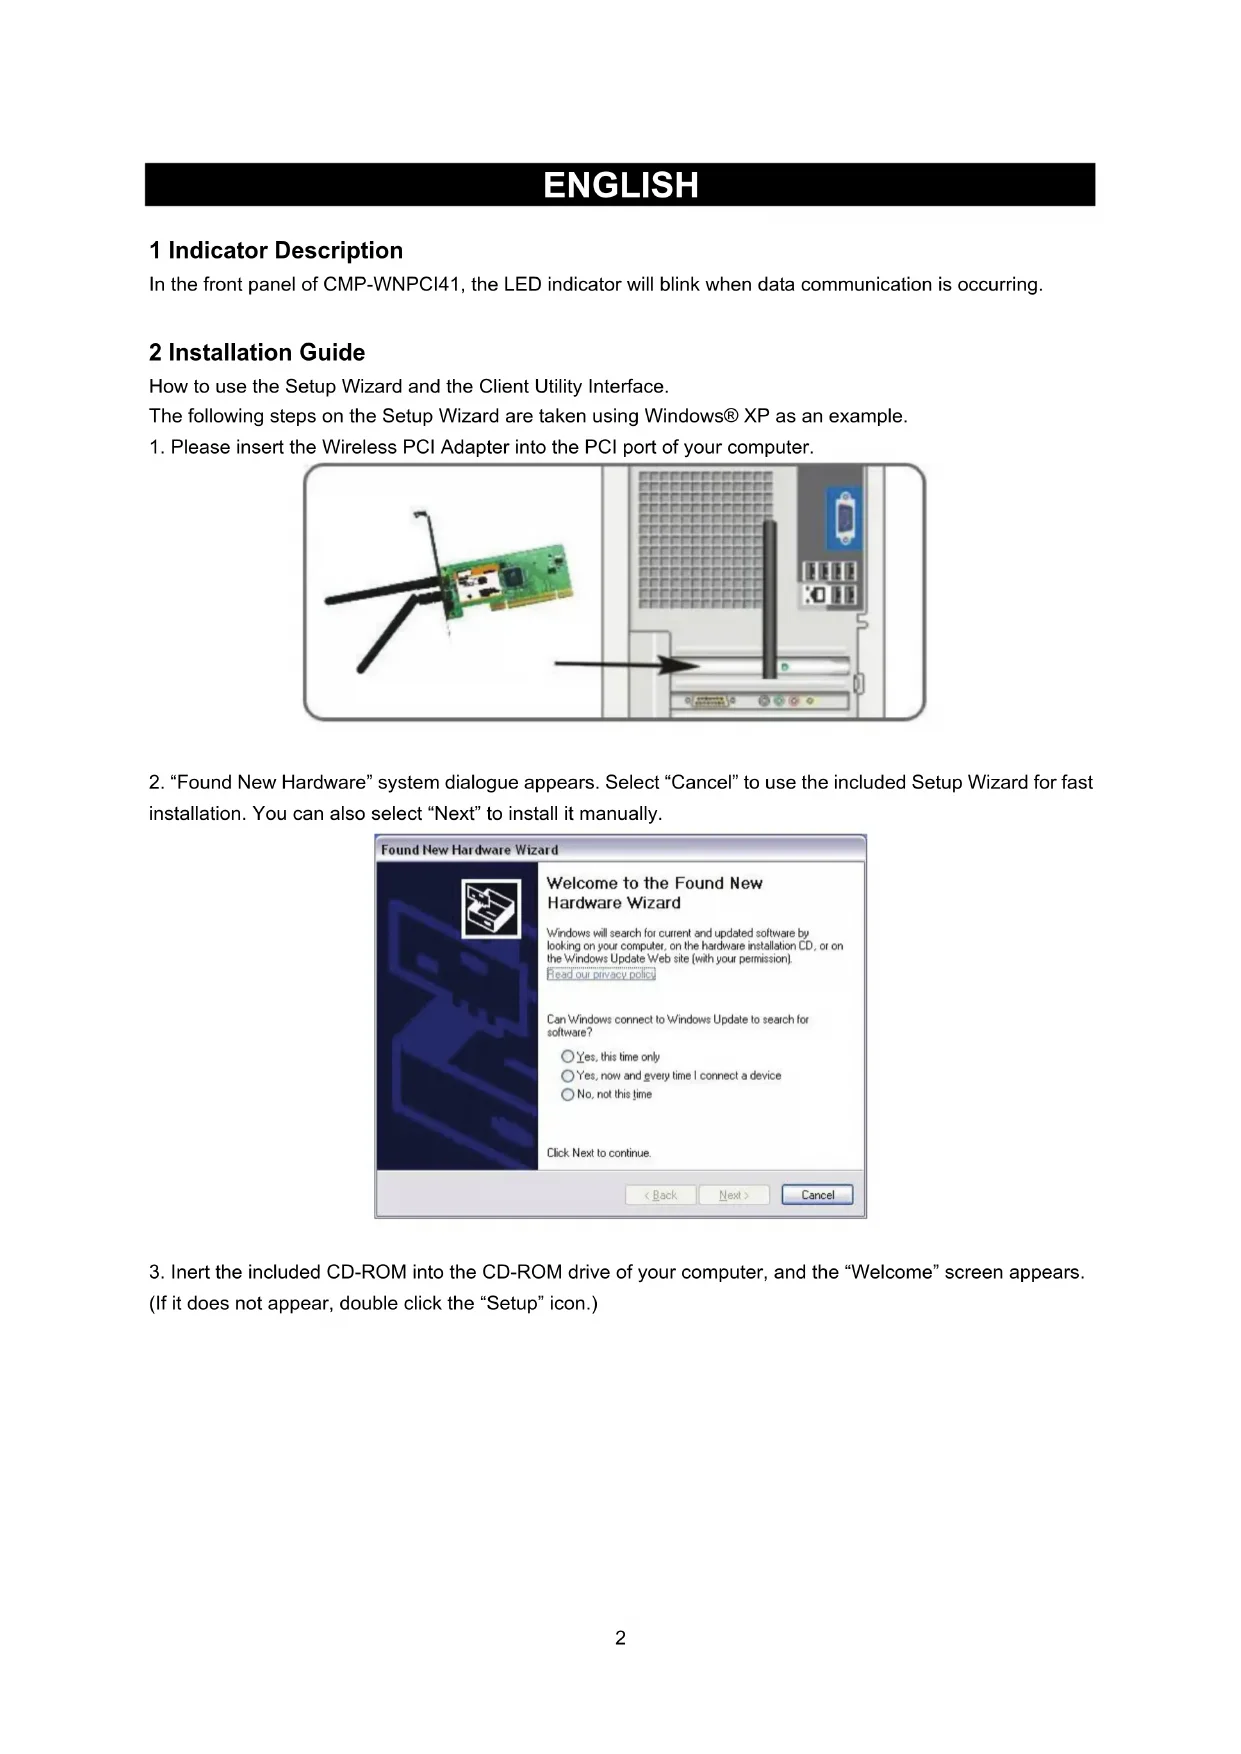
In the front panel of CMP-WNPCI41, the LED indicator will blink when data communication is occurring.
2 Installation Guide
How to use the Setup Wizard and the Client Utility Interface.
The following steps on the Setup Wizard are taken using Windows XP as an example.
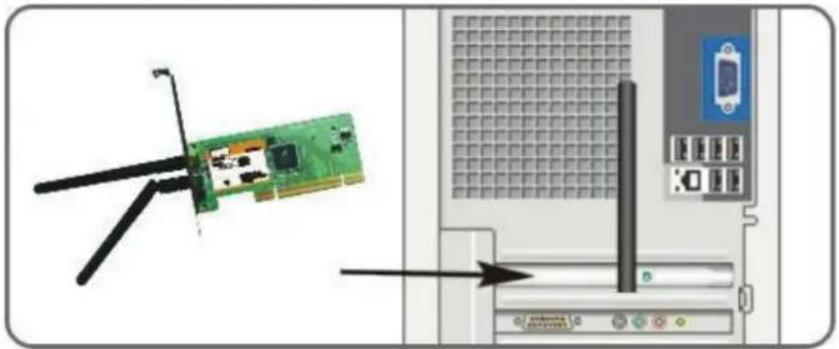
- Please insert the Wireless PCI Adapter into the PCI port of your computer.
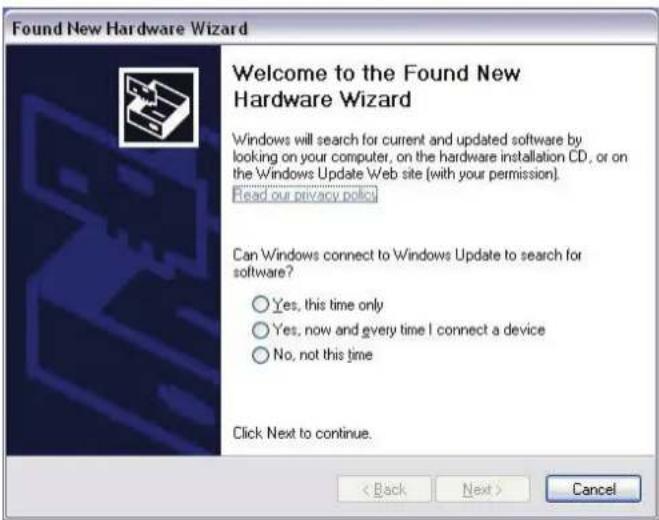
- "Found New Hardware" system dialogue appears. Select "Cancel" to use the included Setup Wizard for fast installation. You can also select "Next" to install it manually.
- Inert the included CD-ROM into the CD-ROM drive of your computer, and the "Welcome" screen appears.
(If it does not appear, double click the "Setup" icon.)
- Click "Enter".
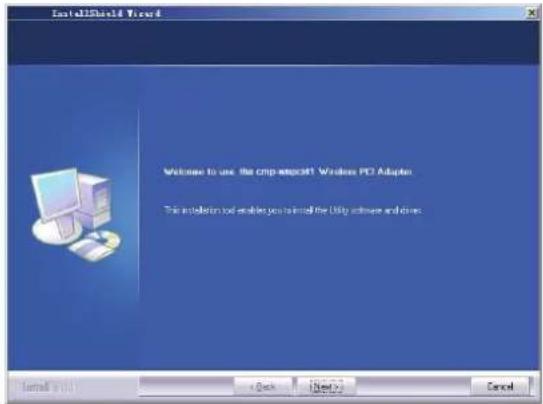
- Click "Next" to start installing.

- Click "Change..." to select the directory path, or click "Next".

- Select "OK" and "Next" in the following window.

- During the installation, the following dialogue may appear. Click the "Continue Anyway" button to continue. There is no security threat to your computer.

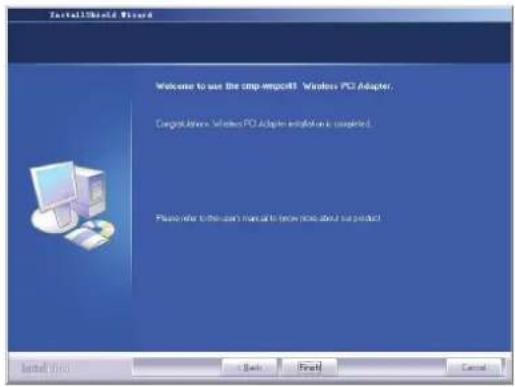
- Click "Finish" to complete the installation.
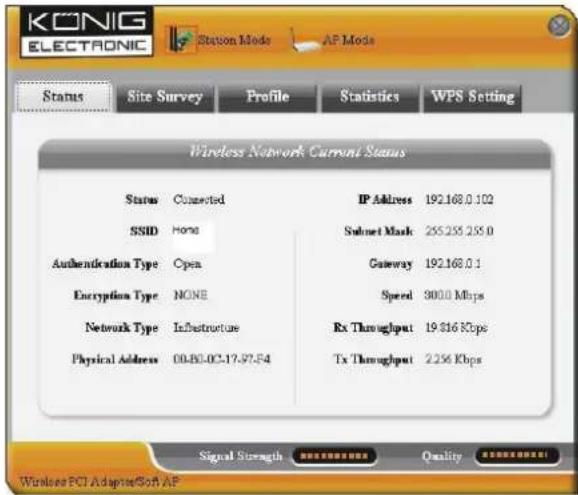
3.1 Status
When the network card has finished installing, the configuration utility can be accessed. The Network Status window will display information on the wireless adapter and the wireless network status, including SSID, Authentication Type, Encryption Type, IP Address, Subnet, Gateway, etc.
3.2 Site Survey
The Site Survey is used to scan the available wireless networks, showing the wireless network's signal strength and other information which provides the basis for you to access the required wireless network.
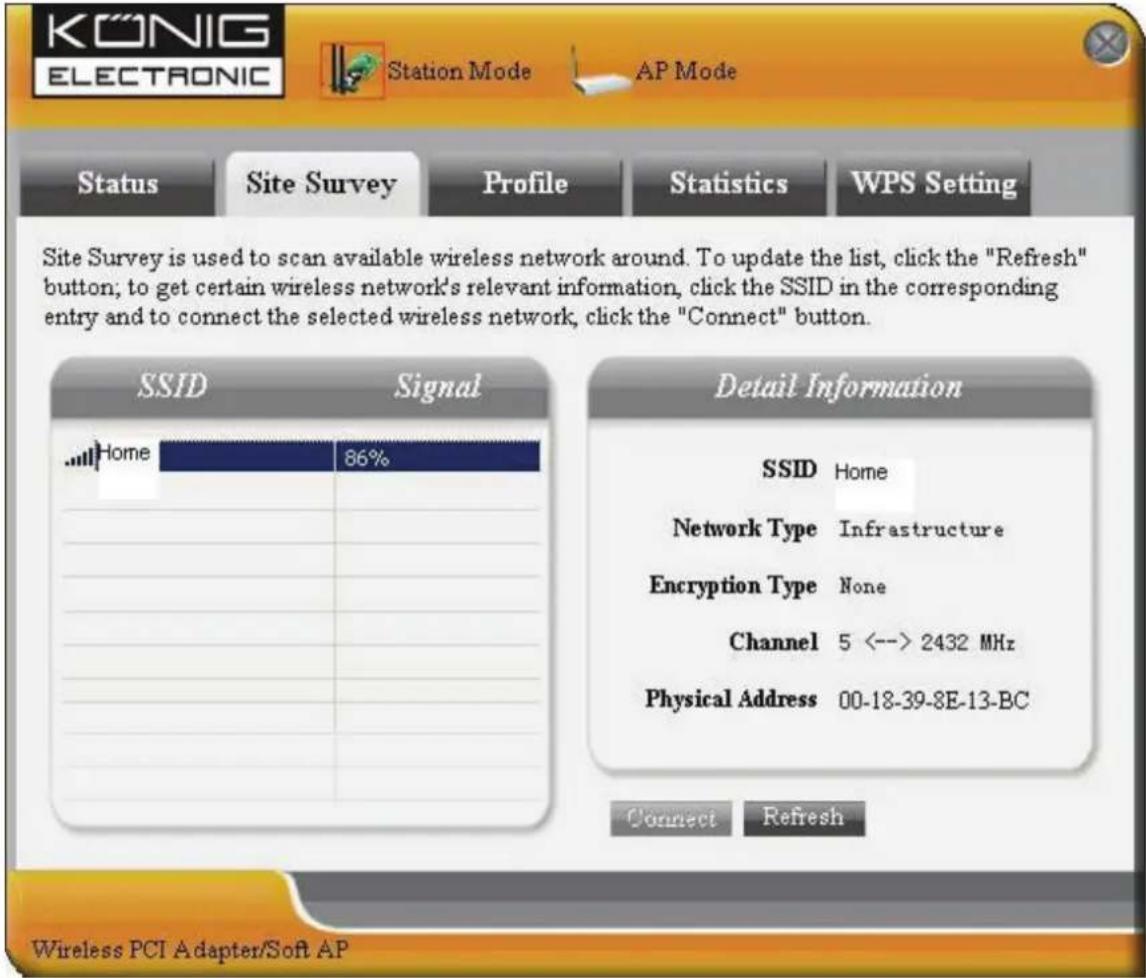
Connect: Select one entry in the wireless network list and click the button to connect the device with the selected network.
Refresh: Rescan the required wireless network.
3.3 Profile Management
This window saves the general wireless parameters for different profiles, which is used to rapidly connect the wireless network you need.
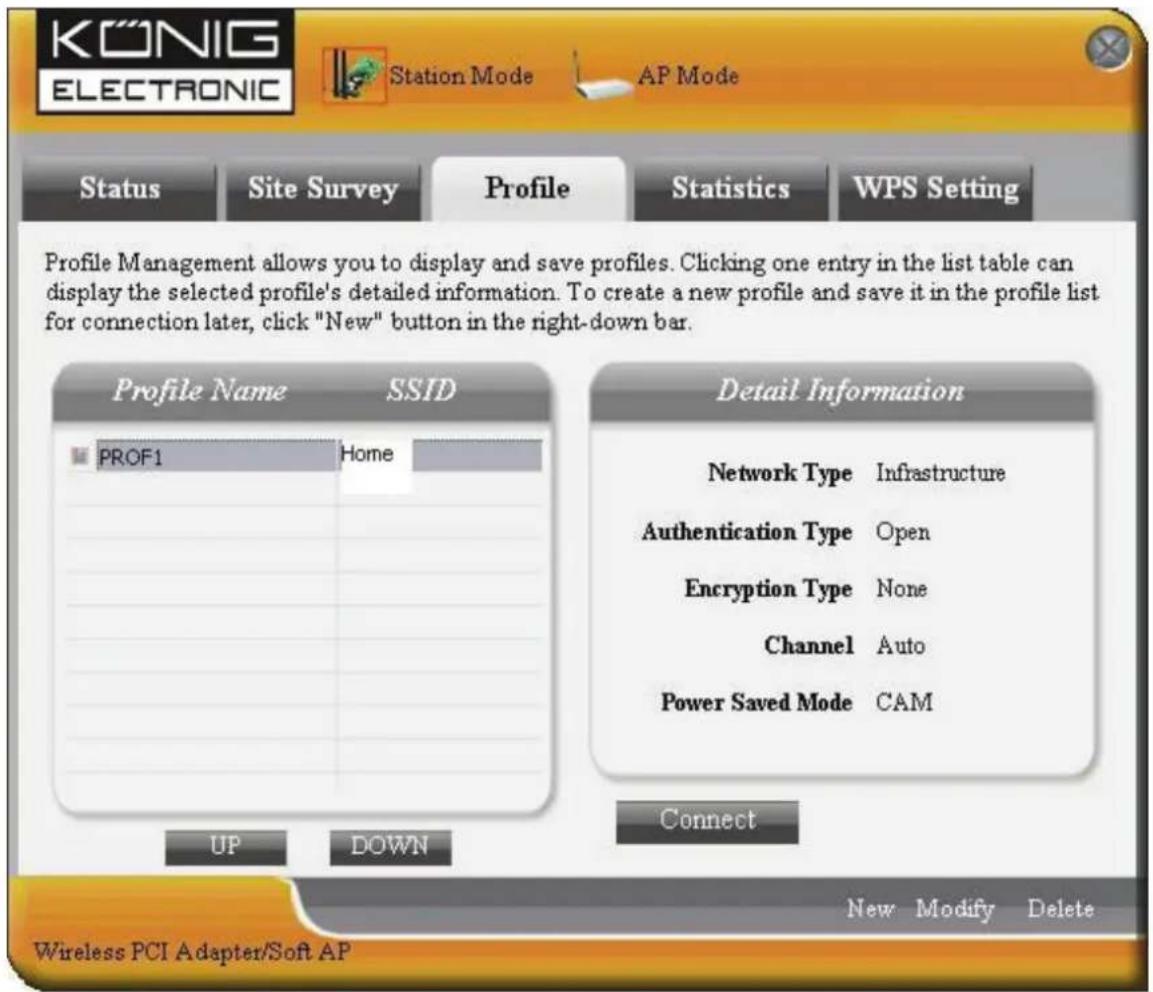
UP/DOWN: To change the profile's sequence in the list.
Connect: To activate one profile.
New: To create a new profile and configure the site status and security setting.
Modify: To modify one existing profile.
Delete: To delete one existing profile.
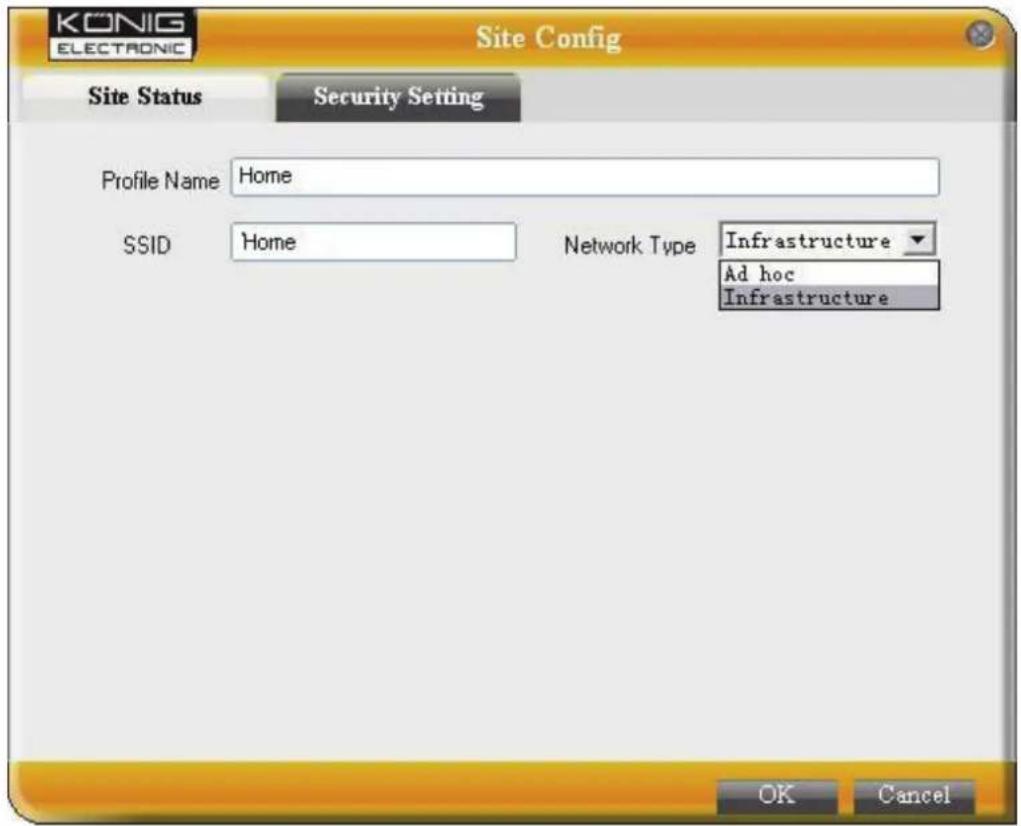

(Site Status)
(Security Setting)
3.4 Statistics
Statistics are used to summarize Rx and Tx data packets, including the success and error packet amount.
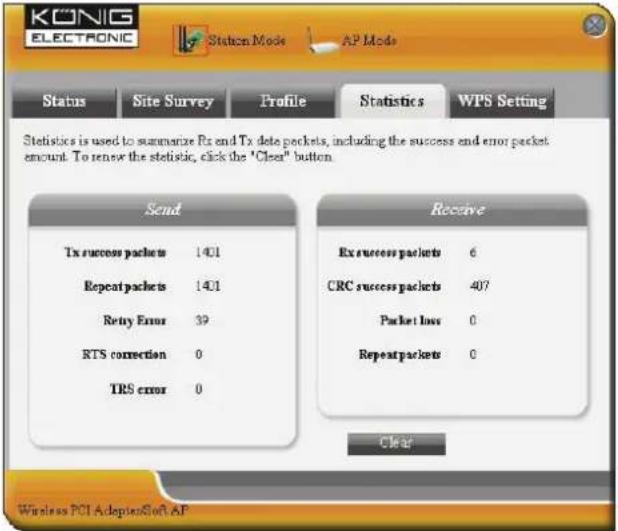
Clear: Click this button to renew the statistics.
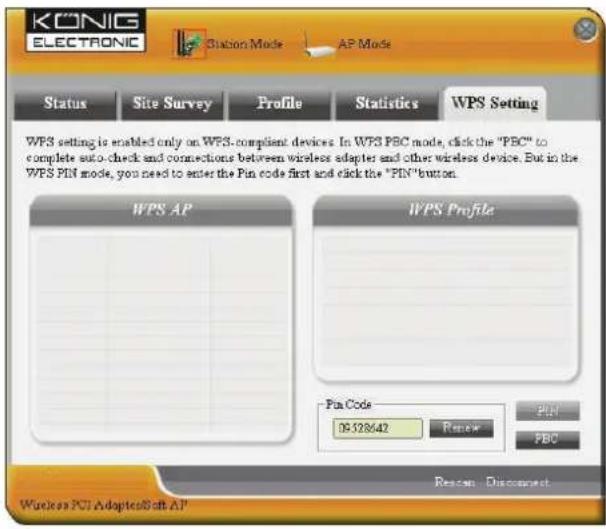
3.5 WPS Setting
WPS setting is enabled only on WPS-compliant devices.
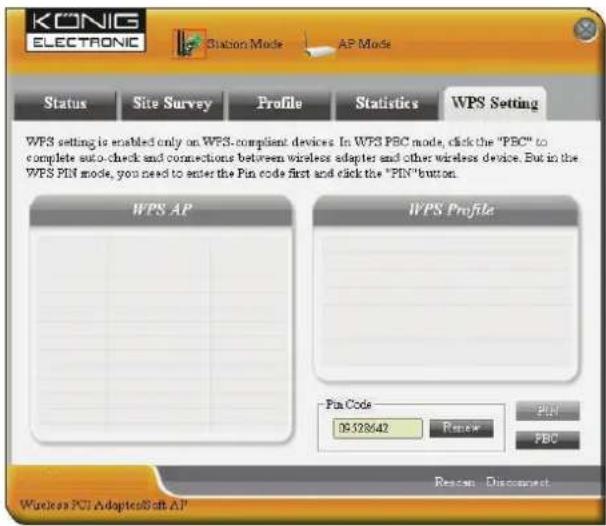
PIN: Enter the Pin code and click the "PIN" to automatically connect the wireless adapter with local wireless devices.
PBC: Click the "PBC" to complete auto-check and connections between wireless adapter and another wireless device.
Refresh: To update the Pin code.
Rescan: To rescan the WPS-compliant local wireless networks.
Disconnect: To disconnect the connected wireless network.
Warranty:
No guarantee or liability can be accepted for any changes and modifications of the product or damage caused due to incorrect use of this product.
General:
Designs and specifications are subject to change without notice.
All logos brands and product names are trademarks or registered trademarks of their respective holders and are hereby recognized as such.
Keep this manual and packaging for future reference.
Attention:

This product is marked with this symbol. It means that used electrical and electronic products should not be mixed with general household waste. There is a separate collections system for these products.
DEUTSCH
1 Anzeige-ELEMENTe
3.3 Profielmanagement

(Site-installing)
(Beveiligingsinstalling)
3.4 Statistieken
- Klik "Næste" for at starte installation.

- Klik "Ander..." for at vaelge katalogstien aller klik "Neste".


(Site Status)
(Sikkerhetinnstlinger)
3.4 Statistikk
3.5 WPS innstillinger
WPS innstillingene blir bare aktivert pa WPS-kompatible enheter.