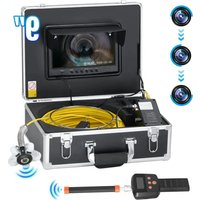
WP90FTR - Video camera Vevor - Free user manual and instructions
Find the device manual for free WP90FTR Vevor in PDF.


| Product Type | Pipe Inspection System |
| Brand | Vevor |
| Model | WP90FTR |
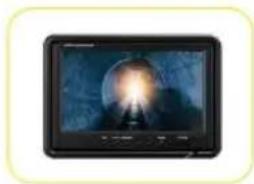
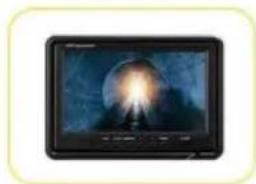
| Screen | 1.9 inch Color TFT LCD |
| Camera | High resolution color, diameter 23mm, stainless steel, IP68, self-leveling, 12 adjustable LEDs, 512Hz |
| Cable | High strength fiber optic, diameter 5mm, length 30m or 50m (selectable), waterproof, anti-corrosion, cold-resistant, anti-pull |
| Battery | Lithium 12V 4500mAh, approx. 6h battery life |
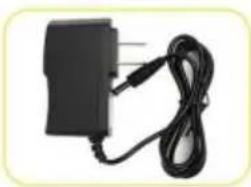
| Charger | AC 100-240V, DC 12.6V 1A |
| Receiver | 512Hz frequency, signal indicator, speaker, earpiece, antenna |
| Functions | Video and photo recording, live viewing, AV output, LED brightness adjustment, sensor location |
| Included Accessories | Aluminum case with EVA foam, receiver, antenna, earpiece, charger, cable, camera, monitor |
| Receiver Dimensions | 548 x 65 x 50 mm |
| Receiver Weight | Approx. 0.82 kg (1.8 lbs) |
| Operating Temperature | -20°C to 60°C |
| Storage Temperature | -50°C to 60°C |
| Camera Material | Stainless steel |
| Camera Waterproof Rating | IP68 |
| Maintenance | Clean with a soft dry cloth, turn off before cleaning, recharge the battery regularly |
| Safety | Do not disassemble yourself, use original accessories, avoid shocks, do not bend the cable less than 90° |
| Repairability | Contact after-sales service for any malfunction, warranty void if unauthorized disassembly |
| General Information | Manufacturer: Shanghaimuxinmuyeyouxiangongsi, imported by SIHAO PTY LTD (Australia) and Sanven Technology Ltd (USA) |
Frequently Asked Questions - WP90FTR Vevor
User questions about WP90FTR Vevor
0 question about this device. Answer the ones you know or ask your own.
Ask a new question about this device
Download the instructions for your Video camera in PDF format for free! Find your manual WP90FTR - Vevor and take your electronic device back in hand. On this page are published all the documents necessary for the use of your device. WP90FTR by Vevor.
USER MANUAL WP90FTR Vevor
Technical Support and E-Warranty Certificate www.vevor.com/support
Pipe Inspection System
Model:WP90FTR
We continue to be committed to provide you tools with competitive price. "Save Half", "Half Price" or any other similar expressions used by us on! represents an estimate of savings you might benefit from buying certain tools with us compared to the major top brands and does not necessarily mean to cover all categories of tools offered by us. You are kindly remin to verify carefully when you are placing an order with us if you are actually saving half in comparison with the top major brands.
VEVOR®
TOUGH TOOLS, HALF PRICE
Pipe Inspection System Instruction Manual
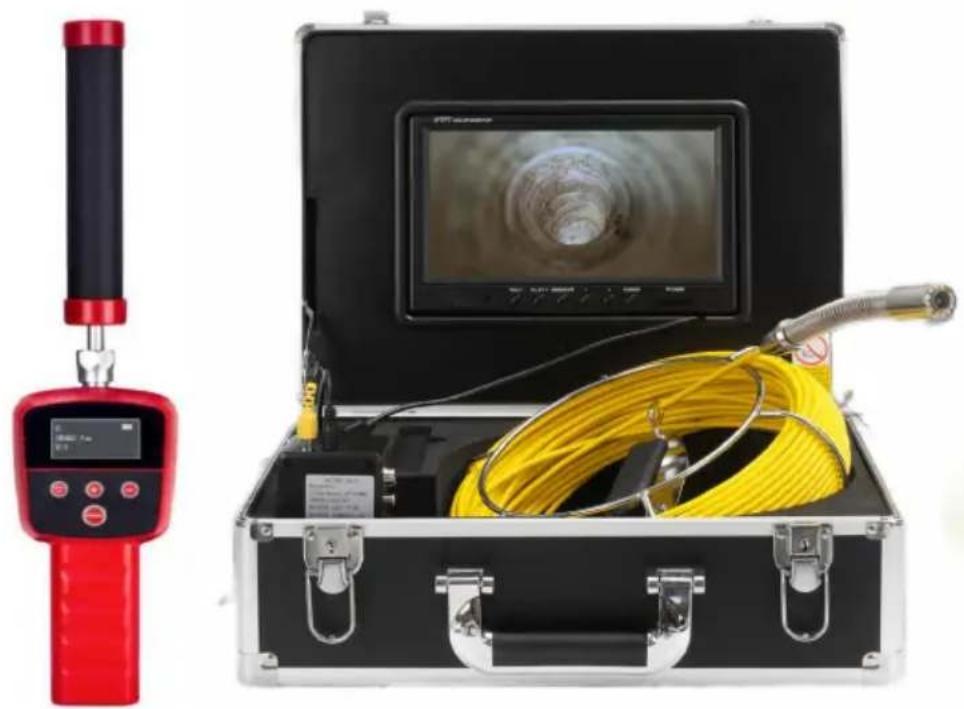
natural_image
Exterior view of a portable scientific instrument with a red handheld device and yellow coiled cable inside a black case (no visible text or symbols)NEED HELP? CONTACT US!
Have product questions? Need technical support? Please feel free to us: Technical Support and E-Warranty Certificate
www.vevor.com/support
This is the original instruction, please read all manual instruction carefully before operating. VEVOR reserves a clear interpretation user manual. The appearance of the product shall be subject to product you received. Please forgive us that we won't inform you there are any technology or software updates on our product.
Please read this manual carefully before use!
Attentions
- Please read the manual carefully before using it.
- Handle it carefully during operation, avoid throwing down or pressing it heat
- If the users disassemble or deliberately damage the machine, it will beyond warranty.
- Please keep distance from the system when charging
- After being used, turn off the display and pull out all the connection joint
- Due to the version upgrades, if mentioned in this manual content does not accord with your machine, please refer to our machine.
Description
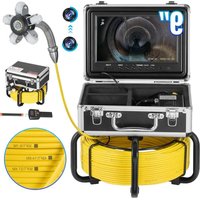
- 9" Color TFT LCD Screen.
- High resolution camera, clear picture
- Video taking and photo function
- Cable with length markings
- One-button start
- Super bright white LED adjustable
- Waterproof durable suitcase
- High quality special cable, waterproof and anti-corrosion/cold/tensile.
- 12V4500MA lithium battery.
- The lights can on/off. night lights adjustable.
- Range of Application: Water-supply pipe/ Air-conditioner pipe/ Cable pipe/Pipeline vacuum system/ PLUNBIN pipe/ Buildings/ Sunken pipe
- Cable diameter: 5mm
- Camera: 512Hz Self-Levelinge
Product Specification
| Item: | parameter |
| Charger: | AC100-240V DC12.6V 1000MA |
| Battery: | Lithium battery 12V4500MA |
| Continuous use time for battery | Approximate 6h |
| Investigation depth: | 30m 50m( selectable line length) |
| Material: | Fiber tube with /high intensity |
| Camera light source: | LED with high while light(adjustable) |
| Camera material: | Stainless steel |
| Menu languages | Multi-language |
| Camera picture: | Color |
| Operating temperature: | -20-60° |
| Storage temperature: | -50-60° |
Instruction for Product
Camera
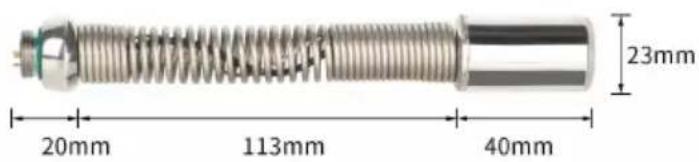
23mm
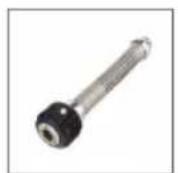
38mm
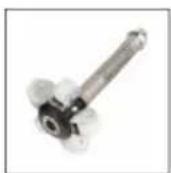
90mm
Product Specification
| Item: | parameter |
| Camera diameter: | 23mm |
| With the tube diameter: | >25mm |
| Camera light source: | 12 LED with high while light(adjustable) |
| Camera working voltage: | 5V |
| Lights working voltage: | 12V |
| Camera assist function: | self-balancing |
| Camera assist function: | 512Hz |
| Water proof: | IP68 |
| Camera material: | stainless steel |
| Camera size: | 23mm |
| Camera protective cover parts material | plastic-steel |
| Camera protective cover parts size 1 | 29mm* 40mm |
| Camera protective cover parts size 2 | 40mm* 90mm |
Monitor
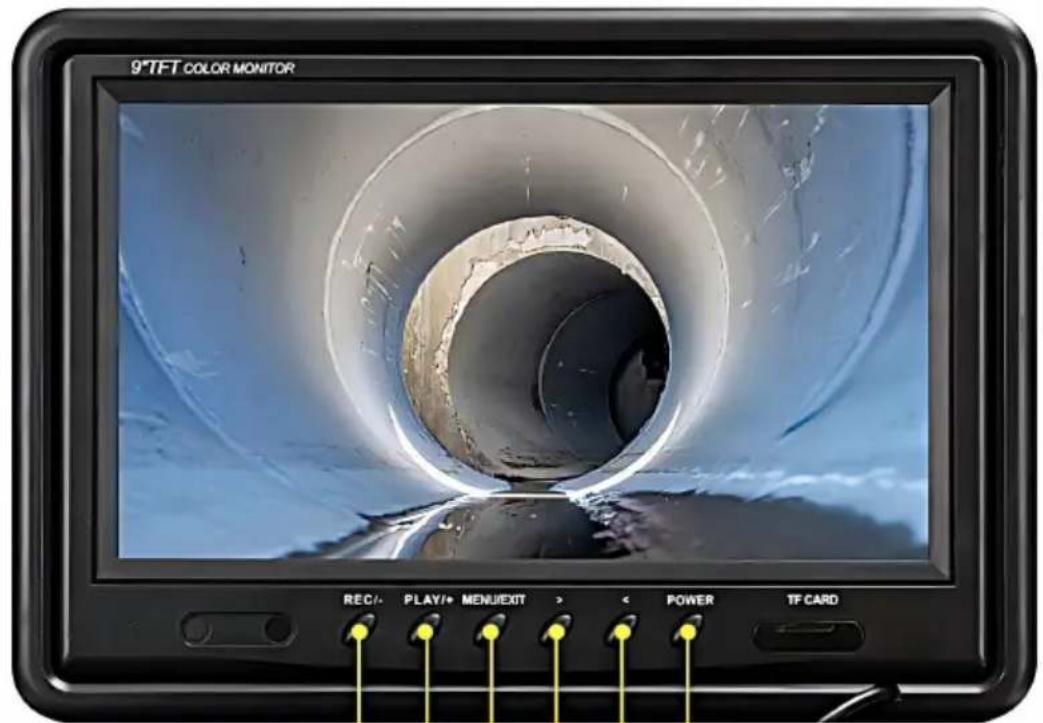
- Start/Stop Recording
- Photograph
-
Confirm when entering the menu Settings
-
To switch between recording and photographing.
- Long press to view photo and video files
- Enter the menu and exit
- Tap to enter menu Settings/exit
to Power on/off
- to Zoom in the image0-36
-
When entering the menu option under/Next video
-
to zoom out
- Select on/Previous Video when entering the menu
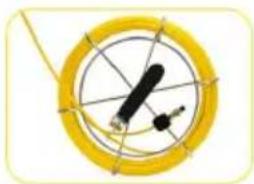
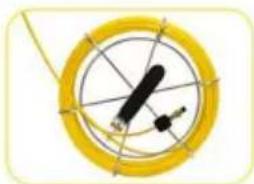
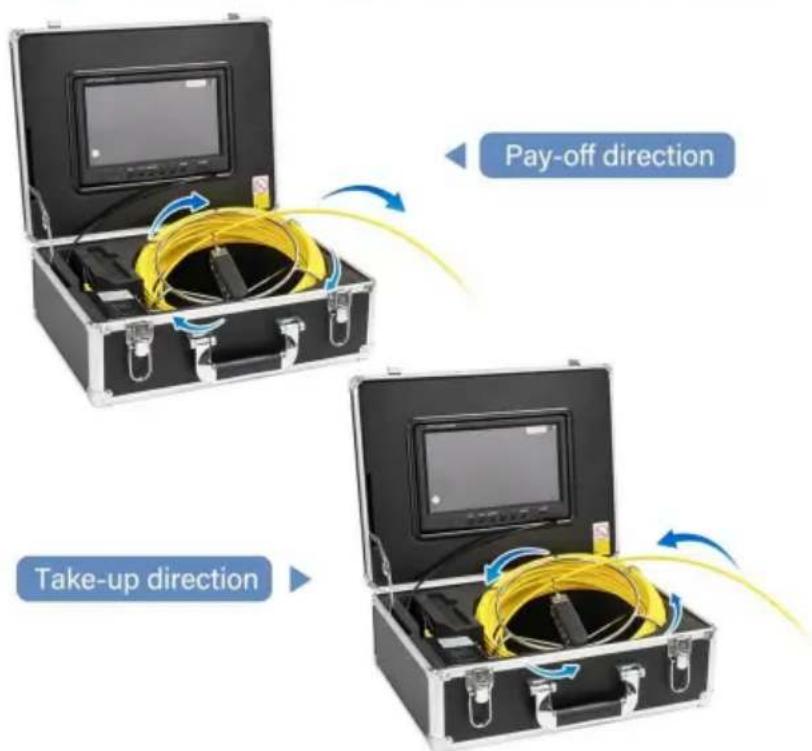
Coil
High Quality Fiberglass Detection Cable
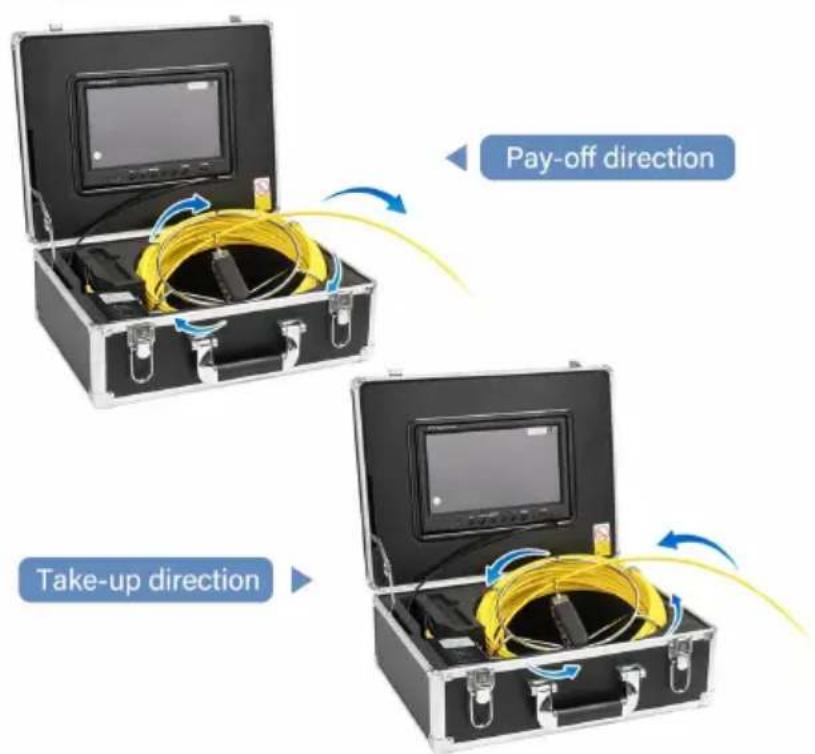
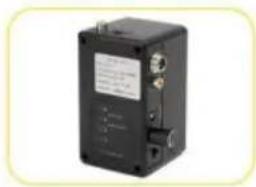
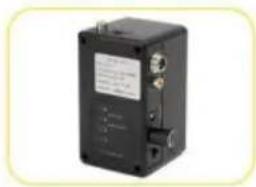
Cell box
- Monitor video
- Power of monitor
- Adjacent coil plug
- AV output
- Battery indicator
- Power input for charger
- Light-degree adjustment
for white light LED - Power switch
- Power light
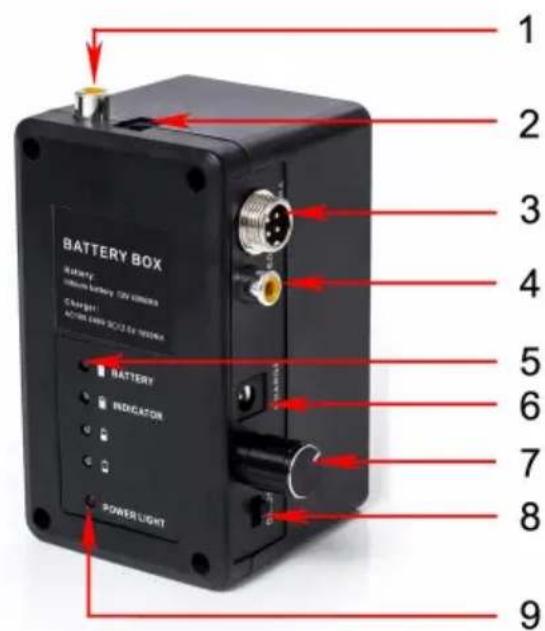
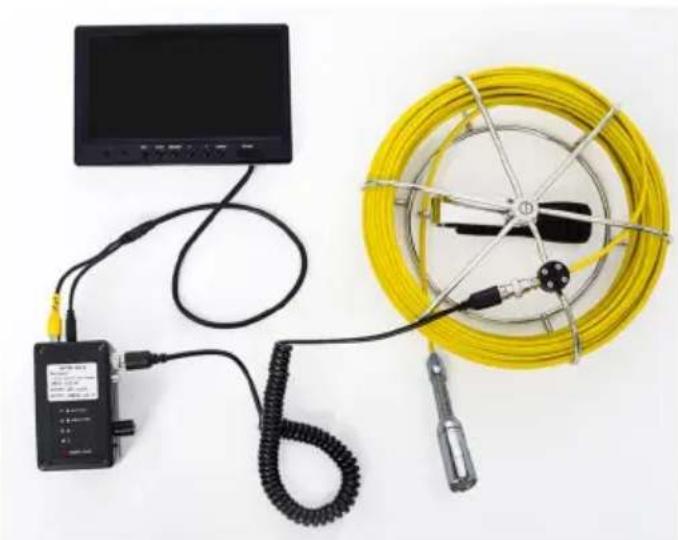
System Installation
- Vital: turn off the power switch, connect the video camera and the monitor the video camera and the monitor may be damaged.
-
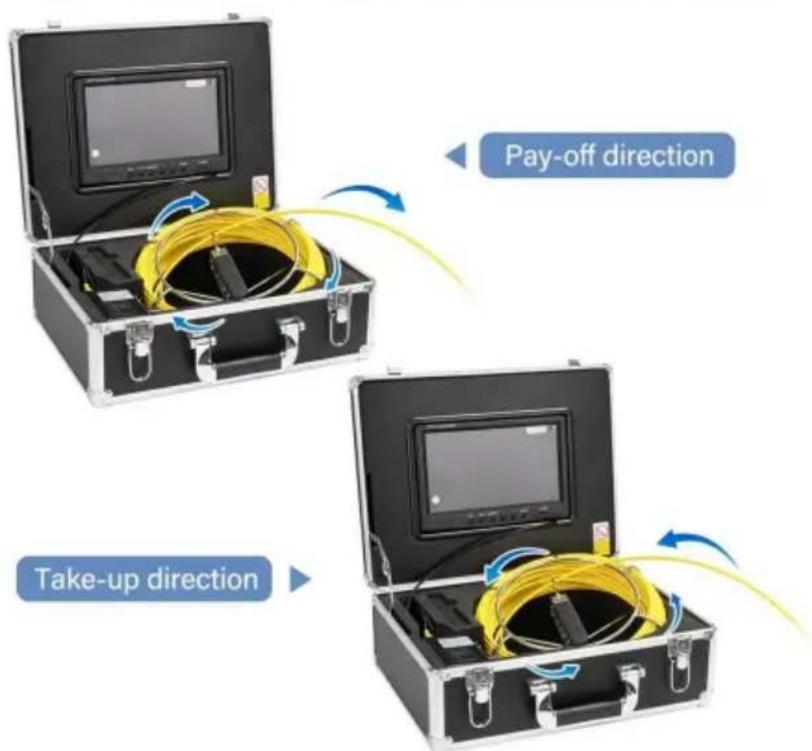
Connect camera -coil -cell box -monitor (Pic)
-
Turn on the power switch in the power box, the indicator light on the moon, the switchboard starts.
-
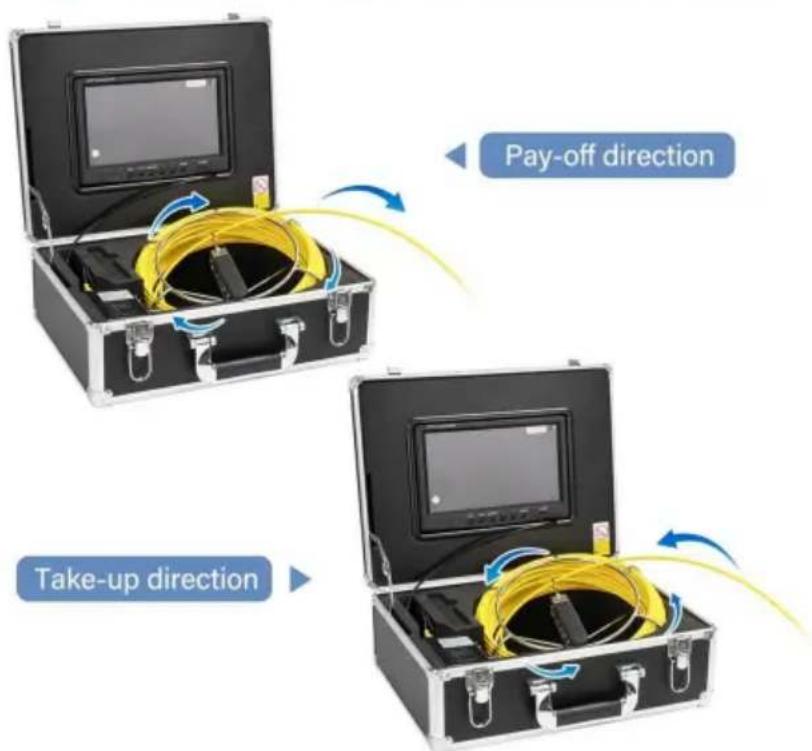
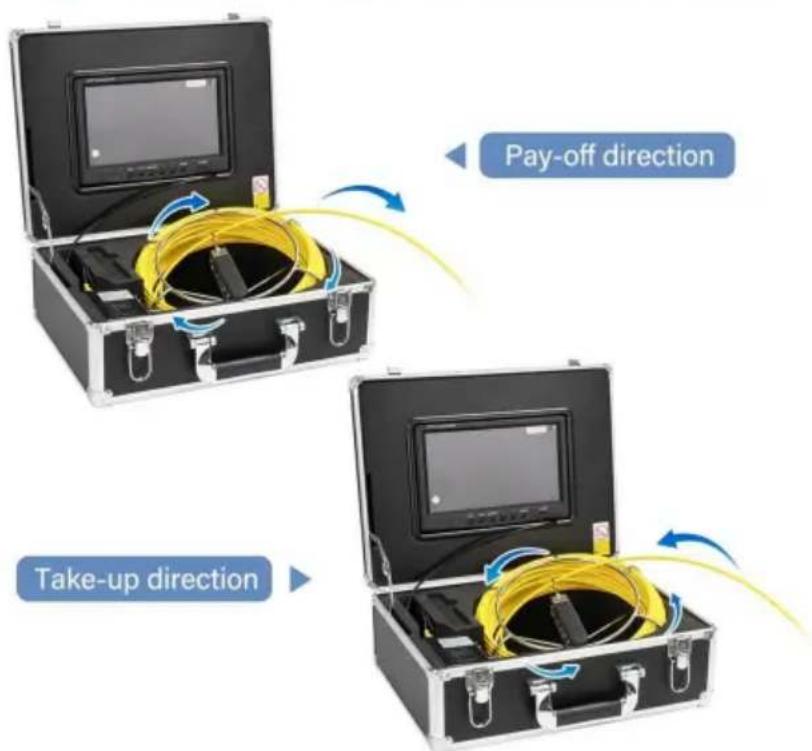
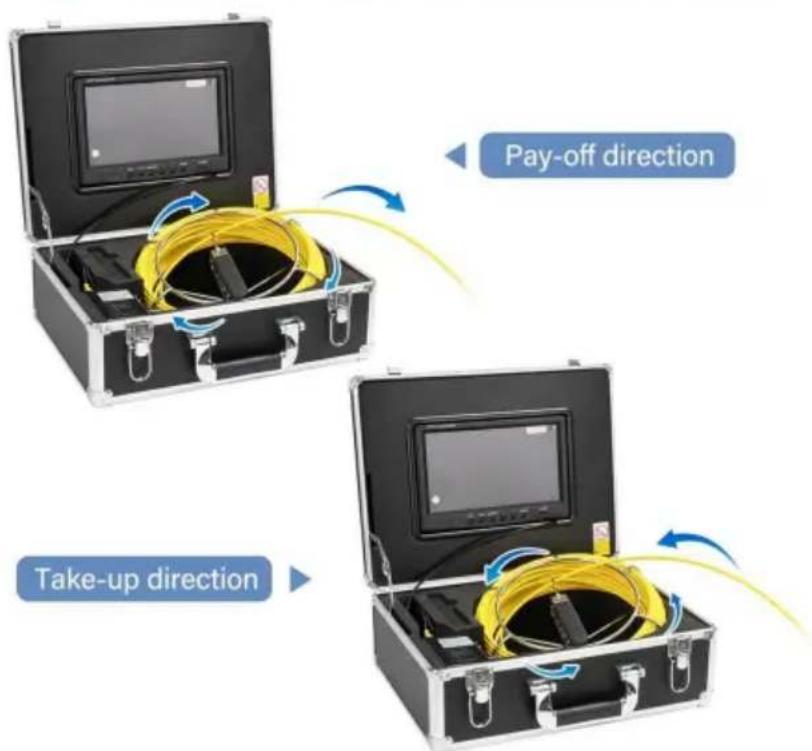
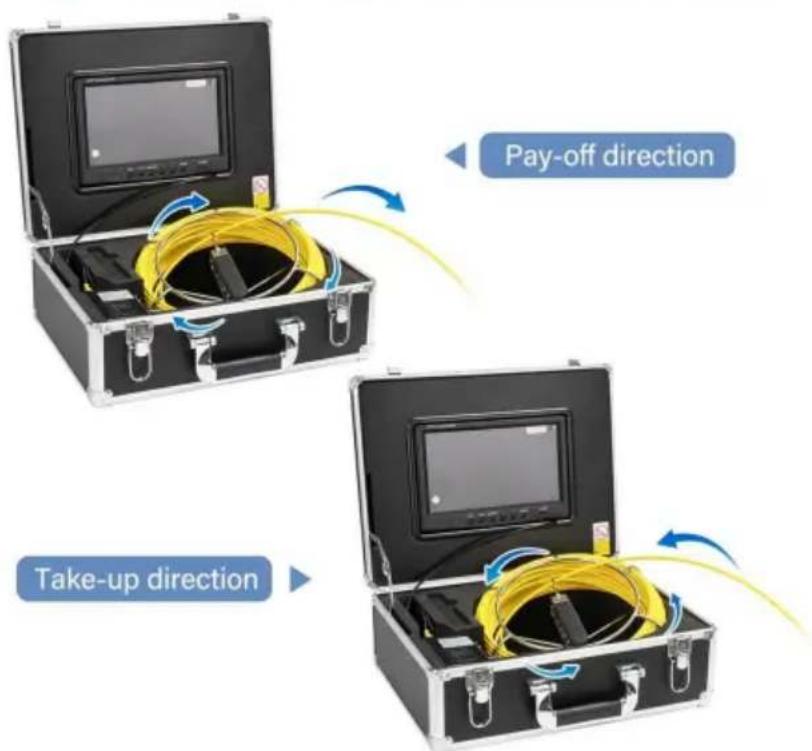
Install the video camera with the protective cover slightly and put it into 1 rotate coil to proper depth.
-
Adjust LED light degree adjuster to proper light degree.
-
For videotape, refer to the DVR operation details (display operation: Recording Type)
-
Switch video to another large screen through video line.
-
After utilization, mover the camera from the pipe carefully, take clean, soft dry cloth to clear up it and put it back.
natural_image
Yellow cable with sensor and probe components connected to a monitor (no visible text or symbols)Charging
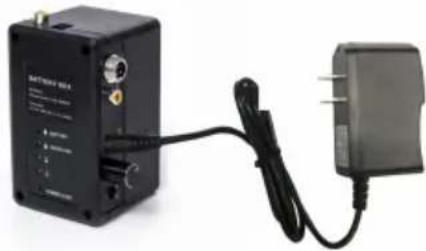
When the battery power is low, it needs charging, and the method is as be
- Take out the battery and charger from the box.
- Connect the charger to the battery.
- Connect the charger to the alternating current of 100-240v. The red indica means charging.
- The green indicator means finishing charging.
Notes: to make sure the battery using age longer, please recharge it timely; otherwise, it will make it can not recharged.
natural_image
Exterior view of a black battery pack connected to a black power adapter (no visible text or symbols)- The cable should not be knotted when used, and the cable should not be less than 90^ .
- Do not drop the product violently to prevent the cable from being broken!
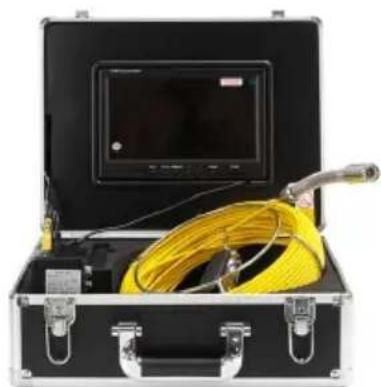
Product components and accessories
PRODUCT COMPONENTS
natural_image
Open black and gold case containing a yellow cable with a monitor, no visible text or symbols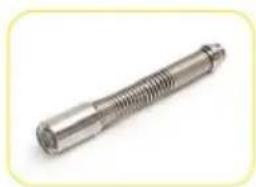
natural_image
Metal threaded bolt component with threaded shaft (no text or symbols visible)Camera
natural_image
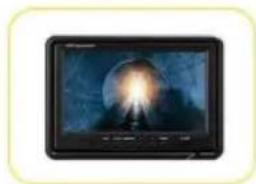
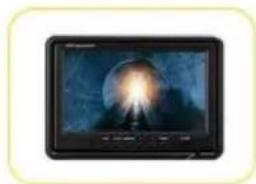
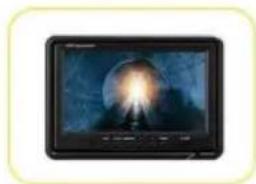
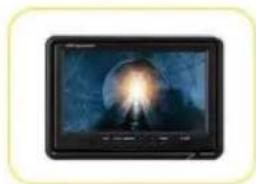
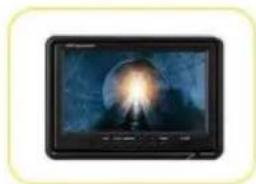
Black rectangular monitor displaying a glowing tunnel scene with a dark tunnel entrance (no visible text or symbols)TFT LCD Screen
natural_image
Solid yellow fabric texture with no visible text or symbolsDetection cable
natural_image
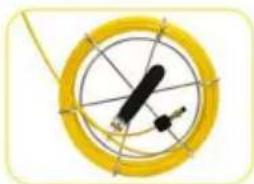
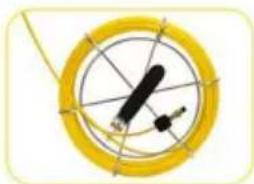
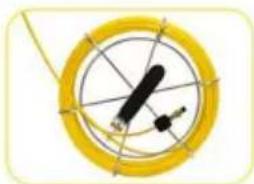
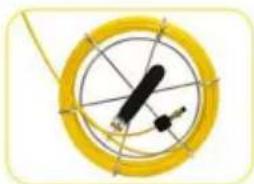
Circular diagram with a yellow ring and internal components, no visible text or symbolsCoil
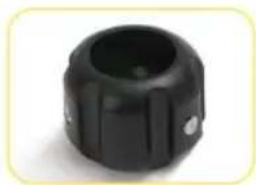
natural_image
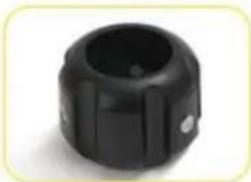
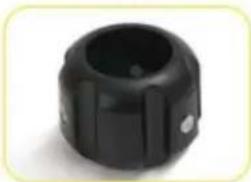
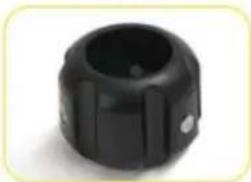
Black cylindrical mechanical knob or knob component (no visible text or symbols)Protector 2
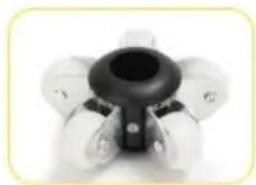
natural_image
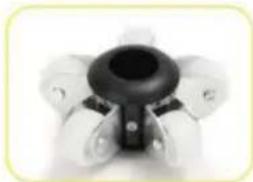
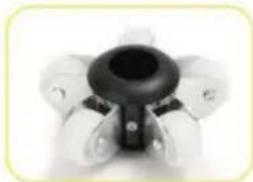
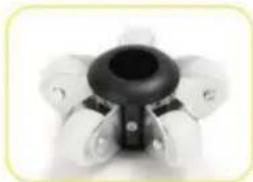
Close-up of a white mechanical component with a black central knob and multiple arms (no visible text or symbols)Protector 1
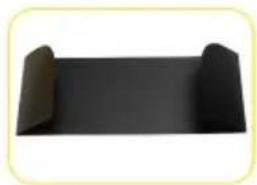
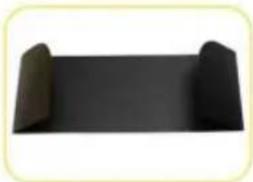
natural_image
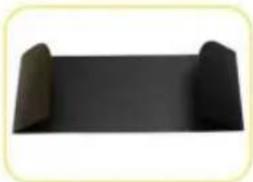
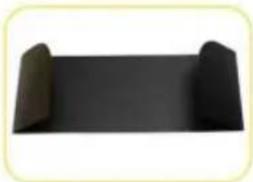
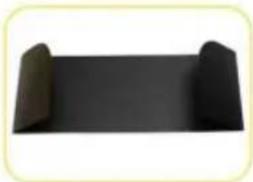
Black rectangular object with two curved ends, no visible text or symbolsPVC Sunshade
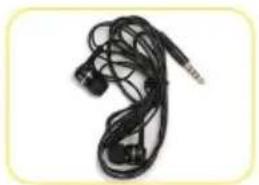
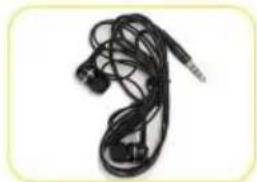
natural_image
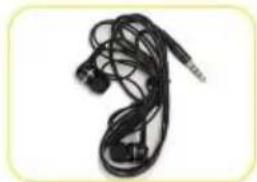
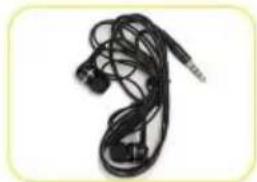
Black earplush with earbuds and cord, isolated on white background (no text or symbols)512 headphone cable
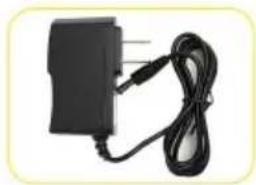
natural_image
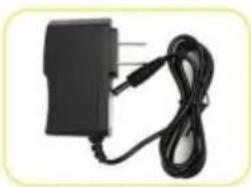
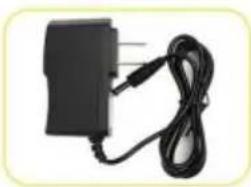
Black electrical adapter with attached cable (no visible text or symbols)Charger
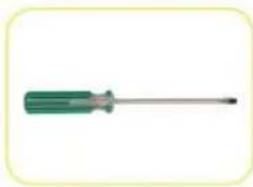
natural_image
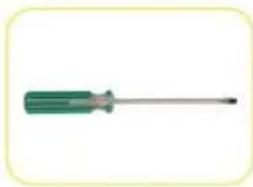
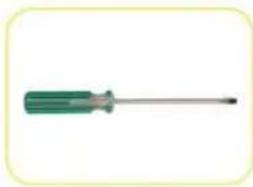
Green screwdriver with a flat blade and handle, isolated on white background (no text or symbols)Screwdriver
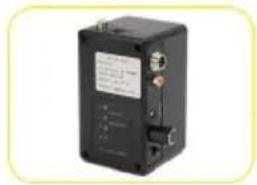
natural_image
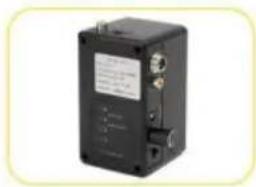
Black rectangular electronic device with ports and a label, no visible text or symbols on the body.Battery box
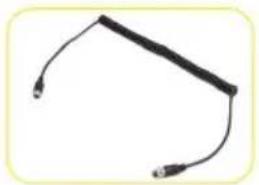
natural_image
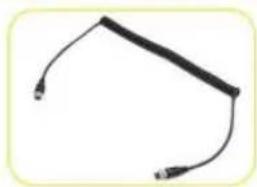
Simple line drawing of a curved object with two endpoints (no text or symbols)Connecting line
VEVOR 512 Hz PIPE LOCATOR USER MANUAL
natural_image
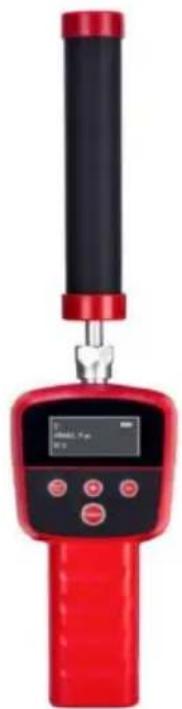
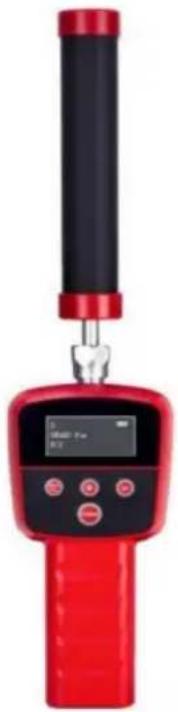
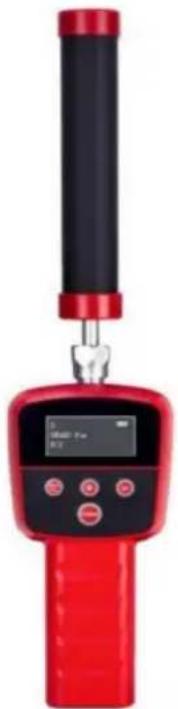
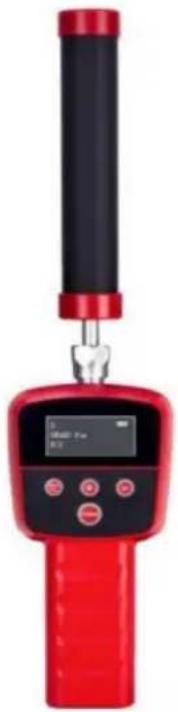
Red handheld scientific instrument with a vertical rod and digital display (no visible text or symbols)Thank you for your purchase. Please read this manual for the correct usage of the protection of your machine. After reading, please put this manual in an e accessible place for your future reference.
1. Safety Information
| 1. | Please review the appearance and function of the machine within the working days after receiving it. If any damage or parts missing, please us with photos for customer service. |
| 2. | Use 6pcs AA 1.5V batteries. There is risk of explosion if using wro Please get rid of the used battery according to the instruction. |
| 3. | Working environment for locator: -10°C ~ 50°C (14°F ~ 122°F) ≤95% Storage condition: -20°C~70°C(-4°F~158°F) ≤95%RH. |
| 4. | The warranty doesn't apply under such circumstances, physical damage force majeure, the user dismantling the system without authorization connecting to non-original parts. |
| 5. | Please only use original fitting accessories to avoid the possible dam health and property. |
| 6. | Please don’t drop, beat or shake the inspection system. Improper us locator may damage its inner circuit board. |
| 7. | Please put the locator and its accessories, especially small parts like or battery in a place inaccessible to infants, kids and children. |
| 8. | Under few circumstances, if conductive materials like jewelry, keys, o necklace connect exposed end of lithium ion battery, the battery may As the materials complete a loop and become hot. Be careful when with the battery, especially when you put the battery into your pocket other containers with metal items. In this case, it may lead to loss of properties. Don’t discard the battery into fire, as it will cause the |
Caution: If any issue you can't solve, don't disassemble the machine by yourself. Please contact customer service team.
2. Specifications
| Frequency: | 512Hz |
| Modulation | None |
| Max Distance Capability | 6m/20ft |
| Battery: | 6-pcs AA Alkaline batteries |
| Audio Output: | 50 – 1000 Hz determined by signal strength |
| Weight: | 1.8 lbs |
| Working Temperature: | -4°F to 140°F -20°C to 60°C |
| Output: | Loud-speaker, earphone and target alarming |
| Sensors | 548mmx65mmx50mm |
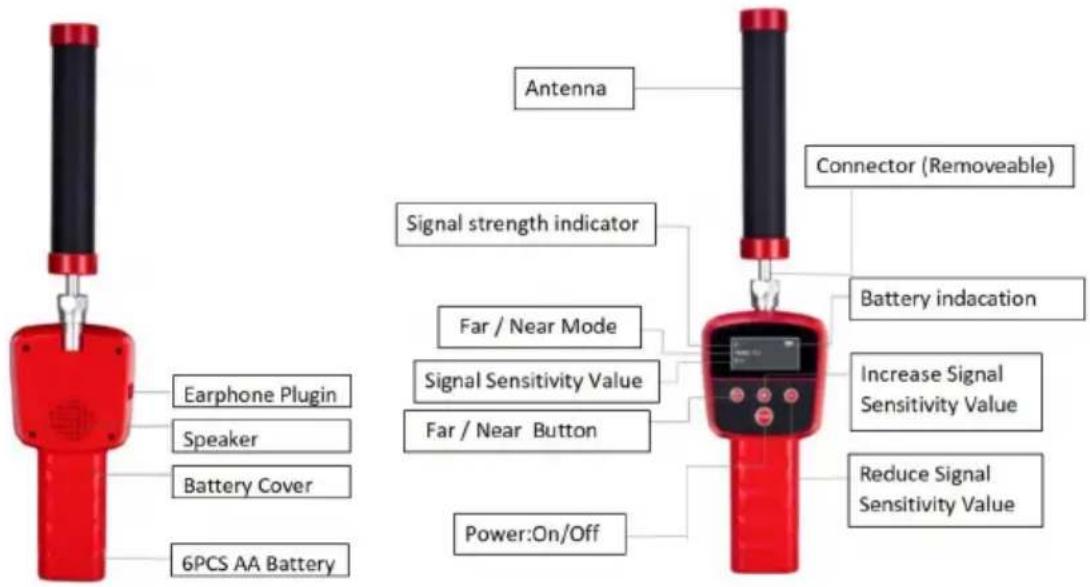
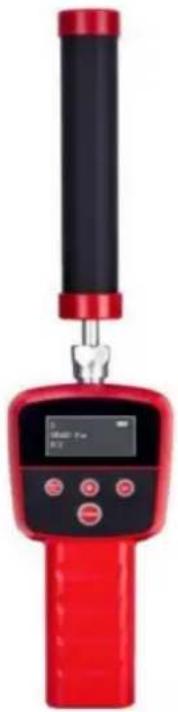
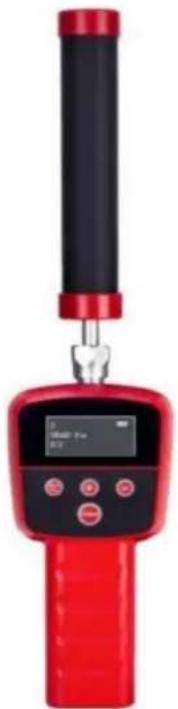
3. Antenna: receive signal.
Indicator: when the signal becomes strong, the indicator will move to right. the signal becomes weak, the indicator will move to left.
Switch and signal adjustment: when the button is on the leftmost, the machir powers off. When the button turns to right, the machine powers on. When continuing to turn right, the machine becomes more sensitive to the signal.
Far: gear far. Near: gear near
Horn: when the receiver gets the signal, the horn sounds. The closer the re
gets to the radiator, the stronger the signal will be. And more loudly the hot sounds.
Earphone: another way of audio output besides horn.
4. The Procedure to Use
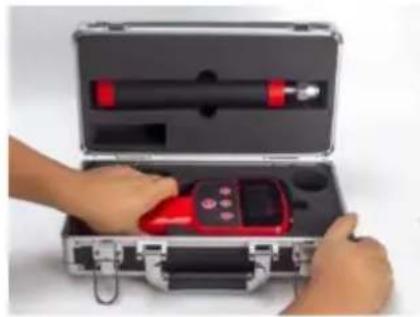
Step1. Take out the equipment. When you open the package, please place i described in the picture. Open it carefully and slowly with a knife, to prevent equipment from damage.
Step 2. Move up the lock catch on both sides to unlock the outer box.
Step 3. Take out the antenna and the receiver separately. One hand holds cover of the box, the other hand takes out the antenna from the groove. No right hand holds the box. The left hand holds the receiver and pulls it.
natural_image
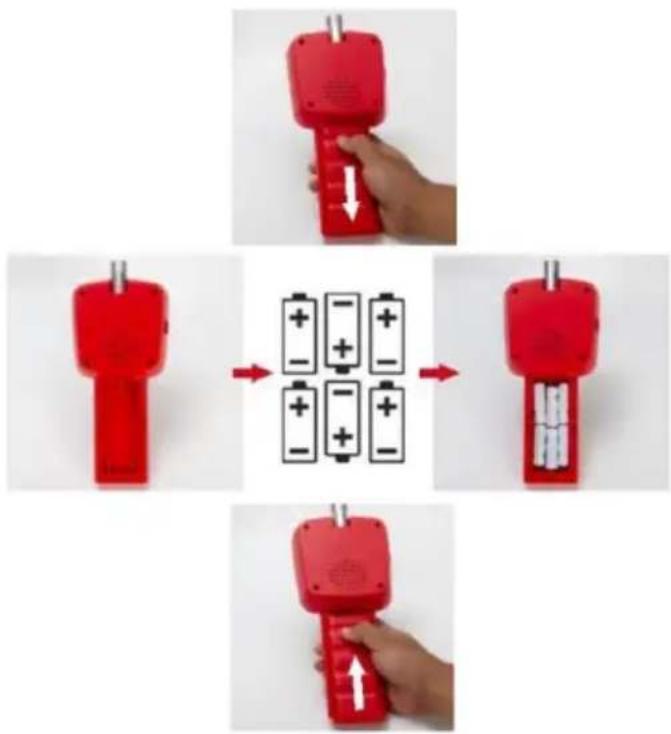
Hands holding a red handheld device inside an open metal tool case (no visible text or symbols)Step 4. Install the battery. Please prepare 6 pcs AA batteries. In the back of receiver, please hold the machine and slide down the battery cover and take away. Put in 6 pcs AA batteries. Pay attention to the positive end and negative of each battery when you put them in. Move the battery cover back to its or place. Finish the battery installation.
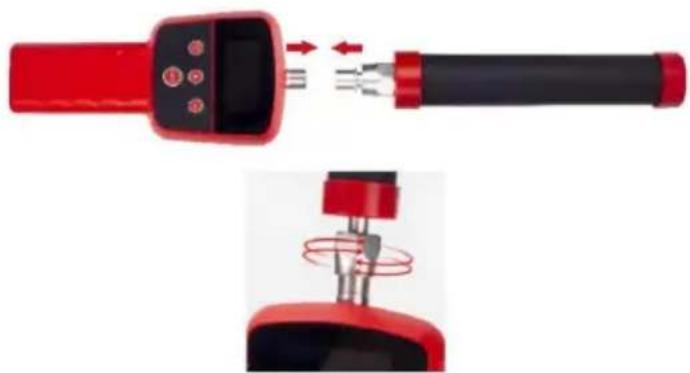
step 5. Install the antenna. Align the connection between the machine and it antenna. Fasten the antenna clockwise and tighten the nut. Remove the antenna twist the nut count-clockwise and pull the antenna.
natural_image
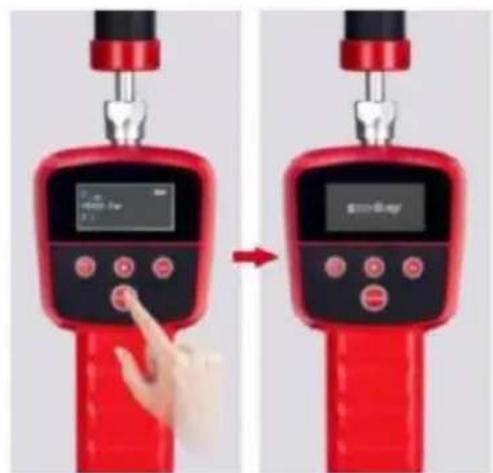
Close-up of a red handheld electronic device with a close-up view showing internal components (no text or symbols visible)Step 6. Power On/Off. Press the power button for three seconds. The screen shows as below. The horn sounds. The machine powers on. To power off, the power button again for two seconds. The screen shows 'GOODBYE'.
Caution: If the machine cannot power on, please check if the battery is insta correctly or if the battery is charged
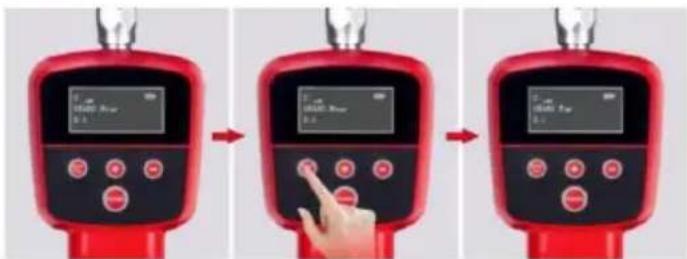
Step 7: Switch the gear. You can press the ‘Near/Far’ button to change the Press the ‘Near/Far’ button, the screen shows ‘Near’. Press the button again, screen shows ‘Far’. You can change the gear this way.
Caution: Please change the gear according to the environment.
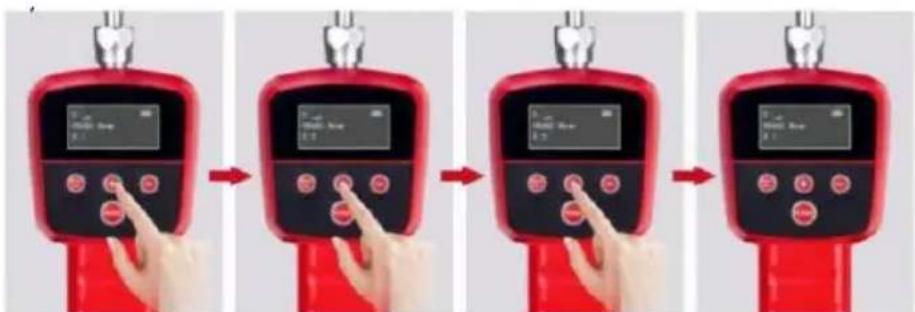
Step 8. Adjust the signal received. Press “+”button, the signal will increase. Highest level is 9. When the signal reaches 9, press “+”button, the signal will restart from level 1. Press “-”button, the signal will decrease, the lowest level
Step 9. Signal indication. The signal indicator is on the top position of left screen shown on the screen. If the receiver receives no 512 Hz signal, the signal will show 4 grids and the horn will buzz. When the indicator shows more ground sound will become continuous ‘du du du’. If the receiver is closer to 512 Hz, the sound of the signal will become louder. When the receiver moves away, signal will become weak and the sound will decrease
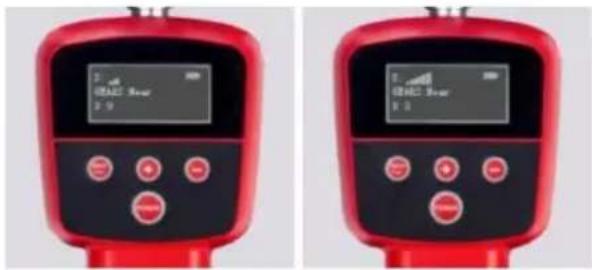
Step 10. how to get the transmitter signal
- Move the receiver from left to right to look for the best position receiving signal. The best position for receiver to receive signal is parallel to the radia shown in below picture
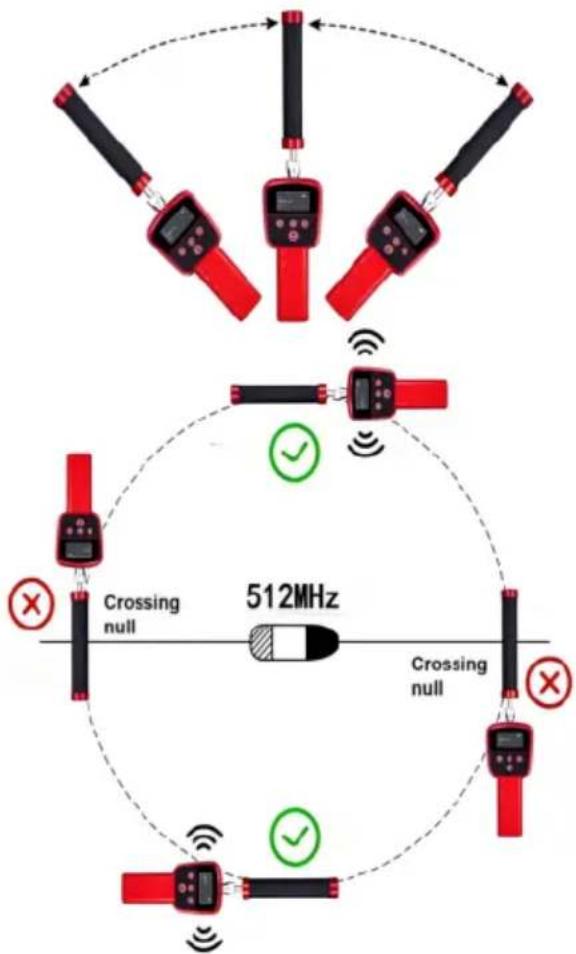
flowchart
graph TD
    A["Device 1"] --> B["Switch"]
    C["Device 2"] --> D["Switch"]
    E["Device 3"] --> F["Switch"]
    G["Device 4"] --> H["Switch"]
    I["Device 5"] --> J["Switch"]
    K["Device 6"] --> L["Switch"]
    M["Device 7"] --> N["Switch"]
    O["Device 8"] --> P["Switch"]
    Q["Device 9"] --> R["Switch"]
    S["Device 10"] --> T["Switch"]
    U["Device 11"] --> V["Switch"]
    W["Device 12"] --> X["Switch"]
    Y["Device 13"] --> Z["Switch"]
    AA["Device 14"] --> AB["Switch"]
    AC["Device 15"] --> AD["Switch"]
    AE["Device 16"] --> AF["Switch"]
    AG["Device 17"] --> AH["Switch"]
    AI["Device 18"] --> AJ["Switch"]
    AK["Device 19"] --> AL["Switch"]
    AM["Device 20"] --> AN["Switch"]
    AO["Device 21"] --> AP["Switch"]
    AQ["Device 22"] --> AR["Switch"]
    AS["Device 23"] --> AT["Switch"]
    AU["Device 24"] --> AV["Switch"]
    AW["Device 25"] --> AX["Switch"]
    AY["Crossing null"] --> Z
    AZ["512MHz"] --> AA
    BA["Crossing null"] --> AB
    BB["Crossing null"] --> AC
    BC["Crossing null"] --> AD
    BD["Crossing null"] --> AE
    BE["Crossing null"] --> AF
    BF["Crossing null"] --> AG
    BG["Crossing null"] --> AH
    BI["Crossing null"] --> AK
    BJ["Crossing null"] --> AA
    BK["Crossing null"] --> AB
    BL["Crossing null"] --> AC
    BM["Crossing null"] --> AD
    BN["Crossing null"] --> AE
    BO["Crossing null"] --> AF
    BP["Crossing null"] --> AG
    BQ["Crossing null"] --> AC
    BR["Crossing null"] --> AD
    BS["Crossing null"] --> AE
    BT["Crossing null"] --> AF
    BU["Crossing null"] --> AG
    BV["Crossing null"] --> AH
    BW["Crossing null"] --> AX
    BX["Crossing null"] --> BY
    BYX["Crossing null"] --> AZ
    BZ["Crossing null"] --> AA
    CA["Crossing null"] --> AB
    CB["Crossing null"] --> AC
    CC["Crossing null"] --> AD
    DD["Crossing null"] --> AE
    DE["Crossing null"] --> AF
    DF["Crossing null"] --> AG
    DG["Crossing null"] --> AH
    DH["Crossing null"] --> AI
    DJ["Crossing null"] --> AK
    DK["Crossing null"] --> AL
    DM["Crossing null"] --> AU
    AV["Crossing null"] --> AW
- Move the receiver in the direction parallel to the radiator and in the direct when the signal indicator shows more grids and the sound becomes louder.
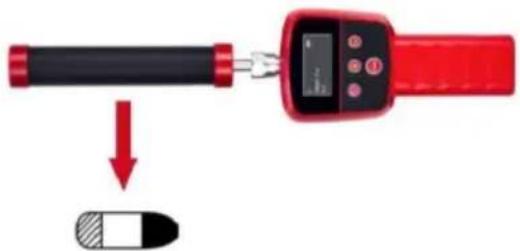
- The indicator turns to rightmost. The gear switches to 'Near'. Press '-' butto reduce the strength of signals received. Reduce the sensitivity of the sound. Search in small scale. According to the sound the signal indicator, find the p receiving the strongest signal in the parallel direction to the sensor. Stay in place. Move the receiver forward and backward until find the place receiving strongest signal. The sensor is right below the receiver.
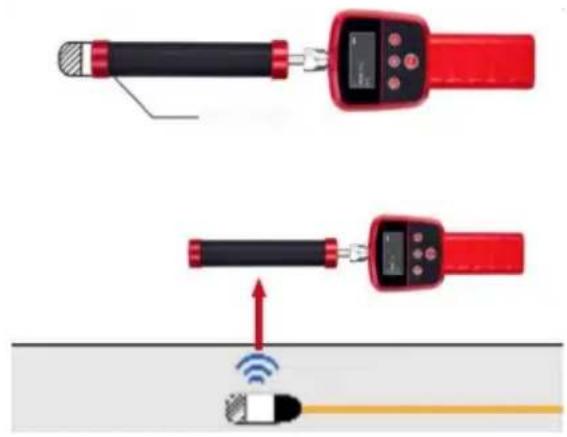
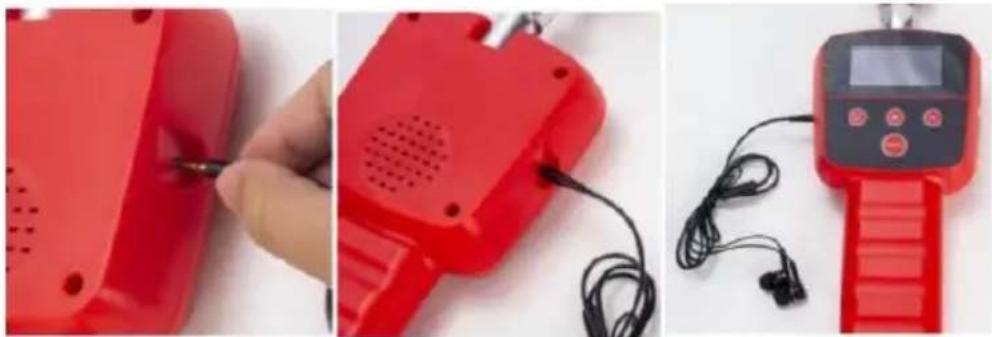
Step 11. Earphone connection and usage. When the environment is noisy, yc can use earphone to hear the signal of the receiver. First take out the earp from the box, connect the earphone with the receiver as shown in the pictur After connection, you can use the earphone to see if it works. If you hear please check if the earphone is plugged in correctly. If the earphone is conr but still no sound, please change to a new earphone.
natural_image
Three-panel photo showing a red handheld device being threaded, connected to a black cord with earphones and a digital display (no visible text or symbols)5. Common questions
- The receiver shows four grids of signal.
When the receiver is on, the default signal indication is four grids and the buzzes. This shows it is ready to work. When receiving the signal, the receiver sound in constant 'du du du'. When the receiver moves close to the sensor, sound becomes loud. When the receiver moves away from the sensor, the s
becomes low.
- Have difficulties in using the positioner.
Please refer to the instruction of using the receiver. Please follow the steps
4 The Procedure to Use, from Item 6 to Item 12.
- The machine cannot power on.
Please check if the battery is fully charged and if the battery is installed could. Please check if the screen can work.
- The machine cannot receive the signal. Or the signal is weak.
Check if the antenna is installed correctly. Remove the antenna and reinstall Check the battery indication on the right of the screen if the receiver is fully charged. When the battery is under charged, the receiver is weak to receive signal.
- Clean the equipment
When cleaning the equipment, please power off first.
6. The list of equipment in a whole set
- Aluminum box (EVA cotton)
- Receiver
- Receiver antenna
- Earphone
Pipe Failure Analysis
- Ensure that each interface is properly connected during installation.
- During the installation process, when a blue screen appears, it means that camera, battery box and display screen are not connected successfully
①Check whether the camera is loose, and tighten the camera.
②Check whether the camera video cable is in full contact with the battery b
③ Check whether the video cable of the display screen and the power cable complete contact.
3. During use, pay attention to charging in time when the battery power light the last grid of power to prevent the battery from being lost and unable to charged.
- The cable should not be knotted when used, and the cable should not be less than 90^ .
- Do not drop the product violently to prevent the cable from being broken!
- Please turn off the power before removing and inserting the memory card
| Failure analysis | Fault reasons and precautions |
| Blue screen | 1. Check if camera connector is loose, and if camera loose, caused poor contact.2. Check if cable and power supply connected loose.3. Check if monitor is connected with power supply normally.4. Check if cable is broken.5. Check if there is water leak to the front of the camera is damaged.6. When using the camera, put on the protective cover protect camera not to collide with hard objects and cause unable to display images |
| LED light not of | 1. Read the manual to get the correct way to turn light.2. check if there is water in the camera, the water damage the camera LED. |
| No Power | 1. Check if battery is fully charged.2. Check if display screen is damaged.3. check the power box and screen connecting, to be is right. |
| Cannot format | 1. The memory card is damaged. Replace the memo |
| Unable to charge | 1. Check if charging port is with foreign matters or deformation.2. Check whether the charger is damaged.3. If the power is too low, it should be charged in prevent the battery loss and unable to charge |
| Photo/video cannot be saved | 1. Check if memory card is damaged. Replace the n card,.2. Check if memory card slot with foreign objects or deformation. |
| Broken cable | 1. It is recommended to use the cable on pipes with diameter ≥ 60mm. Pay attention to the force of push cable to avoid breaking cable.2. This product is only used for pipeline detection an inspection, and cannot be used for other purposes. |
| Cable knotting | 1. When retracting and releasing cables, the cables c be crossed and knotted, and the bending arc of cab should not be less than 90 degrees2. When retracting the cable, pay attention to the or retract with the rotating iron frame, and do not use |
| Equipment cleaning | 1. When cleaning the equipment, turn off the power cleaning to avoid damage to the equipment. |
| Note | If the fault cannot be solved, do not disassemble it Please contact the after-sales service team. |
FCC Information
CAUTION: Changes or modifications not expressly approved by the party responsible for compliance could void the user's authority to operate the equipment!
This device complies with Part 15 of the FCC Rules. Operation is subject to following two conditions:
1) This product may cause harmful interference.
2) This product must accept any interference received, including interference that may cause undesired operation.
WARNING: Changes or modifications to this product not expressly approved by the party.responsible for compliance could void the user's authority to operate product.
Note: This product has been tested and found to comply with the limits for B digital device pursuant to Part 15 of the FCC Rules, These limits are des provide reasonable protection against harmful interference in a residential installation.
This product generates, uses and can radiate radio frequency energy, and if installed and used in accordance with the instructions, may cause harmful interference to radio communications. However, there is no guarantee that
interference will not occur in a particular installation. If this product does cause harmful interference to radio or television reception, which can be determined by turning the product off and on, the user is encouraged to try to correct the interference by one or more of the following measures.
- Reorient or relocate the receiving antenna.
- Increase the distance between the product and receiver.
- Connect the product to an outlet on a circuit different from that to which receiver is connected.
- Consult the dealer or an experienced radio/TV technician for assistance.
Disposal information:
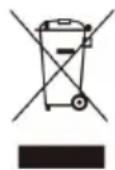
This product is subject to the provision of European Directive 2012/19/EU. The symbol showing a wheelie bin crossed through indicates that the product requires separate refuse collection in the European Union. This applies to the product and all accessories marked with this symbol. Products marked as such may not be discarded with normal domestic waste, but must be taken to a collection pair recycling electrical and electronic devices.
Manufacturer: Shanghaimuxinmuyeyouxiangongsi
Address: Shuangchenglu 803nong11hao1602A-1609shi, baoshanqu, shanghai 200000 CN.
Imported to AUS: SIHAO PTY LTD. 1 ROKEVA STREETEASTWOOD NSW 2122 Australia
Imported to USA: Sanven Technology Ltd. Suite 250, 9166 Anaheim Place, Rancho Cucamonga, CA 91730
| UK | REP |
YH CONSULTING LIMITED.
C/O YH Consulting Limited Office 147,
Centurion House, London Road,
Staines-upon-Thames, Surrey, TW18 4AX
| EC | REP |
E-CrossStu GmbH
Mainzer Landstr.69,
60329 Frankfurt am Main.
VEVOR®
TOUGH TOOLS, HALF PRICE
Technical Support and E-Warranty Certificate
www.vevor.com/support
VEVOR®
TOUGH TOOLS, HALF PRICE
natural_image
Exterior view of a portable scientific instrument with red handheld device and yellow cable, displayed in a black case (no visible text or symbols)BESOIN D'AIDE? CONTACTEZ-NOUS!
- Start/Stop Recording
- Photograph
-
Confirm when entering the menu Settings
-
To switch between recording and photographing.
- Long press to view photo and video files
- Enter the menu and exit
- Tap to enter menu Settings/exit
to Power on/off
- to Zoom in the image0-36
-
When entering the menu option under/Next video
-
to zoom out
- Select on/Previous Video when entering the menu
Bobine
High Quality Fiberglass Detection Cable
Boîte à cellules
natural_image
Yellow and black scientific equipment setup including a sensor coil, cable, and monitor (no visible text or symbols)Chargement
natural_image
Black industrial electronic device with attached power strip and cable (no visible text or symbols)natural_image
Open black-and-white photo of a medical device with yellow hoses and a monitor on top (no visible text or symbols)
natural_image
Metal threaded bolt with threaded shaft (no text or symbols visible)Camera
natural_image
Black-and-white photo of a flat-screen TV displaying a glowing moon against a dark sky with silhouetted figures (no visible text or symbols)TFT LCD Screen
natural_image
Solid yellow textured surface with horizontal striations (no text or symbols)Detection cable
natural_image
Circular diagram with intersecting lines and a central black object, no visible text or symbolsCoil
natural_image
Black cylindrical mechanical component with rivets and mounting holes (no text or symbols visible)Protector 2
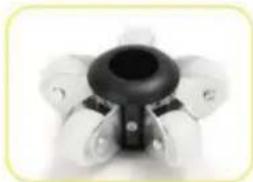
natural_image
Close-up of a black mechanical component with four white arms (no visible text or symbols)Protector 1
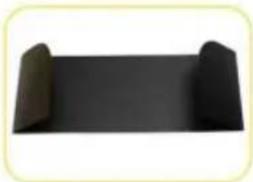
natural_image
Black rectangular object with rounded ends, resembling a stylized banner or tray (no text or symbols visible)PVC Sunshade
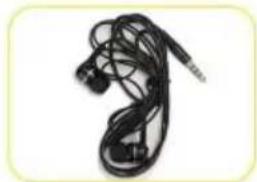
natural_image
Black cordless earplifier with earphones and connectors (no text or symbols visible)512 headphone cable
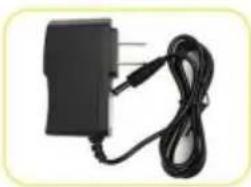
natural_image
Black electrical adapter with attached cable (no visible text or symbols)Charger

natural_image
Green screwdriver with a flat blade and handle, isolated on white background (no text or symbols)Screwdriver
natural_image
Black rectangular electronic device with ports and a label, no visible text or symbols on the body.Battery box
natural_image
Simple line drawing of a curved object resembling a stylized plant or abstract form (no text or symbols)Connecting line
MANUEL D'UTILISATION DU LOCALISATEUR DE TUYAUX VEVOR 512 Hz
natural_image
Red handheld device with black handle and digital display showing a screen (no visible text or symbols)natural_image
Hands holding a red handheld device inside an open black tool kit case (no visible text or symbols)natural_image
Close-up of a red-handled tool with a black handle and red buttons, showing a close-up of its internal components (no text or symbols visible)natural_image
Three red handheld devices: a hand pinning a button, a speaker with sound waves, and a digital stopwatch with earphones (no visible text or symbols)C/O YH Consulting Limited Bureau 147,
Staines-upon-Thames, Surrey, TW18 4AX
E-CrossStu GmbH
Mainzer Landstr.69,
natural_image
Exterior view of a black-and-white photo of an industrial testing device with yellow hoses and a digital pressure gauge (no visible text or symbols)- Start/Stop Recording
- Photograph
-
Confirm when entering the menu Settings
-
To switch between recording and photographing.
- Long press to view photo and video files
- Enter the menu and exit
- Tap to enter menu Settings/exit
to Power on/off
- to Zoom in the image0-36
-
When entering the menu option under/Next video
-
to zoom out
- Select on/Previous Video when entering the menu
Spule
High Quality Fiberglass Detection Cable
Zellenbox
Machine Translated by Google
natural_image
Yellow and black scientific equipment including a probe, coiled cable, and a spool of connected cables (no visible text or symbols)Laden
natural_image
Black industrial electronic device with attached power strip and cable (no visible text or symbols)natural_image
Open black-and-white photo of a medical device with yellow hoses and a monitor on top (no visible text or symbols)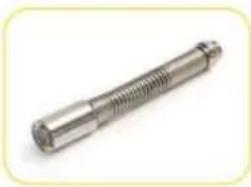
natural_image
Metal threaded bolt with threaded shaft (no text or symbols visible)Camera
natural_image
Black-and-white photo of a flat-screen TV displaying a glowing moon against a dark sky with silhouetted figures (no visible text or symbols)TFT LCD Screen
natural_image
Solid yellow textured surface with horizontal striations (no text or symbols)Detection cable
natural_image
Circular diagram with intersecting lines and a central black object, no visible text or symbolsCoil
natural_image
Black cylindrical mechanical component with rivets and mounting holes (no text or symbols visible)Protector 2
natural_image
Close-up of a black mechanical component with four white arms (no visible text or symbols)Protector 1
natural_image
Black rectangular object with rounded ends, resembling a stylized banner or tray (no text or symbols visible)PVC Sunshade
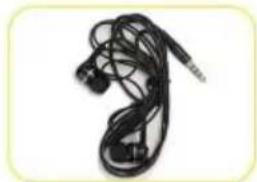
natural_image
Black cordless earplifier with earphones and connectors (no text or symbols visible)512 headphone cable
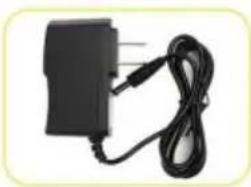
natural_image
Black rectangular electronic device with a black cable and power plug, no visible text or symbolsCharger
natural_image
Green screwdriver with a flat blade and handle, isolated on white background (no text or symbols)Screwdriver
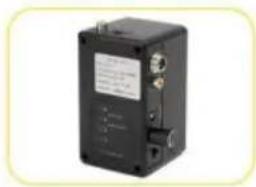
natural_image
Black rectangular electronic device with ports and a label, no visible text or symbols on the body.Battery box
natural_image
Simple line drawing of a curved object resembling a stylized plant or abstract form (no text or symbols)Connecting line
VEVOR 512 Hz ROHRSUCHE-BENUTZERHANDBUCH
natural_image
Red handheld device with black handle and digital display showing a screen (no visible text or symbols)natural_image
Hands holding a red handheld device inside an open black tool kit case (no visible text or symbols)natural_image
Close-up of a red-handled tool with a black handle and red buttons, showing internal components and a close-up view of the tool's tip (no text or symbols visible)natural_image
Close-up of a red plastic electronic device with a finger inserted, showing internal components (no text or symbols visible)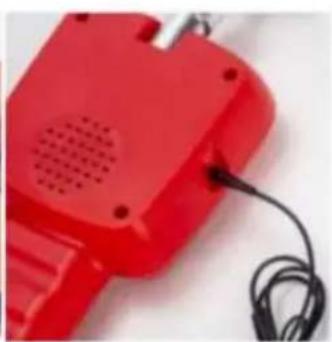
natural_image
Red handheld electronic device with ventilation grille and black cable (no visible text or symbols)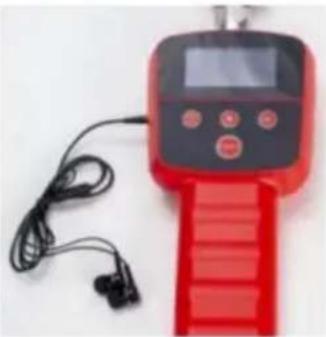
natural_image
Red handheld electronic device with digital display and earplugs (no visible text or symbols)5. Häufige Fragen
C/O YH Consulting Limited Office 147,
Centurion House, London Road,
Staines-upon-Thames, Surrey, TW18 4AX
www.vevor.com/support
VEVOR®
TOUGH TOOLS, HALF PRICE
natural_image
Exterior view of a portable scientific instrument with red handheld device and yellow cable, displayed in a black case (no visible text or symbols)www.vevor.com/support
Bobina
High Quality Fiberglass Detection Cable
Scatola cellulare
natural_image
Yellow and black scientific equipment setup including a sensor coil, cable, and monitor (no visible text or symbols)Ricarica
natural_image
Black industrial electronic device with attached power strip and cable (no visible text or symbols)natural_image
Open black-and-white photo of a portable equipment case containing yellow hoses and a monitor (no visible text or symbols)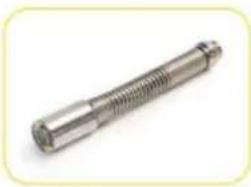
natural_image
Metal threaded bolt with threaded shaft (no text or symbols visible)Camera
natural_image
Black-and-white photo of a flat-screen TV displaying a glowing moon against a dark sky with silhouetted figures (no visible text or symbols)TFT LCD Screen
natural_image
Solid yellow textured surface with horizontal striations (no text or symbols)Detection cable
natural_image
Circular diagram with intersecting lines and a central black object, no visible text or symbolsCoil
natural_image
Black cylindrical mechanical component with rivets and mounting holes (no text or symbols visible)Protector 2
natural_image
Close-up of a black mechanical component with four white arms (no visible text or symbols)Protector 1
natural_image
Black rectangular object with rounded ends, resembling a stylized banner or tray (no text or symbols visible)PVC Sunshade
natural_image
Black cordless earplifier with earphones and connectors (no text or symbols visible)512 headphone cable
natural_image
Black rectangular electronic device with a black cable and power plug, no visible text or symbolsCharger
natural_image
Green screwdriver with a flat blade and handle, isolated on white background (no text or symbols)Screwdriver
natural_image
Black rectangular electronic device with ports and a label, no visible text or symbols on the body.Battery box
natural_image
Simple line drawing of a curved object resembling a stylized plant or abstract form (no text or symbols)Connecting line
MANUALE D'USO DEL LOCALIZZATORE DI TUBI VEVOR 512 Hz
natural_image
Red handheld scientific instrument with a vertical rod and digital display (no visible text or symbols)natural_image
Hands holding a red handheld device inside an open black tool kit case (no visible text or symbols)natural_image
Close-up of a red-handled tool with a black handle and red buttons, showing a close-up of its internal components (no text or symbols visible)natural_image
Three red handheld devices: a hand pinning a button, a speaker with sound waves, and a digital stopwatch with earphones (no visible text or symbols)Importato in AUS: SIHAO PTY LTD. 1 ROKEVA STREETEASTWOOD NSW 2122 Australia
Importato negli USA: Sanven Technology Ltd. Suite 250, 9166 Anaheim Place, Rancho Cucamonga, CA 91730
CONSULENZA YH LIMITATA.
C/O YH Consulting Limited Ufficio 147,
Casa del centurione, London Road,
Staines-upon-Thames, Surrey, TW18 4AX
natural_image
Exterior view of a portable scientific instrument with a red handheld device and yellow coiled cable inside a black case (no visible text or symbols)Bobina
High Quality Fiberglass Detection Cable
Caja de celdas
natural_image
Yellow and black scientific equipment setup including a sensor coil, cable, and monitor (no visible text or symbols)Cargando
natural_image
Red handheld scientific instrument with a vertical rod and digital display (no visible text or symbols)natural_image
Hands holding a red handheld device inside an open black tool kit case (no visible text or symbols)natural_image
Close-up of a red-handled tool with a black handle and red buttons, showing internal components and a close-up view of the tool's tip (no text or symbols visible)natural_image
Three red handheld devices: a hand pinning a button, a speaker with sound waves, and a digital stopwatch with earphones (no visible text or symbols)Casa Centurión, London Road,
Staines-upon-Thames, Surrey, TW18 4AX
E-CrossStu GmbH
Mainzer Landstr.69,
natural_image
Exterior view of a portable scientific instrument with red handheld device and yellow cable, displayed in a black case (no visible text or symbols)POTRZEBUJESZ POMOCY? SKONTAKTUJ SIĘ Z NAMI!
www.vevor.com/support
- Start/Stop Recording
- Photograph
-
Confirm when entering the menu Settings
-
To switch between recording and photographing.
- Long press to view photo and video files
- Enter the menu and exit
- Tap to enter menu Settings/exit
to Power on/off
- to Zoom in the image0-36
-
When entering the menu option under/Next video
-
to zoom out
- Select on/Previous Video when entering the menu
Cewka
High Quality Fiberglass Detection Cable
Skrzynka komórkowa
natural_image
Yellow and black scientific equipment including a probe, coiled cable, and a spool of connected cables (no visible text or symbols)Ładowanie
natural_image
Black industrial electronic device with attached power strip and cable (no visible text or symbols)natural_image
Open black-and-white photo of a medical device with yellow hoses and a monitor on top (no visible text or symbols)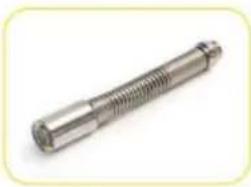
natural_image
Metal threaded bolt with threaded shaft (no text or symbols visible)Camera
natural_image
Black-and-white photo of a flat-screen TV displaying a glowing moon against a dark sky with silhouetted figures (no visible text or symbols)TFT LCD Screen
natural_image
Solid yellow textured surface with horizontal striations (no text or symbols)Detection cable
natural_image
Circular diagram with intersecting lines and a central black object, no visible text or symbolsCoil
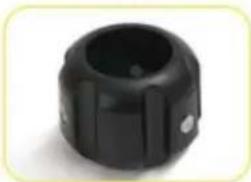
natural_image
Black cylindrical mechanical component with rivets and mounting holes (no text or symbols visible)Protector 2
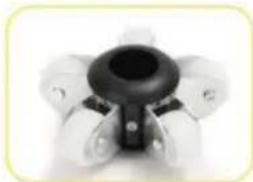
natural_image
Close-up of a black mechanical component with four white arms (no visible text or symbols)Protector 1
natural_image
Black rectangular object with rounded ends, resembling a stylized banner or tray (no text or symbols visible)PVC Sunshade
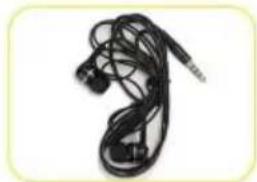
natural_image
Black cordless earplifier with earphones and connectors (no text or symbols visible)512 headphone cable
natural_image
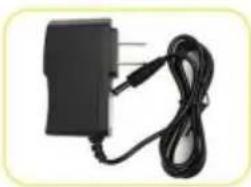
Black rectangular electronic device with a black cable and power plug, no visible text or symbolsCharger
natural_image
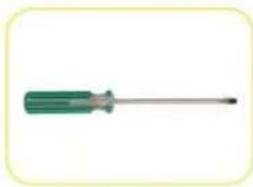
Green screwdriver with a flat blade and handle, isolated on white background (no text or symbols)Screwdriver
natural_image
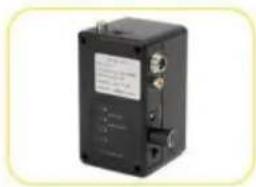
Black rectangular electronic device with ports and a label, no visible text or symbols on the body.Battery box
natural_image
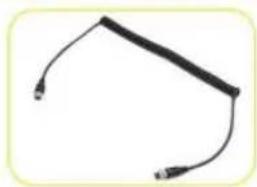
Simple line drawing of a curved object with two connectors (no text or symbols)Connecting line
INSTRUKCJA OBSŁUGI LOKALIZATORA RUR VEVOR 512 Hz
natural_image
Red handheld scientific instrument with a vertical rod and digital display (no visible text or symbols)4. Procedura użycia
natural_image
Hands holding a red handheld device inside an open black toolbox (no visible text or symbols)natural_image
Close-up of a red-handled tool with a black handle and red buttons, showing internal components and a close-up view of the tool's tip (no text or symbols visible)natural_image
Three red handheld devices: a small device with a probe, a portable handheld device with earphones, and a digital stopwatch (no visible text or symbols)C/O YH Consulting Limited Biuro 147,
Dom Centuriona, London Road,
Staines-upon-Thames, Surrey, TW18 4AX
| Przedstawiciel UE |
E-CrossStu GmbH
Mainzer Landstr.69,
60329 Frankfurt nad Menem.
VEVOR®
TOUGH TOOLS, HALF PRICE
natural_image
Exterior view of a black-and-white photo of an industrial testing device with yellow hoses and a digital pressure gauge (no visible text or symbols)HULP NODIG? NEEM CONTACT MET ONS OP!
Spoel
High Quality Fiberglass Detection Cable
Celdoos
natural_image
Yellow and black scientific equipment including a probe, coiled cable, and a spool of connected cables (no visible text or symbols)Opladen
natural_image
Black industrial electronic device with attached power strip and cable (no visible text or symbols)natural_image
Open black-and-white photo of a portable equipment case containing yellow hoses and a monitor (no visible text or symbols)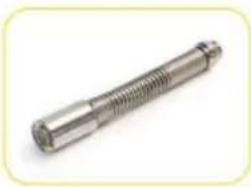
natural_image
Metal threaded bolt with threaded shaft (no text or symbols visible)Camera
natural_image
Black-and-white photo of a flat-screen TV displaying a glowing moon against a dark sky with silhouetted figures (no visible text or symbols)TFT LCD Screen
natural_image
Solid yellow textured surface with horizontal striations (no text or symbols)Detection cable
natural_image
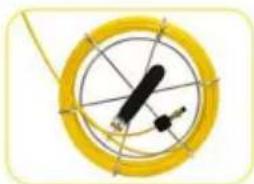
Circular diagram with intersecting lines and a central black object, no visible text or symbolsCoil
natural_image
Black cylindrical mechanical component with rivets and mounting holes (no visible text or symbols)Protector 2
natural_image
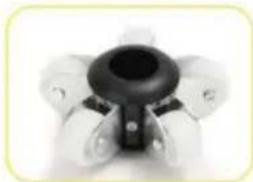
Close-up of a black mechanical component with four white arms (no visible text or symbols)Protector 1
natural_image
Black rectangular object with rounded ends, resembling a stylized banner or tray (no text or symbols visible)PVC Sunshade
natural_image
Black cordless earplifier with earphones and connectors (no text or symbols visible)512 headphone cable
natural_image
Black electrical adapter with attached cable (no visible text or symbols)Charger
natural_image
Green screwdriver with a flat blade and handle, isolated on white background (no text or symbols)Screwdriver
natural_image
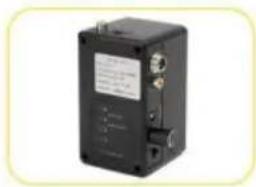
Black rectangular electronic device with ports and a label, no visible text or symbols on the body.Battery box
natural_image
Simple line drawing of a curved object resembling a stylized plant or abstract form (no text or symbols)Connecting line
VEVOR 512 Hz PIJPLOCATOR GEBRUIKERSHANDLEIDING
natural_image
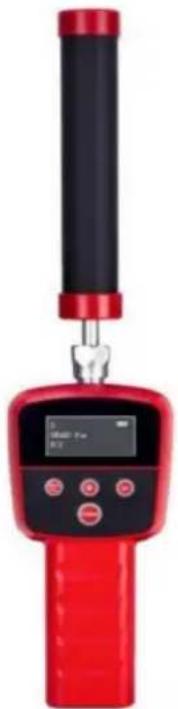
Red handheld scientific instrument with a vertical rod and digital display (no visible text or symbols)natural_image
Hands holding a red handheld device inside an open black tool kit case (no visible text or symbols)natural_image
Close-up of a red-handled tool with a black handle and red buttons, showing internal components and a close-up view of the tool's tip (no text or symbols visible)natural_image
Three red handheld devices: a hand pinning a button, a speaker with sound waves, and a digital stopwatch with earphones (no visible text or symbols)C/O YH Consulting Limited Kantoor 147,
Centurionhuis, Londenweg,
Staines-upon-Thames, Surrey, TW18 4AX
E-CrossStu GmbH
Mainzer Landstr.69,
60329 Frankfurt am Main.
VEVOR®
TOUGH TOOLS, HALF PRICE
Technische ondersteuning en e-garantiecertificaat www.vevor.com/support
VEVOR®
TOUGH TOOLS, HALF PRICE
natural_image
Exterior view of a black-and-white industrial equipment case with yellow hoses and a digital pressure gauge (no visible text or symbols)BEHÖVER HJÄLP? KONTAKTA OSS!
www.vevor.com/support
- Start/Stop Recording
- Photograph
-
Confirm when entering the menu Settings
-
To switch between recording and photographing.
- Long press to view photo and video files
- Enter the menu and exit
- Tap to enter menu Settings/exit
to Power on/off
- to Zoom in the image0-36
-
When entering the menu option under/Next video
-
to zoom out
- Select on/Previous Video when entering the menu
Spole
High Quality Fiberglass Detection Cable
Cellåda
natural_image
Yellow and black scientific equipment setup including a sensor coil, cable, and monitor (no visible text or symbols)Laddar
natural_image
Black industrial electronic device with attached power strip and cable (no visible text or symbols)natural_image
Open black-and-white photo of a medical device with yellow hoses and a monitor on top (no visible text or symbols)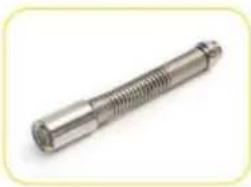
natural_image
Metal threaded bolt with threaded shaft (no text or symbols visible)Camera
natural_image
Black-and-white photo of a flat-screen TV displaying a glowing moon against a dark sky with silhouetted figures (no visible text or symbols)TFT LCD Screen
natural_image
Solid yellow textured surface with horizontal striations (no text or symbols)Detection cable
natural_image
Circular diagram with intersecting lines and a central black object, no visible text or symbolsCoil
natural_image
Black cylindrical mechanical component with rivets and mounting holes (no text or symbols visible)Protector 2
natural_image
Close-up of a black mechanical component with four white arms (no visible text or symbols)Protector 1
natural_image
Black rectangular object with rounded ends, resembling a stylized banner or tray (no text or symbols visible)PVC Sunshade
natural_image
Black cordless earplifier with earphones and connectors (no text or symbols visible)512 headphone cable
natural_image
Black rectangular electronic device with a black cable and power plug, no visible text or symbolsCharger
natural_image
Green screwdriver with a flat blade and handle, isolated on white background (no text or symbols)Screwdriver
natural_image
Black rectangular electronic device with ports and a label, no visible text or symbols on the body.Battery box
natural_image
Simple line drawing of a curved object resembling a stylized plant or abstract form (no text or symbols)Connecting line
VEVOR 512 Hz PIPE LOCATOR ANVÄNDARHANDBOK
natural_image
Red handheld device with black handle and digital display showing a screen (no visible text or symbols)natural_image
Hands holding a red handheld device inside an open black tool kit case (no visible text or symbols)natural_image
Close-up of a red-handled tool with a black handle and red buttons, showing internal components and a close-up view of the tool's tip (no text or symbols visible)natural_image
Three red handheld devices: a small electronic device with a screw, a red handheld device with earphones and a digital display, and a black-and-white photo of a hand adjusting a component (no visible text or symbols)5. Vanliga frågor
C/O YH Consulting Limited Office 147,
Centurion House, London Road,
Staines-upon-Thames, Surrey, TW18 4AX
| EC | REP |
E-CrossStu GmbH
Mainzer Landstr.69,
60329 Frankfurt am Main.
VEVOR®
TOUGH TOOLS, HALF PRICE
www.vevor.com/support
- Pipe Inspection System
- Model:WP90FTR
- VEVOR®
- NEED HELP? CONTACT US!
- Attentions
- Description
- Instruction for Product
- Camera
- Product Specification
- Coil
- Cell box
- System Installation
- Charging
- Product components and accessories
- PRODUCT COMPONENTS
- VEVOR 512 Hz PIPE LOCATOR USER MANUAL
- Safety Information
- Specifications
- Antenna: receive signal.
- The Procedure to Use
- Step 10. how to get the transmitter signal
- Common questions
- The list of equipment in a whole set
- Pipe Failure Analysis
- FCC Information
- Disposal information:
- TOUGH TOOLS, HALF PRICE
- BESOIN D'AIDE? CONTACTEZ-NOUS!
- Boîte à cellules
- Chargement
- MANUEL D'UTILISATION DU LOCALISATEUR DE TUYAUX VEVOR 512 Hz
- Spule
- Zellenbox
- Machine Translated by Google
- Laden
- VEVOR 512 Hz ROHRSUCHE-BENUTZERHANDBUCH
- Häufige Fragen
- Bobina
- Scatola cellulare
- Ricarica
- MANUALE D'USO DEL LOCALIZZATORE DI TUBI VEVOR 512 Hz
- Cargando
- POTRZEBUJESZ POMOCY? SKONTAKTUJ SIĘ Z NAMI!
- Ładowanie
- INSTRUKCJA OBSŁUGI LOKALIZATORA RUR VEVOR 512 Hz
- Procedura użycia
- HULP NODIG? NEEM CONTACT MET ONS OP!
- Spoel
- Celdoos
- Opladen
- VEVOR 512 Hz PIJPLOCATOR GEBRUIKERSHANDLEIDING
- BEHÖVER HJÄLP? KONTAKTA OSS!
- Spole
- Cellåda
- Laddar
- VEVOR 512 Hz PIPE LOCATOR ANVÄNDARHANDBOK
- Vanliga frågor
Brand : Vevor
Model : WP90FTR
Category : Video camera