Bella - Rocking chair Lionelo - Free user manual and instructions
Find the device manual for free Bella Lionelo in PDF.
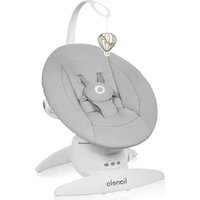
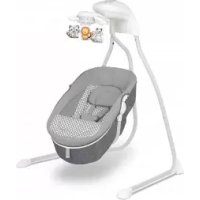
| Product type | Rocking chair / baby lounger |
| Brand | Lionelo |
| Model | Bella |
| Maximum child weight | 9 kg |
| Power supply | 4 LR14 batteries (not included) or mains adapter 5.8V DC 0.8A (not included) |
| Rocking functions | 5 rocking speeds, 6 modes (including automatic mode changing every ~16s), night mode (slows down then stops) |
| Motion detection | Yes, automatically activates rocking and melody |
| Melodies | Several built-in melodies, volume adjustment |
| Rotation | 360° in all directions |
| Recline positions | 3 positions: sitting, semi-reclined, lying down |
| Toy bar | Removable, 5 adjustment positions |
| Remote control | Included, button cell battery, allows control of rocking, melodies, volume, motion detection |
| Safety harness | Shoulder straps and waist belt, buckle with click lock |
| Cover | Removable, hand wash at 30°C with mild detergent, do not bleach or machine wash |
| Frame and plastic parts | Clean with damp cloth and mild detergent, wipe dry before use |
| Standards | EN 12790:2009 (lounger); Bella Set: EN 12790:2009, EN 1130:2019+AC:2020, EN 16890:2017+A1:2021 |
| Warranty | Detailed conditions available on the manufacturer's website |
| Manufacturer | BrandLine Group Sp. z o. o., ul. A. Kriegewskiego 1, 61-248 Poznan, Poland |
Frequently Asked Questions - Bella Lionelo
User questions about Bella Lionelo
0 question about this device. Answer the ones you know or ask your own.
Ask a new question about this device
Download the instructions for your Rocking chair in PDF format for free! Find your manual Bella - Lionelo and take your electronic device back in hand. On this page are published all the documents necessary for the use of your device. Bella by Lionelo.
USER MANUAL Bella Lionelo
Baby bed and bouncer
Łożeczko i leżaczek
In case of any questions or comments on the purchased product, please contact
us: help@lionelo.com
The product meets the requirements of the standards:
Bella: EN 12790:2009
Bella Set: EN 12790:2009, EN 1130:2019+AC:2020, EN 16890:2017+A1:2021
Producer:
BrandLine Group Sp. z o. o.
ul. A. Kriegewskiego 1, 61-248 Poznań, Poland
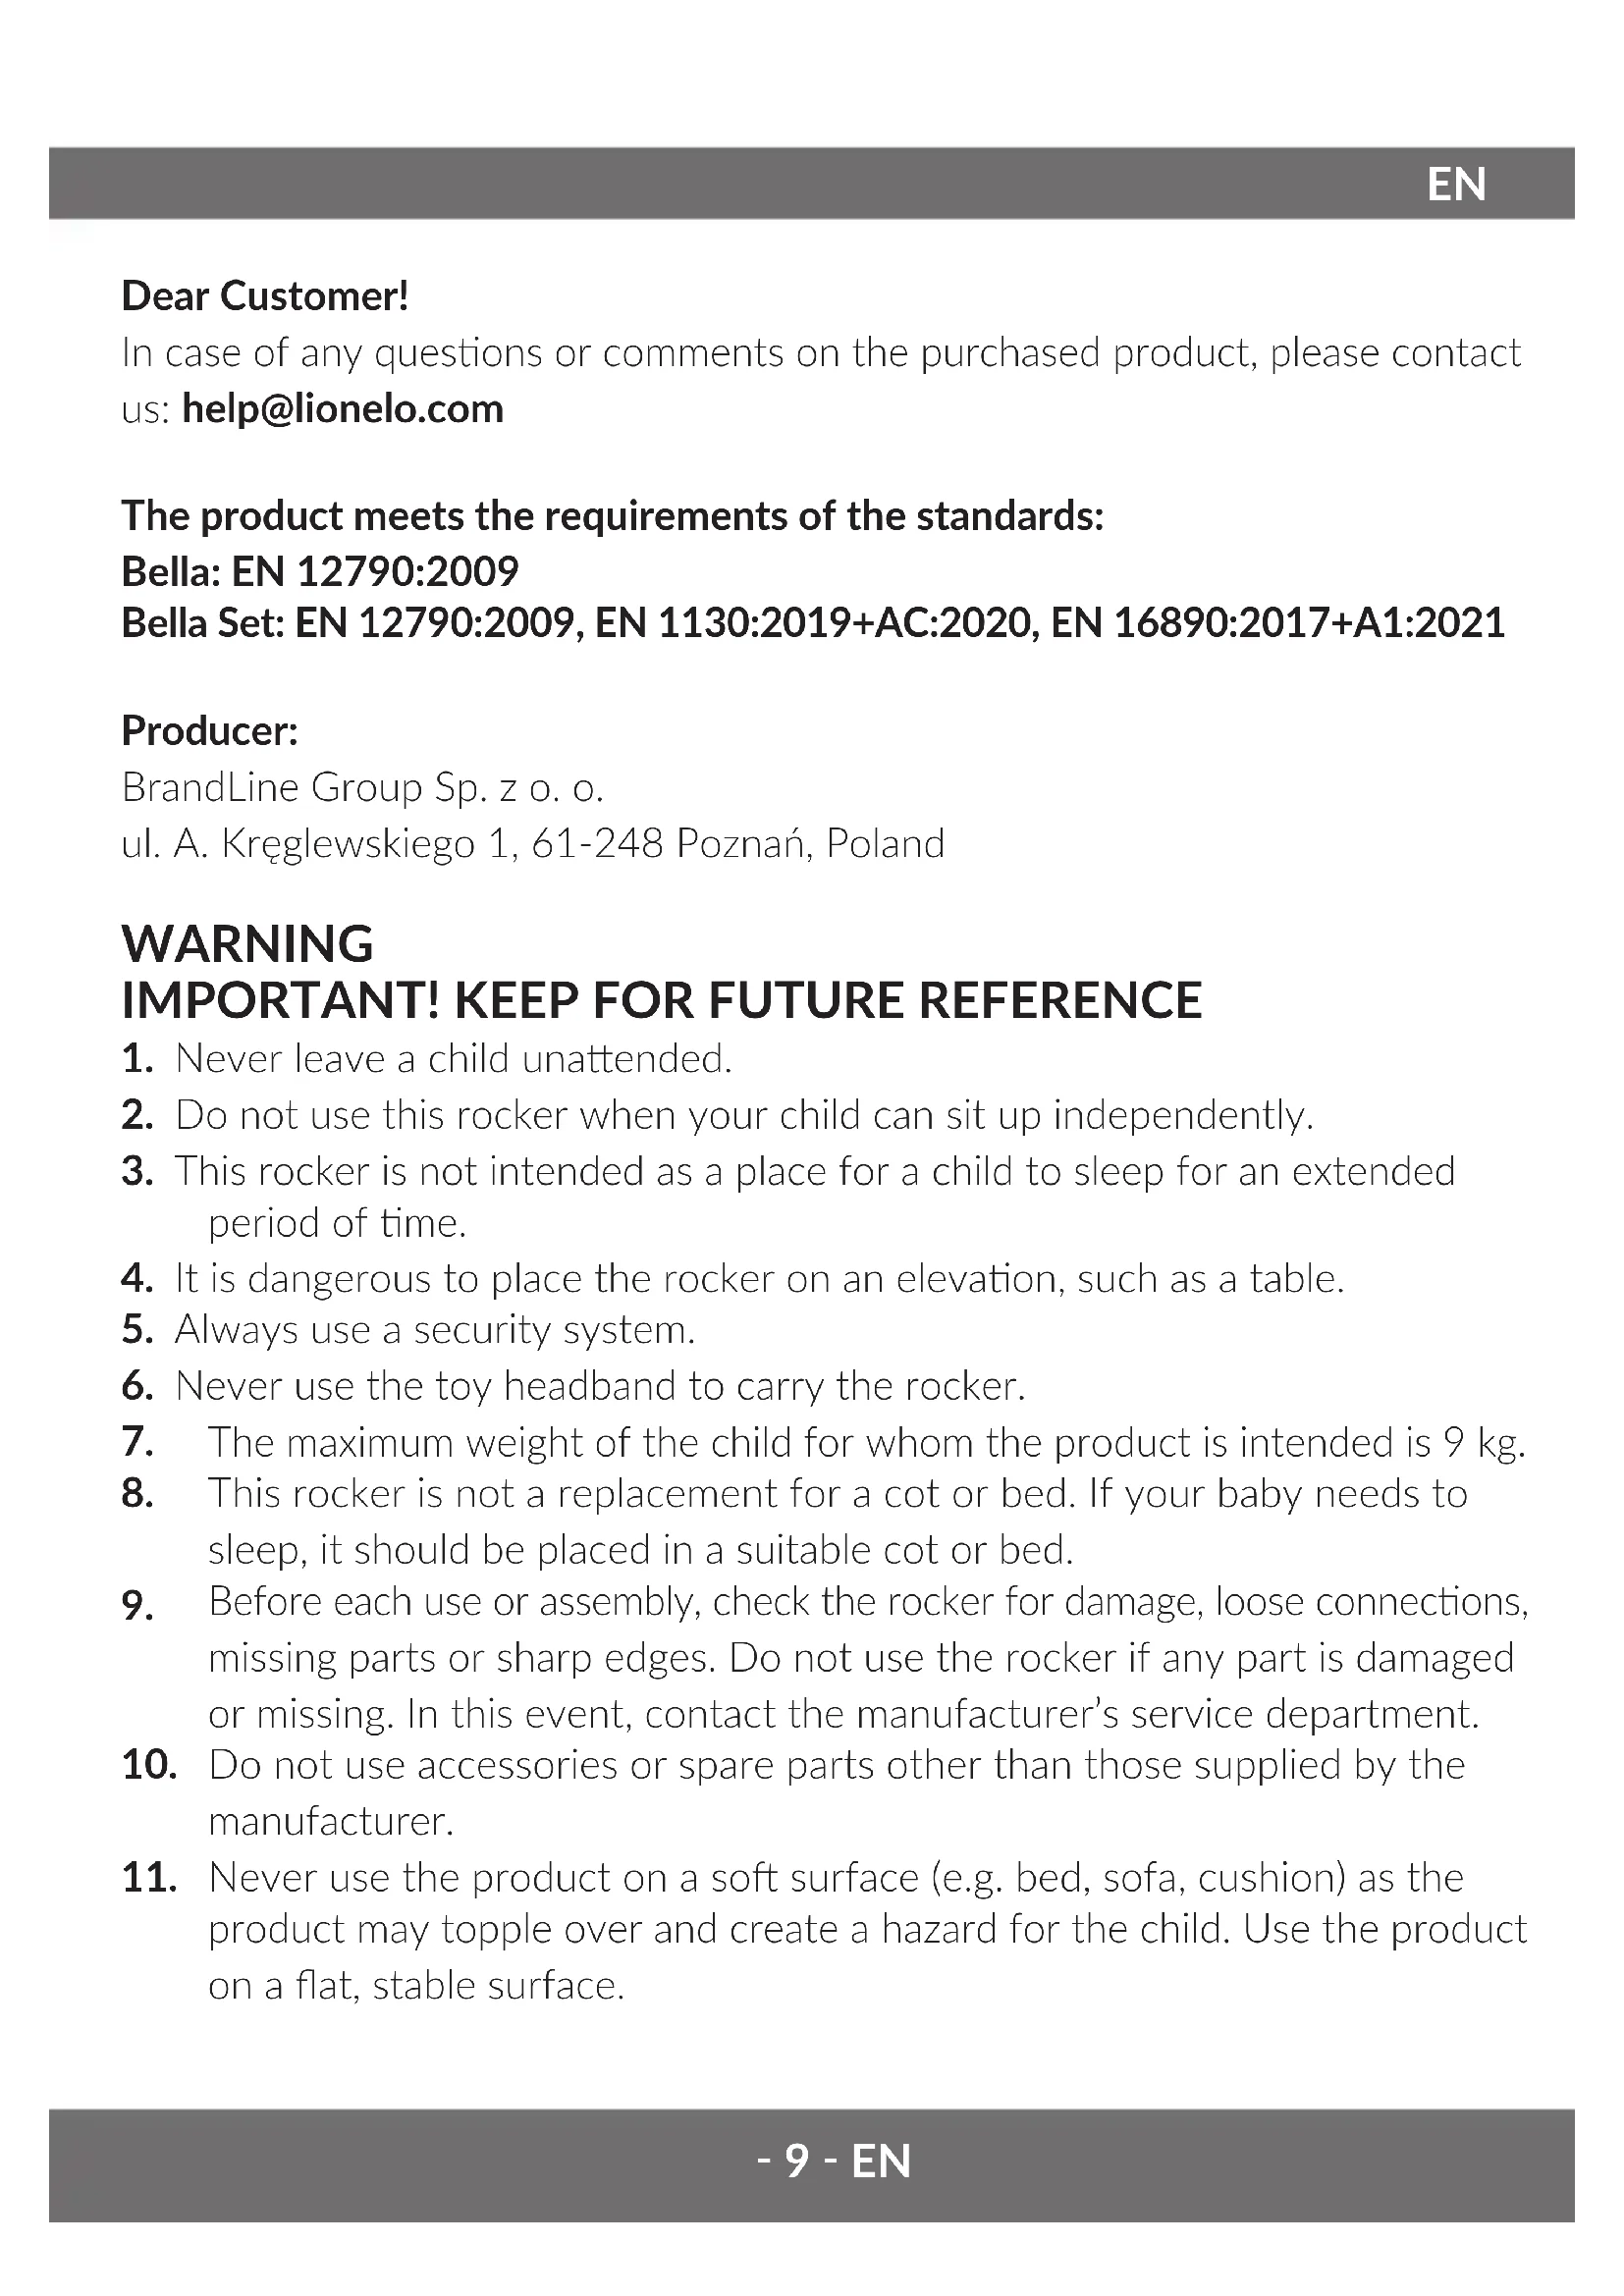
WARNING
IMPORTANT! KEEP FOR FUTURE REFERENCE
- Never leave a child unattended.
- Do not use this rocker when your child can sit up independently.
- This rocker is not intended as a place for a child to sleep for an extended period of time.
- It is dangerous to place the rocker on an elevation, such as a table.
- Always use a security system.
- Never use the toy headband to carry the rocker.
- The maximum weight of the child for whom the product is intended is 9kg
- This rocker is not a replacement for a cot or bed. If your baby needs to sleep, it should be placed in a suitable cot or bed.
- Before each use or assembly, check the rocker for damage, loose connections, missing parts or sharp edges. Do not use the rocker if any part is damaged or missing. In this event, contact the manufacturer's service department.
- Do not use accessories or spare parts other than those supplied by the manufacturer.
- Never use the product on a soft surface (e.g. bed, sofa, cushion) as the product may topple over and create a hazard for the child. Use the product on a flat, stable surface.
NOTE! IMPORTANT! READ CAREFULLY AND KEEP FOR FUTURE REFERENCE
- Do not use this product without first reading the instructions.
- Stop using the product as soon as the child is able to sit, kneel or pull themselves up.
- Placing additional items in the cot may cause suffocation.
- Do not place the product in the vicinity of an item that may present a strangulation risk, e.g. cords, ropes/curtains, etc.
- Do not use more than one mattress in a product.
- The product should be placed on a horizontal floor.
- Small children should not be allowed to play unsupervised near the cot.
- The cot should be locked in a fixed position when the child is left unattended.
- All mounting components should always be properly tightened. It is important to ensure that no screws are loose, as the child may catch on them with parts of the body or clothing (e.g. cords, necklaces, toy ribbons, etc.), which may pose a risk of strangulation.
- The maximum mattress thickness is indicated by a line on the inside of the cot. Do not use a thicker mattress than allowed.
- Be aware of the risks posed by cigarettes, open fires or other sources of high temperature such as electric cookers, gas cookers, etc., near the cot.
- DO NOT use the cot if any part is missing or broken or damaged. Contact Lionelelo for spare parts and instructions if necessary. DO NOT replace parts in the cot yourself.
WARNING FOR THE MATTRESS
IMPORTANT! READ
CAREFULLY AND KEEP FOR
FUTURE REFERENCE
- Do not use the mattress if a component is broken, torn or lost, use only manufacturer-approved replacement parts.
- Do not use more than one mattress in the cot.
- Be aware of the risks posed by open fires or other sources of high heat such as electric cookers, gas cookers etc. near the cot.
The rocker can be powered by 4 LR14 batteries or with the help of a power supply. Batteries and power supply are not part of the set.
Description of the product parts (fig. A, B)
- Base
- Control panel
- Connecting piece between the base and the rocker / carrycot
- Rocker / carrycot release button
- Battery compartment
- Power port
- Rocker support
- Seat tilt adjustment button
- Front part of the frame
- Rear part of the frame
10a. Mounting element of the toy headband -
Toy headband
-
Headband release button
- Toy
- User Manual
- Carrycot
- Remote control
- Cover
- Seat
- Shoulder belts
- Seat belt cover
- Lap belts
- Buckle
- Zipper
- Shoulder belt buckles
Control panel (fig. C)
- Rocking speed indicator
Indicator shows the selected rocking speed (1-5)
- Motion detection indicator
The indicator lights up when the child motion detection function is enabled. - Power indicator
The indicator lights up when the device is on. - On/off switch
- Selection of rocking speed
Select one of the rocking speeds (1-5).
- Remote control receiver
- Baby motion detection on/off switch
- Change of the rocking mode
- Melody selection
- Automatic mode
The mode changes about every 16 seconds.
-
-
- Five rocking modes
-
- Night mode
Activating this mode will cause the device to slow down the rocking until it stops completely.
Remote control (fig. D)
- Battery compartment lid
- On/off switch
- Play or stop the melody
- Next melody
- Previous melody
- Increasing the volume
- Reducing the volume
- Selection of the rocking speed
- Change of the rocking mode
- Baby motion detection on/off switch
- Battery compartment
Power supply
Connect the USB cable to the power supply, and then plug the power supply into a power outlet. Place the other end of the cable in the DC port located in the base of the rocker (6, fig. A).
Note! The power supply should be checked regularly for potential damage to the cable, plug, contacts and other components. If abnormalities are detected, the power supply should no longer be used.
When using the product, use only the power adapter with the appropriate specifications: 5,8V DC 0,8A.
Batteries
- Keep batteries away from children.
- Insert the batteries into the compartment according to polarity.
- Do not throw the batteries into a fire as this may cause an explosion.
- If the product is not used for a long time, remove the batteries from the compartment.
- Always remove the empty battery. The battery left in the product may leak or explode and destroy the product.
- The batteries that are not designed for charging should not be charged.
- Do not mix the batteries of different types or old (used) batteries with new ones.
- Do not short-circuit the power supply terminals.
- Dispose of the batteries in accordance with regulations by disposing of them in specially designated containers.
- Warning! The remote control contains button batteries that can cause serious internal chemical burns if swallowed.
- Warning! Dispose of the used button batteries immediately. Keep new and used batteries away from children. If you suspect that batteries have been swallowed or placed in any part of the body, seek immediate medical help.
Battery installation (fig. E)
Remove the battery compartment lid by unscrewing the screw with a screwdriver.
- Place the batteries in the battery compartment paying attention to the polarity of the batteries.
- Attach the battery compartment lid and tighten the screw.
Remote control battery installation (fig. F)
-
Open the battery compartment lid and pull out the battery tray.
-
Place the button battery in the tray (1, fig. F), and then place the whole in the remote control (2, fig. F).
- Close the battery compartment. A click will signal a proper closure.
Assembly and disassembly of the rocker
- Place the rocker supports on the base (fig. 1). The correct installation will be signalled by the click of the release buttons (B, fig. 1).
- Connect the front and rear parts of the frame (fig. 2). Notice the labelling of the pipes (1, fig. 2) and connect the pipes marked with the same letter. The correct installation will signal a click.
- Make sure the metal tabs are in the correct holes (2, fig. 2).
- Place the cover over the frame of the rocker (fig. 3). Make sure that the cover is correctly placed (2,3 fig. 3) and the zipper is fully fastened (fig. 4,5). Do not use the rocker if the zipper is not completely fastened (A,B, fig. 5).
- To remove the rocker from the base, press the release buttons (4, fig. A) located on both sides of the mounting element (3, fig. A).
Seat belts
- Unbuckle the belts by pressing the button located in the buckle (2, fig. 6).
- Insert the belts into the appropriate holes in the cover, adjusting them to the height of the child (fig. 7). Insert the belts into the buckles, located on the back of the seat, and tighten (1,2,3, fig. 7).
- After placing the baby in the rocker, fasten the belts by inserting the latch parts into the buckle (1, 2, fig. 8), and then fasten the hook-and-loop fastener of the cover (3, fig. 8).
- The correct fastening will signal a click. Do not use the rocker if the belts are not properly fastened (fig. 9).
Toy headband
Note! Do not carry the product while holding it by the headband.
- Insert the toy headband into the mounting piece located on the frame of the rocker (fig. 10). The correct installation will signal a click. The headband can be adjusted to five positions (fig. 11).
- To remove the headband from the frame of the rocker, press the release button (12, fig. B).
Using the rocker
- The rocker can be rotated 360^ in any direction (fig. 12).
- To change the position of the seat, press the adjustment buttons (8, fig. A) located on both sides of the frame, and then select one of the three positions - seated, reclining or semi-reclining (fig. 13).
- To start the device, connect it to the power source or insert batteries, then press the switch on the remote control or control panel.
- Choose from five rocking speeds.
Rocking modes
- Select one of the six rocking modes (fig. 14). Selecting mode one (10, fig. C) will change the rocking mode about every 16 seconds.
- Select night mode on the control panel (16, fig. C) or remote control (9, fig. D), the device will start to slow down rocking until it stops completely.
Child motion detection
To activate the child motion detection function, press button 7 (fig. C) on the control panel or 10 (fig. D) on the remote control. Press again to turn it off. When the baby's motion is detected, the rocking and melody will be turned on automatically.
Melodies
Press button 9 (fig. C) to activate one of the available melodies on the control panel. Press the button again to turn it off. Press and hold to increase or decrease the volume.
Press button 3 (fig. D) to select a melody using the remote control. Change the melody to the next or previous one using buttons 4 and 5 (fig. D). Increase or decrease the volume with buttons 6 and 7 (fig. D).
Assembling and disassembling the carrycot of the cot (applies to Bella Set)
To mount the cot on the product frame, follow the same steps described in the subsection Mounting the rocker. The cot can be rotated 360^ in any direction.
Mounting the toy headband on the carrycot of the cot
To install the toy headband, place it on both sides of the crib frame (fig. 15).
Troubleshooting
| Problem Possible solution | |
| The melody and rocking suddenly stop. | The device is incorrectly connected to the power supply / discharged batteries. |
| The device does not turn on. | Check that the batteries have been installed correctly. Make sure the batteries are not discharged. |
| The device is shaking excessively. | Check that the installation on the base was conducted correctly. |
| Weak indicator light. | Make sure the batteries are not discharged. Replace the batteries with new ones. |
Cleaning and maintenance
- Clean minor dirt on the cover with a wet cloth and a mild detergent.
- The cover can be removed and washed by hand at up to 30^ with a mild detergent.
- Do not use bleach or other strong cleaning substances.
- Do not machine wash or dry.
- Wet covers should be unfolded and left to dry completely.
- Clean the frame and plastic parts with a wet cloth and a mild detergent. Wipe the frame and plastic parts dry before the next use.
- Store the product in a dry place, away from high temperatures and humidity.
Photos are for reference only, the actual appearance of the products may differ from that shown in the photos.
Drogi Kliencie!
PexnM MeHreTc npimepHo KaKdIe 16 cekyH.
11.-15. pTb peKIMOB kaHaHna
16. HocnopeKIM
Актуваця заю рек immа пиведет К заMuДлелно Качань устpoИCTВа до NOЛнов OCTaHOBKN.
YcTaHOBka 6aTapeek (pnc. E)
YcTaHOBka 6aTaapeek NylbTa DnCTaHcNoHHOrO ynpaBJeHn (pnc. F)
- Štrkpoǐte kpbíshky batapeñHoro OTceKa n BbīTaùnTe loTOK對於 batapeek.
- Помechтente миниатюрные лементы петеня в лоток (1, рис. F), a за темпомechтente ee цelenkom в пььт дисанционноуnpавлени (2, рис. F).
- 3akpoTe 6aTaapeHbI OtceK. PpaBnJIbHoe 3akpyTne 6yJeT cnHaJIu3InpOBA TbCxapaKTepHbIM UeJyKom.
MoHTaK I DeMOHTaK Ⅲe3Iohra
- YctaHOBInTe onopbI 7e3IOHra Ha 6a3y (pnc. 1). O npaBnIbHoCTn c6OpKn 6yJeT cBnIteTbCTBOBaTb 7eJUOK KHOJOK HKcauN (B, pnc. 1).
- CoeHInTe nepeHIO n 3aHIO uactn paMbI (pnc. 2). O6paTInTe BHHMaHne Ha MapKnipOBky Tpy6ok (1, pnc. 2) n coeHNITE Tpy6kn, MapKnipOBaHHbIe OdnHaKOBbIMN 6yKBaMn. IpaBnJIbNaYcTaHOBka 6yJeT cnHaJIIN3uPObaTbcx XapaKTeprHbIM UeJyKom.
- Y6eIntecb, yTo MeTaJIInueckne I3bIyKn HaxOJaTcB B npaBnJIbHbIX OTBepCTnJx (2, pnc. 2).
- HaIeHbTe yexoHa paMy 7e3IOHra (pnc. 3). Y6eIITecb, YTO yexoI npaBnIbHO yCTaHOBHeN (2,3 pnc. 3), a MoIHHa POJIHOCTbIO 3aCTeHTyTa (pnc. 4,5). He nCnoJIb3yIte 7e3IOHr, eCIn MOJIHHa He 3aCTeHTyTa POJIHOCTbIO (A,B, pnc. 5).
- 附TO6bI CHaTb Ie3IOHr C OCHOBaHnA, HaxMITE Ha KHOJKN pa36IoKInPOBKn (4, pnc.A), pacnoJIOXKeHHbIe c oBeHX CTOpOH MOHTaJxHOrO 3JIemEHTa (3, pnc.A).
PpeoxpaHnteIbHbIe peMHn
- PacCTeRHTe peMHn, HauKaB Ha KhoNky B npJxke (2, pnc. 6).
-
BcTaBbTe peMHn B COOTBeTCTByUOJIne OTBepCTnB KpbIuKe, OTpereyIInpOBaBnx no poCTy pe6eHka (pnc. 7). BcTaBbTe peMHn 6e3OpacHoCTn B npJxKnB 3aJHeJ yactn cnJeHbI n 3aTaNHTe nx (1,2,3, pnc. 7).
-
Korda pe6eHok haoiTcB 7e3IOHRe, 3aTeHnTe peMHN, BCTaBnB 3aIeKn B npjKky (1, 2, pnc. 8), a 3aTeM 3aTeHnTe 3aIuTy Ha IInnyKn (3, pnc. 8).
- Правильhoe застеговане удет сигналзюваться щeелков. He Исторьу-te щe3лонг, ecnl peMHи He 3akpenlleHbI должныm obpa30m (pnc.9).
Дугасиrgушкамn
BnmaHne! He nepenocite n3dJIne, depka er0 3a orolOBbe.
POZORNÉ A USCHOVEJTE
PRO BUDOUĆ POUŽITÍ
Ovladaci panel (obr. C)
EN: Simplified EU / EC declaration of conformity
BrandLine Group Sp. z o. o. hereby declares that the "BELLA / BELLA SET" product complies with the directive: 2014/30/EU - EMC Directive, 2011/65/EU - RoHS Directive, 2009/48/EC - Toy Directive (Toy set only).
Full content of EU declaration of conformity is available on the following website:
Brandline Group Habstorym 3aBnAeT,чTo npOdyKT "BELLA/BELLA SET" coOTBeTcTByeT Tpe6oBaHnAm DnpeKtNbbl:2014/30/EU - EMC Directive, 2011/65/EU - RoHS Directive, 2009/48/EC - Toy Directive (Toy set only).
Полны Teкст Декларачи O COOTBETCTBnE EC / CE doctypen no cneyuOeMy Be6-aDpecy:
EN: The product complies with requirements of EU directives.
Pursuant to the Directive 2012/19/EU, this product is subject to selective collection. The product must not be disposed of along with domestic waste as it may pose a threat to the environment and human health. The worn-out product must be handed over to the electrics and electronics recycling center.
Detailed warranty conditions are available on the website: