IBase 2 - Car seat Joie - Free user manual and instructions
Find the device manual for free IBase 2 Joie in PDF.
Download the instructions for your Car seat in PDF format for free! Find your manual IBase 2 - Joie and take your electronic device back in hand. On this page are published all the documents necessary for the use of your device. IBase 2 by Joie.
USER MANUAL IBase 2 Joie
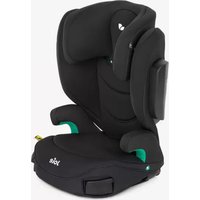
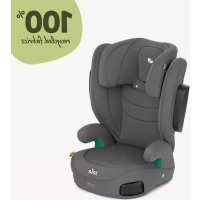
You have purchased a high quality, fully certified child safety child re-straint. This product is suitable for the use of your child with height and weight according to the following: i-Gemm 3: child height 40cm - 85cm/ child weight 13kg i-Jemini: child height 40cm - 85cm/ child weight 13kg i-Juva: child height 40cm - 75cm/ child weight
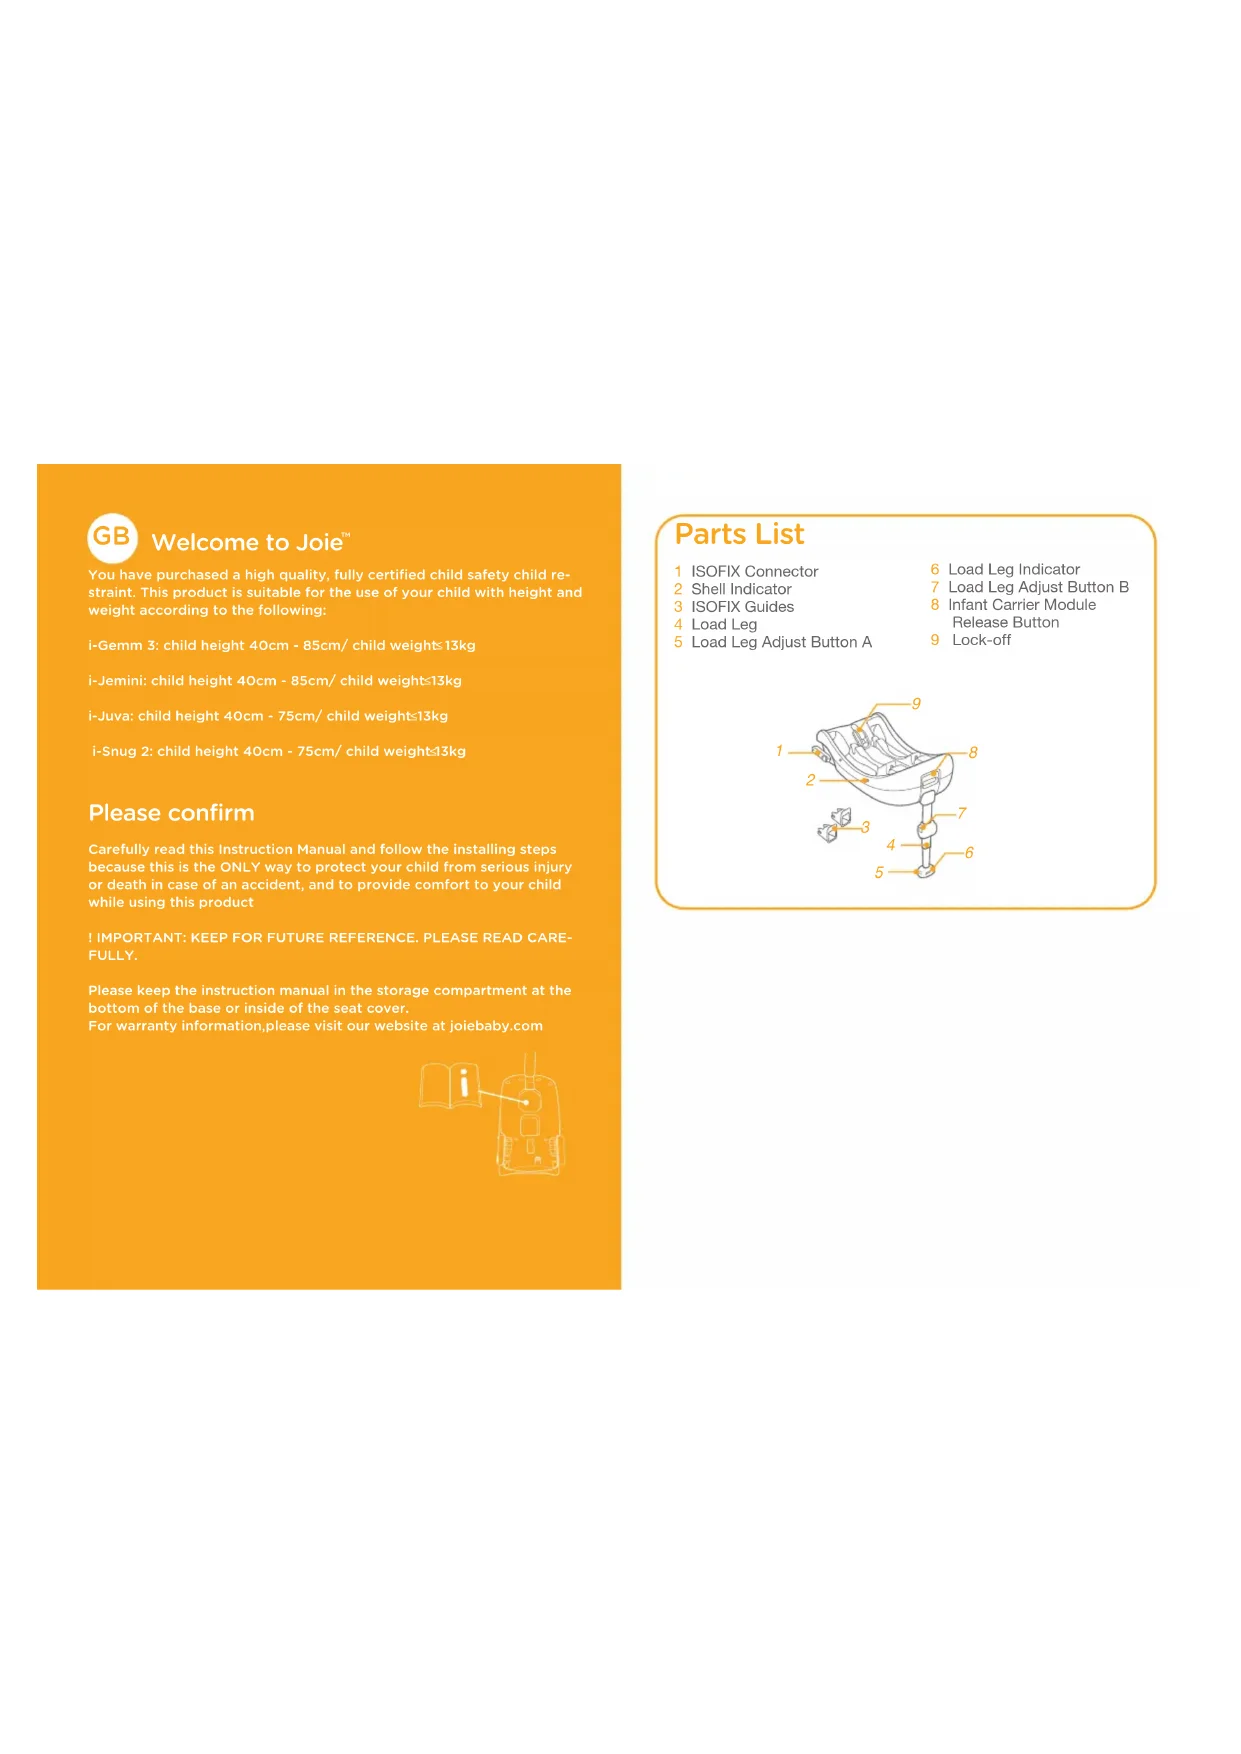
13kg i-Snug 2: child height 40cm - 75cm/ child weight 13kg Please confirm Carefully read this Instruction Manual and follow the installing steps because this is the ONLY way to protect your child from serious injury or death in case of an accident, and to provide comfort to your child while using this product! IMPORTANT: KEEP FOR FUTURE REFERENCE. PLEASE READ CARE-FULLY.Please keep the instruction manual in the storage compartment at the bottom of the base or inside of the seat cover. For warranty information,please visit our website at joiebaby.com 6 Load Leg Indicator 7 Load Leg Adjust Button B 8 Infant Carrier Module Release Button 9 Lock-off3 4 WARNING ! For the complete information and best protection of using the enhanced child restraints, you must follow their instruction manuals carefully: Please refer to i-Gemm 3 instruction manual for the use of i-Gemm 3. Please refer to i-Jemini instruction manual for the use of i-Jemini. Please refer to i-Juva instruction manual for the use of i-Juva. Please refer to i-Snug 2 instruction manual for the use of i-Snug 2. Emergency In case of emergency or accidents, it is most important to have your child taken care of with first aid and medical treatment immediately. Product Information On the base with the i-Size ISOFIX connections
1. This is an i-Size Enhanced Child Restraint System. It is approved
according to UN Regulation No.129, for use in, i-Size compatible vehicle seating positions as indicated by vehicle manufacturers in the vehicle users’ manual.
2. If in doubt, consult either the Enhanced Child Restraint System
manufacturer or the retailer. On the Base with Vehicle Belt
1. This is Specific vehicle Belted Enhanced Child Restraint System.
2. If in doubt, consult either the Enhanced Child Restraint System
manufacturer or the retailer. Materials Plastics, metal, fabrics Patent No. Patents pending
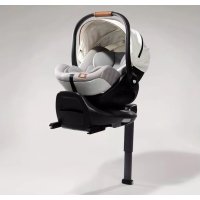
This infant carrier module is suitable for vehicle seats with i-Size ISOFIX anchor points with the Base.
DO NOT install this enhanced infant child restraint on vehicle seats that face sideways or rearward with respect to the moving direction of the vehicle.
DO NOT place rear-facing enhanced infant child restraint on front seat with air bag , because death or serious injury may occur. Please reference vehicle owner’s manual for more information.
It is recommended to install this enhanced infant child restraint on the rear vehicle seat.
DO NOT install this enhanced infant child restraint on vehicle seats movable during installation. Installation Concerns
1. Unfold the load leg from storage compartment.
2. Fit the ISOFIX guides with the ISOFIX anchor points.
The ISOFIX guides can protect the surface of the vehicle seat from being torn. They can also guide the ISOFIX connectors.
3. Rotate the ISOFIX connectors 180 degrees until they are pointing in
4. Line up the ISOFIX connectors with the ISOFIX guides, and then
click both ISOFIX connectors into the ISOFIX anchor points.
Make sure that both ISOFIX connectors are securely attached to their ISOFIX anchor points. There should be two audible clicks and the colors of the indicators on the both ISOFIX connectors should be completely green.
Check to make sure the base is securely installed by pulling on the both ISOFIX connectors.
5. After placing the base on the vehicle seat, extend the load leg to
, When the load leg indicator shows green means it is installed correctly, red means it is installed incorrectly.
The load leg has 24 positions. When the load leg indicator shows red this means the load leg is in the wrong position.
Make sure the load leg is in full contact with the vehicle floor pan.
Squeeze the load leg releasing button, then shorten the load leg upwards. The completely assembled base is shown as
The ISOFIX connectors must be attached and locked onto the ISOFIX anchor points.
The load leg must be installed correctly with green indicator.
Installation with base ISOFIX Installation see images
6. Push the infant carrier module down into the base
, if the enhanced infant child restraint is secure, the enhanced infant child restraint indicator shows green.
Pull up on the infant carrier module to be sure it is securely latched into the base.
7. To release the infant carrier, pull the infant carrier up
-2 while squeezing the infant carrier release button.
-1 first and then the button
-2 on the ISOFIX connectors before removing the base from the vehicle seat.
Vehicle Belts Installation see images
1. Unfold the load leg from storage compartment.
2. After placing the base on the vehicle seat, extend the load leg to
, When the load leg indicator shows green means it is installed correctly, red means it is installed incorrectly.
The load leg has 24 positions. When the load leg indicator shows red this means the load leg is in the wrong position.
Make sure the load leg is in full contact with the vehicle floor pan.
Squeeze the load leg releasing button, then shorten the load leg upwards.
3. Open the lock-off and route the vehicle safety belt through the belt
-1, and lock it into the buckle.
4. Tighten the vehicle safety belt as much as possible while pushing
down on the base, and check it is not loose or twisted, then close the lock-off.
The infant child restraint can not be used if the vehicle safety belt with female buckle is too long to tie the base.
Check that the safety belt does not move by pulling and pushing hard on base. If belt loosens or lengthens, repeat procedure.
5. The installed base is shown as
Please ensure that there is no gap between the seat and the bottom of the base.
The safety belt must go under the lock-off, not over the lock-off.
The safety belt must be locked into the buckle.
The load leg must be installed correctly with green indicator.
6. Push the infant carrier module down into the base.
7. If the enhanced child restraint is secure, the enhanced child restraint
indicator shows green.
Pull up on the infant carrier module to be sure it is securely latched into the base.
8. To release the infant carrier module, pull the infant carrier up
while squeezing the infant carrier release button.