BabyCam 80420 - Baby monitors Reer - Free user manual and instructions
Find the device manual for free BabyCam 80420 Reer in PDF.
Document temporarily unavailable
The manual is currently being transferred to our new server. It will be accessible again in a few hours. Thank you for your patience.
| Product Type | Video Baby Monitor |
| Brand | Reer |
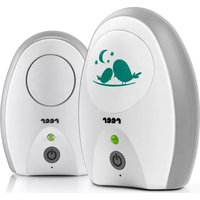
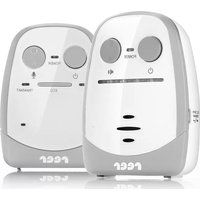
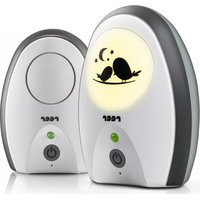
| Model | BabyCam 80420 |
| Transmission Technology | Digital FHSS (Frequency Hopping Spread Spectrum) |
| Frequency | 2.4 GHz |
| Maximum Range | 300 meters (open field) |
| Camera Power Supply | Power adapter 5 V / 600 mA (included) |
| Monitor Power Supply | Rechargeable lithium-polymer battery 3.7 V 1600 mAh (built-in) + 5 V power adapter |
| Monitor Battery Life | Up to 14 hours (standby) |
| Camera Field of View | 50° |
| Main Features | Voice activation (Vox), 2x digital zoom, automatic night vision, nightlight, adjustable microphone sensitivity, connection up to 4 cameras, auto scan, silent mode, connection loss alarm, manual camera orientation |
| Care and Cleaning | Clean with a slightly damp cloth; do not immerse in water; do not use chemicals |
| Safety | Do not let children play with the device; place at least 1 meter from baby; do not place in crib; do not use near water; do not expose to excessive heat |
| Spare Parts and Repairability | Built-in battery not user-replaceable; repairs by specialist only |
| Warranty | Through the retailer; keep proof of purchase |
| General Information | Manufacturer: reer GmbH, Muehlstr. 41, 71229 Leonberg, Germany; EU declaration of conformity available at www.reer.de |
Frequently Asked Questions - BabyCam 80420 Reer
User questions about BabyCam 80420 Reer
0 question about this device. Answer the ones you know or ask your own.
Ask a new question about this device
Download the instructions for your Baby monitors in PDF format for free! Find your manual BabyCam 80420 - Reer and take your electronic device back in hand. On this page are published all the documents necessary for the use of your device. BabyCam 80420 by Reer.