BabyCam L 80430 - Baby monitors Reer - Free user manual and instructions
Find the device manual for free BabyCam L 80430 Reer in PDF.
Document temporarily unavailable
The manual is currently being transferred to our new server. It will be accessible again in a few hours. Thank you for your patience.
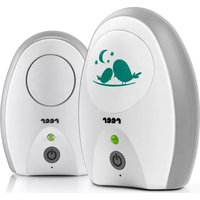
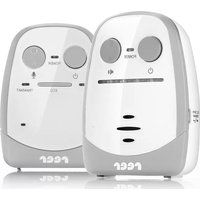
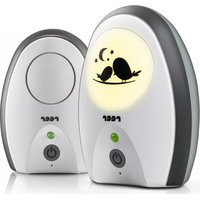
| Product Type | Baby Video Monitor |
| Brand | Reer |
| Model | BabyCam L 80430 |
| Technology | Digital FHSS with Frequency Shift Keying (FSK) |
| Frequency | 2.4 GHz |
| Range | Up to 300 meters outdoors |
| Camera viewing angle | 50° |
| Camera power supply (baby unit) | 5V / 1000 mA power adapter (included) |
| Screen power supply (parent unit) | Built-in rechargeable 3.7V 1400mAh lithium-polymer battery or 5V/1000mA power adapter |
| Screen battery life (standby) | Up to 17 hours |
| Main functions | Automatic night vision, motion detection, feeding alarm, 2x digital zoom, 180° image rotation, voice control, microphone and camera sensitivity adjustment, multi-camera scan (up to 4) |
| Screen | High-resolution color screen with sound level display and indicators |
| Speaker | Built-in, with volume adjustment and silent mode |
| Microphone | Ultra-sensitive, 5 adjustable sensitivity levels |
| Operating temperature | 0°C to +50°C |
| Power cable length | 1.50 meters |
| Package contents | Camera (baby unit), screen (parent unit), 2 micro-USB cables, 1 power adapter 5V, built-in battery |
| Care and cleaning | Unplug before cleaning, use a slightly damp cloth, do not immerse in water, no chemical cleaners |
| Safety | Place at least 1 meter away from the child, do not place in crib, keep cable out of reach, do not expose to water or extreme heat |
| Repairability | Repairs only by a specialist |
| Warranty | Through the retailer, keep proof of purchase |
| General information | Brand Reer, model BabyCam L 80430, category baby monitor, manufactured by reer GmbH, Germany |
Frequently Asked Questions - BabyCam L 80430 Reer
User questions about BabyCam L 80430 Reer
0 question about this device. Answer the ones you know or ask your own.
Ask a new question about this device
Download the instructions for your Baby monitors in PDF format for free! Find your manual BabyCam L 80430 - Reer and take your electronic device back in hand. On this page are published all the documents necessary for the use of your device. BabyCam L 80430 by Reer.