
HLO 2280 CB - Convection Oven BOMANN - Free user manual and instructions
Find the device manual for free HLO 2280 CB BOMANN in PDF.
| Product Type | Convection Oven |
| Brand | BOMANN |
| Model | HLO 2280 CB |
| Power Supply | 220-240 V~, 50/60 Hz |
| Power | 1200-1400 W |
| Capacity | 12 L |
| Total Weight | 5.75 kg |
| Bowl Material | Glass |
| Housing Material | Plastic |
| Functions | Frying, grilling, roasting, steaming, baking, toasting, reheating, defrosting |
| Included Accessories | Base, plastic housing, glass container, lid with control unit, lid holder, steaming basket, lower rack, upper rack, tongs, 4 skewer sticks |
| Safety | Safety switch on handle, hot surface (warning) |
| Cleaning | Hand wash for accessories, damp cloth for lid, do not immerse lid |
| Intended Use | Domestic use, not for soups or liquids |
| Adjustable Temperature | Yes, temperature control |
| Timer | Yes, with audible signal |
| Indicator Lights | Heating indicator and operation indicator |
Frequently Asked Questions - HLO 2280 CB BOMANN
User questions about HLO 2280 CB BOMANN
0 question about this device. Answer the ones you know or ask your own.
Ask a new question about this device
Download the instructions for your Convection Oven in PDF format for free! Find your manual HLO 2280 CB - BOMANN and take your electronic device back in hand. On this page are published all the documents necessary for the use of your device. HLO 2280 CB by BOMANN.
USER MANUAL HLO 2280 CB BOMANN
Thank you for choosing our product. We hope you will enjoy using the appliance.
Symbols in these Instructions for Use
Important information for your safety is specially marked. It is essential to comply with these instructions in order to avoid accidents and prevent damage to the machine:
WARNING:
This warns you of dangers to your health and indicates possible injury risks.
CAUTION:
This refers to possible hazards to the machine or other objects.
i NOTE:
This highlights tips and information.
General Notes
Read the operating instructions carefully before putting the appliance into operation and keep the instructions including the warranty, the receipt and, if possible, the box with the internal packing. If you give this device to other people, please also pass on the operating instructions.
- The appliance is designed exclusively for private use and for the envisaged purpose. This appliance is not fit for commercial use.
- Do not use it outdoors. Keep it away from sources of heat, direct sunlight, humidity (never dip it into any liquid) and sharp edges. Do not use the appliance with wet hands. If the appliance is humid or wet, unplug it immediately.
- When cleaning or putting it away, switch off the appliance and always pull out the plug from the socket (pull the plug itself, not the lead) if the appliance is not being used and remove the attached accessories.
- Do not operate the machine without supervision. If you leave the room you should always turn the device off. Remove the plug from the socket.
- The device and the mains lead have to be checked regularly for signs of damage. If damage is found the device must not be used.
- Use only original spare parts.
- In order to ensure your children's safety, please keep all packaging (plastic bags, boxes, polystyrene etc.) out of their reach.

WARNING!
Do not allow small children to play with the foil as there is a danger of suffocation!
Special Safety Precautions for this Device
On the product you find the following icon with warnings or information:
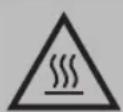
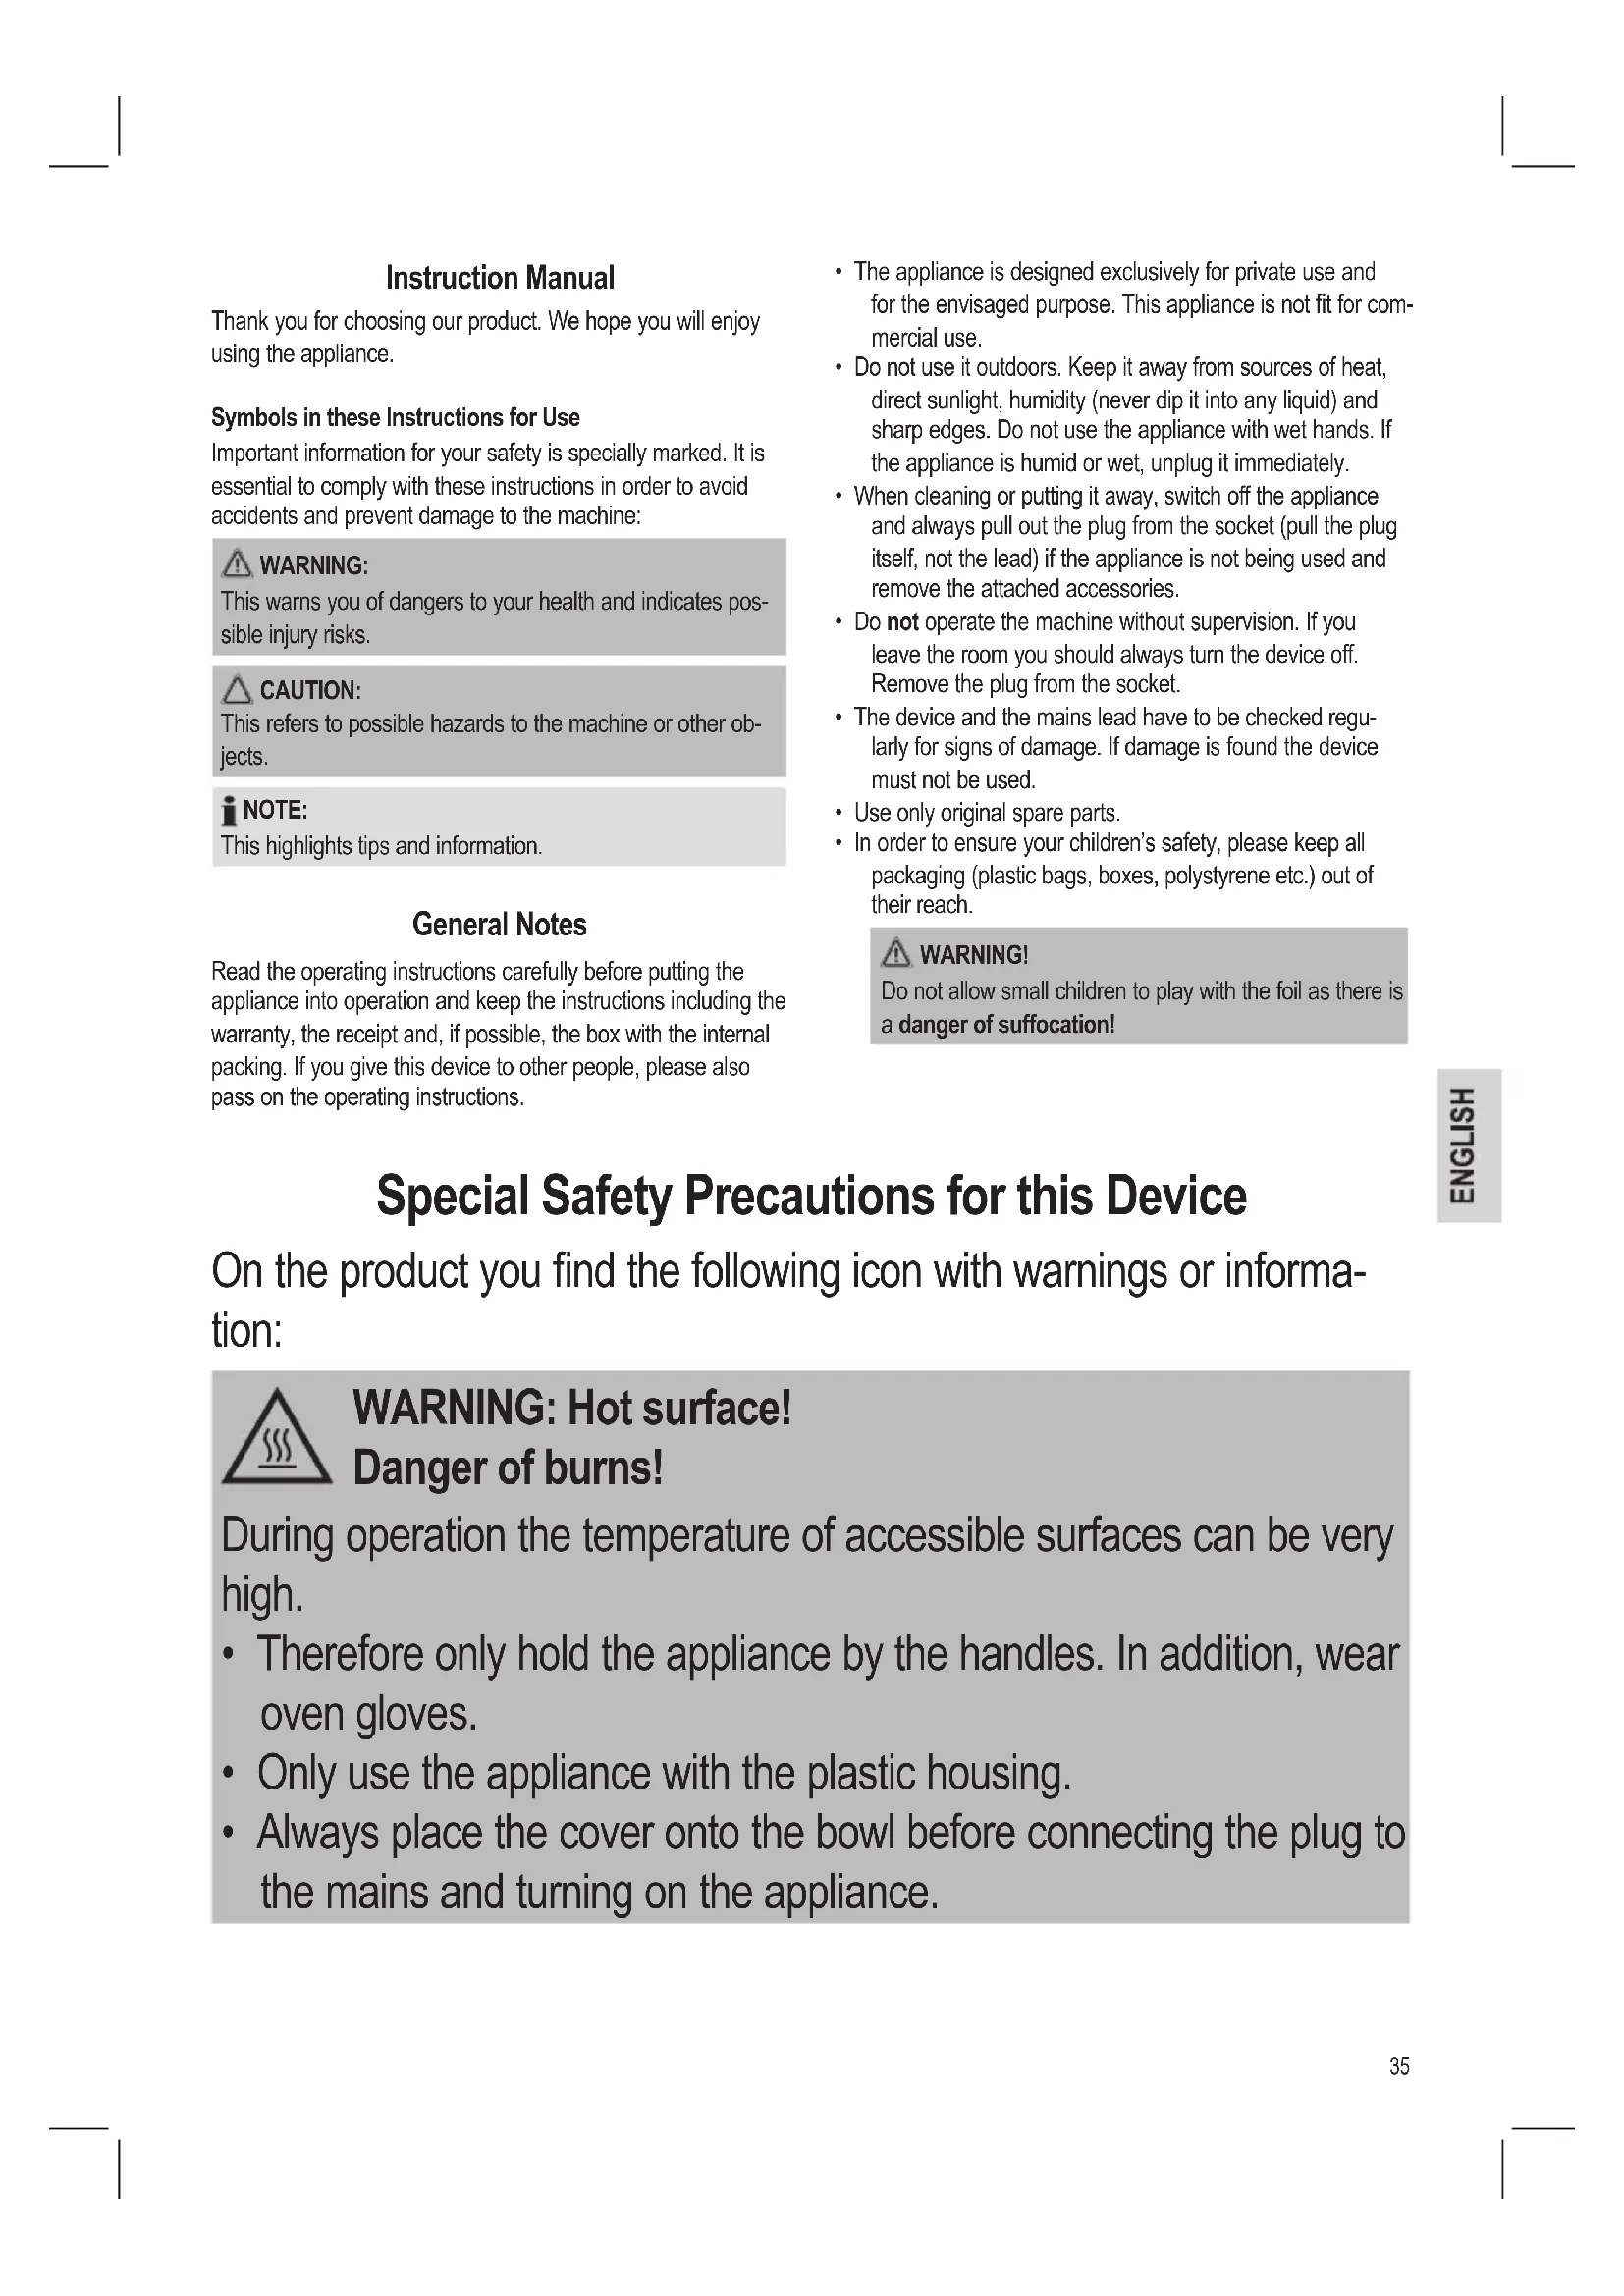
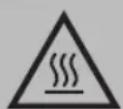
WARNING: Hot surface! Danger of burns!
During operation the temperature of accessible surfaces can be very high.
- Therefore only hold the appliance by the handles. In addition, wear oven gloves.
- Only use the appliance with the plastic housing.
- Always place the cover onto the bowl before connecting the plug to the mains and turning on the appliance.

WARNING: Hot surface! Danger of burns!
- Allow the appliance to cool down before placing accessories into the bowl or removing them.
- Do not carry or lift the device during operation, but turn it off first and then disconnect the mains plug. Always use both hands to carry the appliance by the handles of the appliance stand.
CAUTION:
- The cover with control unit is not designed to be immersed in water during cleaning. Please refer to the instructions provided in the chapter, "Cleaning".
-
Do not place the device on or near other electrical appliances (hot-plates), heating gas flames or in stoves.
-
Place the device on a heat resistant surface!
- Keep sufficient distance (15 cm) to highly flammable objects such as furniture, curtains, etc.!
- Due to rising heat and vapors do not place the appliance under wall cupboards.
- Ensure that the mains cord does not touch hot parts of the appliance during operation.
- Do not operate the appliance with an external timer or separate remote control system.
-
Do not try to repair the appliance on your own. Always contact an authorized technician. To avoid the exposure to danger, always have faulty cable be replaced only by the manufacturer, by our customer service or by qualified person and with a cable of the same type.
-
This appliance can be used by children aged from 8 years and above and persons with reduced physical, sensory or mental capabilities or lack of experience and knowledge if they have been given supervision or instruction concerning use of the appliance in a safe way and understand the hazards involved.
Children shall not play with the appliance. - Cleaning and user maintenance shall not be made by children unless they are older 8 years and supervised.
- Keep the appliance and its cord out of reach of children less than 8 years.
Intended Use
This device is intended for
frying, grilling, roasting, steaming, baking, toasting, reheating and thawing of solid foodstuffs. Do not prepare any soups or liquid foodstuffs in it.
It is intended for the use in private households and similar applications. The appliance is only to be used as described in the user manual. Do not use the appliance for any other purpose.
Any other use is not intended and can result in damages or personal injuries.
The manufacturer assumes no liability for damages caused by improper use.
Location of Controls
1 Handle with safety switch
2 TEMP (Temperature control)
3 HEAT control lamp (heating)
4 POWER control lamp (operation)
5 TIME (clock timer)
6 Power cord
7 Tongs
8 Lower grill rack
9 Lid holder
Scope of delivery
1 Device stand
1 Plastic housing
1 Glass bowl
1 Cover with control unit
1 Lid holder
1 Steamer insert
1 Lower grill rack
1 Upper grill rack
1 Pair of tongs
4 Barbeque skewers
Unpacking the appliance
- Remove the appliance from its packaging.
- Remove all packaging materials such as films, filler material, cable clips and carton.
- Check the contents for completeness.
- Check the appliance for possible transport damage to prevent hazards.
- In case of incomplete delivery or damage, do not operate the device. Return it to your dealer immediately.
iNOTE:
Production residue or dust may have collected on the appliance. We recommend cleaning the appliance according to chapter "Cleaning".
Instructions
The convection oven is a new, inexpensive and portable device with all advantages of bigger convection ovens. It operates fast and saves energy.
- If you try a receipt for the first time with your convection oven, observe the cooking or baking process whilst looking through the glass bowl. The cooking time of convection ovens is shorter.
- Make sure to evenly distribute the food in the oven in order to allow for a steady and maximum air circulation.
- Place the foodstuffs in the center of the bowl. Keep space of 2.5cm to 3.5cm to the glass wall.
Use the grill racks as dual stands for the foodstuffs to be placed at different levels (see table of cooking guide).
Avoid piling foodstuffs on one level for cooking more food. If the air can not circulate around the food, only the surface of the food will be cooked.
- Place the steam attachment on one of the grill racks. You may steam vegetables along with cooking the main dish by wrapping them in aluminum foil.

CAUTION:
The foil must be wrapped safely in order not to fly away or being sucked by the fan.
- If the cooking process finishes before the pre-set time has elapsed, please turn the temperature control (2) to OFF. Leave the fan (5) on in order to keep the food crispy.
- Use the included tongs (7) to easily remove the different attachments from the bowl.
Mains power connection
Make sure the mains voltage in your household corresponds to the one of the device. Check the information on the rating plate.
Operation
- Place the glass bowl into the plastic housing.
- Choose the appropriate accessories and place them into the glass bowl.
- Preheating is not required.
- Fill the bowl with foodstuffs.
- Cover the bowl with the lid.
- Put down the handle.
NOTE:
The device features a safety switch. If the handle does not rest properly, the electric circuit will be interrupted.
- Connect the mains cable to a properly installed isolated ground receptacle.
- Set the temperature control (2) and clock timer (5) as desired. You will find suggestions for cooking temperatures and times in the table of the cooking guide.
NOTE:
The thermostat keeps the desired temperature until the pre-set time has elapsed. The control lamp with its halogen bulb (3) indicates the heating process.
- If it becomes necessary to open the bowl during cooking, for example to turn the food over, it is imperative to observe the following instructions:
Turn the device off by lifting the handle (1) to the upright position.
- Disconnect the plug from the mains. The clock time continues automatically.
Lift the lid by the handle only.
WARNING:
Please mind the escaping steam when opening the lid. Risk of burns!
CAUTION:
- As the temperature of the lid is very high, please only use the lid holder to keep the lid! (9)
- Do not pour cold water into the hot container!
To continue cooking, first close the bowl and connect the plug to the mains. The operation continues as soon as the handle rests properly on the device. Concerning the cooking time, please keep in mind that the timer had been running in the meantime.
NOTE:
After the pre-set time has elapsed, an acoustic signal will sound indicating the end of the cooking process. The fan and the halogen lamp will automatically turn off.
Finishing the operation
If you want to finish operation, set the temperature control and the clock timer to OFF and disconnect the plug from the mains. The control lamps will turn off.
Cooking guide for the convection oven
Instructions for roasting
- Place the roast on the lower grill rack. Add some water, but only covering the bottom of the glass bowl.
- Turn the roast 1 or 2 times during cooking, basting it with the gravy.
Instructions for baking/ broiling
- Use the grill racks as dual stands in order to place the foodstuffs at different levels.
- Turn thick meat pieces after half of the cooking time has elapsed.
Instructions for steaming
- Place the steamer insert onto a grill rack.
- Fill the bottom of the bowl with some water and tasty herbs and spices for steaming vegetables or fish.
Instructions for baking
- You may place any heat resistant baking pan onto the lower grill rack. Because of the air circulation the diameter should be of maximum 26 cm.
- If you want to bake a very juicy cake without a crust, attach aluminum foil over the baking pan. Remove the foil shortly before the cake is done, so the top of the cake may slightly dry up.
- Cakes and other cookies are baked a little bit faster than in other common ovens.
- Place frozen pizza directly on the upper grill rack.
- Use the steam attachment on the upper grill rack for baking French fries.
Instructions for toasting
- You may toast bread and snacks without preheating the oven.
- Place the bakery products on one of the grill racks or first on the steam attachment.
-
Slightly moisten bread rolls that are from the previous day. This way they will crisp up nicely.
-
You may also warm up older snacks such as crackers, chips or cookies. Bake them at maximum heat for a few minutes only, so they will become crispy again.
Instructions for defrosting
- The convection oven provides for a more evenly defrosting process than a micro wave.
- Set the temperature control to DEFROST. Check the food every 5 to 10 minutes.
In order to cook frozen food, lower the specified temperature by 20^ . The cooking time in the convection oven is also 30 - 50% shorter (e.g. 10 to 15 minutes instead of 20 minutes).
Instructions for reheating
Use lower temperatures when reheating in order not to burn your food. Check the food every 5 to 10 minutes.
Cooking table
NOTE:
These time specifications are for reference only and may vary depending on the circumstances.
| Food | Position in the bowl | Tempera-ture in °C | Cooking time in minutes |
| Poultry | |||
| Chicken (whole) | Lower grill rack | 200 35 - | 40 |
| Parts | Upper grill rack | 200 15 - | 20 |
| Turkey | Lower grill rack | 200 60 - | 90 |
| Duck | Lower grill rack | 200 50 - | 60 |
| Hint: Brush with oil after flavoring | |||
| Meat/ sausages | |||
| Roast beef (1.5 kg), medium done | Lower grill rack | 175 45 - | 50 |
| Steaks, medium done | Upper grill rack | 200 8 - | 10 |
| Sausages, roasted | Lower grill rack | 200 10 | |
| Hint: When using both grill racks, change the food after half of the cooking time has elapsed if the upper food gets crispy faster. | |||
| Cakes | |||
| One layer | Lower grill rack | 175 15 - | 20 |
| Covered cake with filling | Lower grill rack | 175 30 - | 35 |
| Loaf pan | Lower grill rack | 175 35 - | 40 |
| Pastry | |||
| Pie (without filling) | Upper grill rack | 200 10 - | 12 |
| Food | Position in the bowl | Tempera-ture in °C | Cooking time in minutes |
| Pie (with filling) | Lower grill rack | 175 25 – 30 | |
| Muffins | Lower grill rack | 175 15 – 18 | |
| Meringue | Lower grill rack | 175 5 – 8 | |
| Cookies | Lower grill rack | 190 12 - 15 | |
| Yiest bread | |||
| Loaf | Lower grill rack | 175 15 – 20 | |
| Bread rolls | Lower grill rack | 175 15 - 20 | |
| Bread rolls, crisped up | Lower grill rack | 100 5 – 10 | |
| Corn pone | Lower grill rack | 175 10 – 20 | |
| Frozen pizza | Upper grill rack | 200 10 | |
| Fish | |||
| Fish | Upper grill rack | 200 7 - 10 | |
| Sea shells, steamed | Lower grill rack | 160 3 - 5 | |
Cleaning
WARNING:
Always disconnect the mains plug before cleaning.
- Wait until the device has cooled down.
- Do not immerse the lid into water for cleaning. It could result in an electric shock or fire.
- Protect the halogen lamp from water.
Water must not to enter the control unit.
CAUTION:
- Do not pour cold water into the hot container!
- Do not use wire brushes or other abrasive objects.
- Do not use aggressive or abrasive cleaning detergents.
Lid
Use a wet cloth to remove splashes and remains from the lid.
Use a mild detergent in case of heavy staining.
Glass bowl without cover, plastic housing, steamer insert, grill racks, barbeque skewers, tongs and lid holder
- Clean these parts by hand in warm dishwater with a mild detergent.
- Then rinse under clean water to remove soap residue; dry thoroughly.
Storage
-
Clean the device as described and allow it to dry completely.
-
We recommend that you store the device in the original packaging if you do not intend to use it for a long period of time.
- Always store the device out of the reach of children in a well ventilated and dry place.
Troubleshooting
| Problem Possible cause Solution | ||
| Device does not function. Device is not connected to the mains. Check the prop | per position of the lid. | |
| Check another wall socket. | ||
| Device is defective. Please contact our cust | tomer service. | |
| A whole piece of food is cooked unevenly. | Air circulation is not even. Place the food in the center of the bowl leaving space to the glass bowl. | |
| Do not pile food on one level. Use the racks as dual stands. | ||
| The food is burnt on top but not yet cooked. | The food is too close to the grill. Place the food on the lower grill rack. | |
| Temporarily cover the food with aluminum foil. | ||
Technical Specifications
Model: HLO 2280 CB
Voltage supply: 220-240 V\~, 50/60 Hz
Power input: 1200-1400 W
Protection class:
Capacity: 12 L
Net weight: approx. 5.75 kg
The right to make technical and design modifications in the course of continuous product development remains reserved.
This device complies with all current CE directives, such as electromagnetic compatibility and low voltage directive and is manufactured according to the latest safety regulations.

Disposal
Meaning of the "Wheelie Bin" Symbol
Take care of our environment; do not dispose of electrical appliances via the household waste.
Dispose of obsolete or defective electrical appliances via municipal collection points.
Please help to avoid potential environmental and health impacts through improper waste disposal.
You contribute to recycling and other forms of utilization of old electric and electronic appliances.
Your municipality provides you with information about collecting points.
Instrukcja obstugi
Utasitsok piritashoz
Ihctpykui 3 npiroToBaHHHa napi
BctaHOItb napOBapKy Ha peuitKy prnna.
- ⅢO6 npnroTybTu Ha napi oOoi a6o p6y, HAniTe Ha dH0 TApinK TpoxN BoD i Doaai Te TpaB i CneJIi.
Inctpyku3 BNiKaHHa
Буд-яку Tepmoctiy Форм Дг BUNiKaHн МоКнha NOCTABUTN Ha HIXHNO NICTABKy DnЯ rPnI.Дiametp NOcYdINH DnR 3a6e3neueHHHaHaleXHOI LpKpyLJI NobITpr MAe CTAHOBNTM MAKCMYM 26 CM.
- RaIIO nOpi6HO CNeKTn DyKe COKOBHTn TOpT 6e3 CKOpINHKn, OBrOpHITb AIIOMHIEBOHO FOJIbROIO FOIpMy dNBA BNIiKaHHa. Iicnra toro Jk TOpT 6yde roTOBn, WBNko 3HIMt b FOJbry, Uo6 BePx TOpta Mir TPOXn NiDCOXHyTN.
- Topn Ta iHui TICTeKa BUNIKAIOTBc TPOXN WBNIDJe, HIX B IHUHX 3BNUHINHIN neqax.
3amopoxeHy niuy noctabe npocTo ha BepxHIO niCTabky dna rnilra.
-Дяприroуання Kaptonni Фpi nocTaTe риuctocybaHЯ Дяприroуання Ha napi Ha BepxHIO niDCTaBky ДяrtiJa.
Hctpyku3 npurotybHHTOCTIB
Toctn Ta Iierki 3akyskn MOxHa npirotoybaTn 6e3 nonepedhboro p03irpiBaHH neui.
- NocTabeN pOdyKTn Ha OyH 3 nIDCTabOK dIg rPnIa bO cnepSy Ha npCTOCyBaHHd IpynproTyBaHHHa napi.
3nerka 3moiYbIyOuKm, kIIO BOHn BvOpauHi. Ie dTnTOrO, uoB OHN 6ynxpyCTkMmN.
Tako MoxHa po3irpiTi CTapi 3akcKm, Taki k Kpekepn, Yicn a6o DomaHHe neuBO. NeuTb ix i3 MaKcImaJIbHOIO Tempepatyo BnpOdoBk KJIbKOx XBNIIN, Uo6 BOHN 3HOBy CTAnxXpyCTKMM.
Ictpyki3 p03MPOxBaHH
KoHBeKuiHa nI 3a6e3neHyc6 bIbI pIBHomipn npOec po3MOPoxyBaHH, HIX MikPOxBnIbOba nI.
BctaHObIbpeyIaTOpTeMnepaTy yNoIOKeHHA DEFROST. IpebeipraTe npOdyKTo KoxHi 5-10 XbUNH.
-Дяpo3mopoxyBaHnH npOdykTIB 3MeHHTe Bka3aHy TempepatypHa 20^ .Yac po3mopoxyBaHHB KOHBeKuiHi nei TAKOX KOpOTuHn Ha 30-50% (HaPnKnaD, 10-15 xBnHn 3amictb 20).
Inctpykui3 pozirpiBaHHa
BnKOpNCToByIe HNkUy TemnepaTy, HIX nID Yac BnIkaHHa, 106 npOdyKTn He niDropiIN. IpepeipTe npOdyKTn KoxHi 5-10 XbNJH.
Ta6nua 3 npadamu odo npiroTybaHna CtpaB
IIPIMITKA.
Yac y Tabnui HABOINTbC BKNIOHNO DnIOBIDKn I MOKe BiPi3HrTcB 3aIeKHO BiD O6CTaBnH.
UcyHeHHH HeCnpaBHOCTe
TexhiHixapakTepeNTKIN
Modenb: HLO 2280 CB
Hanpyra: 220-240 B~, 50/60 T
Bxidha notyXhicTB: 1200-1400 Bt
Knac 3axncty:
EMHICTb: 12n
Bara HeTTo: 5,75 K
IpaBOHaTexHHI3MIHN Ta 3MIHN yDn3aHHi 36epiraetbca npoDobK npoccy po3po6kn npodky.
Ley npncpi ceptnphiikobao BIDIOBHO Do dioHx HOpM
Pc, HnpiKlaH OPM eJIeKtpomarHITHOI cyMICHOCTi Hn3bKOI
Hanpym, i cKoHCTpynoBaHO BiNIOBIDNO do octaHHix XapakTe
puctik i3 texhikn 6e3nekn.
PykoBoDCTBO no 3KcnnyatauH
Cnacnbo 3a BbI6op Hauero npOyKta. Hadeemc, OH Bam noHpabNTc.
CnMBONJI npIMeHReMbIe B DaHHOM pyKOBOdCTBe NOJIb-3OBaTeJRA
BaxhIe peKOMHeDauHn DnI O6ecneueHnBaue 6eOnac-HocTn 063NaHeHb IIO Oc6eHHOMy. O63aTeJIbHO CNeYHTe 3TNM peKOMHeDauHm, YTO6bl PpeOTbpaTb HecactHbI CNyHa NIN NIOJOMKy N3dJIIN:

IPEyIPEXDEHNE:
IpeDynpexJaet o6 onaChOCTn IJRA 3dOpOBbI N BO3MOxHOM pncke POnyEnHr TpaBMbl.

BHIMAHINE:
Yka3bIbaeT Ha BO3MOXHyIO ONaCHOCTb IJIa I3DeJIINr IN DpymIX OKpykaHOUIx NpeDMETOB.

PIMEYAHNA:
JaetcoBtBuNHOpMaIIO.
06uue 3ameuahna
Ipeed Haayanom 3KcNpyataun np6opa BnHmATEnbHO npOHTaTe pInnaTaeMyIO HCTpykUIO NO 3KcNpyataUN IN COXpAHNTe ee B HAdexHOM MeCTe, BMeCTe C rapaHTnHBIM TaHOHOM, KaccOBbIM YekOM N, NO BO3MOxHOCtN, KAPTOHHo KOp6KOJ C yNAKOBOuHbIM MaepnAnOM. Ecn daete KOMy-1n60 nONoB
30BaTbCpnpobom,6B3aTeIbHDo daIte BnpiDau DaHHyIO IHCTpyKUIO no 3KcIpyatau.
Пльзутесь пибором тольк частьимобраимип ha3haehnIO. Пибор He прдha3haeHДЯ кOMMepueCKORO ИСПОЛьЗOBAHIA.
He noIb3yInTeB npInbOp mIO OTKpbITbIM He6OM. PpeOxpanraTe np6opOT Xapbl, pPmblcxOnHeuHbIX Lyuei, BnaxHOCTN (Hn B KOem cnyae He nOpykaTe ero B Boody) uYapOB 06 octpble yrbl. He npKacaiTeC k np6OpBynXHBIM pykami. Ecnn np6op yBaJxHNlCnHaHAMOK, TyT JKe BbINbTe BNkky nOzETKn.
Iocne 3KcNluyatauMnMOHTaxe npHaDnHexHOCTei, mCTKe nnnoNOMKe pnp6opA Bcerda BbHMaTe BnKy n3 po3ETKn (TReHtE 3a BNkky,a He 3a KaBeJb).
He octabJnIte BkIOUeHHbIe 3JIeKTPoPnp6Opbl 6e3 npncMoTpa. BbIXOJa n3 NOMeUeHnB CBeTa BbIKIOuHaTe np6Op. BbInbTe uTeKepe n3 p03eTKn.
-ПибориКабельсTeBOrOпИТанЯ Heo6xOДМо peryIЯрнообследовыт haHaJIuYe cIeIob nobpejxdHЯ.Пи obHapuyKeHnN IOBpeJdHЯ noIb3OBAtbcrпибopomЗanpeSЯETcR.
- IcnoIb3yIte ToIbKO opnHaHaNbHbIe 3aIuaCTN.
- IV3 coo6paXeHn 6e3oNaChocT nIg DeTeH neOCTaBnIy Te Jekatb ynaKOBky (nIpaTnKOBbIe MeUkN, KapTOH, NeHONJtAcNT T.D.) 6e3 npncMOTpa.

IPEyIPEXKDEHNE!
He no3B0nJaTe DeTm nIpaTb C noNtNHeBOBn nnEko. OnachocTb ydyuBa!
Oco6bIe yka3aHnI NO TexHnke 6e3OpacHOCTN DЯ DaHHoro yCTpOiCTBa
Ha n3dJIIMMOxH0 yBnIeTb CJeDyIOUyO NIKTORpaMMy c nped-ynpeJXDeHnA Mn IIN HOpMaCnei:
I P N I M E U A H N A:
TepMOCTI NOIDepKINBAeT HxKyHyTe TMnepaTyPy Do Tex nop, Noka He IcTeueYcTaHOBJIeHHe BpEmKa. KoHTpoNBbHb INHdkatOp C ranoReHHoJ lamPiOy (3) yka3bIBaet Ha npOceCC HappeBaHnA.
9.EcINIOBIAETCHeo6xOIMOCtBOTKpbITbEMKOCTBBO BpemI pOuecca npiroTOBHeHnPiu, HApimep,HTo6blpeBepHyTbpOdykTb, Heo6xOIMoCo6JIOdaTbCneDyUoune IHCTpyKun:
BbIKIIOHTe yCTpoIcTB0, NOINHB pyKy (1) B BepxHne noIOXKeHne.
O OToCoEINHInTe WtEnCeINb OT CTeBOro 3IeKtpOnnTa-Hnra.TaMep6yDet npDoJnxKaTbOTcET BpEmEH ABTOMATUeCKN.
O IOnHnMMTe KpbIbIKy TOnbKO 3a pyKy.
PENEYNIPEXDEHNE:
IopkaJyNCTa, yHtBbAte, YTO nap 6ydt BbIXoNDtB npn OTKpbBaHN KpbIuKN. OnacHOctb oxorOB!
BHIMAHHE:
Tak KaK TemNepaTpA KpbIuKN OChEh BbICOKaR, NOKaJIyIcTa, NcIONb3yIte TOJIbKO depKaTeIb KpbIuKN, YTO6bl ee NoCTaBNTb! (9)
He hanaBae Te xoJOnHyIO BDOy B ropayu KOnTeHep!
O TTo6bl npoOnJnTb npoueCC npiroTOBneHnNn, cHaHaIa 3aKpOIne EMKOCTb I NIOKnIOHTe UTeNCeJIb K cEtN 3NeKtponTaHn. YcTpoiCTBO npoDOnJnt pa60TaB, KaK ToIbko pyKa 6yDet nPaBnBHO pa-nONoXeHa Ha yCtpoiCTBe. B OTHoUHeHn BpeMeHn TaMepa, NoXaNyIcTa, npIMnte BO BHImaHne, YTO npoJNO HeKOTOpoe BpeM.

IPIMMEUAHNA:
Iocne toro, kak yctahOBnEHoe Bpemn HCTeET, npo3ByuHT 3BykoBOn CmHan, yka3bIBaRa Ha To, YTO pOuecc npiroTOBnEHHnNtUOKOHEn. BeHTnTApTo nraIoREHNH JAMNa BbIKIOuATcR abOMaTUnCeKn.
OkoHuaHne pa6oTbI
EcIN BbXOTNE 3aKOHHTb pa6Otu, yCTaHOBnTE peryIaTOp TempeatpybI n TaMep B noIOxKeHne OFF n otKIOUHTe WTeNCEJIb OT cETn 3JIeKTPoNTaHnR. KOHTpONbHbI INdIKaTOp BbIKJIOHHTCn.
PykoBODCTBO NO npnroTOBHeHIO NIIuN dIa KOHBekUHOHHoN neu
HnCTpyKmN DnJ KapeHn
- POMECTTE MRCO HA HMKHIO peWetky DnI rPnIa. Do6aBbTe HEMHORO BObl, HO Tak, YTObI OHa NOKpbIBaIa TOJbKO dHO CTKJIHHOH EMKOCtN.
- PapeBepHnTe Mro 1 nnn 2 pa3a Bo Bpem npiroTOBNEHnA, CMOuINB erO NOIINBOI.
HCTpykunDn3aneKaHn/ noJkaPbHaHn
IcnoB3yTe peWetKn IaI rPnB B KaueCTBe IBOHbIX noCTaBOK IaI TORO, YTO6bl pa3MeCTNTb IpOdyKTbI Ha pa3HbIX yPOBHAX.
-ПepeBepHnTeToTcTbIeKcKmMraCbcepeDInHeBpeMeHn npriroTOBJIeHn.
HCTpykun dny npiroTOBHeHnHa napy
BCTaBBTe BCTaBky dIy TuIeHnB bIOTOK dIy rPnIa.
HaeneIte Ha DINO eMKoCTH HEMHORO BOdbI N Do6aBbTe BKycOBbIX pnpapB IN CNEiIN PnIROTOBHeNIA OBOeIN pbIbI HA napy.
Hnctpykun nn 3aneKaHHN
BbMOKTe NOMeCTNb JIO6oJ XApocToKNI pOITBEHb Ha HIXHHIO PeWETky DnI rPnIy. IV3-3a CUnPKyJIaUN MBO3-DyXa DnAmEtPr He DoJIKeH npeBbIaTh 26 cm.
- EcIn Bbl XOTnTE 3aIeHb OChHb CoHbI NpOr 6eKOpKn, PnIKpeNITe aIIOHMnHeBvO fOJIbHy NaI npOTnBHeM. CnIMTe fOINbry He3aOnlro Do TOrO, KaK nIpOr 6yDet rToOB, TaKIM O6pa3OM, BepXHra Yactb NIpORA cMOxKe HEMHoro NOCDcyuNTbcr.
KeKcbI NeueHbe 3aneKaIOTCra HEmHOro 6bICTpee, Yem B O6bIHybIX neKax.
-Помecntte 3amopoxKeHHyI pIuIy npraMo Ha BepxHIOpeuTeKy dIg rPnIy.
- IcnoIb3yIte npoByIO hacaKy Ha BepxHei peWeTeKe dIpyrnilnIy 3aneKaHnKapTopeHnPn.
HCTpykunDnI NOpymHaBnHa
Bb moKeTe noDpymAHnTb Xnle 3aKycn 6e3 npedBapuTeIbHOro nporpeBa neu.
- PomeCTe XnE6o6yIIOHbIe I3dIeNHa OOnHy I3 peWTeK Dnra rPnIa INn BHaUaIe Ha napOByIO HacaIky.
Cnerka yBnaxHnTe BHepaHHe 6yNoKn. TaKIM o6pa3OM, OHn CHOBA CtAHy XPcTAAUMN.
BbI TAKKe MoKTe pa3oRpeTb He COBcEM CBExKe 3aKycn, TaKne KaK KpeKepebl, YINCbI INN NeueHbe. 3aNeKaIe Te Ix npi MaKcMaJIbHOI TEMpepatyHe I pOToJKeHN BCero HECKOJIbKHX MNHyT, TaKNM O6pa3OM, OHN CHOBA CTaHyT XpyCTAUNM.
Hnctpykun nnpa3mopaxBaHn
KoHBeKUIOHnA neB oEeNeuBaet 6Oone paBHOmepHbI npOeCC pa3MopaxmbaHna, Yem MKNPOBOJHOBAI neB.
- YctahOBInTe peYnIaTOp TempeAtpyb I NOJIOKeHne DEFROST. IpOBePraIte NmUy KaKdIbe 5-10 MNHyT.
ДяТоу,TO6bI npriROBtB K yN0Tpe6JIeHIO 3amopoxKeHHyO nIuSy,noHn3bTe ykaaHHyo TempepaTypy Ha 20^ .Bpem npriROBHeHn B KOHBeKluHOHoi NeuTaKke Ha 30-50% MeHbIe (HaNPmEp,OT 10do15MHHT BmecTo 20 MmHyT).
Hnctpykunnn IaI nOdoIpeBaHna
IcnoIb3yIte 6oJee Hn3KHe TEMpepatypI npi nOOrpeBaHn, IaTTO, UTo6bI He CKeUb BaUy NiUy. IpoBepaTe NUsy kaxdble 5-10 MmHyT.
Tabnua npriroTOBneHn nui

ПРИМЕЧАНО:
DaHHbIe NOKa3aTeJIIN BPEMeHn RAJIHOrTc TOnbKO peKOMeH DaUnei, IN MOyT IN3MeHrTbcR B 3aBNCIMoCTN OT O6CTOr-TeNbCTB.
2j jll 0g g o jdl a j 5a j b uai l juai l jui Lioic
juaa jiuai i jaii jaii jaii jaii jaii jaii jaii jaii jaii jaii jaii jaii jaii jaii jaii jaii jaii jaii jaii jaii jaii jaii jaii jaii jaii jaii jaii jaii jaii jaii jaii jaii jaii jaii
y
glal clal
jay lcll jai jai jai jai jai jai jai jai jai jai jai jai jai jai jai jai jai jai jai jai jai jai jai jai jai jai jai jai jai jai jai jai jai jai jai jai jai jai jai jai jai jai jai jai jai jai jai jai jai jai jali jali jali jali jali jali jali jali jali jali jali jali jali jali jali jali jali jali jali jali jali jali jali jali jali jali jali jali jali jali jali jali jali jali jali
jLlly
aJgall gJgill gJgill aJgill aJgill
jll
J 1 J 1 J 1 J 1 J 1 J 1 J 1 J 1 J 1 J 1 J 1 J 1 J 1 J 1 J 1 J 1 J 1 J 1 J 1 J 1 J 1 J 1 J 1 J 1 J 1 J 1 J 1 J 1 J 1 J 1 J 1 J 1 J 1 J 1 J
a
1
)TEMP 2
HEAT 3
4
()TIME5
all 6
7
8
( xt^2 + x) - 9 = 0
yulil jbi
jol 1
Sx 1
( 0,12,0,14,0,14)
S_ OBC = 12 · OB · BC = 12 × CD × 5
12
5
1
1
1
4
aegll 1y
. g jj
.
.
.
.
.
.
.
A
4
cIJI. 1JI 1JI 1JI 1JI 1JI 1JI 1JI 1JI 1JI 1JI
"11111111111111111111
y. jao aagaaal g jall g aal al piaa jalell 12
. jaii piai iui jaii lii jaiy
jlae jauuabai. ayjai jali jai y jaeil piaiu
gi lalba auaai y) ayjai g ouiaila aai g oai jai
j5 iai y jai y jaiy jaiy jaiy jaiy jaiy jaiy
jaiy jaiy jaiy jaiy jaiy jaiy jaiy jaiy
jaiy jaiy jaiy jaiy jaiy jaiy jaiy jaiy
jaiy jaiy jaiy jaiy jaiy jaiy jaiy
jaiy jaiy jaiy jaiy jaiy jaiy
jaiy jaiy jaiy jaiy jaiy
jaiy jaiy jaiy jaiy
jaiy jaiy jaiy jaiy
jaiy jaiy jaiy jaiy
jaiy jaiy jaiy
jaiy jaiy jaiy
jaiy jaiy jaiy
jaiy jaiy jaiy
jaiy jaiy
jaiy jaiy
jaiy jaiy
jaiy jaiy
jaiy jaiy
jaiy jaiy
jaiy jaiy
jaiy jaiy
jaiy jaiy
jaiy jaiy
jaiy jaiy
jaiy jaiy
jaiy jaiy
jaiy jaiy
jai y jay
jajay
Lalal
jaii piiaiuiy gaiu j 10s liua i jiu y kli
psssscls jga
Iie Ilaal laaiaeall cialgai all oiae lclde gian p
jgljll jgl jglal
:
4 4
i
a_1 = 12a_0
L 10000000000000000000000000000000000000000000000000000000000
jglzllg:aaalil aaylll lal
i 1
!:
!
i 1
14
.