
PSPP 5 A1 - Plasma welder PARKSIDE - Free user manual and instructions
Find the device manual for free PSPP 5 A1 PARKSIDE in PDF.
| Brand | Parkside |
| Model | PSPP 5 A1 |
| Product type | Plasma torch with pilot arc ignition |
| Main use | Plasma cutting |
| Compatibility | Parkside PPS 40 A1 and PPS 40 B2 plasma cutters |
| Torch length | 5 m |
| Rated current / relative duty cycle | 40 A / 35% |
| Required gas | Compressed air, pressure 4 to 4.5 bar |
| Allowable gas pressure | 0 to 8 bar |
| Cooling | Air cooling |
| Connection | Torch (negative), work cable (positive) |
| Applicable standard | EN IEC 60974-7:2019 |
| Ignition | Pilot arc ignition |
| Supplied items | Plasma torch, user manual |
| Wear parts | Electrode, nozzle, nozzle retaining ring |
| Maintenance | Regular external cleaning, replace electrode (crater >1.5 mm) and nozzle (damaged bore) |
| Safety | Wear safety glasses and protective clothing, work in a ventilated area, avoid flammable materials and damp environment |
| Locking | Cut-out switch to lock/unlock the torch button |
| Storage | In a dry place, out of reach of children |
| Disposal | Recycling according to Directive 2012/19/EU |
| Year of manufacture | 2022/03 |
| After-sales service | Ecos Office Forbach, email service.fr@cmc-creative.de, phone 0033 3 87 84 72 34 |
Frequently Asked Questions - PSPP 5 A1 PARKSIDE
User questions about PSPP 5 A1 PARKSIDE
0 question about this device. Answer the ones you know or ask your own.
Ask a new question about this device
Download the instructions for your Plasma welder in PDF format for free! Find your manual PSPP 5 A1 - PARKSIDE and take your electronic device back in hand. On this page are published all the documents necessary for the use of your device. PSPP 5 A1 by PARKSIDE.
USER MANUAL PSPP 5 A1 PARKSIDE
text_image
PDF ONLINE www.lidl-service.com
natural_image
Black industrial welding torch with coiled cable and connector (no text or symbols visible)PILOT IGNITION CONVERSION SET PSPP 5 A1 SCHLAUCHPAKET MIT PILOTZÜNDUNG PSPP 5 A1 TORCHE PLASMA AVEC ALLUMAGE PILOTE PSPP 5 A1
GB IE NI QY MT
PILOT IGNITION
CONVERSION SET
Operation and Safety Notes
Translation of the original instructions
FR BE CH
TORCHE PLASMA AVEC ALLUMAGE PILOTE
Before reading, unfold the page containing the illustrations and familiarise yourself with all functions of the device.
DE AT CH
CY/ MT Operation and Safety Notes Page 5
Scope of delivery....Page 6
Parts description....Page 6
Technical Specifications....Page 7
Safety instructions ...... Page 7
Using the device....Page 8
Connecting the cutting burner....Page 8
Connecting the earthing cable....Page 8
Operation......Page 8
Explanation of pilot ignition....Page 8
Maintaining the burner Page 8
Cleaning Page 9
Storage Page 9
Information about recycling and disposal......Page 9
EU Declaration of Conformity Page 9
Service......Page 10
| ● Table of pictograms used | |
 | Read the instruction manual of this product attentively and with care before use. |
 | Important note! |
 | Dispose of the device and packaging in an environmentally friendly manner! |
 | Made from recycled material |
 | Do not dispose of any electrical devices in domestic waste! |
Pilot Ignition Conversion Set PSPP 5 A1
- Introduction

Congratulations!
You have purchased one of our high-quality products. The operating instructions form part of this product. They contain important information on safety, usage and disposal. Please familiarise yourself with all operating and safety instructions before using the product. Use the product only as
described and only for the specific applications as stated. This product must be set up or used only by people who have been trained to do so.
KEEP OUT OF THE REACH OF CHILDREN!
- Intended use
The pilot ignition conversion set PSPP 5 A1 is used to convert the Parkside plasma cutters PPS 40 A1 and PPS 40 B2 to pilot ignition for plasma cutting. The device is not intended for commercial use. Use the product only as described and only for the specific applications as stated. Commercial use will void the guarantee. Keep these instructions in a safe place. Ensure you hand over all documentation when passing the product on to anyone else. Any use that differs to the intended use as stated above is prohibited and potentially dangerous. Damage or injury caused by misuse or disregarding the above warning is not covered by the warranty or any liability on the part of the manufacturer.
- Scope of delivery
1 conversion set with pilot burner
1 set of operating instructions
- Parts description
NOTE:
After unpacking the product, please check that all of the package contents are present and that the product is in perfect condition. Do not use the product if it is defective. Contact the manufacturer via the indicated service address.
To do this see Fig. A, B, C:
| 1 | Plasma burner |
| 2 | Plasma burner button |
| 3 | Electrode |
| 4 | Burner sleeve |
| 5 | Nozzle clamping sleeve |
| 6 | Spacer |
| 7 | Plasma burner control plug |
| 8 | Earthing clamp connecting plug |
| 9 | Earthing clamp device plug |
| 10 | Plasma burner plug |
| 11 | Safety switch |
NOTE:
The use of the term ‘product’ or ‘device’ in the following text refers to the pilot ignition conversion set for plasma cutters named in these operating instructions.
• Technical Specifications
| Model: PSPP 5 A1 | |
| Hand-held plasma burner with pilot ignition | |
| Rated current and relative duty cycle: 40A / 35% | |
| Gas: Compressed air; 4-4.5 bar | |
| Length of conversion set: 5 m | |
| Cooling: Air cooling | |
| Connection: | Burner 10 “-”; Earth 9 “+” |
| Minimum gas pressure at the inlet: 0 bar | |
| Maximum gas pressure at the inlet: 8 bar | |
| Burner in accordance with: EN ICE 60974-7:2019 | |
| Process: Plasma cutting |
Changes to technical and visual aspects of the product may be made as part of future developments without notice. Accordingly, no warranty is offered for the physical dimensions, information and specifications in these operating instructions. The operating instructions cannot therefore be used as the basis for asserting a legal claim.
- Safety instructions
WARNING: Please read through the operating instructions carefully before use. Familiarise yourself with the device, its proper use and the safety instructions based on these operating instructions. These form part of the product and must be available at all times.
■ CAUTION! Wear appropriate eye protection and protective clothing.
■ Only work in well-ventilated areas with plenty of space.
- Do not work in the vicinity of flammable materials or in damp environments.
- Do not use a container as a support. EXPLOSION HAZARD!
- You must follow all operating and safety instructions for the plasma cutter you are using!
■ DANGER! Risk of serious injury or death for children and infants! Never leave children unsupervised near packaging material. There is a risk of suffocation.
■ DANGER! Avoid danger to life and danger of injury from improper use!
■ Never work in the vicinity of inflammable materials.
■ Do not cut with plasma in wet or damp areas.
■ Plasma cutting should only be performed in well-ventilated areas or with an extraction unit with sufficient capacity. The resulting plasma dust is harmful to your health.
■ Once the plasma burner button has been pressed the pilot arc will be ignited immediately.
- Keep away from the burner tip.
■ Never point the plasma burner at yourself or other people!
• Using the device
- Connecting the cutting burner
NOTE:
Always observe the operating instructions for the main device. The parts marked * can be found in the operating instructions for the main device.
Before connecting the burner unplug the mains plug* of the plasma cutter* from the socket.
- Insert the plasma burner plug 10 into the plasma burner connection socket "-" and tighten the union nut hand-tight.
- Insert the plasma burner control plug 7 into the plasma burner control socket* and tighten the union nut hand-tight.
- Connecting the earthing cable
Connect the earthing clamp device plug ⑨ with the earthing clamp connecting socket "+"*.
Then connect the earthing clamp plug* with the earthing clamp connecting plug 8. Make sure that the connecting shaft is first connected and then turned. The connecting shaft of the earthing clamp device plug 9 must point upwards when plugging in. After plugging in, the connecting shaft must be rotated in a clockwise direction until it reaches the stop, in order to lock it in place. This does not require force!
Operation
Compared with working with the plasma burner delivered with the product, please note the following: Position the plasma burner 1 on the workpiece such that the spacer is in full contact. Push the safety switch 11 forwards to lock the plasma burner button 2 in place. Press the plasma burner button 2. The cutting arc is ignited. After each use, push the safety switch 11 backwards to lock the plasma burner button 2 in place.
• Explanation of pilot ignition
Pressing the plasma burner button 2 will ignite a pilot arc. The result of this is a plasma beam at the tip of the burner sleeve 4. This enables contactless cutting of the workpiece. Grills and gratings can also be cut in this way.
NOTE:
The safety switch 11 must always be in the rear position if you are not plasma cutting at that particular moment. The plasma burner button 2 is then locked in place.
- Maintaining the burner
- Switch the plasma cutter* off before carrying out any maintenance work using the On/Off switch, unplug the mains plug* from the mains socket and push the safety switch 11 backwards.
The consumables displayed in Figure C are the electrode 3 and the burner sleeve 4. They can be replaced once the nozzle clamping sleeve 5 has been unscrewed.
The electrode 3 must be replaced if there is a crater of approximately 1.5 mm depth in the centre.
■ ATTENTION! To unscrew the electrode, do not apply irregular pressure, gradually increase pressure until the electrode comes out. Then screw the new electrode into the holder.
The burner sleeve 4 must be replaced if the central bore is damaged or if it has expanded in comparison to the bore of a new nozzle. If the electrode 3 or the burner sleeve 4 are replaced too late, this can result in the parts overheating. Once replaced, make sure the nozzle clamping sleeve 5 is tightened sufficiently.
NOTE: ATTENTION!
The nozzle clamp sleeve 5 must only be screwed on to the burner 1 once it has been fitted with the electrode 3 and burner sleeve 4. If these parts are missing, the device may malfunction and it may create a hazard for the operating personnel.
- Cleaning
- Clean the exterior of the device and its accessories regularly. Use compressed air, cotton waste or a brush to remove dirt and dust.
In case of a defect or a necessary replacement of equipment parts, please contact the appropriate qualified personnel.
- Storage
Keep the device in a dry location and out of the reach of children.
● Information about recycling and disposal

Don't throw away – recycle

Please return this device, accessories and packaging to your local recycling depot.

According to European Directive 2012/19/EU, used electrical devices must be collected separately for environmentally compatible recycling or recovery. Please return this device to an approved waste management company or use your municipal waste collection service. Please ensure you comply with local regulations. If you have any questions, please contact your local authority or waste management company.
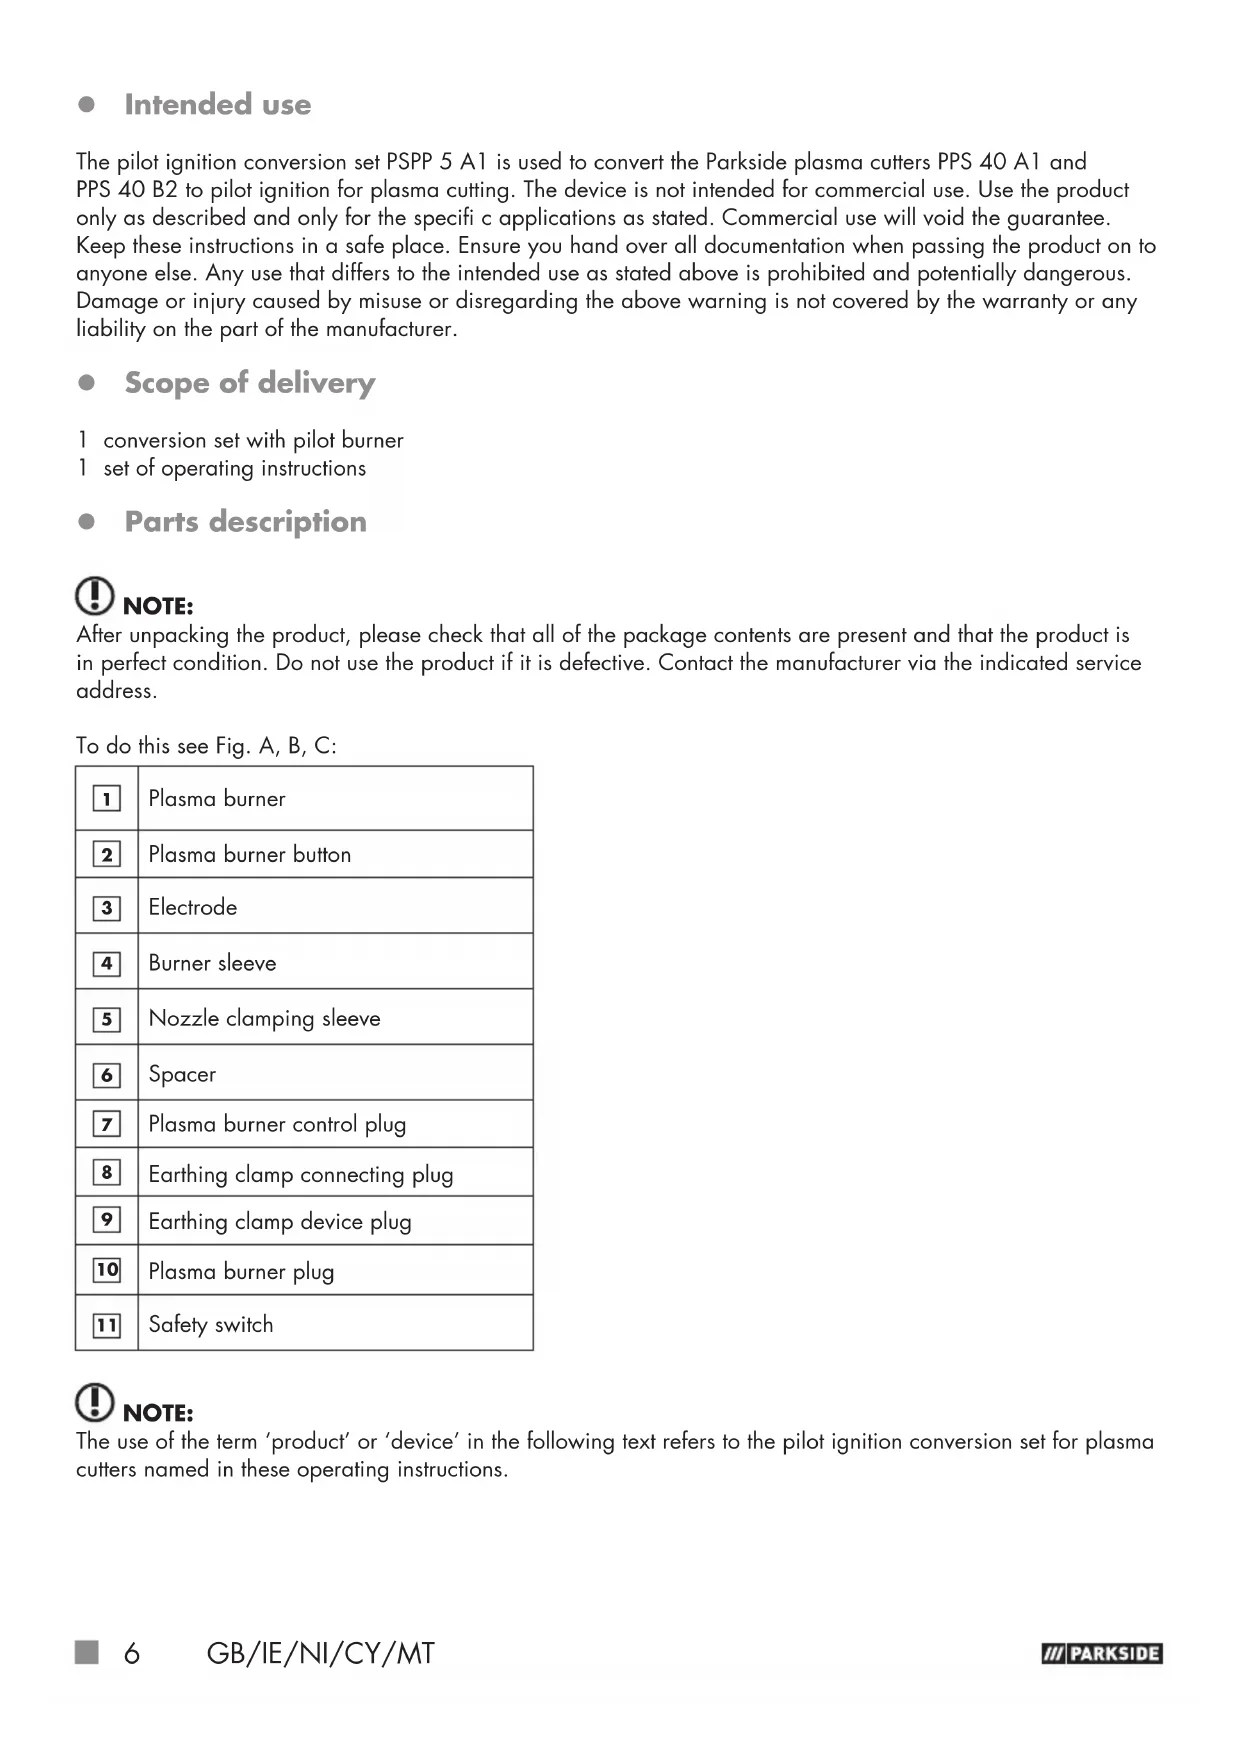
Please note the marking on the different packaging materials and separate them as necessary. The packaging materials are marked with abbreviations (a) and digits (b) with the following definitions:1–7: Plastics, 20–22: Paper and cardboard, 80–98: Composite materials.
• EU Declaration of Conformity
We,
C. M. C. GmbH
Responsible for documentation:
Dr Christian Weyler
Katharina-Loth-Str. 15
66386 St. Ingbert
hereby take sole responsibility for declaring that the product
Pilot Ignition Conversion Set PSPP 5 A1
Year of manufacture: 2022/03
IAN:
389165_2104
Model: PSPP 5 A1
Art. no.: 2427
meets the basic safety requirements as specified in the European Directives
Low Voltage Directive
2014/35/EU
and the amendments to these Directives.
The object of the declaration described above meets the requirements of Directive 2011/65/EU of the European Parliament and of the Council of 8 June 2011 on the restriction of the use of certain hazardous substances in electrical and electronic equipment.
This conformity assessment is based on the following harmonised standards:
DIN EN IEC 60974-7:2019
St. Ingbert, 2 September 2021

text_image
C.M.C. GmbH Katharina-Loth-Str. 15 66386 St.Engieft Telefon: +49 6894 9989750 Telefax: +49 6894 9989729Dr. Christian Weyler – Quality Assurance –
- Service
NOTE:
You can download this handbook and many more, as well as product videos and software at www.lidl-service.com.

text_image
PDF ONLINE www.lidl-service.comWith this QR code you can gain immediate access to the Lidl Service page (www.lidl-service.com) and you can open your operating instructions by entering the article number (IAN) 389165.
How to contact us:
GB, IE, NI, CY, MT
Name: C. M. C. GmbH
Website: www.cmc-creative.de
E-mail: service.gb@cmc-creative.de
Phone: 0-808-189-0652
Registered office: Germany
IAN 389165\_2104
Please note that the following address is not a service address. Please first contact the service point given above.
Address:
C. M. C. GmbH
Katharina-Loth-Str. 15
66386 St. Ingbert
GERMANY
Ordering spare parts:
Dr. Christian Weyler
Katharina-Loth-Str. 15
DE-66386 St. Ingbert
Dr. Christian Weyler
service.at@cmc-creative.de
service.ch@cmc-creative.de
Telefon: +49 (0) 6894/ 9989750
Dr. Christian Weyler
Katharina-Loth-Str. 15
DE-66386 St. Ingbert
Dr. Christian Weyler
Dr. Christian Weyler
Katharina-Loth-Str. 15
DE-66386 St. Ingbert
Dr. Christian Weyler
Dr. Christian Weyler
Katharina-Loth-Str. 15
DE-66386 St. Ingbert
Dr. Christian Weyler
- Rízení kvality -
- Servis
! UPOZORNĚNÍ:
Dr. Christian Weyler
Katharina-Loth-Str. 15
DE-66386 St. Ingbert
Dr. Christian Weyler
Dr. Christian Weyler
Katharina-Loth-Str. 15
DE-66386 St. Ingbert
Dr. Christian Weyler
Dr. Christian Weyler
Katharina-Loth-Str. 15
66386 St. Ingbert
Dr. Christian Weyler
Dr. Christian Weyler
Katharina-Loth-Str. 15
DE-66386 St. Ingbert
Dr. Christian Weyler