Time duoFIX - Car seat Foppapedretti - Free user manual and instructions
Find the device manual for free Time duoFIX Foppapedretti in PDF.
User questions about Time duoFIX Foppapedretti
0 question about this device. Answer the ones you know or ask your own.
Ask a new question about this device
Download the instructions for your Car seat in PDF format for free! Find your manual Time duoFIX - Foppapedretti and take your electronic device back in hand. On this page are published all the documents necessary for the use of your device. Time duoFIX by Foppapedretti.
USER MANUAL Time duoFIX Foppapedretti
AND KEEP FOR FUTURE REFERENCE
2. Safety recommendations
3. Using the car seat
5. Assembling the car seat
6 Installing the car seat
6.1 Installing with a 3-point seat belt
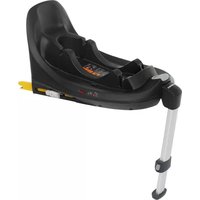
6.2. Installing with the ISOFIX system
7. Removing and replacing the seat lining
8. Maintenance and cleaning
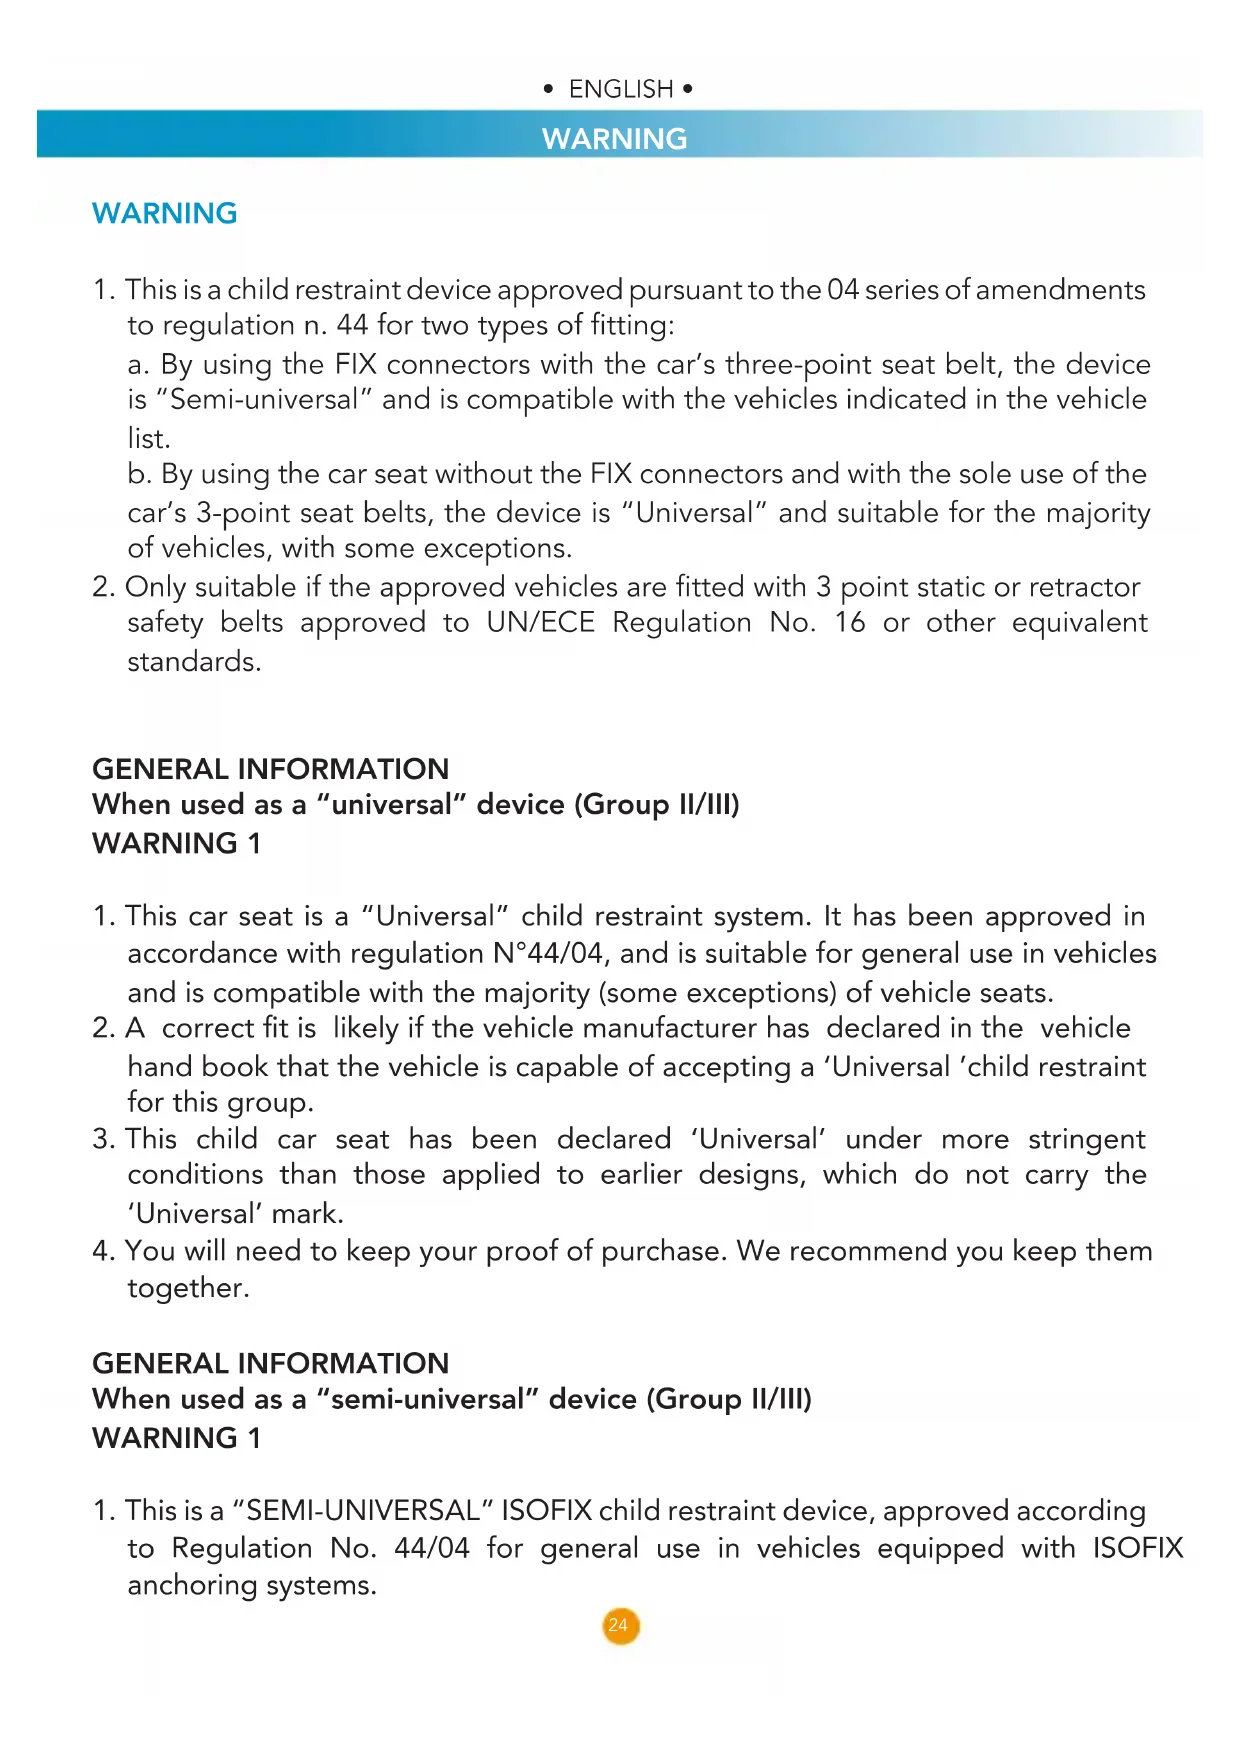
1. This is a child restraint device approved pursuant to the 04 series of amendments
to regulation n. 44 for two types of tting: a. By using the FIX connectors with the car’s three-point seat belt, the device is “Semi-universal” and is compatible with the vehicles indicated in the vehicle list. b. By using the car seat without the FIX connectors and with the sole use of the car’s 3-point seat belts, the device is “Universal” and suitable for the majority of vehicles, with some exceptions.
2. Only suitable if the approved vehicles are tted with 3 point static or retractor
safety belts approved to UN/ECE Regulation No. 16 or other equivalent standards. GENERAL INFORMATION When used as a “universal” device (Group II/III) WARNING 1
1. This car seat is a “Universal” child restraint system. It has been approved in
accordance with regulation N°44/04, and is suitable for general use in vehicles and is compatible with the majority (some exceptions) of vehicle seats.
2. A correct t is likely if the vehicle manufacturer has declared in the vehicle
hand book that the vehicle is capable of accepting a ‘Universal ’child restraint for this group.
3. This child car seat has been declared ‘Universal’ under more stringent
conditions than those applied to earlier designs, which do not carry the ‘Universal’ mark.
4. You will need to keep your proof of purchase. We recommend you keep them
together. GENERAL INFORMATION When used as a “semi-universal” device (Group II/III) WARNING 1
1. This is a “SEMI-UNIVERSAL” ISOFIX child restraint device, approved according
to Regulation No. 44/04 for general use in vehicles equipped with ISOFIX anchoring systems. WARNING• ENGLISH •
This Child Restraint is classified for "Semi-universal" use and is suitable for fixing into the seat positions of the following cars: CAR (See the car list)
FRONT REAR CentreOuterOuter Seat positions in other cars may also be suitable to accept this child restraint. If in doubt, consult either the child restraint manufacturer or the retailer. WARNING
2. This child restraint has been classied as ”SEMI-UNIVERSAL” according to
stricter approval criteria than previous models that do not have this notice.
3. This car seat is suitable for the GROUP 2,3 (15-36 kg) and only in vehicles,
listed in the vehicle list, which are equipped with ISOFIX anchoring systems and a 3-point seat belt, either static or with a retractor approved according to UN/ECE Regulation No. 16 or other equivalent standards.
4. For the use of an ISOFIX system it is strictly necessary to read the vehicle
manual before installing the car seat. The manual will indicate the passenger seats which are compatible with the size class of the car seat.
5. If in doubt, contact the manufacturer of the child restraint, or the retailer.
WARNING 2 The vehicle manufacturer may include in its manual information on the suitability for installation on the passenger seat in different positions. If in doubt, contact the manufacturer of the child restraint, or the retailer.
1. Important notes - TO BE READ CAREFULLY
- Before use our product, please read the instruction manual carefully, the product is a safety product and is only safe when used in accordance with the instruction manual.
- For the future use of the seat, it is important that you keep the instruction manual carefully.
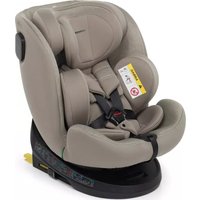
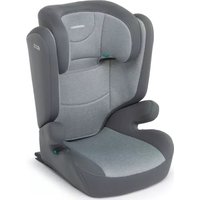
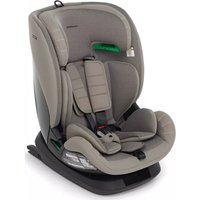
- This car seat has “Group 2/3” approval for the transportation of children of between 15 and 36 kg in weight (from about 3 to 12 years of age) in accordance with European regulation ECE R 44/04).
- Never leave your child unattended in the car.• ENGLISH • • ENGLISH •
- The product is exclusively for use as a car seat and is not destined for use at home.
- The child seat should be changed when has been subject to violent stressed in an accident.
- We advise you strongly that not to use a second-hand product, beacuse you are not sure what has happened to it.
- Ensure that all luggage and objects likely to cause injury in the event of an accident are properly secured.
- The moving parts of the child seat should not be lubicated in any way.
- The child seat shall not be used without the cover; the seat cover should not be replaced with any other than the one recommended by the manufacturer.
- The seat must be secured with a seat belt, even whe it is not on use. An unsecured seat may injure other passengers in the car in an urgent stop.
- It is danger to make any alterations or additions to the device without the approval of the Type Approval Authority, and is also danger not following closely the installation instructions.
- The rigid items and palstic parts of a child restraint shall be so located and installed that they are not liable, during everyday use of the vehicle, to become trapped by a movable seat or in a door of the vehicle.
- In hot weather, the plastic and metal parts of the product will be hot. You should cover the seat when the car parked under the sun.
- Any straps holding the restraint to the vehicle should be tight; restraining the child should be adjusted to the child’s body, and should not be twisted.
- It is important to ensure that any lap strap is worn low down, so that the pelvis is rmly engaged, shall be stressed.
- It is extremely danger to use any load bearing contact points other than those described in the instructions and marked in the child seat.
- Use the seat even in a short journey, as this is when most accidents occur.
- Take a short break in long journey. So that your child has some time for the relaxion.
- Set a good example yuorself and always wear your seat belt.
- Ensure that all the passengers in the car use their seat belts for both their own safety and to avoid causing possible harm to the child in the event of an accident or sudden braking during the journey.
- Do not place more than one child at a time in the car seat.
- Tell your child that he/she should be never play with the belt buckle. WARNING• ENGLISH •
The car seat can be tted only if the vehicles considered as suitable are equipped with 3-point seat belts approved pursuant to Regulation UN/ECE n.16 or other equivalent standards.
In the direction of travel YES
In the opposite direction to the direction of travel
The vehicle is equipped solely with 2-point seat belts
The vehicle is equipped with 3-point seat belts
Central rear seat with 3-point seat belt• ENGLISH • • ENGLISH •
- Do not use the car seat on the front seat if the airbag is enabled.
Fitting allowed Fitting not allowed Do not fit the car seat to the front seat with the airbag enabled Fitting allowed only if the seat is equipped with a 3-point seat belt• ENGLISH •
Fitting allowed Fitting not allowed Do not fit the car seat to the front seat with the airbag enabled Fitting allowed only if the seat is equipped with a 3-point seat belt
STEP 1: Align the seat and backrest connectors as shown in the gure. STEP 2: Attach the backrest hooks to the seat brackets. STEP 3: Lift the backrest vertically while pressing on the connectors.
WARNING: DO NOT APPLY EXCESSIVE
Group 2/3 car seat, from 15 kg to 36 kg (from about 3 to 12 years of age).
6.1 Installing with a 3-point seat belt
STEP 1: Press the button on the underside of the seat and turn the ISOFIX brackets upwards into the bracket slot. Release the button and ensure the brackets are locked into place. STEP 2: Position the car seat facing in the direction of travel on the passenger seat. A 1 A 2 A 3 B 1 B 2
STEP 3: The vehicle’s 3-point seat belt must be inserted into diagonal belt guide “A” and into lap belt guides “B” and “C” as shown in the gure. STEP 4: Place the child into the car seat, adjusting the height of the headrest according to the size of the child (see step 5 “Adjusting the headrest”). Secure the child using the 3-point seat belt supplied with the vehicle, passing the vehicle’s diagonal belt through the upper belt guide loop (A), and the vehicle’s lap belt through the belt guide loops (B) and (C) (see gure B4). Clip the buckle, a click will indicate that it has been inserted correctly. STEP 5: The correct adjustment of the headrest guarantees lateral protection and that the diagonal belt inserted into the belt guide loop is in the ideal position on the body, guaranteeing the utmost protection for your child in the car seat. To adjust the headrest, lift the adjustment lever on the back and raise or lower the headrest to the desired height (see gure B6). The headrest must be adjusted in such a way as to allow the diagonal belt to rest on the child’s shoulder, neither too low nor too high. Ensure that the headrest is locked into place in the chosen position and that the seat belt is not touching the child’s neck. STEP 6: Fasten the vehicle’s seat belt to the buckle, a click will indicate that it is attached correctly. Ensure that the seat belt is properly tightened, and is not twisted. B 6 B 7 B 8
NOTE: Check that the vehicle’s buckle support is not too long, causing the buckle to be placed too high, as shown in the gure. This may cause the incorrect restraint of the car seat in the event of an accident. Do not use the car seat in this case. B 6 B 7 B 8 BAC B 4 B 5 Too high Right Too low CLICK
6.2 Installing with 3-point seat belt together with ISOFIX connectors
Please read the instructions on the use of child restraint systems described in your vehicle owner’s manual. Find the ISOFIX anchorage points in the vehicle seat. STEP 1: Turn the car seat over, press the lever and turn the bracket with the ISOFIX connectors downwards (gures C1, C2). STEP 2: Turn the ISOFIX connectors by 180° as shown in the gure (gure C3). C 1 C 2 C 3 C 4 C 5 C 6
STEP 3: Locate the ISOFIX attachments on the seat of the vehicle. STEP 4: Insert the two ISOFIX guides into their relative ISOFIX anchoring points. The ISOFIX guides facilitate the attachment of the ISOFIX connectors preventing damage to the seat upholstery. STEP 5: Position the seat facing towards the direction of travel on the passenger seat. Align the ISOFIX attachments with the anchoring points tted to the vehicle seat and press until you hear a “click”. Ensure that both brackets are correctly fastened. C 1 C 2 C 3 C 4 C 5 C 6
STEP 6: Ensure that the indicator of the locking device on both brackets is green, indicating that they are correctly fastened. Check that both brackets are correctly fastened. STEP 7: Place the child in the car seat. STEP 8: Place the child in the ar seat and adjust the height of the headrest according to the size of the child (see step 9 “Adjusting the headrest”). Secure the child with the 3-point seat belt supplied with the car, passing the diagonal belt of the vehicle through the upper belt guide loop (A) and the lap belt of the vehicle through belt guide loops (B) and (C) (see gure C9). Clip the buckle, a “click” will indicate that it is correctly fastened.
STEP 9: The correct adjustment of the headrest guarantees lateral protection and that the diagonal belt passing through the belt guide loop is in the ideal position on the body, guaranteeing utmost protection for your your child in the car seat. To adjust the headrest, lift the adjustment lever on the back and raise or lower the headrest to obtain the desired height (see gure C10). The headrest must be adjusted in such a way as to allow the diagonal belt to rest on the child’s shoulder, neither too low or too high. Ensure that the headrest is locked into the chosen position and that the belt C11 is not touching the child’s neck (see gure C11). STEP 10: Fasten the vehicle’s seat belt to the buckle, a click will indicate that it is attached correctly. Ensure that the belt is properly tightened, and is not twisted. NOTE: Check that the vehicle’s buckle support is not too long, causing the buckle to be placed too high, as shown in the gure. This may cause the incorrect restraint of the car seat in the event of an accident. Do not use the car seat in this case.
STEP 11: Unfastening your child seat Push the car seat towards the vehicle seat and slide the button of the locking device on both brackets to unfasten the ISOFIX connectors. A click will indicate that they are unlocked, and the green indicator will turn red, indicating that they are properly unlocked. STEP 12: Remove the car seat.
STEP 2: Push the backrest into a horizontal position, unhook it from the seat by lifting it. STEP 3: Unhook the elastic loops holding the fabric lining. STEP 4: Slide the cover off each side to remove it (gure D4). STEP 5: Lift the fabric lining off the car seat.
RE-FITTING THE COVER
Proceed in reverse order to put on te cover. D 3 D 1 D 4 D 2 C 1 3 C 1 4 D 5
- Regularly check the adjustment and locking devices and ensure that the car seat is correctly adjusted according to the age of the child.
- In the event of an accident, the car seat must be substituted, as there may be micro-ssures which are not visible to the naked eye.
- DO NOT place heavy objects on top of it.
- Always store the child car seat in a dry environment.
- DO NOT store the child car seat near a direct heat source such as a radiator.
8.2 Washing instructions
- Never use solvents, chemical detergents or lubricants on any part of the car seat. Covers
- The seat cover is easily removable and should be handwashed with a pH neutral soap and cold water.
- Do not press, iron, dry clean, tumble dry or wring the covers.
- Do not use solvents, caustic or abrasive cleaning materials.
- If the seat covers need to be replaced only use Bolenn Hug certied parts.
- They are the only ones that are guaranteed to have been safety tested and designed to t this seat. The child seat must not be used without the seat cover. Plastic/Metal Parts
- Wipe clean using a mild soap and warm water.
- You must not remove, dismantle or alter any part of the seat shell.
- You must not oil or lubricate any part of the seat shell. Hand wash in water at a temperature of less than 30°C Do not bleach Dry clean without the use of solvents except for trichloroethylene Do not tumble dry Do not iron
FORMAL GUARANTEE The contents of this document as stated below will come into effect as from 01.01.2005 and replace, on every account and in full, any previous message referring to the guarantee provided by Foppa Pedretti S.p.A. FORMAL GUARANTEE Foppa Pedretti S.p.A. the head office of which is located at n. 11 Via Volta, Grumello del Monte (Italy), guarantees directly to the Consumer that this brand new product is free of faults with regard to the materials, design and manufacture and that it complies with the characteristics as declared by the manufacturer. This formal guarantee is valid in all Member Countries of the European Union and it neither excludes nor limits the Consumer’s rights in accordance with mandatory measures provided for by the law with regard to the Retailer of the Product. To take advantage of this formal guarantee, the Consumer must return the faulty product to the Retailer, presenting to the same the proof of purchase of the Product which must clearly show the Retailer’s address, the date of purchase of the Product with the Retailer’s stamp and signature and an indication of the Product itself or, alternatively, the receipt which must not have been altered and which must clearly show the same information as that referred to above. The manufacturer’s formal guarantee is valid for twelve (12) months from the date of purchase of the Product. During this period, Foppa Pedretti S.p.A. will repair or replace the faulty product, at its own discretion. The formal guarantee is granted to the end buyer of the Product (Consumer) and it neither excludes nor limits the mandatory rights of the Consumer as provided for by the law and/or the rights that the Consumer may have with regard to the Dealer/Retailer of the Product.
EXCLUSIONS TO THE FORMAL
GUARANTEE. The formal guarantee is excluded in the case of damage caused to the Product for the following reasons: if the product is used in a way that does not comply with the information contained in the use and assembly instruction sheet, if the product is knocked or dropped, if the Product is exposed to humidity or extreme heat or environmental conditions, or to sudden changes in the same, corrosion, oxidization, unauthorized alterations or repairs to the Product, repairs using unauthorised spare parts, improper use, improper maintenance or failure to carry out the same, improper maintenance compared to the information given on the use and assembly instruction sheet, incorrect assembly, accidents, damage caused by food or drink, damage caused by chemical products, cases of force majeure. In any case, Foppa Pedretti S.p.A. declines all responsibility for damage caused to persons or to property, other than the Product, when such damage is caused by a failure to comply with the instructions/advice/warnings cont a ined in the manua l or, alternatively, in the use and assembly instruction sheet provided with each Product for the owner/user. (Purely as an example, in the case of a cot : “Check your baby constantly. Make sure that the sheets and blankets do not cover the baby’s head…”). Furthermore, Foppa Pedretti S.p.A. declines all responsibility for damage to persons and to property when the breakage of its products is due to a deterioration in the components of the Product that are subject to wear. All the components of the Product made of plastic are considered to be components subject to wear.• FRANÇAIS • • FRANÇAIS •
Can only be installed on seats in vehicles indicated on this list. Please note that this list undergoes ongoing revision procedures, with changes and additions of vehicles accordingly. The up to date list can be consulted on our web site: www. foppapedretti.it INFORMATION
- Please consult with the vehicle manufacturer regarding access to ISOFIX points.
- Because of the vehicle seat position care must be taken to correctly attach the child restraint system to the ISOFIX points.
- Vehicle seat has to be fully adjusted to the rear most position.
WARNING: before purchasing, consult
the vehicle Use and Maintenance Guide to ensure the ISOFIX anchor is present, as this could be an optional.4