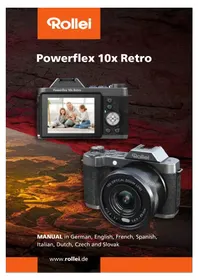
Powerflex 10x Retro - Camera ROLLEI - Free user manual and instructions
Find the device manual for free Powerflex 10x Retro ROLLEI in PDF.



| Product type | Bridge digital camera |
| Brand | Rollei |
| Model | Powerflex 10x Retro |
| Sensor | Sony IMX415 1/2.8" (diagonal 6.43 mm, crop factor 6.7) |
| Lens | 10x optical zoom, 4.9–49 mm (35 mm equivalent: 33–330 mm), F/2.8–3.1 |
| Display | 2.88-inch IPS rear screen |
| Photo resolution | 64 MP* (interpolated), 32 MP*, 16 MP*, 8 MP (actual) |
| Video resolution | 4K (2880x2160) 24fps, 2K (2560x1440) 30fps, 1080p 60/30fps, 720p 60fps |
| File formats | Photo JPEG, Video MP4 H.264 |
| Shooting modes | M, Tv, P, SCN, Continuous, Auto, Filter, Video |
| Image stabilization | Yes, can be enabled/disabled |
| Flash | Built-in, modes: auto, forced, off, red-eye reduction |
| Focus | AF, MF, Macro AF, Macro MF |
| Memory | microSD card (max. 64 GB, class U1 or higher) |
| Connectivity | USB-C, HDMI, microphone jack, 1/4" tripod mount, accessory shoe |
| Power supply | Lithium-ion battery 3.7 V / 1500 mAh (5.55 Wh), charging via USB-C 5V 2A |
| Dimensions | 12.3 x 8.2 x 7.5 cm |
| Weight | 335 g |
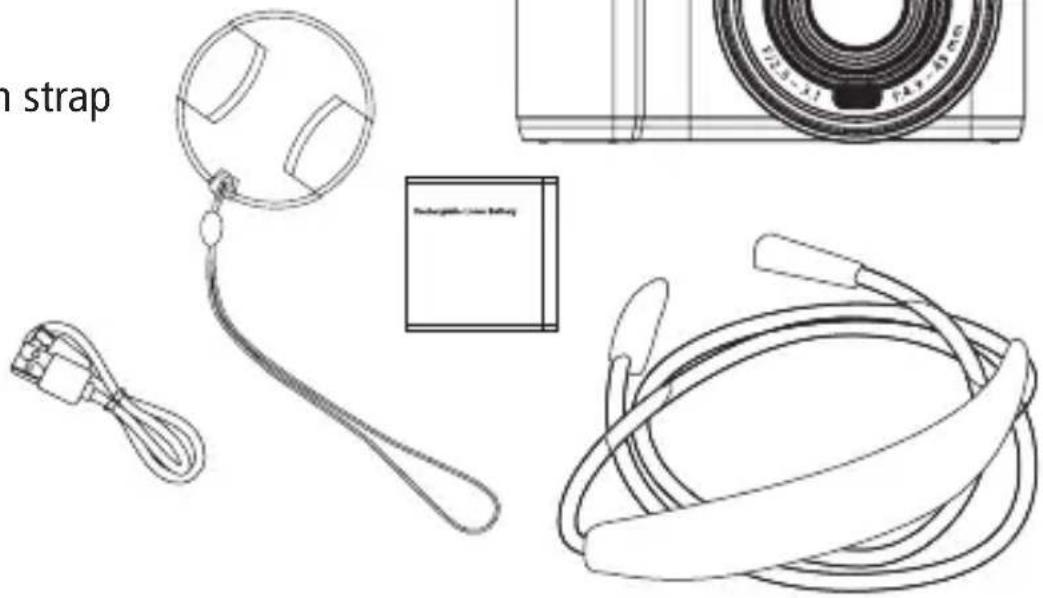
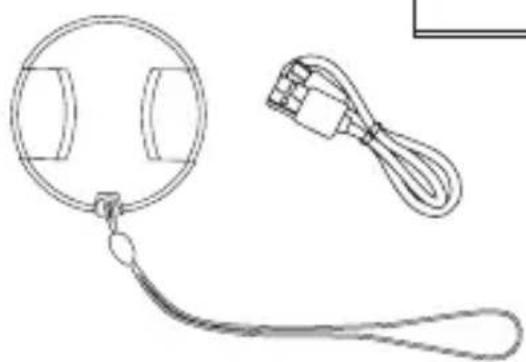
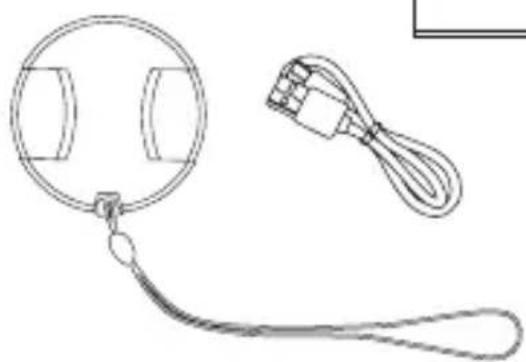
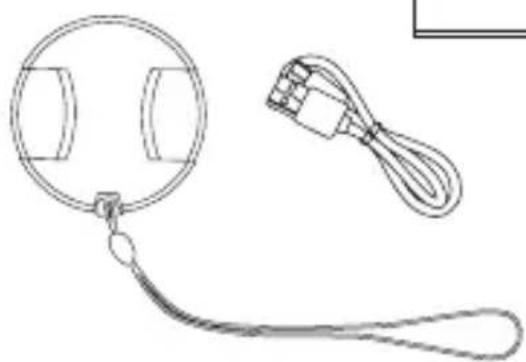
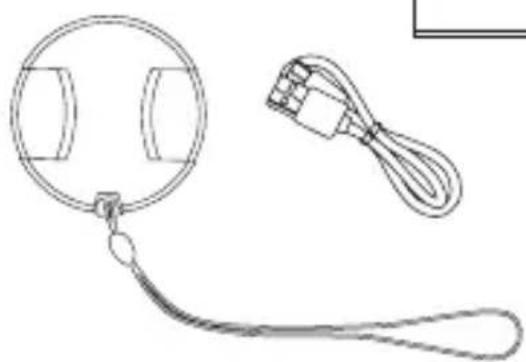
| Box contents | Powerflex 10x Retro, battery, strap, USB-C cable, lens cap with strap, user manual |
| Interface languages | English, German, French, Spanish, Italian, Dutch, Czech, Slovak |
| Maintenance and cleaning | Wipe the lens and screen with a soft, clean cloth. Do not use a steam cleaner. Remove the battery for long-term storage. |
| Safety | Do not expose to water or high temperatures. Do not open the housing. Keep out of reach of children under 14 without supervision. |
| Warranty | Compliant with EU directives (RoHS, EMC). Declaration available at www.rollei.com |
Frequently Asked Questions - Powerflex 10x Retro ROLLEI
User questions about Powerflex 10x Retro ROLLEI
0 question about this device. Answer the ones you know or ask your own.
Ask a new question about this device
Download the instructions for your Camera in PDF format for free! Find your manual Powerflex 10x Retro - ROLLEI and take your electronic device back in hand. On this page are published all the documents necessary for the use of your device. Powerflex 10x Retro by ROLLEI.
USER MANUAL Powerflex 10x Retro ROLLEI
MANUAL in German, English, French, Spanish, Italian, Dutch, Czech and Slovak
Rollei
Inhalt
Before the First Use. 32
Zeichenerklärung 32
Safety Instructions 33
Battery Warning 35
What's in the Box 35
Product Overview 36
Using the Battery 37
First Steps 39
Settings.... 43
Using the Camera 47
Cleaning and Maintaining the Camera ..... 55
Technical Data. 57
Disposal 58
Conformity 59
French 60
Spanish 88
Italian 116
Dutch....144
Czech. 172
Slovak....200
Danish....228
Swedish 256
Norwegian 284
Finnish....312
natural_image
Line drawings of a digital camera, a circular lens, and a strap with a box (no text or symbols)Produktübersicht
Diashow
Before the First Use
Read the operating instructions and the safety instructions carefully before using the device for the first time.
Keep the operating instructions together with the device for future use. If you pass on the device to a third party, this manual is part of the device and must be supplied with the device.
Explanation of Symbols
The following symbols are used in this manual or on the packaging.
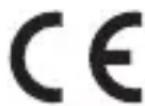
Products marked with this symbol comply with all relevant Community regulations of the European Economic Area.
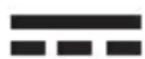
Products marked with this symbol are operated with direct current.
Danger to children and persons with reduced physical, sensory or mental capabilities (for example, partially disabled persons, elderly persons with reduced physical and mental capabilities) or lack of experience and knowledge (for example, older children).
- This product can be used by children 14 years and above. Cleaning and user maintenance must not be carried out by children without supervision.
- The packaging material is not a toy. Do not allow children to play with the packaging film. They may get caught in it while playing and suffocate.
- Supervise children to ensure that they do not play with small parts (memory card). If you suspect that a small part has been swallowed, consult a doctor immediately.
- Store small parts so that they are inaccessible to children and animals.
CAUTION! Risk of injury!
Improper handling of the product can lead to injuries.
- Immediately remove the battery and, if necessary, the charging cable in case of unusual noises or smells as well as smoke from the housing.
NOTICE! Risk of property damage!
Improper handling of the product may result in damage.
Safety Instructions
- Never place the device on or near hot surfaces (e.g. stove tops, etc.) or open flames. Never expose the device to high temperatures (heating, etc.).
- Never pour liquid into the device.
- Do not use a steam cleaner for cleaning.
- Do not use the device if the plastic or metal components of the device are cracked or deformed.
- Handle the device with care. Impacts, dropping or shocks may damage the device.
- Remove the battery if you do not use the product for a long time to prevent damage from a leaking battery.
- Do not modify the device.
- Never open the housing, but leave the repair to specialists. Contact a specialist workshop for this purpose. Liability and warranty claims are excluded in the event of repairs carried out independently, improper connection or incorrect operation.
- Do not operate the device if it shows visible damage or defects.
- If you do not use the device, clean it or if a malfunction occurs, always switch off the device and remove the battery and disconnect all connections.
- In case of problems of the product due to static discharges, switch off the device and switch it on again after about 10 seconds.
Battery Warning
- Do not disassemble, hit or puncture the battery, be careful not to short-circuit the battery. Do not expose the battery to places with high temperatures. Do not continue to use the battery if it leaks or expands.
- Always charge through the system. If the battery is replaced with an incorrect type, there is a risk of explosion.
- Keep the battery away from children.
- Rechargeable batteries can explode if exposed to an open fire. Never throw rechargeable batteries into a fire.
– Follow local regulations for the disposal of used batteries. - Before disposing of the device, remove the rechargeable battery and dispose of it separately.
What's in the Box
- Powerflex 10x Retro
- Camera strap
- Rechargeable battery
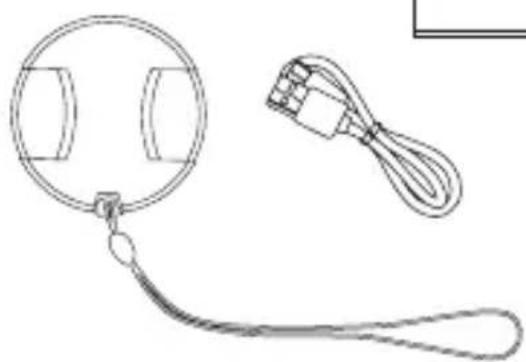
- USB-C cable
- Lens cap with strap
- User manual
natural_image
Line drawings of household appliances including a strap, cord, and cable (no text or symbols)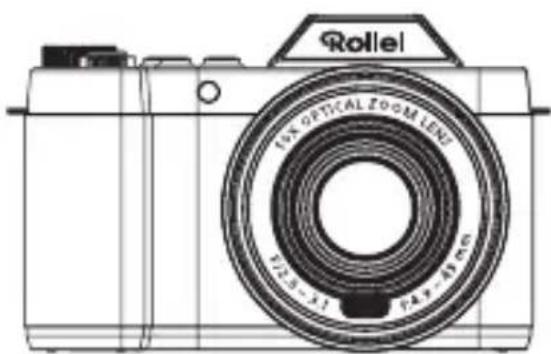
natural_image
Line drawing of a Rolle camera with visible lens and frame (no text or symbols beyond branding)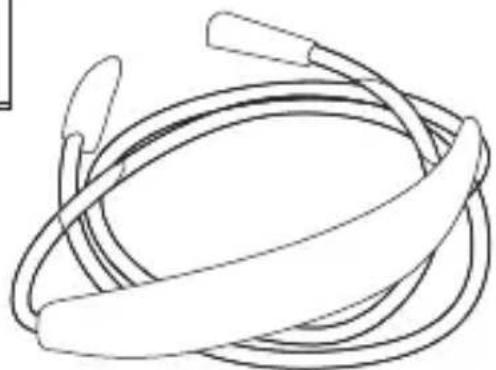
natural_image
Line drawing of a coiled cable or hose with two handles, no text or symbols presentProduct Overview
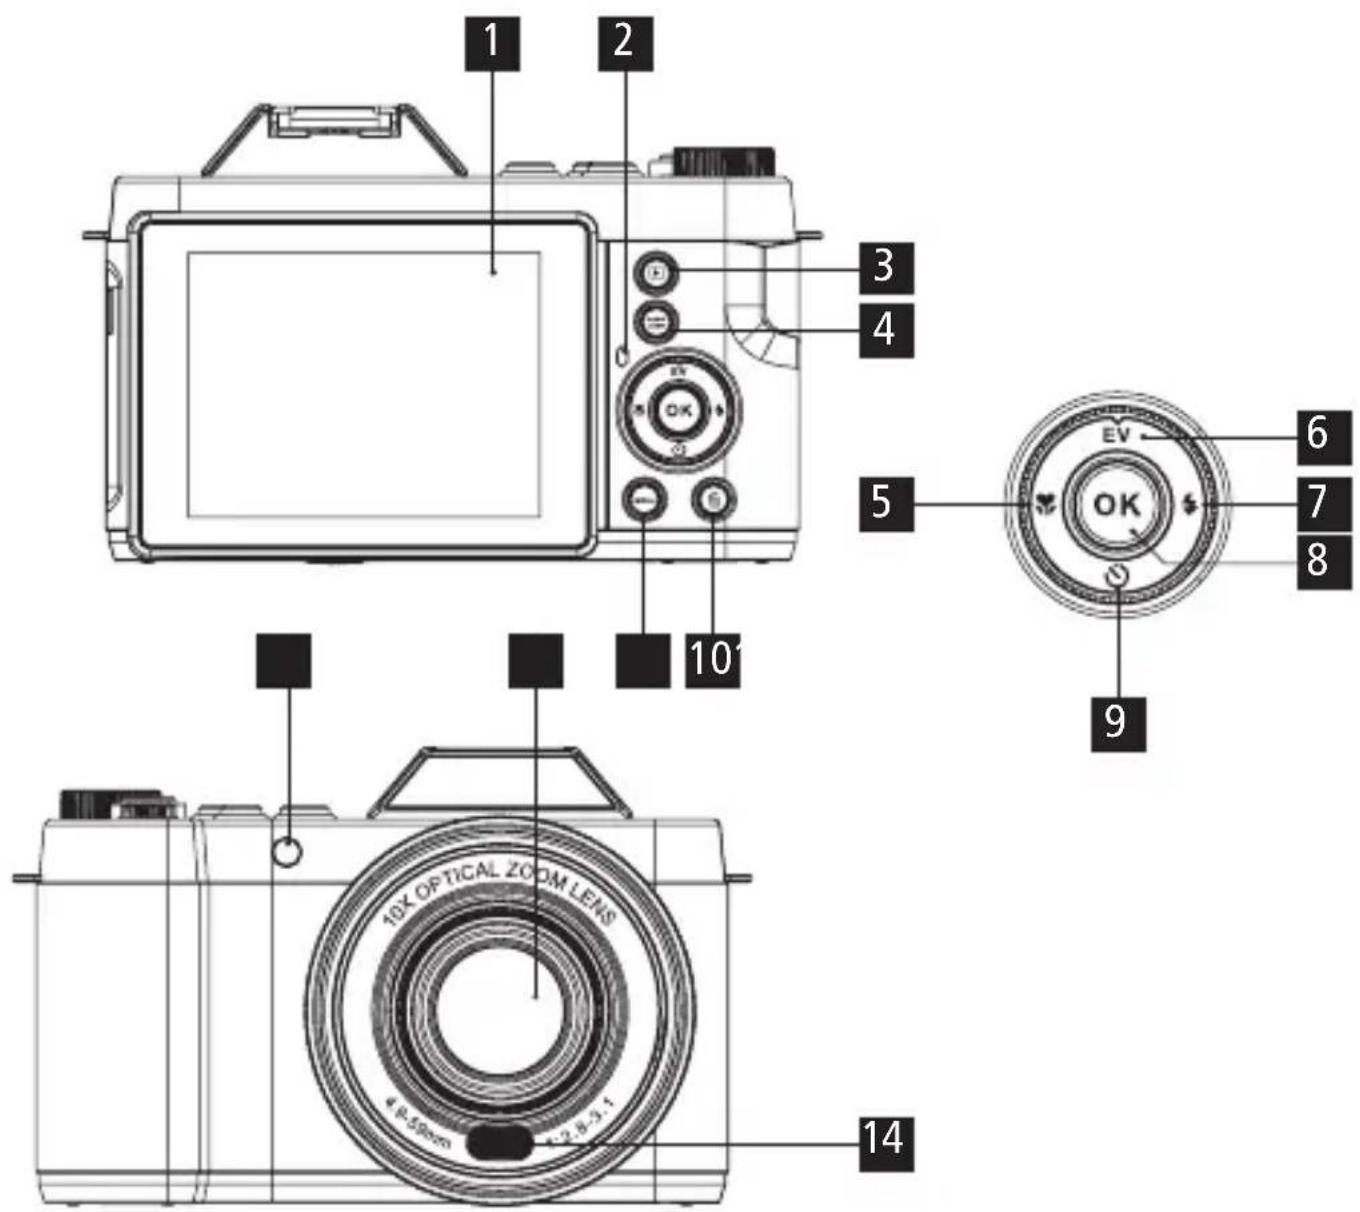
1 Display
2 Charge / working indicator
3 Playback button
4 AE/AF lock
5 Left / focus selection button
6 High / light value selection
7 Right / flash setting button
8 OK button
9 Down / self-timer button
10 Delete button
11 Menu button
12 Lens
13 AF-assist light
14 Flash
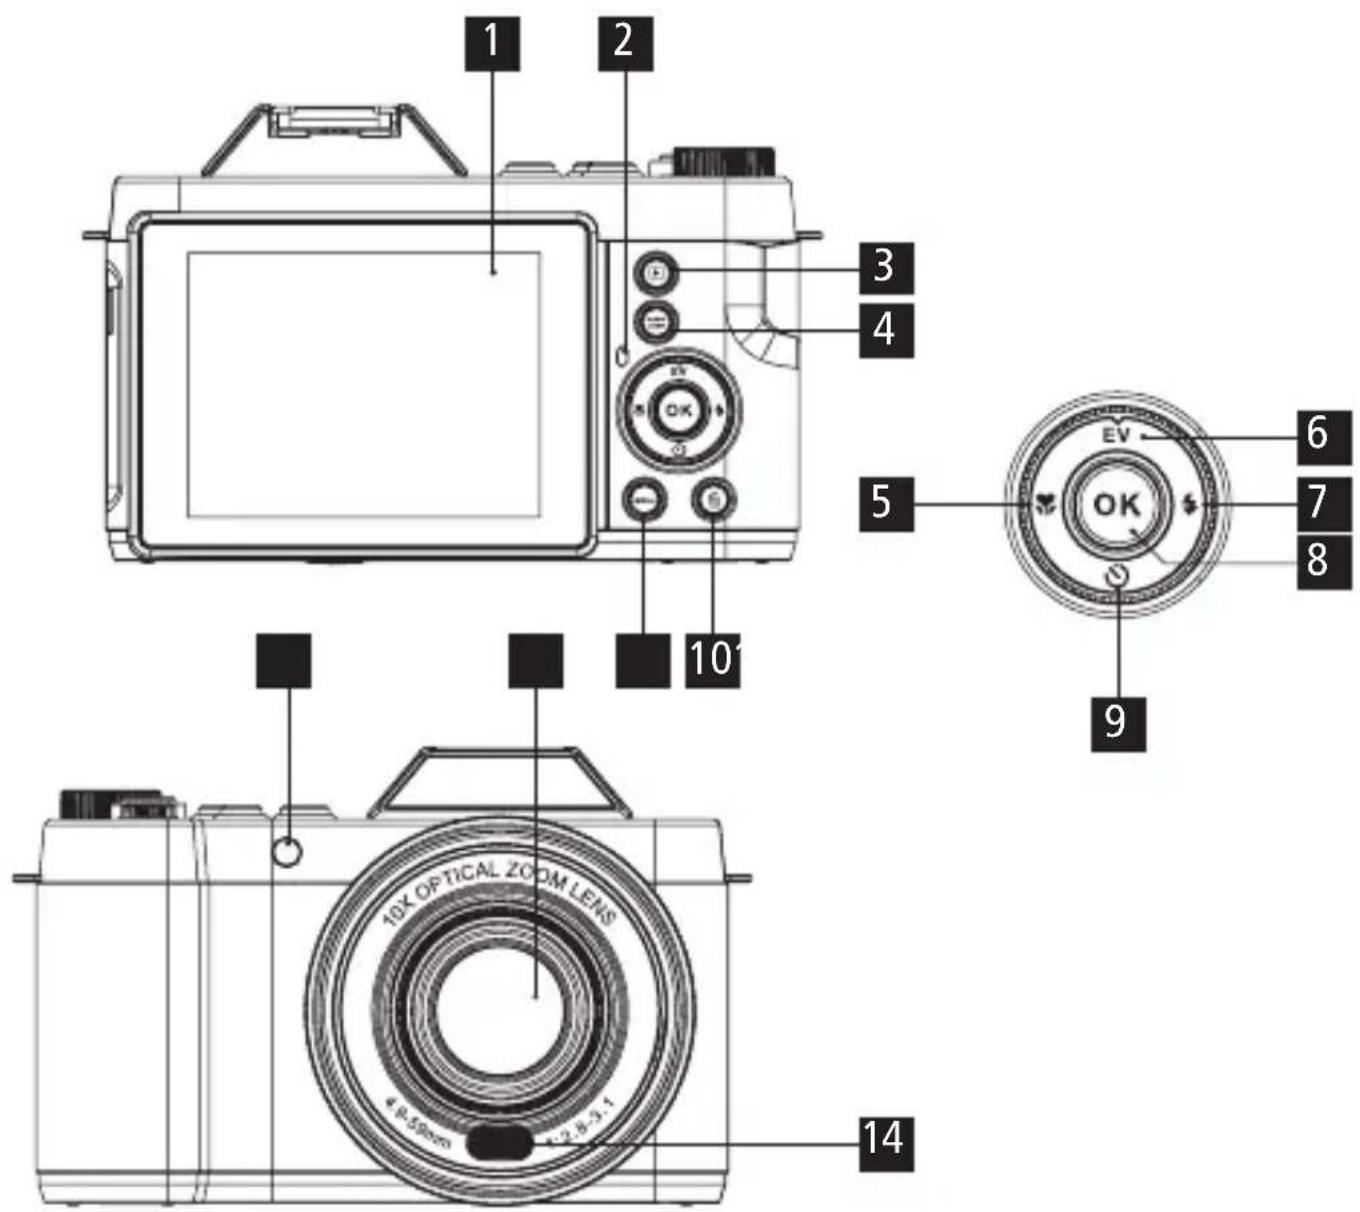
Product Overview
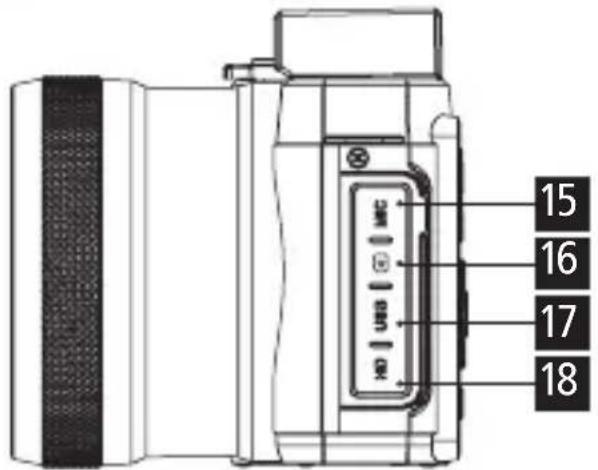
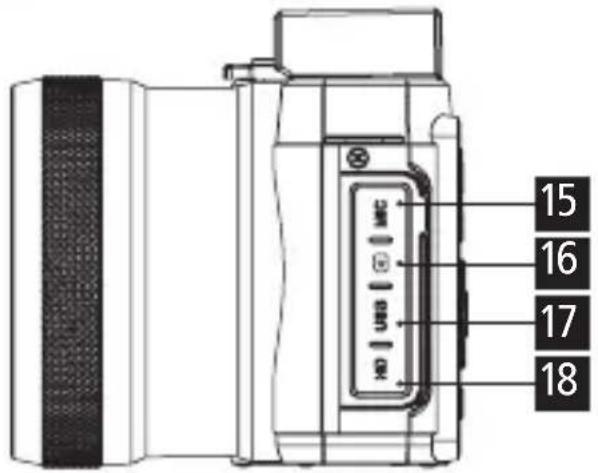
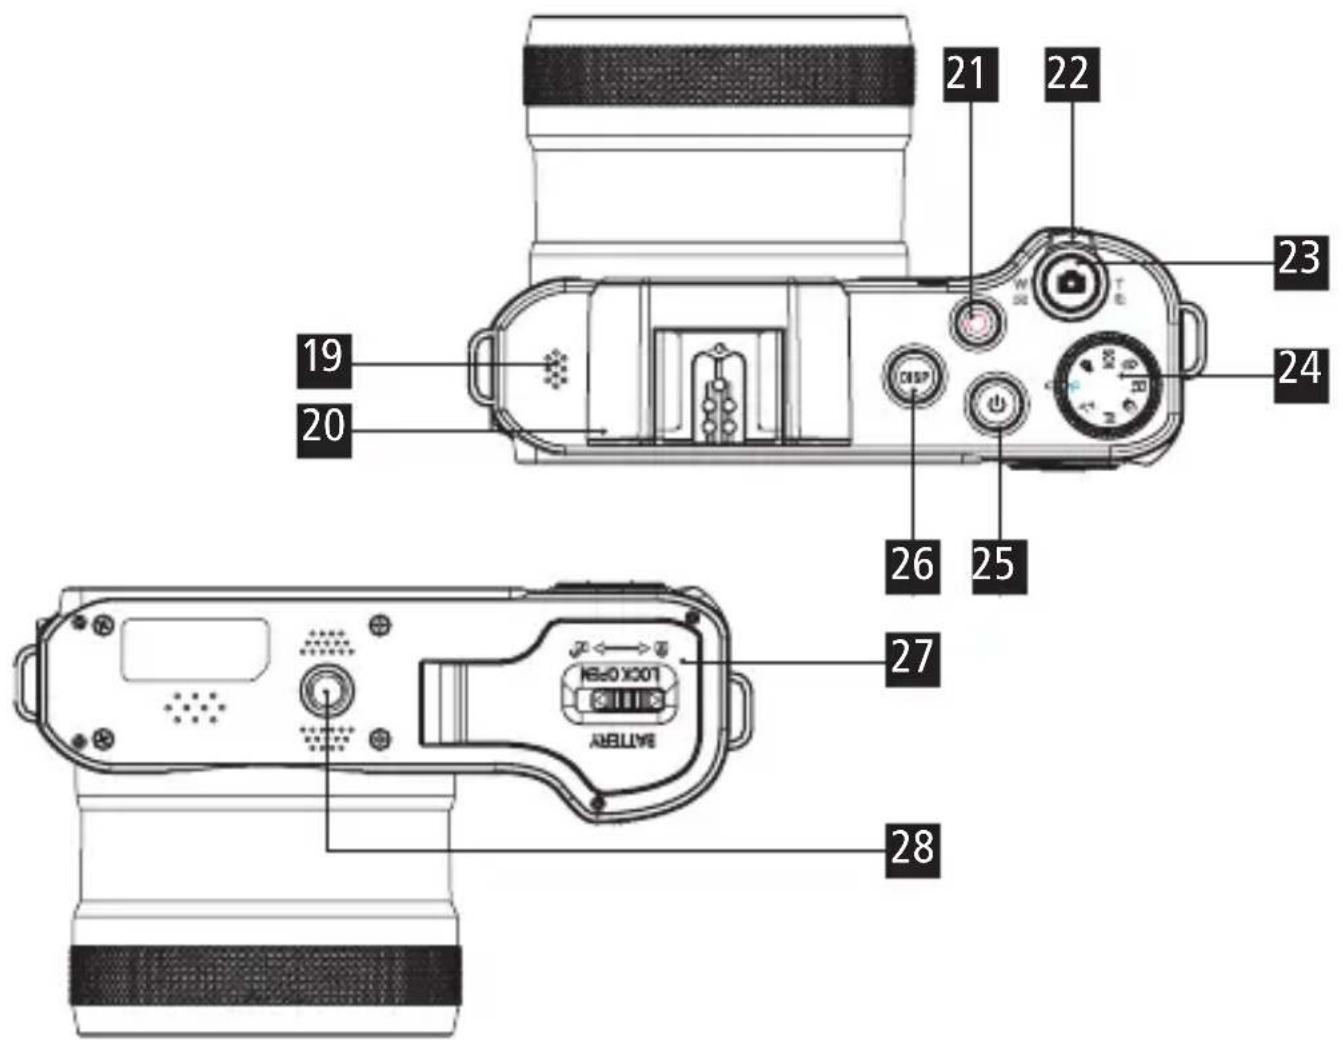
- Microphone connection
16 microSD memory card slot
17 USB-C port
18 HDMI port
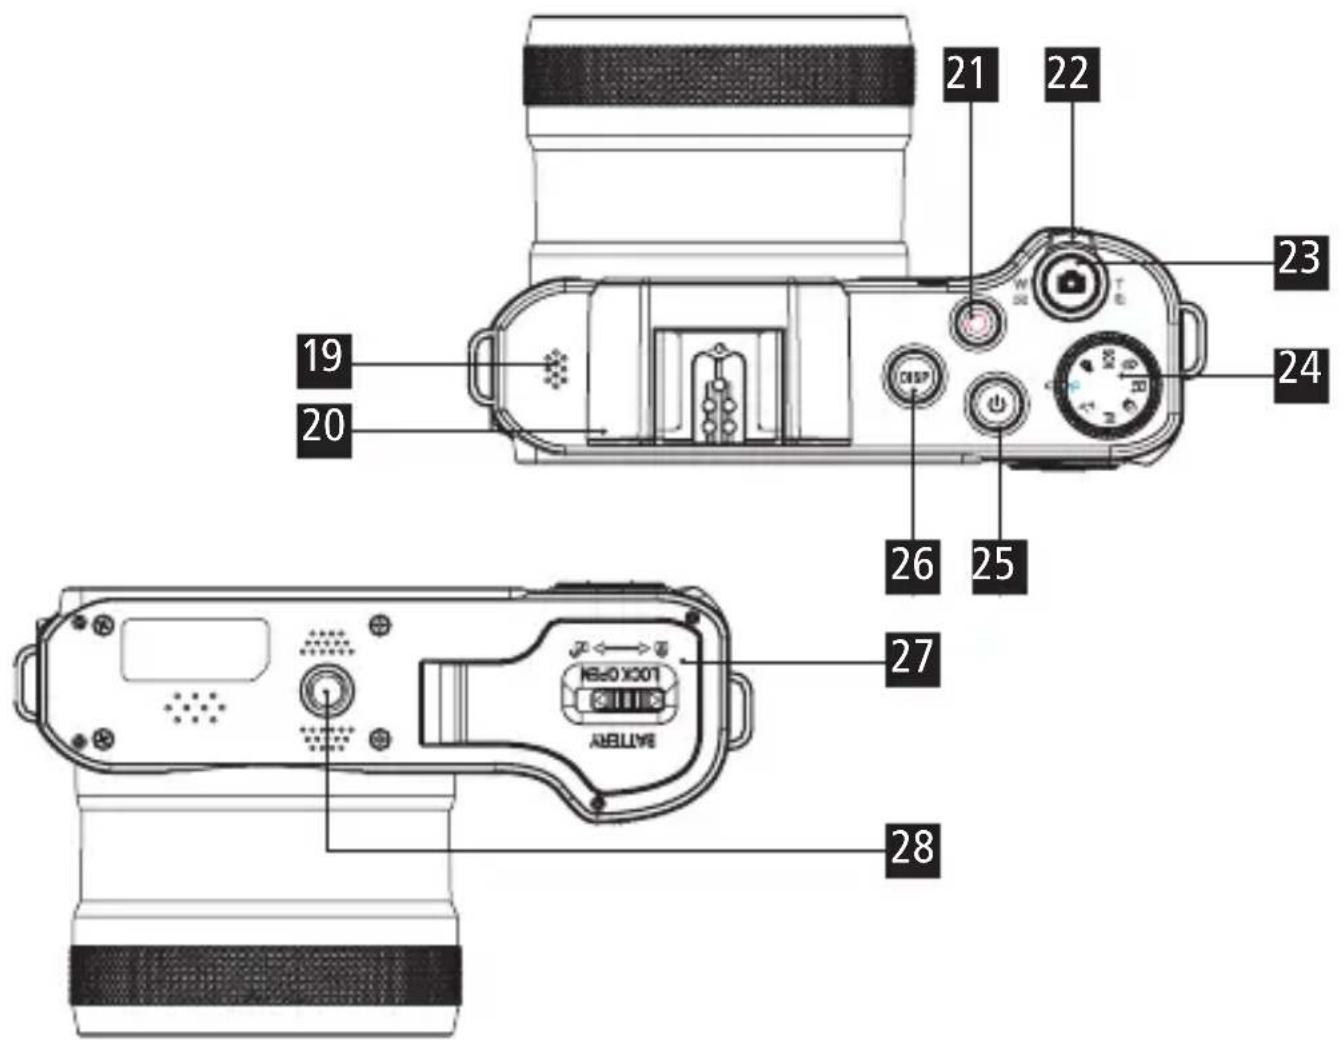
19 Speaker
20 Accessory shoe
21 Video recording button
22 Zoom dial
23 Shutter release button
24 Mode dial
25 Power button
Display button
27 Battery compartment
28 1/4" thread
Inserting the Battery
- Turn off the camera and open the battery compartment cover. Insert the battery by sliding the latch to the side with the battery and sliding the battery into the compartment until it clicks into place. Make sure that the contacts on the battery match the contacts in the camera.
- To remove the battery, slide the latch to the side and gently pull out the battery.
Charging the Battery
- Use the included USB-C cable to charge your camera either via an adapter (5.0 V = 2.0 A) or connect the camera directly to the PC.
- The charging indicator lights up red when the battery is charging.
- The charging indicator turns off automatically when the battery is fully charged.
First Steps
Switching On / Switching Off
Press the power button for three seconds.
Camera Settings
Press the Menu button to enter the camera menu:

Settings photo mode

Settings video mode

System settings
Set Language
- Turn on the camera, press the Menu button to enter the menu.
- Press the right button twice to enter the system settings.
- Select the "Language" option and press the OK button to confirm your selection.

Setting the Date and Time
- Turn on the camera and open the system settings menu by clicking Menu and then pressing the Right button twice.
- Select the "Set Date" option to set the date and time and confirm your selection by pressing the OK button.
- Use the Up / Down button to change the values of the parameters, and the Left or Right button to switch between the parameters. Note that the date is displayed in the following format:
Year / Month / Day.
- Press the OK button when you have entered the correct data.
Inserting and Formatting the Memory Card
For normal use, a micro SD memory card with max. 64 GB of speed class U1 or higher is recommended.
- Open the cover on the left side and push in the micro SD memory card until you hear the "click" sound.
- To remove the memory card, open the cover and push in the memory card, the card will come out automatically.
First Steps
Formatting the Memory Card
When using this digital camera for the first time, it is important to format the memory card. All data including protected files will be deleted. Be sure to save important files to your computer before formatting.
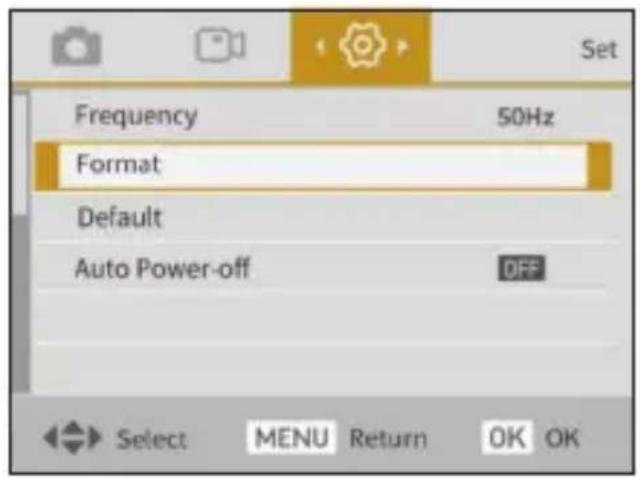
- Turn on the camera and open the system settings menu.
- Select the "Format" option in the settings menu and confirm the selection with the OK button.
System Settings
The system settings allow you to make basic settings on the camera.
Auto Power Off
- You can set the time after which the camera should switch off automatically when inactive. You can choose between 3 minutes, 5 minutes, 10 minutes or Off.
Language
- You can choose from the following system languages: English, German, French, Spanish, Italian, Dutch, Czech and Slovak.
- For more information, see "Setting the Language".
Frequency
- You can set the frequency to 50 Hz or 60 Hz.
Sound Settings
- Set the start sound, trigger sound and volume here.
Set Date
- Set the date and time. For more information, see also "Setting the Date and Time".
Format
- Format the inserted microSD card.
- For more information, see also "Formatting the Memory Card".
Caution: When formatting, all information on the microSD card is lost. Make sure that they have been saved in another location.
Factory Settings
- Reset your camera to factory settings.
Version
- Here you can see which firmware version is on your camera.
Photo Modes Settings
The following settings can be made for the photo modes.
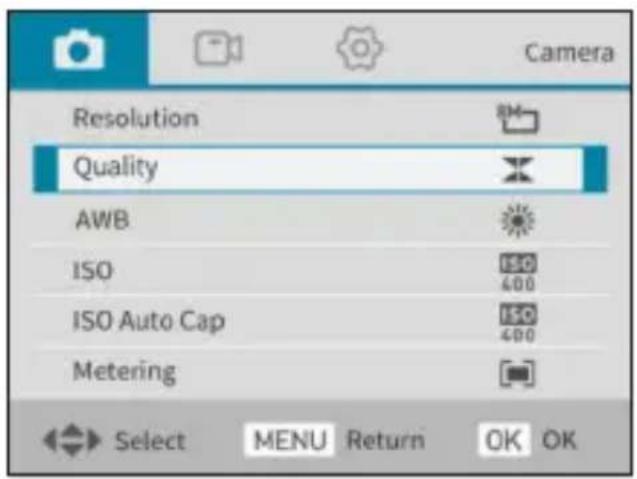
Resolution
- Set the resolution of the images. You can choose from 64MP^ (9200 x 6900), 32MP^ (6480 x 4860), 16MP^* (4608 x 3456) and 8MP (3264 x 2448).
- In continuous mode, the resolution of the images is 8MP (3264 x 2448).
Quality
- You can choose between Extra Fine, Fine and Normal.
- This setting is not available in Filter mode.
AWB
- Set the automatic white balance. You can choose from Auto, Daylight, Cloudy, Incandescent, Flourescent.
- This setting is not available in Scene, Continuous, Filter and Full Auto modes.
*interpolated
ISO
- Set the ISO sensitivity to Auto, 100, 200, 400, 800, 1600, or 3200.
- This setting is not available in Scene, Continuous, Filter and Auto modes.
Metering
- Set metering to Center-weighted, Multi or Spot.
- This setting is not available in Continuous, Filter and Full Auto modes.
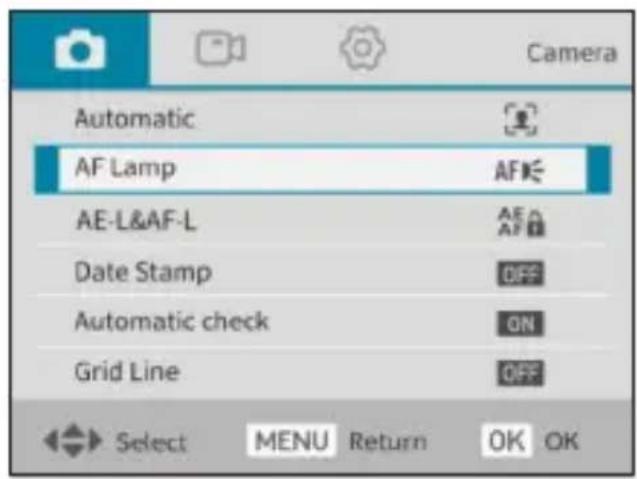
AE-L & AF-L
- Define the function of AE/AF lock to avoid repetitive focusing. You can set AE-L, AF-L or AE-L&AF-L.
- This setting is not available in Scene, Continuous, Filter and Auto modes.
- AE-L: When the AE/AF lock button is pressed, the exposure is fixed after metering once.
- AF-L: When AE/AF lock button is pressed, focus is locked after metering once.
- AE-L&AF-L: When the AE/AF lock button is pressed, the exposure and focus are fixed after metering once.
Guide Lines
- Set guide lines on the preview on your display. The lines help compose the image.
Image Stabilization
- Turn image stabilization on or off to minimize image blur.
Date Stamp
- Turn the date stamp on your images on or off.
- Note: The date stamp cannot be removed from the image afterwards.
Preview
- The captured image is shown on the display for 2 or 5 seconds. The preview can also be switched off.
Color
- In Filter mode, you can highlight color tones in your images or colorize your images. The following 13 options are available:
Standard, Color Highlight Red, Color Highlight Green, Color Highlight Blue, Color Highlight Orange, Color Highlight Yellow, Color Highlight Purple, Sepia, Monochrome, Pencil, Vivid.
- This setting is only available in Filter mode.
Scene Mode
- In Scene mode, 10 preset scenes can be selected: Auto Scene, Landscape, Portrait, Sports, Night Portrait, Night Scene, Party, Sunset, Backlight, High Sensitivity.
Video Mode Settings
In the Video Capture Settings menu, settings for video capture can be made.
Resolution
- The available resolution is 4K 2K (2560x1440) at 24 fps, 1080p (1920x1080) at 60fps, 1080p (1920x1080) at 30 fps or 720p (1280x720) at 60 fps are available.
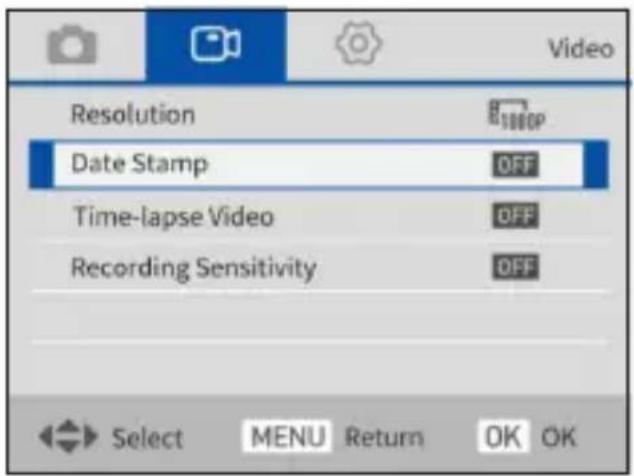
Date Stamp
- The date is displayed in the video.
- Note: the date stamp cannot be removed from the video afterwards.
Time-lapse video
- You can choose between Off, 1 second, 3 seconds and 5 seconds.
Sound Recording Sensitivity
- You can choose between Soft, Normal and Hard.
When the camera is turned on, it is in Photo Capture mode by default. Turn the Mode Dial to select a photo mode.
Manual Exposure (M):
- In Manual Exposure mode, you can set the aperture and shutter speed yourself. In the mode, press the OK button to set the values. Use the Up and Down buttons to adjust the aperture. Use the Right and Left buttons to adjust the exposure time.
- Press the OK button when the values are set.
Video Mode:
- In this mode, you start the camera's video mode and can start and stop your videos by pressing the record button.
Aperture Priority Mode (Tv):
- In this mode, the aperture is adjusted automatically. The shutter speed can be adjusted by pressing the OK button. Use the left and right buttons to change the values.
Program Automatic Mode (P):
- All settings are adjusted automatically.
Scene Mode (SCN):
- In this mode, you can choose from different scenarios. The settings are automatically applied as presets by the camera.
 | Auto scene Fully automatic for easy photography. | |
 | Landscape Ideal for photographing landscapes. | |
 | Portrait | To photograph portraits against soft back-grounds. |
 | Sport | To photograph fast-moving objects in bright environments. |
 | Night portrait | To take portraits in low light. We recommend using the flash. |
 | Night landscape For photographs in dark environments. | |
 | Party | For environments with diffused light such as candlelight or the like. |
 | Sunset When shooting sunsets. | |
 | Backlight When taking pictures with backlight. | |
 | High sensitivity When shooting with few light sources. | |
Continuous Mode ( )
- Select this mode for continuous shooting. 3 continuous images are taken at a time.
Full Auto Mode (A)
- In Full Auto mode, the camera makes all settings automatically based on the captured photo.
Filter Mode (○)
- Choose from 13 filters for your photos. The filters can be selected in the Photo Modes settings menu, see also "Photo Modes Settings – Color".
- After selecting the desired mode, press the Menu button and select the desired setting for it.
- Press the Shutter button to take a photo, and the photo will be automatically saved to the memory card.
- Press the video record button to record a video.
- Press again to stop recording.
Zoom Dial (T/W)
- When the autofocus (AF) is set, slide the zoom dial to the right to zoom in. Slide the zoom dial to the left to zoom out.
- If Manual Focus (MF) is set, see also "Focus Settings":
Use the Zoom dial to drag the focus. In Manual Focus, the zoom is inactive. - In Playback mode, use the Zoom dial to zoom in or out of the image.
Charge / Operation Indicator LED
- The power LED glows green when the device is on.
– During recording, the power LED flashes green.
Display Button (DISP)
- Use the Display button to turn the display on or off, as well as to display additional information for the exposure.
Light Value Selection (Ev)
- In photo capture modes, the light value can be set here.
- In video recording mode, recording can be stopped and restarted.
Self-timer Button ( )
- Press the self-timer button to set the self-timer. You can choose from 2, 5 and 10 seconds.
Focus Settings (
- Use the Focus button to select between the following focus settings:
AF Macro (Auto Focus Macro Shot)
MF Macro (Manual focus macro shot)
AF (Auto Focus)
MF (Manual Focus)
Using the Fill Light / Flash ( )
- The fill light is used not only to take pictures in low light conditions, but also when the subject is in shadow or under backlight. Press the fill light / flash button to switch the different modes.
- Set the flash via the fill-in light / flash button. The setting is shown in the display.
Note: When the fill light is in auto flash mode, it will only flash when taking pictures in a dark environment.
Display Indicator
![[07726] AF OFF 16M 4K TF AE AF AF ±0 ISO Auto](/content/2026/03/524000/images/f8388cda9d4e3e182cd6b69f6d7707cbfb384cead724ff0777e62fede779b173.jpg)
 | Current mode |
| [xxxxx] | Available storage capacity on the microSD card. The number of photos that can still be saved is displayed. |
 | Displays the selected flash setting. |
| AFX | Displays the setting for the AF assist light. |
 | Indicates whether the self-timer is activated. |
| Indicates the resolution at which the photos will be taken. | |
 | Indicates the quality at which the images are captured. |
| Indicates which metering method is set. | |
 | Indicates how the AE/Af lock is set. |
 | Indicates which focus is applied. |
| Indicates which light value is selected. The light value can be set between +3.0 and -3.0. | |
| Indicates which video resolution is set. | |
| Indicates whether an microSD card is inserted or write-protected. | |
| Indicates whether image stabilization is enabled. | |
| ISO | Indicates which ISO value is set. |
Playback
- To enter the playback mode, press the Playback button.
- To exit playback mode, press the Playback button again.
- Use the Right and Left buttons to navigate through the images and videos.
- By pressing the Display button, you can view or turn off the information about the images.
- By pressing the Zoom dial, you you can zoom in and out of the images.
- By pressing the Delete button, you can delete selected images.
- Press the Menu button to open the playback settings menu.
Using the Camera
Playback Settings Menu
In the playback settings menu, you can make the following settings:
Slideshow
- Start a slide show here. You can also set the interval length to 3, 5 or 10 seconds as well as the repetition of the slideshow.
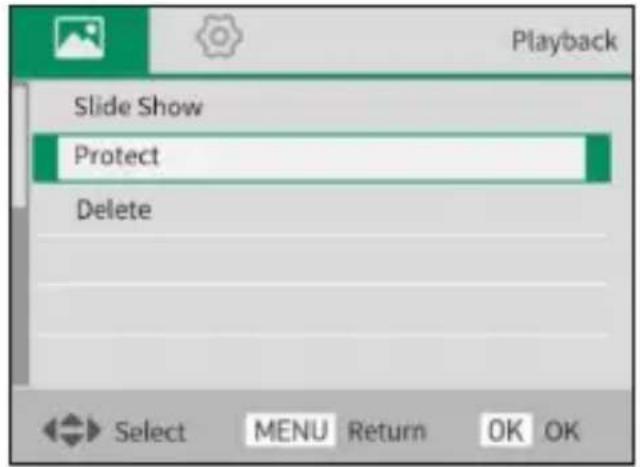
Lock
- Lock your photos before deleting them. You can choose to lock one photo or all photos. You can unlock via "Unlock one" or "Unlock all".
Delete
- Delete the currently displayed photo or all photos on the microSD card.
Connecting to the Computer
When you connect the camera to a computer, you can transfer the images directly to the computer, charge the camera only, or use the camera as a webcam.
- Connect the camera's USB-C port port and the computer's USB port with the included USB cable.
- The camera will turn on automatically and the screen will show the available options.
- Press the Up / Down button to select the desired option, and then press the OK button to confirm the option.
Using the Camera
Charge Mode
- If you do not select MSDC or PC Camera, the camera will automatically charge only.
Mass Storage Mode
- Select "MSDC" to recognize the camera as a drive on the computer and transfer data.
Note: Files can only transferred from the memory card to the computer.
PC Camera
- Select the "PC Camera" mode. The camera can be used as a webcam, for live streaming, etc.
Note: While the camera is used as a PC camera, no zoom can be used or settings can be made.
Cleaning and Maintaining the Camera
- If you are not going to use the camera for a long period of time, remove the camera battery and place it in a dust-free, dry environment at a temperature not exceeding 30ircC .
- To prolong the life of the battery, please discharge it completely before storing it.
- Please fully discharge the battery at least once every 3 months after it has been fully charged.
- If there is dust or dirt on the lens or screen, wipe it gently with a clean, soft cleaning cloth.
- As this is a precision instrument, please do not drop it or subject it to strong shocks or vibrations.
| Sensor Sony IMX415 1/2.8" Diagonal 6.43 mm(Crop factor 6.7) | |
| Chip NT9666X | |
| Lens 10x optical zoom | 4,9 – 49 mm | 35 mm equivalent: 33 – 330 mm | F/2.8 – 3.1 | |
| Focus area Wide angle: 0.5 m – ~ | Tele: 1.5 m – ~ |AF Macro: 0.05 – 0.5 m; MF Macro: 0.02 – 0.5 m | |
| Display 2.88" IPS display on the back | |
| Photo resolution 64 MP* (9200 x 6900)32 MP* (6480 x 4860)16 MP* (4608 x 3456)8 MP (3264 x 2448) | |
| Photo format JPEG | |
| Video resolution 4K (2880 x 2160) at 24 fps, 2K (2560x1440) at 30 fps, 1080p (1920 x 1080) at 60 fps, 1080p (1920 x 1080) at 30 fps or 720p (1280x720) at 60 fps | |
| Video codec MP4 H.264 | |
| White balance Auto / Daylight / Cloudy / Incandescent / Fluorescent | |
| Exposure compensation | -3EV to +3EV in 1 step |
| Metering Centre-weighted, Selective, Spot | |
| Flash Yes | |
| Face detection Yes | |
| Self-timer 2 / 5 / 10 seconds | |
| Memory microSD memory card (max. 64 GB) | |
| Modes M, Tv, P, SCN, Continuous, A+, Filter, Video | |
| Connections USB-C, HDMI, microphone, 1/4" thread | |
| Material Plastic, aluminium, glass | |
| Power supply Lithium-ion battery (3.7 V / 1,500 mAh / 5.55 Wh) | |
| Input DC 5.0 V 2.0 A = | |
| Dimensions 12,3 x 8,2 x 7,5 cm | |
| Weight 335 g | |
| What's in the Box Powerflex 10x Retro, battery, camera strap, USB-C cable, lens cap with strap, user manual | |
Technical details are subject to change without notice. Misprints and errors excepted. Reproduction of these operating instructions – even in part – is not permitted. *interpolated

Dispose of the packaging according to its type. Use the local possibilities for collecting paper, cardboard and other materials (applicable in the European Union and other European countries with systems for the separate collection of recyclable materials).
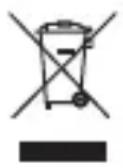
Devices that are marked with this symbol must not be disposed of with household waste! You are legally obliged to dispose of old devices separately from to dispose of household waste. Information on collection points that accept old appliances free of charge can be obtained from your local authority or town council.
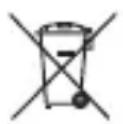
Batteries and rechargeable accumulators must not be disposed of in household waste! As a consumer you are legally obliged to dispose of all batteries and accumulators, whether they contain harmful substances* or not, to be disposed of in an environmentally sound manner. Accumulators and batteries are therefore marked with the symbol shown opposite. For more information, contact your dealer or contact return and collection points in your community.
*marked with: Cd = Cadmium, Hg = Mercury, Pb = Lead.
Conformity
Rollei GmbH & Co. KG hereby declares that the digital camera "Rollei Powerflex 10x Retro" is in conformity with the following directives.
2011/65/EC RoHs Directive
2014/30/EU EMC Directive

The full text of the EU declaration of conformity is available at the following internet address: www.rollei.com/EGK/powerflex10xretro
natural_image
Line drawing of a Rollel camera with visible lens and aperture (no text or symbols beyond branding)
natural_image
Line drawing of a circular device with two rectangular cutouts and a cord, connected to a cable (no text or symbols)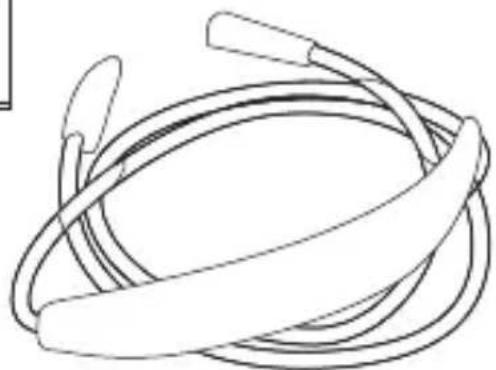
natural_image
Line drawing of a coiled cable or hose with two handles, no text or symbols presentRésolution
Verrouiller
natural_image
Line drawing of a Rollel camera with visible lens and aperture (no text or symbols beyond branding)
natural_image
Line drawing of a circular device with two rectangular cutouts and a cord, connected to a cable (no text or symbols)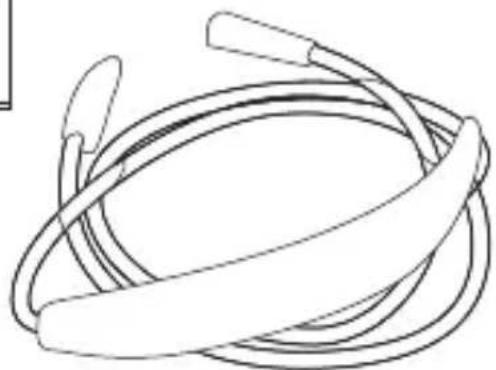
natural_image
Line drawing of a coiled cable or hose with two handles (no text or symbols)
Resolución
Sello de fecha
Bloquear
natural_image
Line drawing of a Rollel camera with visible lens and aperture (no text or symbols beyond branding)
natural_image
Line drawing of a circular device with two rectangular cutouts and a cord, connected to a cable (no text or symbols)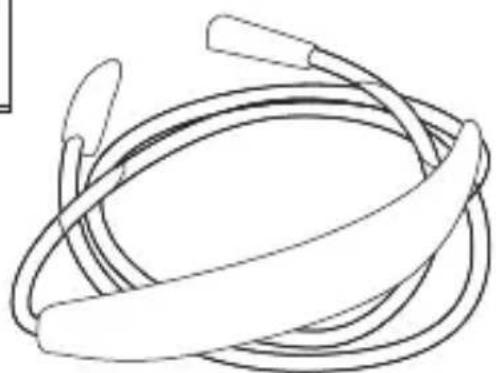
natural_image
Line drawing of a coiled cable or hose with two handles (no text or symbols)
Risoluzione
Timbro data
Blocco
natural_image
Line drawing of a Rollel camera with visible lens and aperture (no text or symbols beyond branding)
natural_image
Line drawing of a circular device with two rectangular cutouts and a cord, connected to a cable (no text or symbols)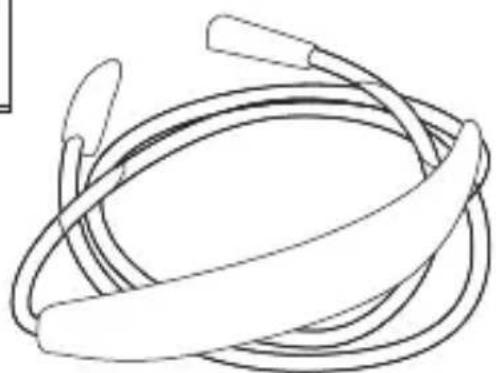
natural_image
Line drawing of a coiled cable or hose with two handles, no text or symbols presentProductoverzicht
Resolutie
Datumstempel
natural_image
Line drawing of a circular device with two rectangular connectors and a cord, connected to a cable (no text or symbols)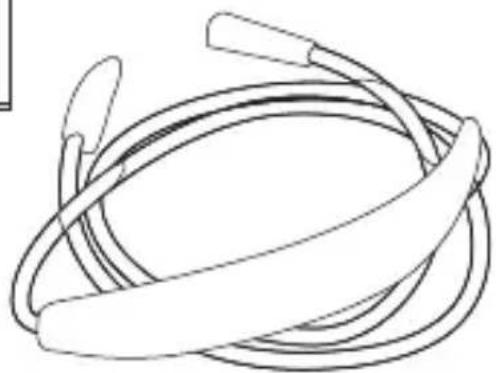
natural_image
Line drawing of a coiled cable or hose with two handles, no text or symbols presentPřehled produktů
Rozlišení
Datové razítko
Uzamknout
natural_image
Line drawing of a Rollel camera with visible lens and aperture (no text or symbols beyond branding)
natural_image
Line drawing of a circular device with two rectangular cutouts and a cord, connected to a cable (no text or symbols)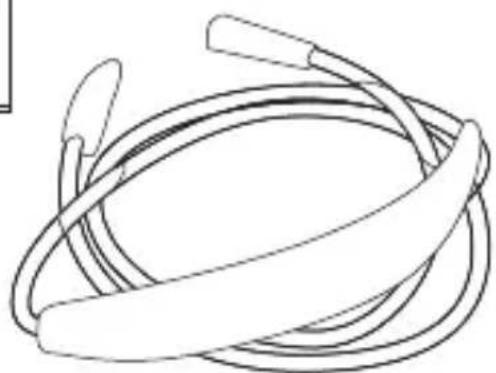
natural_image
Line drawing of a coiled cable or hose with two handles (no text or symbols)Prehl'ad produktov
Rozlíšenie
Dátumová pečiatka
Uzamknút
natural_image
Line drawings of household appliances including a magnifying glass, cordless cable, and camera module (no text or symbols)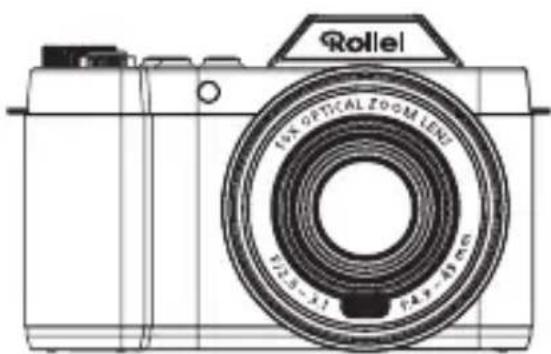
natural_image
Line drawing of a Rollel camera with visible lens and aperture (no text or symbols beyond branding)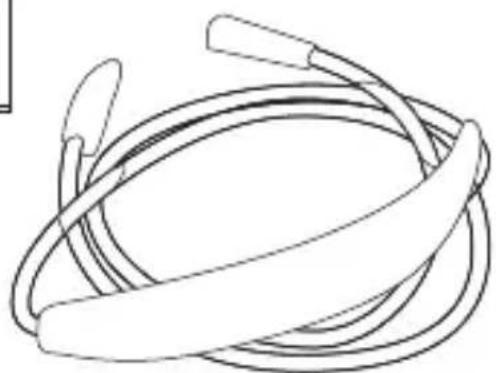
natural_image
Line drawing of a coiled cable or hose with two handles, no text or symbols presentProduktoversigt
Opløsning
Datostempel
Lås
natural_image
Line drawing of a Rollel camera with visible lens and aperture (no text or symbols beyond branding)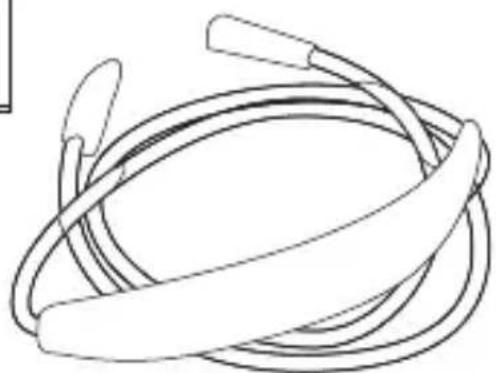
natural_image
Line drawing of a coiled cable or hose with two handles, no text or symbols presentProduct Overview
Upplösning
Datumstämpel
- Datumet visas i videon.
Låsning
fps, 1080p (1920 x 1080) at 60 fps, 1080p (1920 x
1080) at 30 fps or 720p (1280x720) at 60 fps
Videoformat MP4 H.264
natural_image
Line drawings of a camera, a magnifying glass, and a strapless cable (no text or symbols)Product Overview
1 Skjerm
2 Lade- / driftsindikator
3 Avspillingsknapp
4 AE/AF-lås
5 Venstre / fokusvalg-knapp
6 Høy / lysverdi-velger
7 Høyre / blitsinnstillingsknapp
8 OK-knapp
9 Ned / selvutløser-knapp
10 Slett-knapp
11 Menyknapp
12 Objektiv
13 AF-hjelpelys
14 Blits
Product Overview
15 Mikrofoninngang
16 microSD-minnekortspor
17 USB-C-port
18 HDMI-port
19 Høyttaler
20 Tilbehørssko
21 Videoinnspillingsknapp
22 Zoom-hjul
23 Utløserknapp
24 Modushjul
25 Strømknapp
Visningsknapp
27 Batterirom
28 1/4" gjenge (stativfeste)
Sette inn batteriet
Oppløsning
- Still inn oppløsningen for bildene. Du kan velge mellom 64MP* (9200 x 6900), 32MP* (6480 x 4860), 16MP* (4608 x 3456), 8MP (3264 x 2448).
- I kontinuerlig modus er oppløsningen 8MP (3264 x 2448).
Kvalitet
Datostempel
natural_image
Line drawings of household appliances including a magnifying glass, cord, and cable (no text or symbols)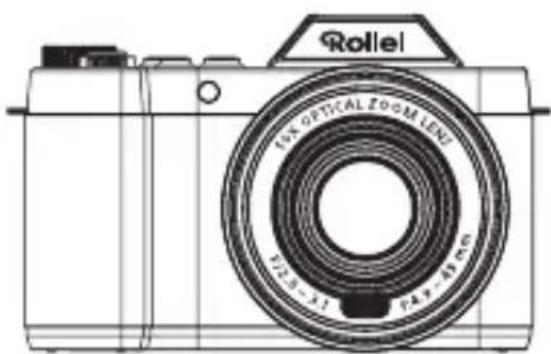
natural_image
Line drawing of a Rolle camera with visible lens and aperture (no text or symbols beyond branding)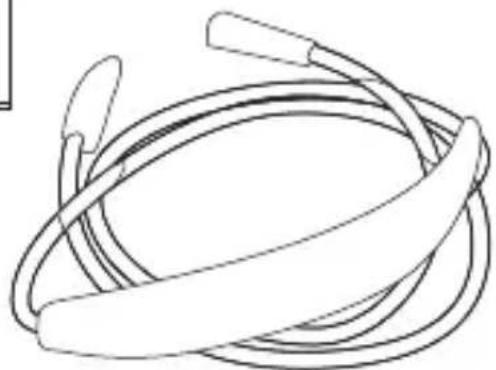
natural_image
Line drawing of a coiled cable or hose with two handles (no text or symbols)Tarkkuus
Päivämääräleima
Lukitse
Technical details are subject to change without notice. Misprints and errors excepted. Reproduction of these operating instructions – even in part – is not permitted. *interpolated

Symbolit: Cd = kadmium, Hg = elohopea, Pb = lyijy.
- Rollei
- Inhalt
- Produktübersicht
- Diashow
- Before the First Use
- Explanation of Symbols
- CAUTION! Risk of injury!
- NOTICE! Risk of property damage!
- Safety Instructions
- Battery Warning
- What's in the Box
- Product Overview
- Inserting the Battery
- Charging the Battery
- First Steps
- Switching On / Switching Off
- Camera Settings
- Set Language
- Setting the Date and Time
- Inserting and Formatting the Memory Card
- Formatting the Memory Card
- System Settings
- Auto Power Off
- Language
- Frequency
- Sound Settings
- Set Date
- Format
- Factory Settings
- Version
- Photo Modes Settings
- Resolution
- Quality
- AWB
- ISO
- Metering
- AE-L & AF-L
- Guide Lines
- Image Stabilization
- Date Stamp
- Preview
- Color
- Scene Mode
- Video Mode Settings
- Time-lapse video
- Sound Recording Sensitivity
- Manual Exposure (M):
- Video Mode:
- Aperture Priority Mode (Tv):
- Program Automatic Mode (P):
- Scene Mode (SCN):
- Continuous Mode ( )
- Full Auto Mode (A)
- Filter Mode (○)
- Zoom Dial (T/W)
- Charge / Operation Indicator LED
- Display Button (DISP)
- Light Value Selection (Ev)
- Self-timer Button ( )
- Focus Settings (
- Using the Fill Light / Flash ( )
- Playback
- Using the Camera
- Playback Settings Menu
- Slideshow
- Lock
- Delete
- Connecting to the Computer
- Charge Mode
- Mass Storage Mode
- PC Camera
- Cleaning and Maintaining the Camera
- Conformity
- Résolution
- Verrouiller
- Resolución
- Sello de fecha
- Bloquear
- Risoluzione
- Timbro data
- Blocco
- Productoverzicht
- Resolutie
- Datumstempel
- Přehled produktů
- Rozlišení
- Datové razítko
- Uzamknout
- Prehl'ad produktov
- Rozlíšenie
- Dátumová pečiatka
- Uzamknút
- Produktoversigt
- Opløsning
- Datostempel
- Lås
- Upplösning
- Datumstämpel
- Låsning
- Sette inn batteriet
- Oppløsning
- Kvalitet
- Tarkkuus
- Päivämääräleima
- Lukitse
Brand : ROLLEI
Model : Powerflex 10x Retro
Category : Camera