MKS15001 - Saw Meister Craft - Free user manual and instructions
Find the device manual for free MKS15001 Meister Craft in PDF.
Document temporarily unavailable
The manual is currently being transferred to our new server. It will be accessible again in a few hours. Thank you for your patience.
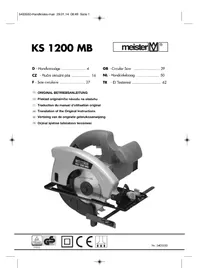
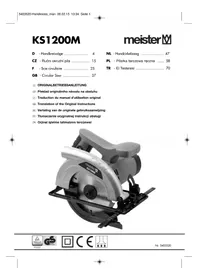
| Product type | Handheld circular saw |
| Brand | Meister Craft |
| Model | MKS15001 |
| Mains voltage | 220-240 V ~ 50 Hz |
| Rated power input | 1500 W |
| No-load speed | 4700 min⁻¹ |
| Cutting depth at 90° | 65 mm |
| Cutting depth at 45° | 44 mm |
| Bevel angle | 0° to 45° |
| Blade diameter | 190 mm |
| Blade bore | 30 mm |
| Connection cable | 3 m |
| Weight (approx.) | 5.0 kg |
| Sound pressure level (LpA) | 91.5 dB(A) |
| Sound power level (LWA) | 102.5 dB(A) |
| Hand/arm vibration (handle) | 5.6 m/s² (K=1.5 m/s²) |
| Laser class | 2 |
| Laser wavelength | 650 nm |
| Parallel guide included | Yes |
| Pivoting protective guard | Yes |
| Laser marking aid | Yes, separate switch |
| Dust extraction connection | Yes (adapter included) |
| Double insulation | Yes |
| Warranty | See warranty document |
Frequently Asked Questions - MKS15001 Meister Craft
User questions about MKS15001 Meister Craft
0 question about this device. Answer the ones you know or ask your own.
Ask a new question about this device
Download the instructions for your Saw in PDF format for free! Find your manual MKS15001 - Meister Craft and take your electronic device back in hand. On this page are published all the documents necessary for the use of your device. MKS15001 by Meister Craft.