KM 3887 - Food Processor SEVERIN - Free user manual and instructions
Find the device manual for free KM 3887 SEVERIN in PDF.
| Product type | Food processor |
| Brand | SEVERIN |
| Model | KM 3887 |
| Power supply | 220-240 V, 50-60 Hz |
| Power | 800 W |
| Main bowl capacity | 700 g (max) |
| Blender bowl capacity | 1 litre (max) |
| Functions | Chopping, mixing, kneading, whisking, slicing, grating, french fry cutter, citrus juicer, centrifugal juicer, blender |
| Speeds | Variable from 1 to 6, Max, Pulse button |
| Included accessories | Whisk, chopper, dough hook, grating discs (fine and coarse), slicing discs (fine and thick), potato grater, french fry cutter, spatula, pusher, citrus juicer cone, centrifugal juicer sieve, blender bowl |
| Safety | 3 safety devices: accessory locking, safety lid, automatic shut-off in case of incorrect assembly |
| Maintenance | Motor unit: damp cloth; accessories: hot water and mild detergent; some accessories (grater, slicer) dishwasher safe |
| Bowl material | Plastic |
| Blade material | Stainless steel |
| Warranty | 2 years |
| Usage | Household use only |
Frequently Asked Questions - KM 3887 SEVERIN
User questions about KM 3887 SEVERIN
0 question about this device. Answer the ones you know or ask your own.
Ask a new question about this device
Download the instructions for your Food Processor in PDF format for free! Find your manual KM 3887 - SEVERIN and take your electronic device back in hand. On this page are published all the documents necessary for the use of your device. KM 3887 by SEVERIN.
USER MANUAL KM 3887 SEVERIN
Before using the appliance, the user should read the following instructions carefully.
Connection to the mains supply
Make sure that the supply voltage corresponds with the voltage marked on the rating label. This product complies with all binding CE labelling directives.
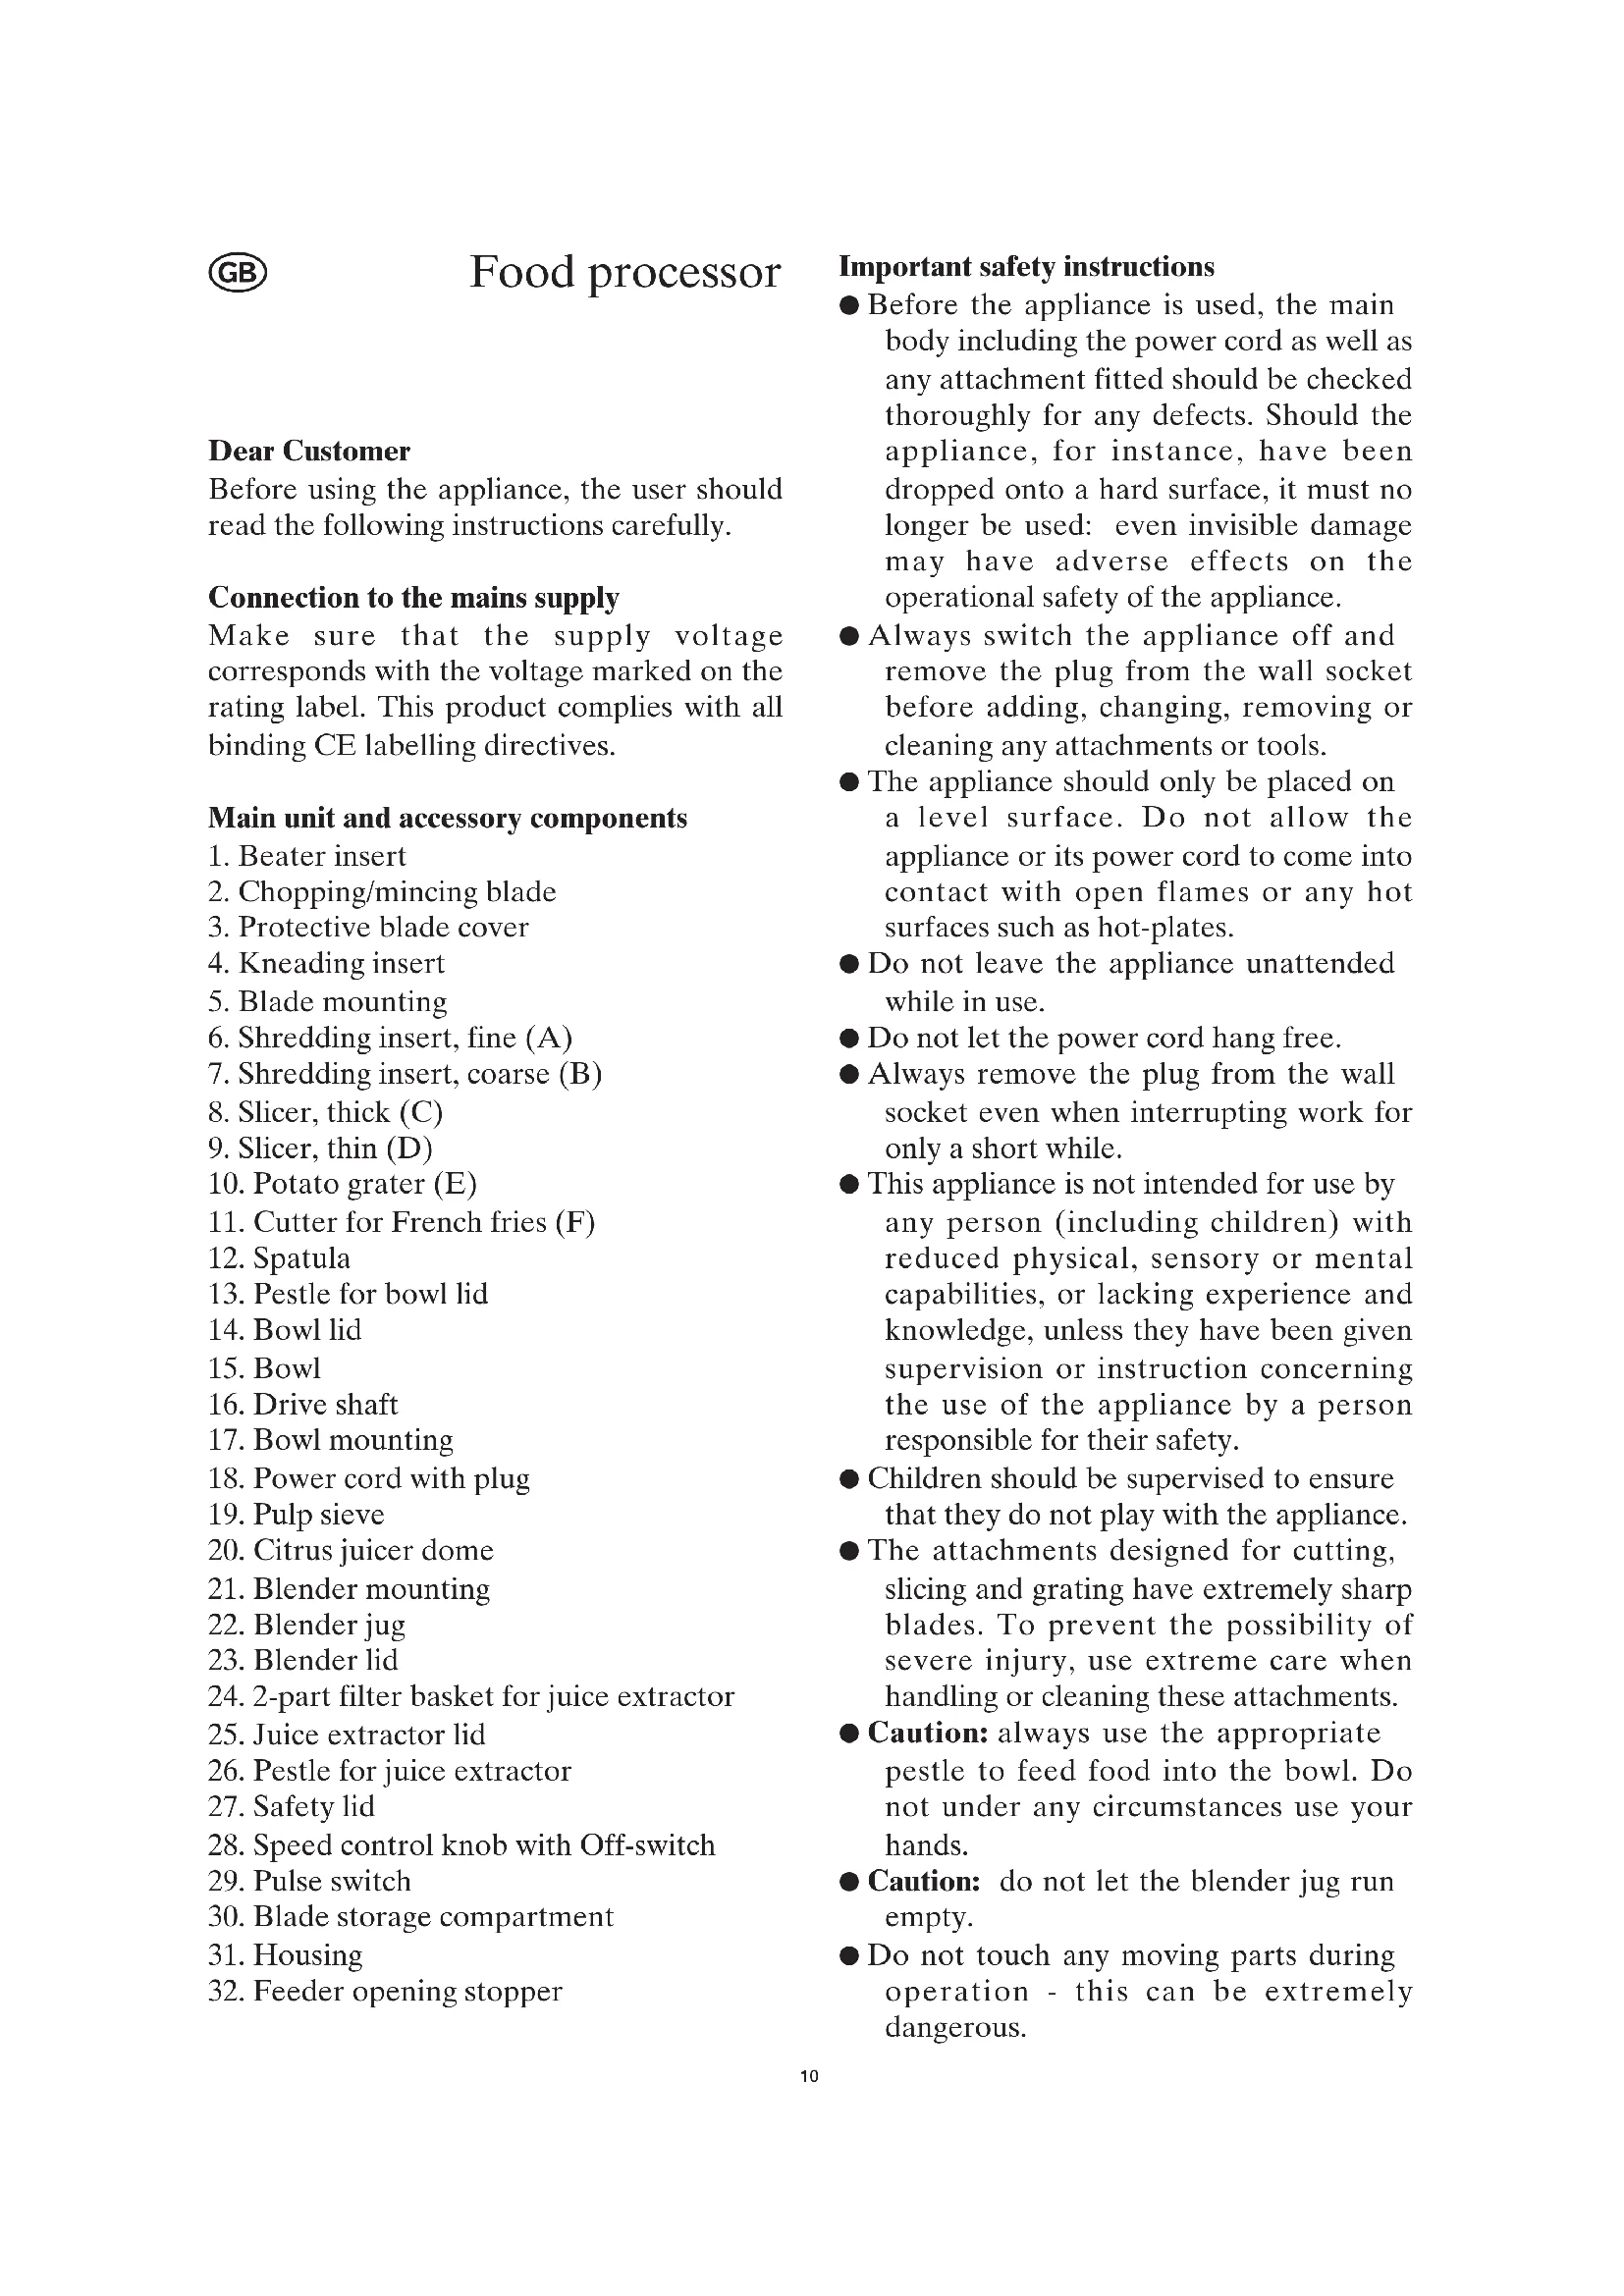
Main unit and accessory components
- Beater insert
- Chopping/mincing blade
- Protective blade cover
- Kneading insert
- Blade mounting
- Shredding insert, fine (A)
- Shredding insert, coarse (B)
- Slicer, thick (C)
- Slicer, thin (D)
- Potato grater (E)
- Cutter for French fries (F)
- Spatula
- Pestle for bowl lid
- Bowl lid
- Bowl
- Drive shaft
- Bowl mounting
- Power cord with plug
- Pulp sieve
- Citrus juicer dome
- Blender mounting
22.Blender jug - Blender lid
- 2-part filter basket for juice extractor
- Juice extractor lid
- Pestle for juice extractor
- Safety lid
- Speed control knob with Off-switch
- Pulse switch
- Blade storage compartment
- Housing
- Feeder opening stopper
Important safety instructions
- Before the appliance is used, the main body including the power cord as well as any attachment fitted should be checked thoroughly for any defects. Should the appliance, for instance, have been dropped onto a hard surface, it must no longer be used: even invisible damage may have adverse effects on the operational safety of the appliance.
Always switch the appliance off and remove the plug from the wall socket before adding, changing, removing or cleaning any attachments or tools.
The appliance should only be placed on a level surface. Do not allow the appliance or its power cord to come into contact with open flames or any hot surfaces such as hot-plates. - Do not leave the appliance unattended while in use.
- Do not let the power cord hang free.
Always remove the plug from the wall socket even when interrupting work for only a short while. - This appliance is not intended for use by any person (including children) with reduced physical, sensory or mental capabilities, or lacking experience and knowledge, unless they have been given supervision or instruction concerning the use of the appliance by a person responsible for their safety.
Children should be supervised to ensure that they do not play with the appliance. - The attachments designed for cutting, slicing and grating have extremely sharp blades. To prevent the possibility of severe injury, use extreme care when handling or cleaning these attachments.
- Caution: always use the appropriate pestle to feed food into the bowl. Do not under any circumstances use your hands.
- Caution: do not let the blender jug run empty.
-
Do not touch any moving parts during operation - this can be extremely dangerous.
-
Whenever the blender jug is not being used, ensure that the safety lid is correctly fitted over the blender mounting.
-
This appliance should only be used with the attachments provided by the manufacturer and in accordance with the purposes described in this manual.
Always switch the appliance off, remove the plug from the wall socket and wait until the motor has come to a complete standstill -
before opening the lid
- when adding or removing any attachments
- in case of any malfunction,
-
after use,
-during cleaning. -
When removing the plug from the wall socket, never pull on the power cord; always grip the plug itself.
- No responsibility will be accepted if damage results from improper use, or if these instructions are not complied with.
This appliance is intended for domestic use only and not for commercial applications. - In order to comply with safety regulations and to avoid hazards, repairs of electrical appliances must be carried out by qualified personnel, including the replacement of the power cord. If repairs are needed, please send the appliance to one of our customer service departments. The addresses can be found in the appendix to this manual.
Operation:
General information
- Remove any packaging materials completely.
Before using the unit for the first time, all attachments and accessory parts should be cleaned as described in the section General care and cleaning. - First, fit the required attachment.
- Note: this kitchen appliance is equipped with three safety switches. The appliance can only be activated if the
selected attachment has been correctly fitted and safely locked.
- Turn off the appliance after use (speed control position 'O') and wait until the motor has come to a complete standstill before changing or removing any attachments.
A. Chopping/mincing and stirring/mixing
- Place the safety lid on the blender mounting and lock it by turning anticlockwise.
- Attach the bowl and fit the chopping/mincing blade to the drive shaft in such a way that the blade assembly almost touches the bottom of the bowl.
Caution: Hold the blade only by its plastic shaft - the blades are extremely sharp.
Put the ingredients (max. 700g ) into the bowl.
- Place the lid on the bowl and turn it anti-clockwise to lock; the arrow-mark on the lid must be aligned with the corresponding dot on the housing.
- For safety reasons, use the appropriate pestle at all times when feeding the ingredients down the food chute. During operation, the pestle should remain inserted.
Operation settings
a) Chopping/mincing
| Ingredients | Speed/switch position D | Duration |
| Meat Max and Pulse 10-20 sec. | ||
| Onion | 4 - 6 and Pulse | 10-20 sec. |
| Nuts | 9 - Max and Pulse | 10-20 sec. |
| Carrots | 6 - Max and Pulse | 10-20 sec. |
| Fish | 1 - Max and Pulse | 10-20 sec. |
b) Stirring/mixing
- The bowl can be filled to a maximum of 1 litre with cold liquid (e.g. soup).
Always start processing at speed level 1 and gradually increase the speed as necessary.
B. Kneading
- Place the safety lid on the blender mounting and lock it by turning anticlockwise.
- Attach the bowl and fit the kneading insert to the drive shaft in such a way that it almost touches the bottom of the bowl.
- Place the lid on the bowl and turn it anti-clockwise to lock; the arrow-mark on the lid must be aligned with the corresponding dot on the housing.
- For safety reasons, use the appropriate pestle at all times when feeding the ingredients down the food chute. During operation, the pestle should remain inserted.
Note:
Put the ingredients into the bowl; for 1kg of dough, about 600g of flour and 400ml of water are needed. When making the dough, the appliance should not run for more than 20 seconds at a time, after which it should be allowed to cool down for 2 minutes.
Operation settings
- Start the kneading process at speed level 1. Once the dough has reached a firmer consistency, continue kneading at speed level 3.
- The dough is ready once it has formed into a ball.
C. Whipping (Emulsifying)
- Place the safety lid on the blender mounting and lock it by turning anticlockwise.
- Attach the bowl and fit the beater insert to the drive shaft in such a way that it almost touches the bottom of the bowl.
Put the ingredients (max. 700g ) into the bowl. - Place the lid on the bowl and turn it anti-clockwise to lock; the arrow-mark on the lid must be aligned with the corresponding dot on the housing.
- For safety reasons, use the appropriate
pestle at all times when feeding the ingredients down the food chute. During operation, the pestle should remain inserted.
Operation settings
- Always start processing at speed level 1 and gradually increase the speed as necessary.
- When making mayonnaise, a higher setting is recommended.
- Caution: Do not use the beater insert for preparing dough or similar viscous substances.
D. Slicing and shredding/grating
- Place the safety lid on the blender mounting and lock it by turning anticlockwise.
- Fit the required insert to the blade mounting.
- When properly inserted, the slicing or shredding insert must be flush with the surface of the disc.
- Attach the bowl and fit the blade mounting to the drive shaft in such a way that the drive shaft extension almost touches the bottom of the bowl.
- Place the lid on the bowl and turn it anti-clockwise to lock; the arrow-mark on the lid must be aligned with the corresponding dot on the housing.
- For safety reasons, use the appropriate pestle at all times when feeding the ingredients down the food chute. During operation, the pestle should remain inserted.
- Always switch the appliance on before feeding the ingredients down the food chute.
- Do not put in more than 1kg of food. When processing larger quantities, the bowl must be emptied from time to time.
Functions and operation settings
| Shredding insert | Function | Speed |
| Shredder, fine (A) | fine grating/shredding (e.g. cabbage, carrots, cclery) | 4 - 6 |
| Shredder, coarse (B) | coarse grating/shredding (e.g. kohlrabi, salsifies) | 4 - 6 |
| Slicer, thick (C) | cutting thicker slices (e.g. cucumber, carrots, potatoes) | 4 - 6 |
| Slicer, thin (D) | cutting thinner slices e.g. vegetable slices, potato crisps) | 4 - 6 |
| Potato grater (E) | grating potatoes (e.g. for potato pancakes) | 4 - 6 |
| Cutter for French fries (F) | cutting French fries | 4 - 6 |
Note: to facilitate choosing the appropriate attachment, the corresponding letter markings on the cutting and grating inserts are also included in the table.
E. Citrus juicer
- Place the safety lid on the blender mounting and lock it by turning anticlockwise.
- Fit the bowl.
- Place the pulp sieve on the bowl and lock it by turning the sieve anticlockwise.
- Fit the juicer dome to the drive shaft.
- The system allows up to 1 litre of juice to be extracted from the fruit (washed and cut in half) before it is necessary to empty the bowl.
- When processing larger fruit quantities, the filter must be emptied from time to time.
Operation setting
- Set the speed control to Min.
F. Juice extractor
-
Place the safety lid on the blender mounting and lock it by turning anticlockwise.
-
Attach the bowl and fit the 2-part filter basket to the drive shaft.
- Place the juicer lid on the bowl and turn it anti-clockwise to lock; the arrowmark on the lid must be aligned with the corresponding dot on the housing.
- For safety reasons, use the appropriate pestle at all times when feeding the ingredients down the food chute. During operation, the pestle should remain inserted.
While the appliance is running, feed the prepared pieces of fruit into the chute, using the pestle to push it lightly down. - Caution: too much pressure may result in damage to the motor or the insert.
- When processing larger quantities of fruit or vegetables, the filter basket and the juice container must be emptied from time to time.
Operation setting
- Set the speed control to Max.
G.Blender
-
Remove the safety lid from the blender mounting by turning it clockwise to unlock.
-
Fit the bowl.
-
Place the lid on the bowl and turn it anti-clockwise to lock.
-
Place the blender jug on its mounting and turn it anti-clockwise to lock.
Put in the ingredients, then fit the blender lid and lock it by turning anticlockwise.
- To add ingredients during operation, remove the small stopper in the centre of the blender lid; turn clockwise to unlock it.
After processing, switch off the appliance and remove the blender jar by turning it clockwise and lifting it off.
- Caution:
Do not let the blender unit run dry (i.e. without any contents).
Maximum fill amount:
1 litre of liquid, or
300g of fruit, or
250 ml ice cubes
Operation settings
- For softer types of fruit and vegetables, a suitable speed setting between 2 and Max should be selected.
- Select Max speed for harder fruits and vegetables.
- Always use the Pulse switch for crushing ice.
Short-term operation:
When using the blender, please note that the appliance is designed for shortterm operation only - it must not be operated for more than 20 seconds at a time. Switch off the appliance afterwards and allow sufficient time for it to cool down before resuming operation.
General care and cleaning
- Turn off the appliance after use, remove the plug from the wall socket and wait until the motor has come to a complete standstill.
- To avoid the risk of electric shock, do not clean the housing with water and do not immerse it in water.
- The housing may be wiped with a slightly damp, lint-free cloth.
- Attachment parts should be thoroughly cleaned immediately after use, using hot water and a mild detergent.
- Do not put the attachments in a dish washer except for the slicing and shredding inserts.
- Do not use abrasives or harsh cleaning solutions.
- Caution: when cleaning the chopping blade and slicing or shredding inserts, beware of sharp edges and blades - these can be extremely dangerous.
- Always store the chopping/mincing blade in its protective plastic cover.
- Use only the spatula to remove food residue from the bowl.
- The blender unit should be cleaned immediately after use; put 1 litre warm
water with a little detergent into the jug and let the blender run for about 20 seconds as described in the section Operation. Rinse the blender jug, lid and stopper thoroughly with clean water afterwards and wipe dry, repeating the process if necessary.
Disposal
Do not dispose of old or defective appliances in domestic garbage, this should only be done through public collection points.
Guarantee
This product is guaranteed against defects in materials and workmanship for a period of two years from the date of purchase. Under this guarantee the manufacturer undertakes to repair or replace any parts found to be defective, providing the product is returned to one of our authorised service centres. This guarantee is only valid if the appliance has been used in accordance with the instructions, and provided that it has not been modified, repaired or interfered with by any unauthorised person, or damaged through misuse.
This guarantee naturally does not cover wear and tear, nor breakables such as glass and ceramic items, bulbs etc. If the product fails to operate and needs to be returned, pack it carefully, enclosing your name and address and the reason for return. If within the guarantee period, please also provide the guarantee card and proof of purchase.

Robot de cuisine
Chère Cliente, Cher Client,
Pvθμiδεις λειτονγίων
α)Teuaxiofo/Koπn
Ochobho y3eJn npHaJIeKHoCTN
1.HacaIkaIJIaB36NBAHHa
2. HOK-N3MeJIbYHTeJIb
3. 3aunTHbIyexOJI HOKaH3MeJIbYHTeJIa
4. TecTomeCnJIbHaN HaCaIka
5. OnpaBka Hoxa
6.BcTaBKaIJIa MEJIKOTo IINHHKOBaHnA (A)
7. BcTaBka IJIa KpyIHHORO IIINHKOBaHnA (B)
8. KpyHnHa JOMTepe3Ka (C)
9. ToHKa JIOMTepe3Ka (D)
10. Kaptofojietepka (E)
11. HacaIka IJIa Hape3Kn KapToΦeJIa-Φprn (F)
12. JIoNaTka
13. ToIkaTeIb IJIa KpbIIKN qAIIN
14. KpbiiKa qaHn
15. qaia
16.Пивовпов ВаJI
17.Дерхаелчанn
18. IIHyp IITaHnC BILKOI
19. CeTatbI ΦHJIbTp IJRA MKAKOTN
20. Ppecc JIAIy uHTpycoBbIX
21. Kopnyc 6JIeHIIepa
22. Yaissa 6JIeHIIepa
23. KpbIIka 6JIeHJIepa
24. ΦИЛБТРОВАЛБНЯ KOP3ИHA n3 2
ЧаСTeй ДДЯ COKOBБЖКМAJIKN
- KpbIuKa cOKOBxHMaJIKN
- ToJkaTeJIb IJIa COKOBbIXMaJIKN
- 3aunTHna KpbHka
- PeryjIaTOp cKOpocTn C BbIKJIOuYaTeJIeM
- BbIKJIOuateJIb NMIIyJIbCHORo peKIma
- OTeJIeHHe IJIxpaHeHHa HOka
- Kopnyc
32.Пpo6ka 3arpy3OuHOro OTBepCTnA
IIpaBnJa 6e3oIacHocTH
- IpepeBkIIOueHHeM 3JIeKTPoPn6opacJIeIyET y6eIHTbcra B OTCyTCTBnINOBpeJdeHn KaK Ha OCHOBHOMycTPOncTBc, BKJIIOUaHa IIHypNTaHn, TaK Ha JIO6omIOIOJIHNTeJIbHOM, ecJN OHOyCTaHOBJIeHo. EcJN BbI POHJIInIprNo6Op Ha TBepdYIO NOBepXHOCTb, cro He cJIeIyET 6OJIbIIeHCIOJIb3OBaTB: daxe HeBUNMOEIOBpeJdeHne MoKeT OTPNUaTeJIbHOCKa3aTbcra Ha 3KcIIyatauHNOH063OJaacHOCTn pNo6opa.
- Ipepe yctaHOBko, 3ameHOJ, OTCoeHNHeHem HIN YNCTKO HAcAIOK HIN HOKeH Heo6XOJIMOB BbIKIOHTb IIpNoOp H BbHyTb BNJKy N3 p03eTKN.
- YcTaHaBJIHBaIte Ipn6Op ToJbKO Ha pOBHyIO NOBepXHocTb.CJeInte 3a TeM, YTO6bI KOpIyc Ipn6Opa HIN IIHHyp IIITAHnHe COIIpHKacAJncb C OTKpbITbIM IIJaMeHEm HIN C KaKHMII6O TOpAUMN IIpeJMeTaMn, HAIIpHmep, C HaIpeBaTeJIbHbIMN 3JIcMcHTaMn KYXOHHOIINTbI.
He octabJnTe BkIIOueHHbI np6Op 6e3 IIpHcMoTpa.
He IOnyckaIte CBO6oHOrO npOBncaHnIshHpya NHTaHnI.
O63aTeJIbHO BbIHMaIte BnIKy H3 po3eTKN, daKe npKpaTKOBpeMeHHOM IepepbIbe Bpa6ote.
ΘTOT npn6op He npeHa3HaueH JIJI HcIOJIb3OBaHHJ 6e3 IIpHcMOTpa JIuamn (BkJIouaJ Tei) c OrpaHnueHHbIMN n3NuEcKmN,
ceHCOPHbIMn HJN yMCTBHeHHbIMn CIOOC6HOCTaMM, a TaKKe JINiAmn, He OJIaIaIOUIMN IOCTaTOuHbIM OIIbITOM N yMeHNEM, IOKa JINIO, OTBeYaOIIe3a HX 6e3OIIaCHOCtB, He OByHT HX O6paIeHNIO c JaHHbIM npHbOpom.
He octabJrTe JeTei 6e3 npncMoTpa, TTO6bO Hn He HaayaJIH rpaTb c np6opom.
Hacaikn,IpeHa3HaueHHbIe IJI n3MeJIbueHn,Hape3Kn HaTnpaHn, IMeOT OueHB ocTpbcI Je3Bn. ByIbTe OueHb OCTOpOXHbI IIpN IIpHMeHeHHn IIN YnCTKe 3TNX HacaIOK,YTO6bI He IIOJyHTb cepBe3HyIO TpaBMy.
- PpeynpeXdHne! Bcerda IOJIb3yIITcB COOTBeTCTBYIOIIHM TOJIkaTeJEM pRn IIOaue IPOdyKTOB V aIHy. Hn npn KaKnx 06CTOaTeJIbCTBax He JeJaIte 3TOrO pykamn.
IIpeDynpexKdeneHHe BkIIOaHTe 6JIeHep c npcto yawen.
He npHKacauTecb K IBNKyyHmCyaCTaM BO BpeMa pa6oTbI - 3ToMOxet 6bITb OueHb ONaCHO.
CJIeIHTe 3a TeM, YTO6bI 3aHHTHa KpbIiKa 6bIa BcerIa IpaBnJbHo yCTaHOBJeHa Ha Kopnyce 6JeHepa, IIpNcEM Jaxe KOrJa YaIIa 6JeHepa He NcNoJIb3YeTcra.
ΘTOI IIN6Op IOJKeH HcIOJIb3OBaTbcra TOJIbKO c HaCaJaKMn H3 KOMJIeKta IOCTaBKN I TOJIbKO IIIA Tex IIeJe, KOToPbIe yKa3aHbIB PykoBOIDCTBe NO 3KcIIyatauHN.
Bcerda BbIKJIOuAHTe np6Op, BbIHMaTe BNIky H3 p03etKN H DoXHaIteCb IOJIHOO OCTaHOBKn IBrHrTaTeJI np6Opa:
6. B36nbaHHe/cMeHHBaHHe
B YaIy MoXHO 3aJIINBaTb He 6oJIee I JxOJIOHoi XnIKocTn (HaIp., cyIIa). BcerIa HaunHaIte o6pa6OTky Ha cKOpocTn 1 n IOCTeIeHHo yBeJInuHBaIte cKOpocTb IIO Mepe Heo6XoIMOCtN.
B. 3amec tecta
- YcTaHOBInTe 3aIIHTHyO KpbIiKy Ha Kopnyc 6JIeHepa I 3aΦNkCnpyIte ee, NOBepHyB IpoTINB YacOBoi CTpeJKN.
- YcTaHOBHTe yaIy H npHcoeHHHTe TeCTOMecnJIbHyU HaCaIky K IIpNBOJHOMy BaJIy TaKIM o6pa3OM, YTO6bl OHa IOuTH N KacaJaacb IHa YaIIH.
- YcTaHOBnTe KpbIuKy Ha yauu H 3aΦHKcHpyntc cc,IOBcPhyB IpoTnB YaCoBOcTpeJKN; cTpeJKa Ha KpbIuKe IOJxHa HaxOHTbcH HaIIpOTNB COOTBeCTByIOIIeMETKN B BuDe ToUKN Ha Kopnyce.
B 6e30nacHocTN BceTna HcnoJb3yIte COOTBeTCTByIOuH NTOJIkATEJIb IJIa NODaun INPOdyKTOB B 3aRpy3OuHbI JIoTOK.Bo BpeMa pa6oTbI np6bopa TOJIkATEJIb DOJIXeH OCTaBaTbcB B 3aRpy3OuHOM JOTKe.
IIpHmeyaHne.
-ПомecHTe Bчшу HHRpeHHeHtbi; 1Kr Tecta Tpe6yetc npHmepHO 600 rMyKN H 400 MJI BOIbI.BoBpeMnPnroTOBJIeHnA TeCTa Pnp6Op He IOnJKeH pa6oTaTb 6e3 nepepbBa 6OJIee 20 cekyH, nocJe Yero emy cJIeIyET DaTb OxJaIHTbcra B TeueHne 2 MNHYT.
Pa6oune peryJnHpOBKn
- HaHHHe 3aMec Ha cKOpocTH 1. KaT OJIbKO TcTo CtaHET 6OJIe E IIOTHbIM, IIPOJOIXHe 3aMec Ha cKOpocTH 3.
- Tecto rOTOBO, KOrda OHO IIpeBpaIIaEcTcB CIIIOIIHON KOm.
B.B36nBaHne (npnroToBJeHne 3MyJbChn)
- YcTaHOBHTe 3aHHTHyIO KpbIHKy Ha KopNyc 6JIeHNepa I 3aΦNKcHpyTe ee, NOBepHyB IIpoTnB YacOBoN CTpeJKN.
- YcTaHOBHTe YaIIy H npHcoeHHHTe HacaIky IJIy B36NBaHnK IIpHBODHOMy BaJy TaKIM 06pa3OM,
TO6bI OHa IOuTH KacaJaacb HaaIIH.
-ПоJOxKHTe B YAshy INHrpeJnHeNTbI (He 6oJIee 700 r).
- YcTaHOBHTe KpbIHKy Ha YaIHy H 3aΦnKcHpyIte ee, IOBepHyB IpOTNB YacOBoI cTpeJKN; cTpeJKa Ha KpbIiKe IOJXHa HAXOINTbcH NaIpOTNB COOTBeTCTByIOIIeMETKN B BNDe TOUKN HA KOpIYce.
B ueJx 6e3oNaChOCTn BceIa HcIOJIb3yIte COOTBeTCTBYIOIIH TOJIkaTeJIb IJII IOJaU IIpoIyKTOB B 3aRpy3OuHb IOTOK.Bo BpeM pa60tBI IIpH6opa ToJIkaTeJIb IOJIKeH OCTaBaTbcraB 3aRpy3OuHOM JOTKe.
Pa6oune peryJInpOBKn
- Bcerda haunha Te 6pa60ky HaCKOpocTN 1 HIOCTeHHO yBeJnUbaTe cKOpocTb IIO Mepe Heo6XoINMOcTN.
- Pn npnroTOBJIeHnn MaHOHe3a peKOMeHNyEeTcN HCIOJIb3OBaTb BBICOKYIO CKOPoCTb.
- BHHMaHHe! He nCnoJb3ynte HacaIky IJIa B36NBaHnI IJIa IIpHrOToBJIeHNr TeCTa IINI IOIO6HbIX B83Knx cy6ctaHnn.
Hape3ka HHHKOBaHne HHaTnpaHne
- YcTaHOBInTe 3aIIHTHyIO KpbIHKy Ha Kopnyc 6JIeHJepa n 3aΦnKcnpyIte ee, IOBepHyB IIpoTINB YacOBoi CTpeJIKN.
BCTaBBTe HxKHyIO BCTaBKy B OIIpaBKy HOka. - EcJH HacaJIka IJIa Hape3KN JOMTKaMn HJII IIJI INHHKOBaHn BCTaBJeHa IpaBnIbHO, OHa IOJXHa HAXOINTbc 3aIOJINIO C INCKOM.
- YctaHOBHTe qaIy n npHcoeHHnte OIIpaBky HOxKa K IIpHBODHomy BaJIy TaKIM 6pa3OM, YTO6bl BcR c6OpKa IOUTH KacaJaacb IHa YaIIH.
- YcTaHOBHTe KpbIHKy Ha yaIHy N 3aΦnKcHpyIte ee, NOBepHyB IpoTINb YacOBoN cTpEJIKN; cTpEJIKA Ha
KpbIWe KOJIxHa HAXOHTbcHnHnPoTHB COOTBeTCTByIOIIeMTeKN BnDE TOUKN Ha Kopnyce.
B 6e30nacHocTN BceTna HcIOJIb3yIte COOTBeTCTBYIOIIH TOJKAteJIb IJII IOJaUH IIPOJyKTOB B 3aRpy3OuHbI JOTOK. Bo BpeM pa6oTBI IIpH6opa TOJKAteJIb IOJIKeH OCTaBaTbcA B 3aRpy3OuHOM JOTKe.
- O6a3aTeJIbHo BkJIIOuaIte IprH6Op IpeI IOaueH HHRpeIHeHTOB B 3aRpy3OuHbI JOTOK.
- He 3aKJIaIbIbAaIte 6oJIee 1 Kr npOJyKTOb. Ppr O6pa6OtKe 6OJIbIeTo KOJIInuCeCTBa IpoJyKTOB onOpOxHnTe YaIy BpeM oT BpeMeHn.
Функши npa6ouchyctabkn
He BKJIOUaIte IyctOi 6JIeHJep.
- MakchmaJIbHoe KOJIHueCTBO 3aIpyJkaEmbIX HHIpeIHeHTOB:
1JNTPKNOKOCTNJIN
300 r φpyKTOB HJH
250 MJI KU6IKOB JbJa
Pa6oHpe peryJnpoBkn
-ДЯобразOTКМЯRTKHXФpyKTOBи OBOUeN cJIeDyET yCTaHABJINBaTb yCTaBky cKOpocTHO T 2IO Max.
-ДяобрабOTKN 60JIe e TBePbIX ΦpyKTOB N OBOIeN BbI6epHTe yCTaBky cKOpocTH Max.
-Дя Дробileня Льда Bcerda ИсплььтупесерклочатБ Pulse.
- Pa6ota B KpaTKOBpeMeHHom pexkme
Ipn HcIOJIb3OBAHH 6JIeHepa NOMHTe, IOXaIyIcTa, O TOM, UTO 3TOT IIpN6Op IpeHa3HaueH IJIpa6OTb TOJbKO B KpaTKOBpeMeHHOM pexHMc, To cTb OH He IOnJKeH pa6OTaTB 6OJIee 20 cekyHn NOIpra. PocJe 3TOrO np6Op HyxHO BbIKJIOHTb IN DaTb cMy OCTbTb, PocJe ueBO3O6HOBHTb pa6OTy.
Ynctka n o6nn yxod
- IocJIe HcIOJIb3OBAHHa BBIKJIOUHTe IIpH6Op, BbIHbTe BnIKy N3 PO3eTKN INoXdHTecb IOJHO OCTaHOBKn IBNrAteJIa.
Bo H36eKaHHe IopaxeHnna 3JIeKTPnuecknM TOKOM He MoIte KOpIyc BOIOH He IIOpykaIte eTO B BOy. - Kopnyc moxho npoTepeb cIeRka yBJIaJXHeHHo 6e3BOPCOBO TKAHbIO.
Cpa3y Je nocJe HcnoIb3OBAHnB BCE Yactn HacaIOK Heo6XoINMO TuaTeJIbHO npOMbITb B rOpayeB BOe C MRTKHM MOIOIHMM cpeIcTBOM.
He MoTe HacaIKN B NocydomoeyHoi MaIIHHe, 3a NCKJIIOUChHEm BCTaBOK IJII INHKOBAHnI HaTnpaHnI.
He nCnoJb3yIte JIA qNCTKN a6pa3HBHbIe HJIH cNJIbHbIc MOIOIIHc cpeIcTba.
BHHMaHHe! Pn HnCTKe HOKei- H3MeJIbUHTeJIe HJIN TepOK IOMHHTe, YTO y HNX OCTpIe KpaI N Je3BnA, KOToPbE MOrYT 6bITb Ype3BbUaHNOIaCHbIMN.
BcerIa xpaHHTe HOK-N3MeJbUHTeJIb B
3aIHTHOM IJIACTKOBOM YExJIe.
-Дя ydaJIeHnOcTaTKOB IIuIu H3 YaIIH NcIOJIb3yIte TOJIbKO JIoIIaTKy.
- BJIeHJep HUxHo OuHuaTb cpa3y Je IocJIe IIpHMHeHnI; HaJIeTIe B YaIiy 1 JInTp TEJIIOB OBDIc He6OJIbIIM KOJIInueCTBOM MOIOIErO cpeIcTBA IN BKJIIOHTe 6JIeHJep IIpHMepHO Ha 20 CeKyuH, KaK OINcaHO B pa3JeIe
3KcnIyataa. 3aTeM TuaTeJbHo OIOIOCHnTe YaH, KpbuHKy npo6Ky 6JIeHIEpa B uHcToB BOHe H BbITpHTe Hx Hacyxo; ecIn IOTpe6yeTc, IOBTOPe BeCb IpoueeC.
YTHJH3aun
He BbI6paCbIBaIte CtapBc HJIH HeHCnPaBbIe 3JIeKTpOpiPb6OpbB MecTe c 6bITOBbIM Mycopom.
OTHOCHTe Hx Ha NyHKtbi IJIa c6opa cneuaJbHOrO Mycopa.
TapaHTua
TapaHTHbI cPOk Ha np6OpbI qnPbI "Severin" - 2 roJa co dHn Hx npOaXn. B TeueHne 9TOrO BpeMeHN Mbl 6ecIIaTHo ycTaHm BCE IeΦeKtB, BO3HKnIIHe B pe3yJIbTaTe IIpON3BOJcTBeHHORO 6paKa HIN IIpIMHeHn HeKaUeCTBeHHbIX MaTePnaIOB. TapaHTn He pacnpocTpahJeTcHa IeΦeKtB, BO3HKnIIHe H3-3a Heco6JIIODeHn HHCTpyKUnn IO 3KcIIyatauHn, rpy6oro 6paIeHn C np6Opom, a TaKxe Ha 6bIOIIncs (cTeKJIaHHbc E Kepamueckne) qactn. TapaHTn aHHyIInpyetc, ccIn IIpN6Op peMOHTnpOBaIC He Byka3aHHbIX Hamn IIyHKtax cepBnCHOrO 06cJIyXHBnH. KaKHe-JIb6 OIOIOJHNTeJIbHbIe rapaHTn IIpoDaBua 3aBOJOM-H3rOTOBTeJIem He IIpHHMaIOTc.
Czech Republic/ Slowak Republic
ARGO spel.s r.o.
Zihobce 137
CZ 34201 Sušice
Tel.: +376 597 197
Fax: +376 597 197
Bahar Administration and Commercial
Center
No.668,7th Floor,Ave.
South Bahar
TEHRAN-IRAN
Tel.: 009821-7516483
e-mail: info@iranseverin.com
Internet: www.iranseverin.com
Italia
via Dino Col 52r-54r-56r,
I-16149 Genova
Green Number:800240279
Tel.: 010/6451102-010418609
Fax: 010/6425009
e-mail: videoelettronica@panet.it
Jordan
F.A. Kettaneh
P.O.Box 485
Amman, 11118, Jordan
Tel:00962-6-4398642
e-mail: app@kettaneh.com.jo
Korea
Euko Trading
Namho B/D 3F, 194-6, Neungpyeong-Ri
Opo.Eup, Gwangju-Si
Kyunggi-do
Korea 464892
Tel: +82-31-714 5394
Fax:+82-31-7148394
Service Hotline: 080-001-0190
Latvia
SERVO Ltd.
Mr. Janis Pivovarenoks
Tel: +371 7279892
scrv@apollo.lv
Lebanon
The Right Angle S.A.L.
Boulos Building
Hazmich-Damascus Highway
P.O.Box 1656-09
BEIRUT, Lebanon
Tel: 05-952 162 and 3
Fax: 05-950 190
e-mail: rightangle@inco.com.lb
Luxembourg
Ser-Tcc
Serbia and Montenegro
tel: +381-21-524-638
tel: +381-21-553-594
fax: +381-21-522-096
Finland
Oy Harry Marcell Ab
Rässitie 6, PL 63
01511 Vantaa
Tel:0035/89870870
Fax: 0035/8987087803