
KA 168 CB - Coffee machine BOMANN - Free user manual and instructions
Find the device manual for free KA 168 CB BOMANN in PDF.
| Product Type | Filter Coffee Machine |
| Brand | Bomann |
| Model | KA 168 CB |
| Power Supply | 220-240 V~, 50/60 Hz |
| Power | 870 W |
| Capacity | 1.0 liter (approx. 8 cups) |
| Net Weight | 1.70 kg |
| Dimensions (approx.) | 25 x 20 x 30 cm |
| Housing Material | Plastic |
| Coffee Type | Ground Coffee |
| Water Tank | With level indicator |
| Thermos Included | Yes, with pouring lid |
| Filter Holder | Removable, for size 1x4 paper filters |
| Anti-Drip Function | Yes |
| Hot Plate | Yes |
| Descaling | With citric acid |
| Cleaning | Exterior with damp cloth, do not immerse |
| Safety | Hot surface, anti-drip device |
| Included Accessories | Thermos, filter holder, lid |
| Warranty | Compliant with European directives |
Frequently Asked Questions - KA 168 CB BOMANN
User questions about KA 168 CB BOMANN
0 question about this device. Answer the ones you know or ask your own.
Ask a new question about this device
Download the instructions for your Coffee machine in PDF format for free! Find your manual KA 168 CB - BOMANN and take your electronic device back in hand. On this page are published all the documents necessary for the use of your device. KA 168 CB by BOMANN.
USER MANUAL KA 168 CB BOMANN
Füllmerge: ca. 1,0 Liter
Schutzklasse:
ATTENTION: Anti-goutte
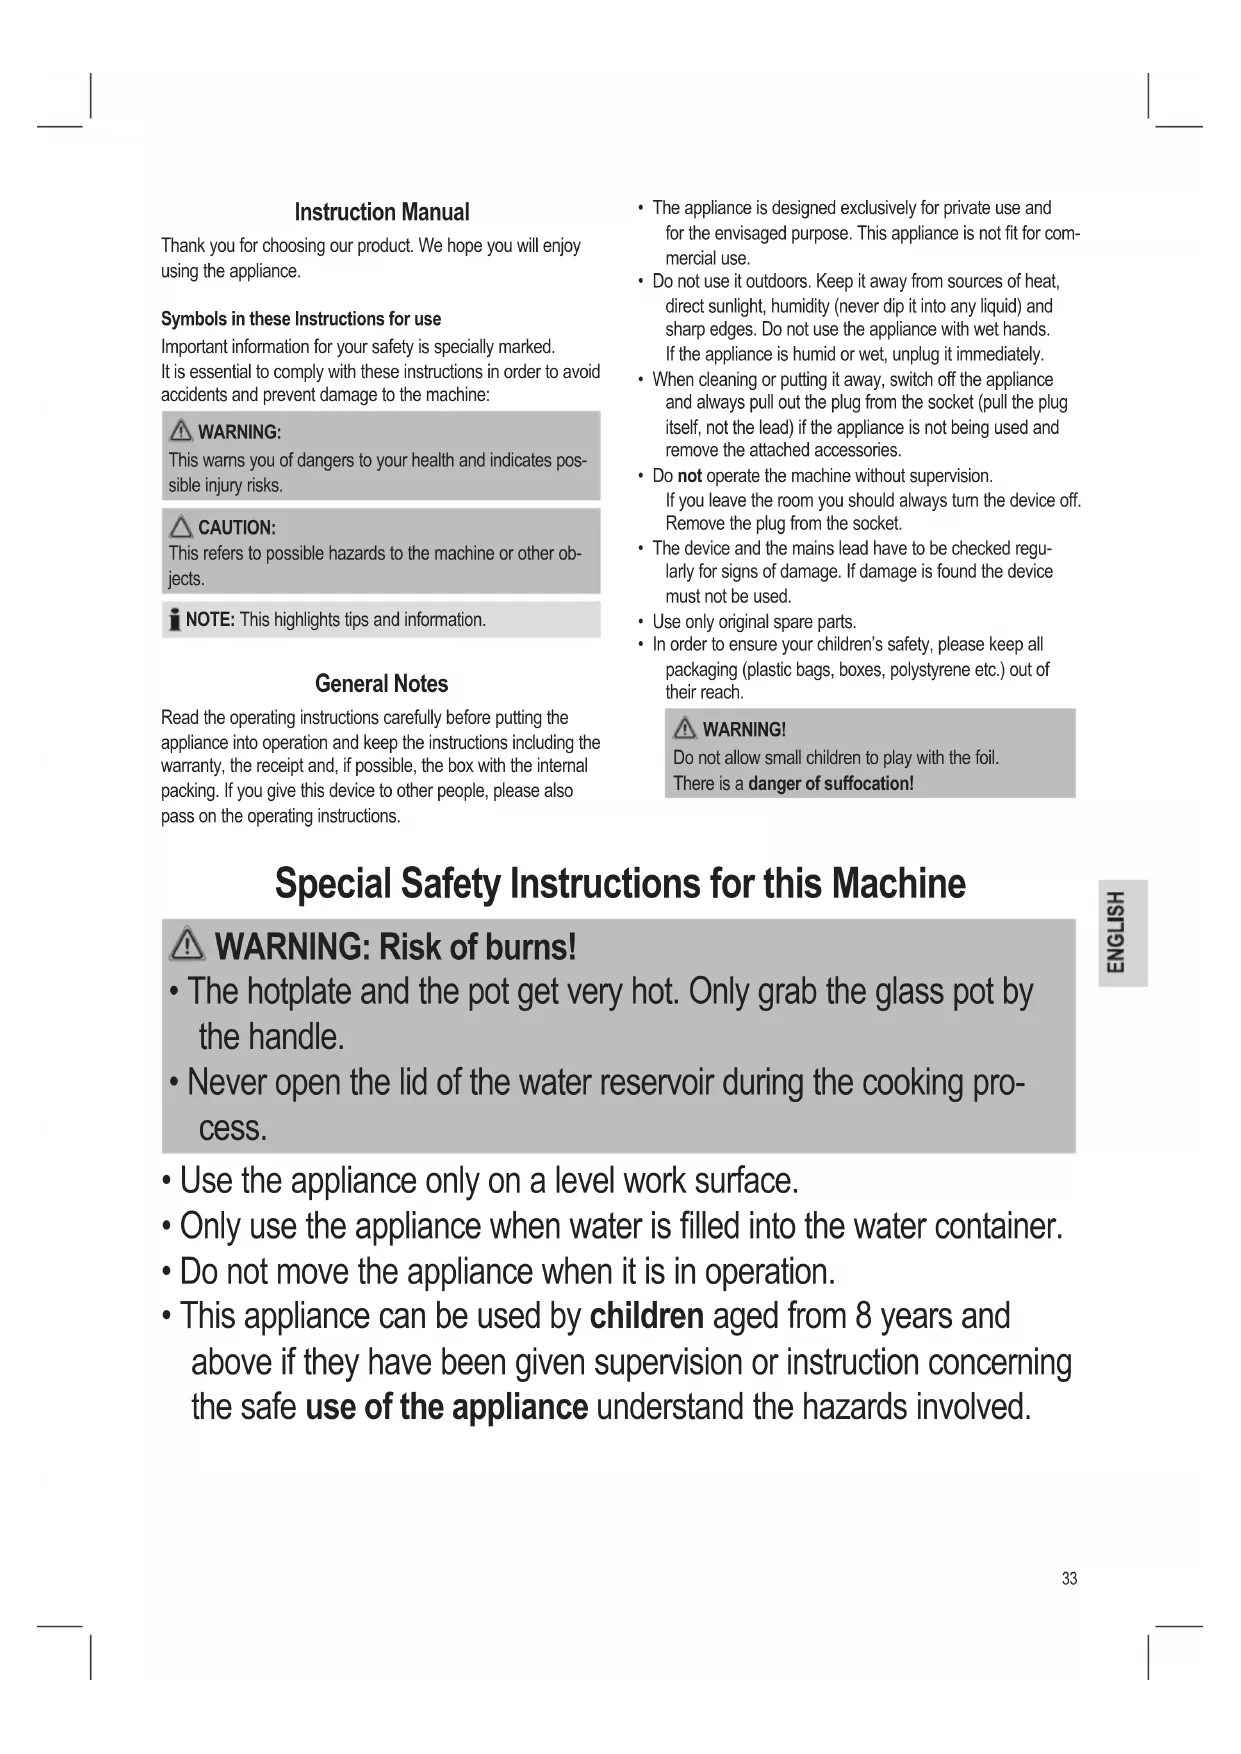
Thank you for choosing our product. We hope you will enjoy using the appliance.
Symbols in these Instructions for use
Important information for your safety is specially marked. It is essential to comply with these instructions in order to avoid accidents and prevent damage to the machine:
WARNING:
This warns you of dangers to your health and indicates possible injury risks.
CAUTION:
This refers to possible hazards to the machine or other objects.
NOTE: This highlights tips and information.
General Notes
Read the operating instructions carefully before putting the appliance into operation and keep the instructions including the warranty, the receipt and, if possible, the box with the internal packing. If you give this device to other people, please also pass on the operating instructions.
- The appliance is designed exclusively for private use and for the envisaged purpose. This appliance is not fit for commercial use.
- Do not use it outdoors. Keep it away from sources of heat, direct sunlight, humidity (never dip it into any liquid) and sharp edges. Do not use the appliance with wet hands. If the appliance is humid or wet, unplug it immediately.
- When cleaning or putting it away, switch off the appliance and always pull out the plug from the socket (pull the plug itself, not the lead) if the appliance is not being used and remove the attached accessories.
- Do not operate the machine without supervision. If you leave the room you should always turn the device off. Remove the plug from the socket.
- The device and the mains lead have to be checked regularly for signs of damage. If damage is found the device must not be used.
- Use only original spare parts.
- In order to ensure your children's safety, please keep all packaging (plastic bags, boxes, polystyrene etc.) out of their reach.
WARNING!
Do not allow small children to play with the foil. There is a danger of suffocation!
Special Safety Instructions for this Machine
WARNING: Risk of burns!
- The hotplate and the pot get very hot. Only grab the glass pot by the handle.
-
Never open the lid of the water reservoir during the cooking process.
-
Use the appliance only on a level work surface.
- Only use the appliance when water is filled into the water container.
- Do not move the appliance when it is in operation.
-
This appliance can be used by children aged from 8 years and above if they have been given supervision or instruction concerning the safe use of the appliance understand the hazards involved.
-
Cleaning and maintenance by the user shall not be made by children unless they are older 8 years and supervised.
- Keep the appliance and its cord out of reach of children less than 8 years.
Children shall not play with the appliance. - Appliances can be used by persons with reduced physical, sensory or mental capabilities or lack of experience and knowledge if they have been given supervision or instruction concerning use of the appliance in a safe way and if they understand the hazards involved.
- Do not try to repair the appliance on your own. Always contact an authorized technician. To avoid the exposure to danger, always have a faulty cable be replaced only by the manufacturer, by our customer service or by a qualified person and with a cable of the same type.
- This appliance serves for brewing of ground coffee.
-
Only use the appliance in a dry, indoor area. It is intended for domestic use and similar areas of use such as e.g.
-
In staff kitchens in shops, offices and other commercial areas;
- By guests in hotels, motels and other accommodation facilities.
It is not intended for use in farm accommodation or Bed & Breakfast establishments.
CAUTION:
The appliance must not be immersed in water for cleaning.
- Refer to the instructions provided in the chapter "Cleaning".
Supplied parts
1 x Automatic coffee maker 1 x Themos flask
1 x Filter holder 1 x Lid for the flask
Unpacking the appliance
- Remove the appliance from its packaging.
- Remove all packaging materials such as films, filler material, cable clips and carton.
- Check the contents for completeness.
- In the event that the packaging content should be incomplete or if damages are noticeable, do not operate the appliance. Return it to the dealer immediately.

NOTE:
Production residue or dust may have collected on the appliance. We recommend cleaning the appliance according to chapter "Cleaning".
Instructions
Placement
- Place the automatic coffee maker on a stable and level surface. Place the appliance in such way that it cannot tip over.
- Do not place the appliance in close proximity to a gas or electric stove or any other heat source.
Electric Connection
- Ensure that your mains power corresponds with the specifications of the appliance. The specifications are printed on the type label.
- Connect the mains cable to a properly installed and earthed wall outlet.
Operation
Before making coffee for the first time operate the appliance twice with clean water only and without paper filter. This removes dust, which may have collected during transport.
Operation
Preparing the Coffee Machine
- Open the lid of the water tank.
- Fill cold water according to the desired amount of cups of coffee into the rear water tank. The water level is displayed on the indicator.

NOTE:
You can use the pot to fill the water tank.

CAUTION:
Do not overfill the tank! Do not fill it above the 8 mark.
- Screw the lid onto the flask so that the button on the lid points towards the handle.
- Ensure that the filter holder is properly attached.
- Turn over the lower fold of the paper filter (size 1x4) and place it in the filter funnel. Then fill it with coffee powder.
- Close the water reservoir lid until it audibly clicks into place
- Set the flask with the screwed-on lid onto the hotplate.

CAUTION: Drip stop
Your appliance comes with a drip stop. It closes when removing the coffee pot. This prevents the coffee from dripping onto the warming plate if there is still water in the filter.
- Ensure that the lid is attached to the coffee pot. It opens the drip stop.
-
If there is still water in the tank, place the pot underneath as soon as possible. Otherwise the filter might overflow.
-
Turn on the appliance. The pilot lamp in the switch will be lit.
The Coffee Is Ready
NOTE:
The brewing process lasts approximately. 10-15 minutes.
- When no more coffee is flowing through the filter you can remove the pot.
- Turn the device off. The pilot lamp will go out.
- If you would like to pour coffee from the flask, press the button on the lid.
NOTE:
The filter holder can be removed from the machine by its handle. This makes it easier to dispose of the old coffee filter, for example.

RNING:
If you would like to brew another flask of coffee right away, turn off the appliance. Let it cool down with the water reservoir open, to prevent hot splashes when refilling the water.
De-scaling
De-scaling is necessary when the brewing time increases substantially.
- Use only commercially available citrus acidbased de-scaler.
- Follow the recommended instructions for use.

WARNING:
- Afterwards you should boil fresh water in the pot three or four times in order to rinse out residues of the descending agent.
- Do not use any coffee powder!
- Do not use this water for consumption.
Cleaning
WARNING:
- Before cleaning, always remove the mains plug and wait until the device has cooled down.
- Do not immerse the device in water. Otherwise this might result in an electric shock or fire.
CAUTION:
- Do not use a wire brush or any abrasive items.
-
Do not use any acidic or abrasive detergents.
-
The exterior of the device should be cleaned as necessary with a slightly damp cloth - without any additives.
- Remove spilled coffee grounds with a paper towel from the inner casing. Afterwards wipe with a damp cloth.
- You may clean the filter holder in the usual manner in a warm rinsing bath.
- Do not immerse the flask in water. Wipe it on the outside with a moist towel. You can rinse the flask with warm water on the inside. Use a soft brush, if necessary.
Storage
- Clean the appliance as described and let it dry completely.
- For longer periods of non-use we recommend storing the appliance in its original packaging.
Always store the appliance in a well-ventilated and dry place out of reach of children.
Troubleshooting
| Problem Possible | cause Solution | |
| The appliance does not work. | The appliance is not connected to mains power. | Check the wall outlet with a different appli- ance. |
| Insert the plug prop- erly in the wall outlet. | ||
| Check the fuse. | ||
| The appliance is defective. | Contact our service or a repair center. |
| Problem Possible | cause Solution | |
| Filter blockage: coffee grounds spill over the edge of the filter. | The drip stop is closed: The coffee pot is not on the warming plate or the lid is not on the coffee pot. | 1. Switch the appli- ance off. Discon- nect from mains power supply. 2. Put the coffee pot with lid on the warming plate so that the filter is emptied. 3. Dispose of the paper filter. 4. Clean the appli- ance as described. |
| Too much coffee powder in the filter. | ||
| Coffee grounds in the coffee. | The paper filter is too small. | Use a paper filter size "1x4". |
| Too much coffee powder in the filter. | Use less coffee powder. | |
| The brewing process takes too long. | Limescale deposits in the appliance. | Decalcify the appli- ance as described. |
Technical Data
Model: KA 168 CB
Power supply: 220-240 V\~, 50/60 Hz
Power consumption: 870 W
Filling quantity: approx. 1.0 Liter
Protection class:
Net weight: approx. 1.70 kg
The right to make technical and design modifications in the course of continuous product development remains reserved.
This device has been tested according to all relevant current CE guidelines, such as electromagnetic compatibility and low voltage directives, and has been constructed in accordance with the latest safety regulations
Disposal
Meaning of the "Dustbin" Symbol
Protect our environment: do not dispose of electrical equipment in the domestic waste.
Please return any electrical equipment that you will no longer use to the collection points provided for their disposal.
This helps avoid the potential effects of incorrect disposal on the environment and human health.
This will contribute to the recycling and other forms of reutilisation of electrical and electronic equipment.
Information concerning where the equipment can be disposed of can be obtained from your local authority.
Instrukcja obstugi
PiIroTOBka AToMaTHuHO KaBOBapKn Do npaui
- BjdkpnitKe KpnuKy Emnocti DnB OND.
- HanInTe BOy BiINOBiHDo nOtnpiBHOI KINbKOcTi YaWOk Ha TnBHi CTOpOHi EMHOCTi. PIBEh BOy BiIObpaXaETbcra Ha NOKaXuKy.
ITPUMITKA.
Длг Заговенна EMHOCTI BOJO Bn MOKeTe BnKOpNCaTn TepMoc.
VBARA.
He cnid nepenobHIOBAtn cMHiCTb! PBeHb Bodn He Mae nepeBnUyBaTn No3HaKy 8.
- 3akpyTitb KpiuKy Ha KaBnKy TaK, Uo6 KhonKa Ha Kpuiu BkayBana y HaprMky pyKn.
4.Пелеверг, Инистенов Всетановно Трима сдлъраз. - Пелд ТИМ яК NOКЯСТи ФЛьТР (po3mip 1x4) y BiДДIJOK,пергИть НOrO HIXKHi KpaI. 3aONBHiTb ФЛьТР NOPOUKOKM KABN.
- 3akpiTe KpIshky pe3epByapa dny BoNn Tak, uo6 BOHa KlaHyla Ha Micci, npo CbIDHTMME BiDIOBIDHm 3ByK.
- NocTaBTe KaBnK i3 3aKpyeHoi KoNlWkoHa HarpiBaIbHy OCHOBy.
YBAΓA.3yπnHka npotikahna
PpnaObnaHaHO cyHKJcH 3yHHKn npotikAHn. BOna cnpaBobyE, kUo 3abpatn Tepmoc. Lc daCTb 3MOry yNkHTn npOTiKaHH KABn Ha HarpBaIbHy niDCTaBky, kUo yΦilbTpI BCE ue E BOna.
- Penebipte, cn Kpuuka npnKpInHeHa Do TepMoCa. Lc daTb MoKnBicTb cnpaObaTn fYHKui 3ynHKn npOTiKaHHa.
-
RaHIOB E MHOCTI KOPNcY Ue E BOa, TepMOC CnID CTABNTN 3HOB Ha NIDCTABKy. IHaKUe KaBa MoKe nepenITnCra i3 pInbTpY.
-
YbIMKhit npicpti. Ha nepemkaui 3acBittbcra KOHTpOlbHn iHdkatop.
Kaba rotoBa
IPIIMITKA.
Ppoec BnroTOBneHna Kabn TpNae 10-15 XBnIH.
BIMoKeTe 3HrTn KaOBaRky 3 NiDCTaBKN, KOIN Hepe3 fInbTp 6iNbU He Teue Kaba.
BnKliuityeIeKtpoPpna. KoHTpoNbHni iHnKaTOp BmMKHeTbCra.
- Uo6 haHmTN Kaby 3 KaBHnka, HATNCHTb KHONkY Ha KpNIJI.
IIPMIMTKA.
Bidiok dna pfinbtpy moxHa BnMaTn i3 KopnyCy, yTpmyoHi noRo 3a ckOby. Lc noIeruye HapnKlaad BuaenHra fInbtpy dna KaBN.
IONEPEDKEEHNA
UoB BiDpa3y 3aBapNTu ige OOnH KaBHk KABN, BmMKHtB npn-ctpi. DaIte Nomy OxonoHTN, BiKpNBUn pe3epByap dIra BOi, Uo6 yHNKHyTn 6pn30K rapaOoi BOi n iJac 3aJIbAH-H RA BOi.
BudaeHHBaHnHoroHaiboty
CMHOCTI KABOBAPKNIID ONUUYBaTN BID BANHORO HAIbOTy, AKUO YAC NPIRTOYBAHH KAIBN 3HaUNHO 36iNbUBBCB.
- Ppocimo Bac 3actOCOByBatn DnBnDnEHH BAnHHO HnBToT TInbKn Prn3NaYeHi DnIeBoro 3ac06n Ha nIcTabi JIMMOHHO KICJOTN, kI pOdaHOtBCB Mara3INax.
Bn moxete do3ybaTn nponopuii kabni BOIN 3anexho bi, iHCTpykui Ha ynakobui a6o infopmauiHomy apkyu.
NIOPEDKEEHHA.
- Pincra zboro nidorpiinte 3-4 pa3n ucty B0dy, u6bBnDanITn 3aunuKn 3ac06y npOTn BAHa.
- He BnKOpNCTaTe NopoIoK KaB!
LBAOHaHe npn3NaHcHAnIyNITT.
YnueHHa
PONEPEIXEHHI.
- Перацьшим риладу сд обов'язково витгпвнky i3 po3etkn i datin kaBOBapci OCTnHyTN.
3abopohrbcra onyckatn npnaB B Body. Lc moke npn3BeCTn do eIektpnHoro ydapy a6o nojexi.
VBAFA.
3a6bOpHReTbCBAKOpNCTaHHN DnOCHUeHHN dPoTHNX 10tOK a6o IHmX abpa3NBHX mATEpianib.
3a60pOHaTeBcBAuKOpNCtAHHIAIDKINx a6o abpa3nBnX MNHOUX 3ac06iB.
3OBHIUIHIO CTOPOHy npnIaNy cIiD ONUIaTN 3a nOTpe6oBOBONHO TKAHNH -6e3 DoaATKOBIX 3ac06IB.
- YcyhTe npOHTy kaby i3 BHyTpuiHix Detanei 3a DonoMOrOIO nanepoBOrO pyuHnka. Todi npotpiB BonoroHO raHicpKOIO.
TpImauchipbtpaMOxHaUcHTnIy3BuaHoyTeNII BODi.
He 3aHpyHOte KaBHK y BOnpaTKe KOpNc BOIOM pyuHHKoM. BCEpeHi KaBHK MoXHa CNoOCHyTN Te- nIOIO BDOIO. 3a NOTpe6n BHKOPNCOBYte M'ky UToKy.
36epirahn
-Поисьтpe npinlaBiINOBiHNo Do OINcaHOrO i daTe IOMy NOBHICTU BnCOxHyTN.
- RaKIO npiJaH De BnKOpncTObyBaTmUMeTbCn IpOTaROM TpBaNOro TepMInHy, Ml peKOMeHdUcMo 36epirAtn Ioro B opriHaNbHOMy ynakyBaHHi.
3abxnd 36epiraante npnilad no3a 30HOIOcKHOCTI dTeB cyxomy,do6pe npoBITpOBAHOMyMICU.
YcyHeHHH HeCnpaBHOCTe
YCTPOIcTBO He IpeHa3NaYeHO IJIa NcNoJb3OBaHnB B CeJIbCKOXO3RAJCTBeHHbIX NOMEUeHNx INB NaHCNOHaTAX.

BHIMAHNE:
Bo BpemrMbITbI np6op 3aPpeuaetcI porpykataB B Ody.
- CMOTPte HNCTpyKuIN B rIaBe "UncTka".
KOMNJEKT
1xABTomatnecka KcpeBaPka 1x TepMoca
1x DepeKataeB pInbTpa 1x KpbIuKIN TnTepMOCOB
Pacnakobka yctpoicTBA
- ɪnʒbɪeɪnte yctpɔɪctBO nʒyɪaʊkɒBɪN.
- YdaJIte BCE yIaNKOBOHbIe MaTePnJIbI, TAKHe KAK NOnIH-TIneHOBAR IIeHkA, MaTePnAI HAnOJIHITeR, Ka6eJIbHbIE CTJKKN KOp06Kn.
- Y6eIntecb, TTO B Kopo6ke eCtb BCE KOMIOHeHTbl.
- B cnyuae ecnn copejkmoe ynaokbne henoHoe nInn 6hapykeHbI NOBpexKeHnE, He pa6oTaIe c np6opom. HemeDneHHO BepHnte erO dUnepy.
ITPIMEYAHNA:
Ha yctpoiCTBe BCE eue MoYr OCTaBaTbCer MeKnKe YactuB i n PbIb, OCTaBwneC RocNe IPOIN3BOIDCTBeHHOro PPOeCCA. PeKOMeHdyETcR NoUcHTb yCTpoiCTBO, KAK OINCAHO B pa3- dene "YnCTKa".
HCTpykCm
PacnoJoxeHne
-Пoctabte abTomatueckyo Koepbapky Ha yctoynbyu npOBHyIO NobepxHocTB. NocTabte ycTpoiCTBO TAK, YTO6bl OHO He MOrIIO ONpOKINHYcRcA.
He cTabBe yCTpoIcTBO B 6n3n rataoBo nnn 3neKtpueeCKO nnTb nn KaKoro-n6o DpyrOIO nctOHnKa Tennna.
PoiKnIoueHne
- Y6eIITcB, YTO npaMeTpby 3neKtpoNHTaHnA COOTBETCTBYOT CNEUΦkaUm yCTpoTcBA.CneUΦkaUHa HaneuTaHa Ha 3TNKeTke.
- BCTaBbTe 7TeTceJIb 7Hypa 3JIeKTPoNTaHnB INcnpaBHyO n 3a3emneHHyO p03eTKy.
Pa6ota
Ipeed TEM KAK BAPITb KOFe B NepBbIM pa3, BKHOnHTe KO- FeBapKy IBa pa3a IpocTo C uNcTOn BOdoN 6e3 6yMaXHOro fNbTpTa. 3TO ydaNTn3 YcTpoNCTBa PbIb, KOTopaMOrna CKoINTBcA BO BpEmr TpaHCnOpTIpOBKn.
Pa6ota
IpoTobKa KoepenHoro aBtOMaTa KaaboTe
- OtkpoIte KpbIuKy eMKoCTn IIN BODbl.
- HanonHnTe EMKocTb DnBBoI, HaxoJyUocB 3aDHeuactn yCTpoNCTBa, XOJIOHOB BOIOB B COOTBeTCTBN CKeJaemblm KOnIYeCTBOM YaWeK KoPe. YpOBeHb BoDb6yDet OTo6paKaTbcra Ha INDkaTope.
ITPIMEYAHNA:
ДяЗANJIHENI EMKOCTNДЯ BOДБВblMOKETE BOC- TINb3OBaTbCkopeHNIKOM.
BHIMAHINE:
He nepenonHnIe EMKoCTb Ia BODbl! He 3anBaIte BOyBbIeOTMeTkn8.
- Habintte Kpbiky Ha Tepmoc TaK, YTo6bI KHONka Ha Kpbikke 6bIa o6paueHa B CtopoHy pyKN.
- Y6eIntecb, yTo depKaTeIb cHJIbTp a yCTaHOBJIeH DoJHK HbIM o6pa3OM.
5.ПоДгнITE ИХКИ Краь 6умжного Фильста (pa3mep 1x4)и улбнITE ergв БФиьтювьнуворohky. HanOЛнITE erO MONOTbIM Kofoe. - 3akpoTe eMKocTb DnB BoDbI KpbIuKoJ, YTO6bI 6bln CbIweH IeJyOK npn PkncAun KpbIuKn.
- ПостаьтЕ Термoc C HabINHHeHHo Hа Hero КpbIiKoHа эл ekTpOПЛNTKy.
BHIMAHHE:3uNTaOTNOTeKaHn
YCTpoCTBO CHa6KeHO 3aUHTO IT NOTeKaHn. OHO 3aKpbIbAeTc npN INBNeueHn KoPeHnHa.
3To IpeDorBpaauet KanaHne KoPe Ha 3NeKtpoPnITKy,
ecnBΦINbTpE BCE eue Ectb B0da.
Y6eIntecb,HTO KpbIkaPnpcoEINHeHa K KOpeHnKy.OHa o6ecneuBaet 3aunTy oNtTeKaHna.
EcnB EMMKoCTN euee cTb BODa,TO CBOeBpeMeHHO CHOBa NODCTaBbTe KoPeHnIK. HNaYe MoKeT nepeNoJIHNITbcra qnlIbTp.
- BkIIOHHTe npH6Op. B BbIKHOHATeJIe 3aROpNTc KoHTpOJIb-Ha JAMNa.
Koje npiroTOBJIeN
ITPIMMEAHNAI:
Ppoecc Bapenna nnTc npm. 10-15 mHnyT.
- Pocne TOrO, KaK KoPe 60nBHe He TeHETepe3ФuNbTp, KoPeHHK MoXHO y6npaTb.
BbIKIOHHTe np6Op. KohtpoJIbHaJ IaMaI nOrachET. - EcIN Bbl XOTNTe HAnITb KOpFe N3 TepMOca, HAnMNTe KHONKY Ha KpbilKe.
ITPIMMEAHNAI:
DepkataB pntbTpa MoKHO BbHytb n3 np6opa, yXBaTnB ero 3a pyky. 3To o6neryaeT, HapnpMep, ydaeneHne cTaporo cnltpa.
TPEyIpyEKDEHNE:
Ecnn BbXOTnTe cpa3y npiroTOBnTb CneDyoUuN TePmoc KoPe, BblKIOUHTe np6Op. DaIte Emy OxnaNTbcra Pn OTKpbIToE MKOCTn DnBDo, YTObHe DoNyCTNb BblNeTa ropqHx 6bp3r pni CneDyoUeM HANBaHm BOnbl.
YdaenHeHaKnn
YdaJIeHHe NaHnI Heo6xOdMIO pOnu3BODHTb,ecNJ BpEmr npriroTOBHeHn KoPe 3HaHTeNbHo yDInHReTcR.
- IcnoIb3yIe TnIg 3TOrO ToIbKO cpeICTBa IInI yIaNHeHnHaKINn Ha OCHOBE JIMMOHHo KNCJOTbl, IpeIlaeMbleTOPROBnei.
C6JIIOJaIte I03INPOBky, yKa3aHHyIO Ha yNaKOBKe IIN B ONICAHIN.
IPEDYIPEKDEHNE:
- 3aTeM BCKINNITTE 3-4 paa CBexkyIO BOy, YTO6bI CMBITb OCTaTKI CpeiCTBa DnI ydaJIeHn HAKIN.
- Пг зтOM He KIaIte MoJIoTbI KoPe!
3Tu Body Bnilu He ynoTpe6nraTb.
UncTka
PPEyPExKDEHNE:
- Bcerda nepei qnCTKOI BbIHMaITe ceTeBOI uTeKeP I Xdnte, noka np6op He octbIHeT.
He norpykaite npnbop B Body. 3TO MOKeT 6bITb npuHOn 3JIeKTPnueckoTo ydapa nIIN noxapa.
BHIMAHINE:
He nioIb3yIte npoBouHbe uEeKn nnDpyne capaanaIOUe npdMeTbI.
He nIcnoJIb3yIte CnIbHbIe IINI capanaIOUne YNCTAUNe CpeIcTBA.
C HanyxHcO CTOpObI, npn HeoXoDmocTn, npotpaTe np6op cIeKa BnaXHcN TpIKNo 6e3 Do6aBHeHn MOIOxxCpeCTB.
- YdaInte npocbInaBlnuec3 cepHa KoeC BHyTpHenHe CTOpOhbl KopnyCa C NOMOuHbO 6yMaXKHOro NIOToEHua. Pocne 3Toro BbITpTe NOBepxHOCTb BnAaxHOB BetoUbIO.
BbMOKeTe UcNTnB DepeKaTeNbФINbTp a ObHbIM CNOcO6OM B TENIO MoeUHO BaHHe.
He norpykaite TepMoc B Ody. IpoTnpaIte ero chapykn BnaXhIM NIOITEcEM.BHyTpEHHIO NOBepxHOCTb TepMOCA MOKHO MbITb TEPNOI BOIO. Pn Heo6xOIMOCTN NCIOJIb3yTE MANKYIO UeTKY.
XpaHeHne
-ПОИСТЛЕУСТЮЕВСоOTBETCTBUNCОПИСАПЕМ,ИДаNTe EMу ПОЛНOCHTbIO BbICOXHyTb.
- PekomeHnyeTcXpaHnTB yCtpoiCTBO B erO opmHaJIbHOI yIaKOBKe,ecIN OHO He IcNoB3yEeTcI INTeJIbHOe BpeM.
Bcerda xpaHnTe yctpoNCTBO B cyXOM, XopoIo BO BeHTINpIyEmOM MecTe, HeIOCTynHom DJIa DeTei.
YcTaPaHHe HEnCnpaBHOCTe


- ATTENTION: Anti-goutte
- Symbols in these Instructions for use
- WARNING:
- CAUTION:
- General Notes
- WARNING!
- Special Safety Instructions for this Machine
- WARNING: Risk of burns!
- Supplied parts
- Unpacking the appliance
- NOTE:
- Instructions
- Placement
- Electric Connection
- Operation
- Preparing the Coffee Machine
- CAUTION: Drip stop
- The Coffee Is Ready
- RNING:
- De-scaling
- Cleaning
- Storage
- Technical Data
- Disposal
- Meaning of the "Dustbin" Symbol
- Instrukcja obstugi
- PiIroTOBka AToMaTHuHO KaBOBapKn Do npaui
- ITPUMITKA.
- VBARA.
- YBAΓA.3yπnHka npotikahna
- Kaba rotoBa
- IPIIMITKA.
- IIPMIMTKA.
- IONEPEDKEEHNA
- BudaeHHBaHnHoroHaiboty
- NIOPEDKEEHHA.
- YnueHHa
- PONEPEIXEHHI.
- VBAFA.
- 36epirahn
- BHIMAHNE:
- KOMNJEKT
- Pacnakobka yctpoicTBA
- ITPIMEYAHNA:
- HCTpykCm
- PacnoJoxeHne
- PoiKnIoueHne
- Pa6ota
- IpoTobKa KoepenHoro aBtOMaTa KaaboTe
- BHIMAHINE:
- BHIMAHHE:3uNTaOTNOTeKaHn
- Koje npiroTOBJIeN
- ITPIMMEAHNAI:
- TPEyIpyEKDEHNE:
- YdaenHeHaKnn
- IPEDYIPEKDEHNE:
- UncTka
- PPEyPExKDEHNE:
- XpaHeHne
Brand : BOMANN
Model : KA 168 CB
Category : Coffee machine