UR8100SI - Alarm clock radio Soundmaster - Free user manual and instructions
Find the device manual for free UR8100SI Soundmaster in PDF.
| Product type | Clock radio |
| Brand | Soundmaster |
| Model | UR8100SI |
| Main power supply | AC adapter 100-240 V~, 50/60 Hz, output 5 V / 1.2 A |
| Backup power supply | Lithium coin cell CR2032 (3 V) |
| Number of alarms | 2 independent alarms (AL1 and AL2) |
| Alarm type | Beeper with progressive volume |
| Snooze function | Yes, 9-minute snooze |
| Night light | Yes, activation by ON-OFF button |
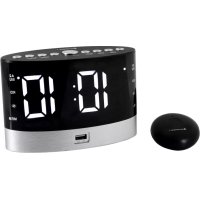
| USB charging | Yes, USB port for charging mobile devices (cable not included) |
| Brightness adjustment | High, medium, low or off |
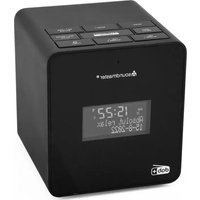
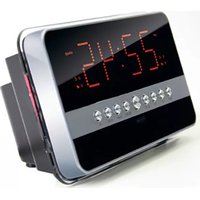
| Display | LED, 12/24 hour format |
| Radio reception | Built-in (analog tuning) |
| Approximate dimensions | 150 x 80 x 80 mm |
| Approximate weight | 300 g |
| Care and cleaning | Dry cloth only, no detergents or abrasives |
| Safety | Do not open, risk of electric shock. Refer servicing to qualified personnel. |
| Spare parts available | AC adapter, CR2032 battery |
| Repairability | Repair by authorized center only |
| General information | Importer: Wörlein GmbH, Germany. Compliant with Directive 2014/53/EU. |
Frequently Asked Questions - UR8100SI Soundmaster
User questions about UR8100SI Soundmaster
0 question about this device. Answer the ones you know or ask your own.
Ask a new question about this device
Download the instructions for your Alarm clock radio in PDF format for free! Find your manual UR8100SI - Soundmaster and take your electronic device back in hand. On this page are published all the documents necessary for the use of your device. UR8100SI by Soundmaster.
USER MANUAL UR8100SI Soundmaster
The materials are reusable according to their markings. By reusing, recycling or other forms of utilization of old devices you make an important contribution to the protection of our environment.
Please contact your local authorities for details about collection points.

WARNING
Risk of electric shock Do not open!

Caution: To reduce the risk of electric shock, do not remove the cover (or back). There are no user serviceable parts inside. Refer servicing to qualified service personnel.

This symbol indicates the presence of dangerous voltage inside the enclosure, sufficient enough to cause electric shock.

This symbol indicates the presence of important operating and maintenance instructions for the device.
Safety, Environmental and Setup Instructions
- Use the device in dry indoor environments only.
- Protect the device from humidity.
- Do not open the device. RISK OF ELECTRIC SHOCK! Refer opening and servicing to qualified personnel.
- Connect this device to a properly installed and earthed wall outlet only. Make sure the mains voltage corresponds with the specifications on the rating plate.
Make sure the mains cable stays dry during operation. Do not pinch or damage the mains cable in any way. - A damaged mains cable or plug must immediately be replaced by an authorized service center.
- In case of lightning, immediately disconnect the device from the mains supply.
- Children should be supervised by parents when using the device.
- Clean the device with a dry cloth only.
Do NOT use CLEANING AGENTS or ABRASIVE CLOTHS!
- Do not expose the device to direct sunlight or other heat sources.
Install the device at a location with sufficient ventilation in order to prevent heat accumulation. - Do not cover the ventilation openings!
Install the device at a safe and vibration-free location. - Install the device as far away as possible from computers and microwave units; otherwise radio reception may be disturbed.
- Do not open or repair the enclosure. It is not safe to do so and will void your warranty. Repairs only by authorized service/ customer center.
- Only use mercury and cadmium-free batteries.
- Used batteries are hazardous waste and NOT to be disposed of with the household waste!!!
Return the batteries to your dealer or to collection points in your community.
- Keep batteries away from children. Children might swallow batteries.
Contact a physician immediately if a battery was swallowed.
- Check your batteries regularly to avoid battery leakage.
- Batteries shall not be exposed to excessive heat such as sunshine, fire or the like.
- CAUTION: Danger of explosion if battery is incorrectly replaced
- Replace only with the same or equivalent type

WARNING
DO NOT INGEST BATTERY, CHEMICAL BURN HAZARD
This product contains a coin/button cell battery. If the coin/button cell battery is swallowed, it can cause severe internal burns in just 2 hours and can lead to death. Keep new and used batteries away from children. If the battery compartment does not close securely, stop using the product and keep it away from children. If you think batteries might have been swallowed or placed inside any part of the body, seek immediate medical attention.

Used batteries are hazardous waste and NOT to be disposed of with the household waste! As a consumer you are legally obligated to return all batteries for environmentally responsible recycling - no matter whether or not the batteries contain harmful substances *).
Return batteries free of charge to public collection points in your community or to shops selling batteries of the respective kind
Only return fully discharged batteries.
* marked Cd = cadmium, Hg = mercury, Pb = lead
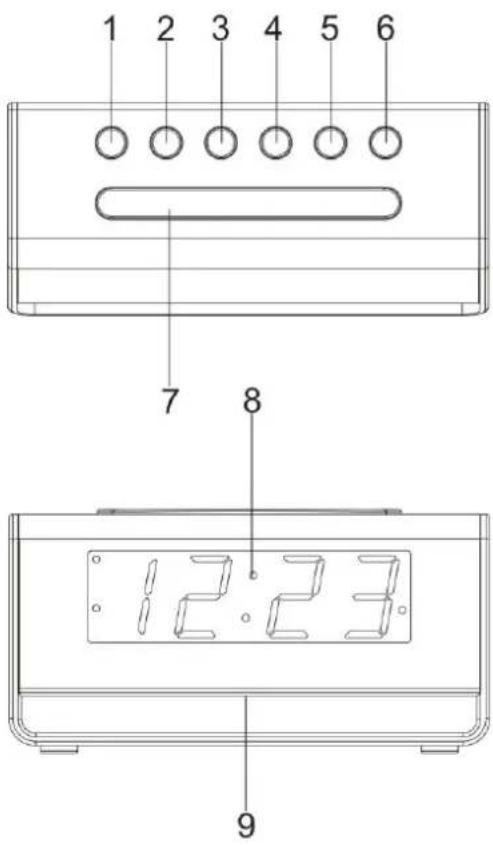
LOCATION OF CONTROLS
FUNCTION AND CONTROLS
- ALARM 1 ON-OFF SET
- ALARM 2 ON-OFF SET
- << DOWN
-
UP
- CLK.ADJ.
- NIGHT LIGHT ON-OFF
-
SNOOZE / DIMMER
-
LED DISPLAY
- NIGHT LIGHT
- BATTERY COMPARTMENT COVER
- RATING LABEL (BOTTOM OF UNIT)
- DC POWER INPUT
- USB CHARGING SOCKET
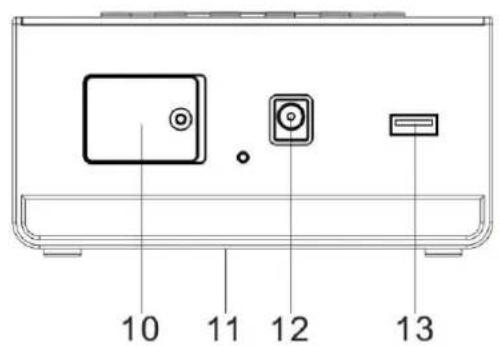
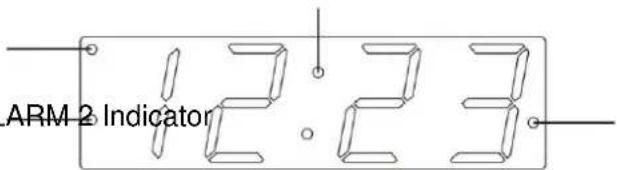
LED DISPLAY
TIME Announcement
PM Indicator
ALARM 1 Indicator ALARM 2 Indicator
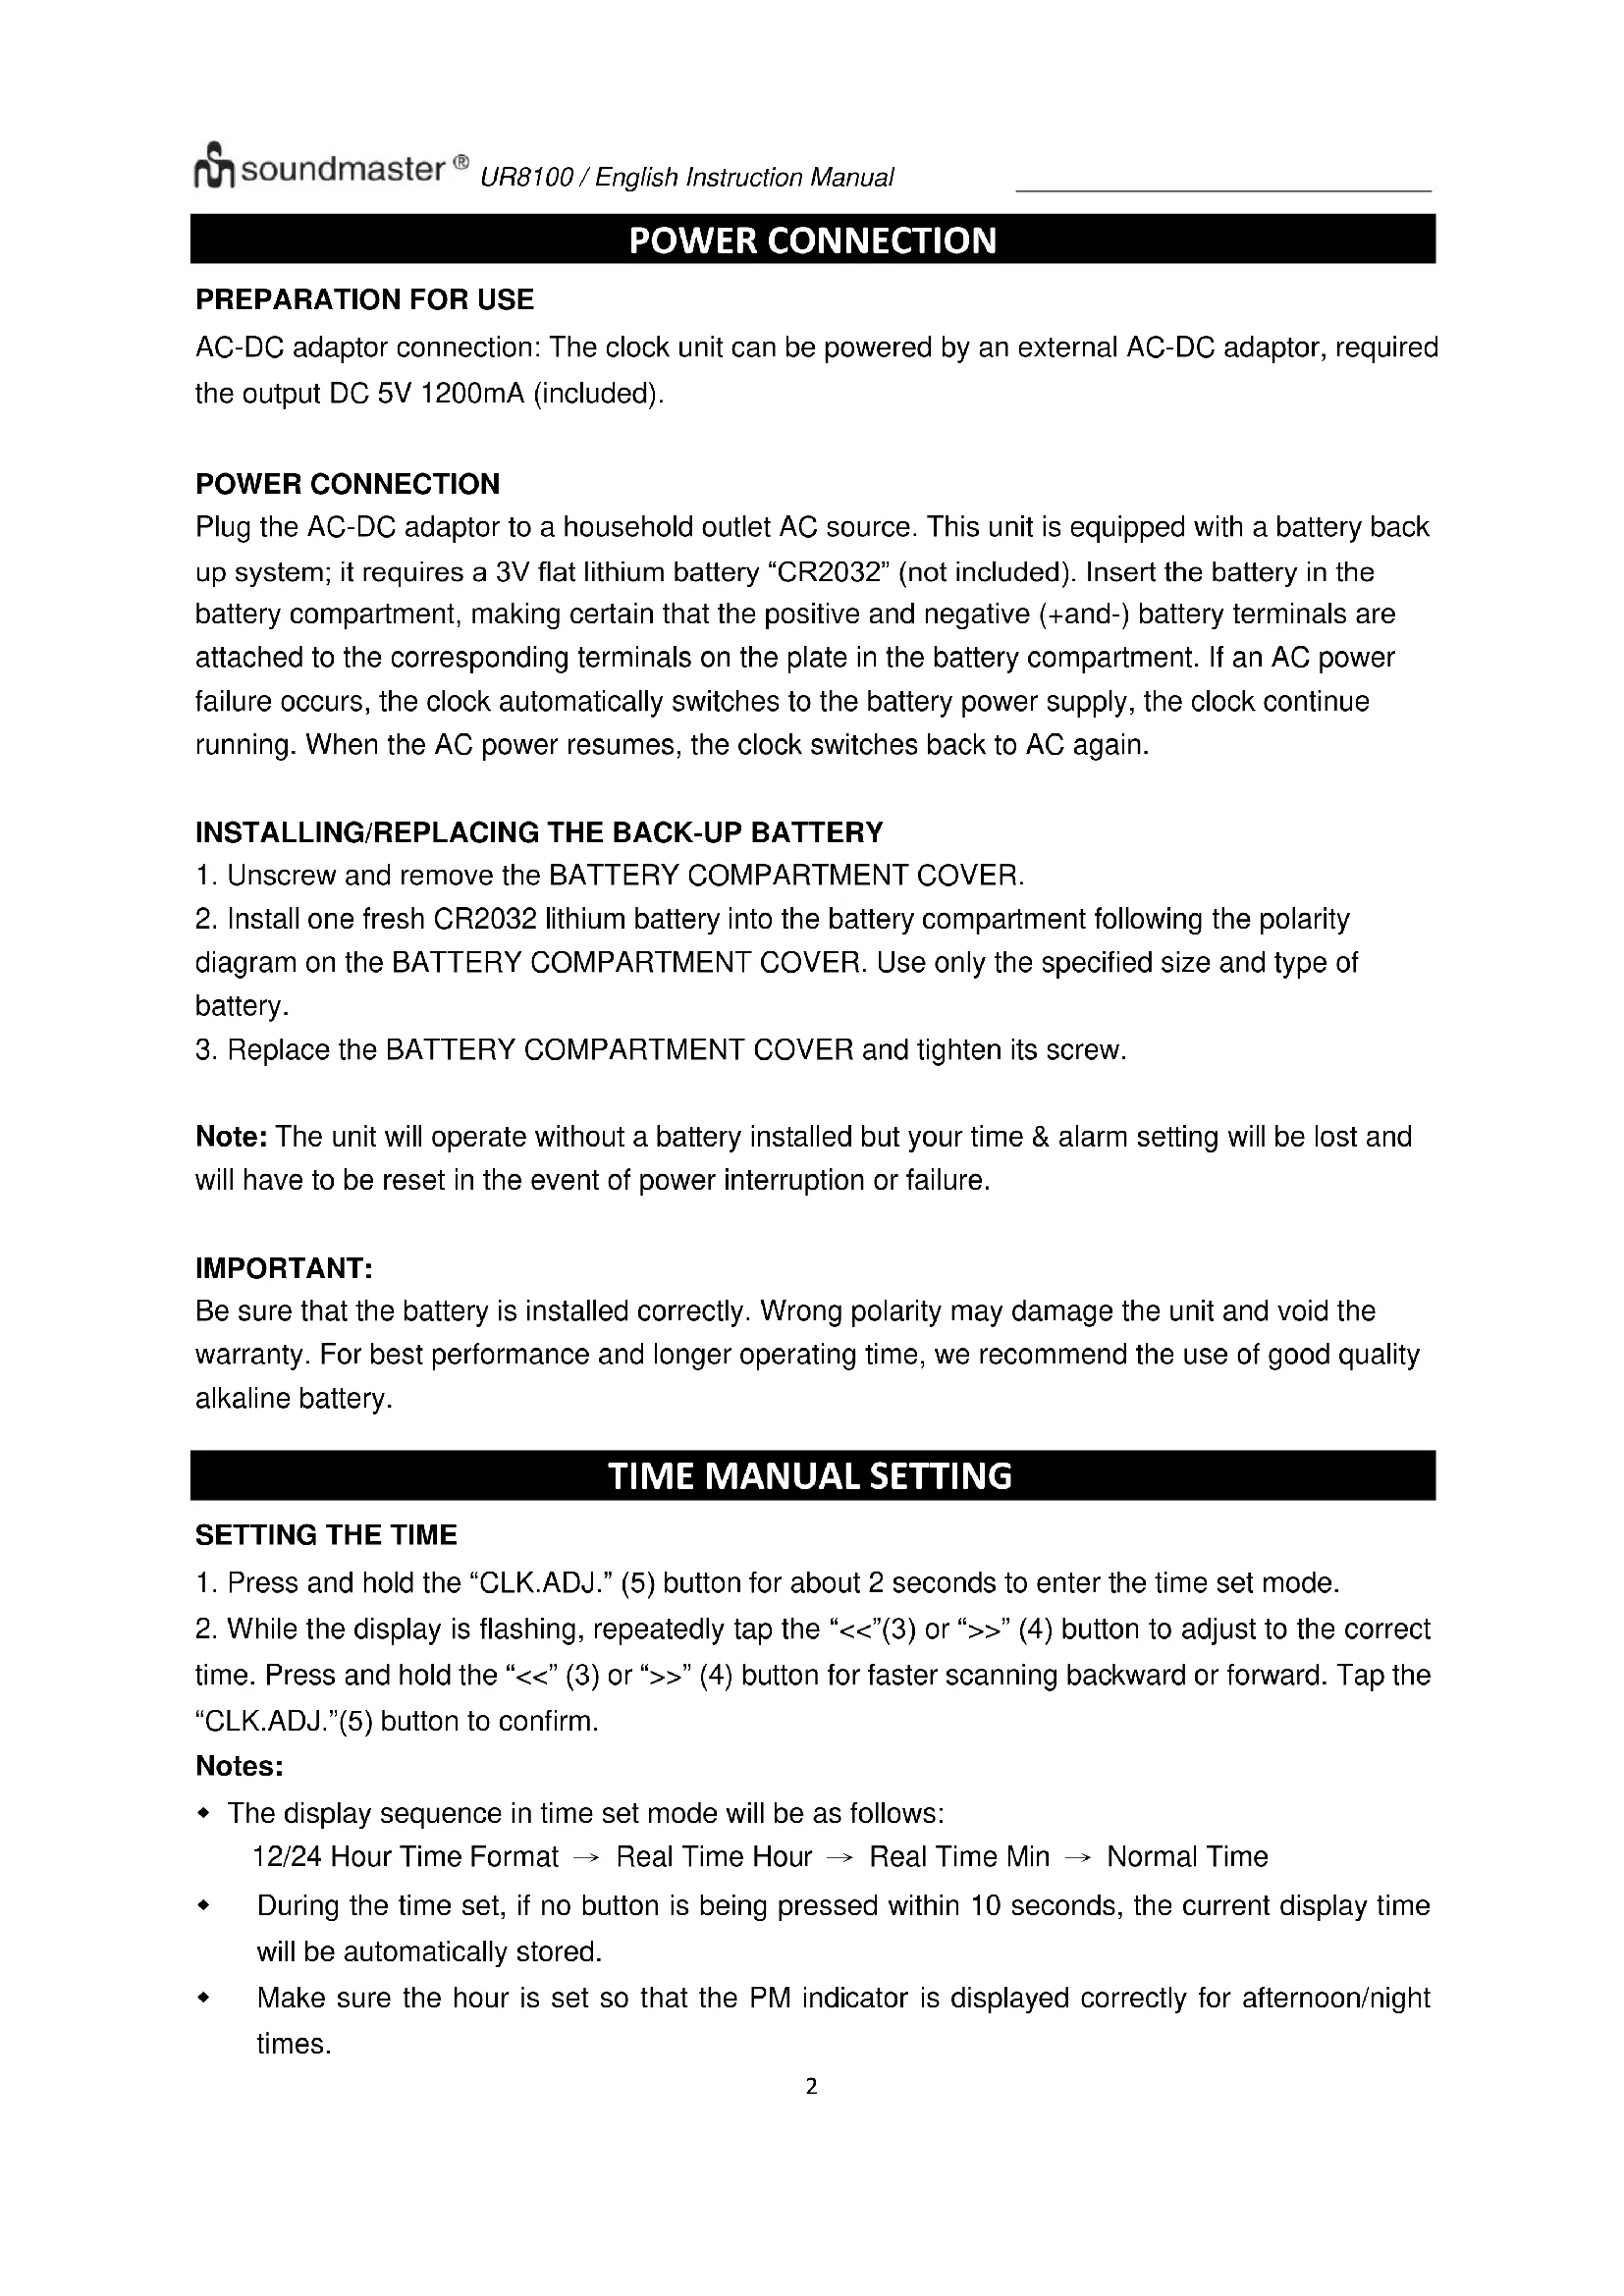
POWER CONNECTION
PREPARATION FOR USE
AC-DC adaptor connection: The clock unit can be powered by an external AC-DC adaptor, required the output DC 5V 1200mA (included).
POWER CONNECTION
Plug the AC-DC adaptor to a household outlet AC source. This unit is equipped with a battery backup system; it requires a 3V flat lithium battery "CR2032" (not included). Insert the battery in the battery compartment, making certain that the positive and negative (+and-) battery terminals are attached to the corresponding terminals on the plate in the battery compartment. If an AC power failure occurs, the clock automatically switches to the battery power supply, the clock continues running. When the AC power resumes, the clock switches back to AC again.
INSTALLING/ REPLACING THE BACK-UP BATTERY
- Unscrew and remove the BATTERY COMPARTMENT COVER.
- Install one fresh CR2032 lithium battery into the battery compartment following the polarity diagram on the BATTERY COMPARTMENT COVER. Use only the specified size and type of battery.
- Replace the BATTERY COMPARTMENT COVER and tighten its screw.
Note: The unit will operate without a battery installed but your time & alarm setting will be lost and will have to be reset in the event of power interruption or failure.
IMPORTANT:
Be sure that the battery is installed correctly. Wrong polarity may damage the unit and void the warranty. For best performance and longer operating time, we recommend the use of good quality alkaline battery.
TIME MANUAL SETTING
SETTING THE TIME
- Press and hold the "CLK.ADJ." (5) button for about 2 seconds to enter the time set mode.
- While the display is flashing, repeatedly tap the << (3) or >> (4) button to adjust to the correct time. Press and hold the << (3) or >> (4) button for faster scanning backward or forward. Tap the "CLK.ADJ." (5) button to confirm.
Notes:
- The display sequence in time set mode will be as follows: 12/24 Hour Time Format Real Time Hour Real Time Min Normal Time
During the time set, if no button is being pressed within 10 seconds, the current display time will be automatically stored. - Make sure the hour is set so that the PM indicator is displayed correctly for afternoon/night times.
ALARM SETTING
SETTING THE ALARMS (ALARM 1 and ALARM 2)
Be sure to observe the PM indicator when setting the alarm to make sure the alarm time is set correctly for AM or PM. If the PM Indicator is 'On', the alarm time will be afternoon/night time. The setting sequence for AL1 is as follows:
Normal Time ALARM 1 Hour ALARM 1 Minute Normal Time
- Tap the "ALARM 1" (or "ALARM 2") button (1 or 2) to show the preset alarm time.
- Press and hold the "ALARM 1" (or "ALARM 2") button (1 or 2) again for about 2 seconds until the Hour Indicator on the LED DISPLAY flashes. Press the << (3) or >> (4) button to obtain the desired Alarm Hour.
- Tap the "ALARM 1" (or "ALARM 2") button (1 or 2) again to advance to the Minute Indicator. Press the << (3) or >> (4) button to obtain the desired Alarm Minutes.
- Press the "ALARM 1" (or "ALARM 2") button (1 or 2) to finish setting and exit to normal time display.
- To disable ALARM (or ALARM 2) from automatically sounding on the upcoming days, press and hold the "ALARM 1" (or "ALARM 2") button (1 or 2) for about 2 seconds, the corresponding ALARM 1 (or ALARM 2) INDICATOR will go off.
- To resume ALARM 1 (or ALARM 2) from automatically sounding on the upcoming days, press and hold the "ALARM 1" (or "ALARM 2") button (1 or 2) for about 2 seconds, the corresponding ALARM 1 (or ALARM 2) INDICATOR will turn on and the alarm will sound the following day at the set time.
TURNING OFF THE ALARM
When the preset alarm time is reached, the ALARM 1 (or ALARM 2) INDICATOR will flash on the LED DISPLAY and the beeper alarm will sound for 30 minutes unless interrupted by pressing "SNOOZE" (7). To stop the alarm immediately, tap the corresponding "ALARM 1" (or "ALARM 2") button (1 or 2). The alarm will ring again at the same alarm time on the following day, or when set to go off based on your Alarm settings.
Notes :
- When the Beeper alarm begins, it will sound at a lower beeping rate and gradually increase to the normal rate within 30 seconds.
SNOOZE FUNCTION
When the alarm source is sounding, press the "SNOOZE" (7) button to suspend the alarm and activate the snooze function. The Alarm will temporarily stop and sound again 9 minutes later but the ALARM 1 (or ALARM 2) indicator will keep flashing.
Notes:
This manual snooze operation can be repeated again and again.
- To turn off the snooze function before it ends, tap the corresponding "ALARM 1" (or "ALARM 2") button (1 or 2). The ALARM 1 (or ALARM 2) INDICATOR will stop flashing.
DIMMER CONTROL
Tap the "DIMMER" (7) button to set the brightness of the LED display to high, medium, low or off according to your ambient light conditions.
- Press the night light "ON-OFF" (6) button to turn on the function.
- In order to turn off the function, press the button again.
USB CHARGING FUNCTION
The product functions as a charger for your mobile phone and USB device.
The connector or the USB charging cable is not supplied. (The cable length does not exceed 3m).
IMPORTANT!
When connecting your USB cable to the USB charging socket on this alarm clock please be sure that the USB symbol on your plug is facing UP when you insert the plug into the USB charging socket. Observe the charging indicator on your device to confirm that it is charging.
To improve charging effectiveness, please turn off and/or refrain from using your device while charging.
Charging time will vary depending on the charging current that your device requires.
Therefore, some devices will take longer to charge than others.
RESETTING THE UNIT
If the system does not respond or exhibits erratic or intermittent operation, you may have experienced an electrostatic discharge (ESD) or a power surge that triggered the internal microcontroller to shut down automatically. If this occurs, disconnect the AC Power Adaptor from the wall and remove the backup battery from the compartment. Wait at least 3 minutes, and reinsert the battery for the back-up, and reattach the AC Cord to the wall. The unit is now reset, so you will need to setup the unit time and alarms again.
SPECIFICATIONS
Battery backup: 3V (CR2032 Flat Lithium battery x 1)
Power Adaptor: Input AC 100-240V 50-60 Hz
Output DC 5V 1200mA
IMPORTER
Wörlein GmbH
Gewerbestasse 12
D 90556 Cadolzburg
Germany
Tel.: +49 9103 71 67 0
Fax.: +49 9103 71 67 12
Email: service@woerlein.com
HET APPARAAT RESETTEN
MANUEL INDSTILLING AF URET
INDSTILLING AF URET
MANUELL TIDSINNSTILLING
ANGI KLOKKESLETT
- Trykk og holdinne «CLK.ADJ.» (5)-knappen i ca. 2 sekunder for a gà til tidsinnstillingmodus.
- Nár skjermen blinker trykker du gjentatt på knappen «<<» (3) eller «>>» (4) for Å endre klokkeslett. Trykk og holdinne knappen «<<» (3) eller «>>» (4) for Å,gå raskere forover eller bakover. Trykk på «CLK.ADJ.» (5)-knappen for Å bekrefte.
Merknader:
- Sekvensen for tidsinnstillingsmodus på skjermen vil��re som folger: 12/24-timersformat Faktisk time Faktisk minutt Normaltid
Under tidsinnstillingen vil gjeldende klokkeslett automatisk lagres dersom ingen knapper trykkes i Iopet av 10 sekunder.
Sorg for at timeinnstilling er gjort, sik at PM-lampen vises riktig i forhold til innstillingene dine for ettermiddag/natt.
ALARMINNSTILLING
D 90556 Cadolzburg, Germany
Tel: +49 9103 71 67 0
Fax: +49 9103 71 67 12
E-Mail: info@soundmaster.de
Internet: www.soundmaster.de
Hereby, Worlein GmbH declares that this device is in compliance with the essential requirements and other relevant provisions of Directive 2014/53/EU.
A copy of the declaration of conformity can be obtained from the above address.