
BT02 - Radio Narex - Free user manual and instructions
Find the device manual for free BT02 Narex in PDF.
| Brand | Narex |
| Model | BT02 |
| Product type | Portable radio / Bluetooth audio player |
| Weight (battery included) | 2.6 kg |
| Mains power | 100-240 V, 50-60 Hz |
| Battery power | Li-Ion 7.2 V / 4800 mAh (model 18650) |
| Amplifier | 2 × 10 W |
| Radio reception | FM (VHF) 87.5-108 MHz |
| Connectivity | Bluetooth 4.2, AUX (3.5 mm jack), USB (MP3/WMA playback) |
| PowerBank function | USB output 5 V / 2.5 A (device off) |
| Equalizer | Normal, Classical, Jazz, Pop, Rock, Bass, Treble, Speech |
| Alarm | Two adjustable alarms |
| Display | Dot matrix screen |
| Protection | Double insulation, class II, shock-resistant, splash-proof and dust-proof |
| Battery life | Up to 8 hours playback |
| Maintenance | Clean with a dry cloth; do not use abrasive products |
| Safety | Do not open the device; do not expose to heat; respect volume levels |
| Warranty | 24 months for private use in the EU (upon proof of purchase) |
| Package contents | BT02 radio, Li-Ion battery, user manual |
Frequently Asked Questions - BT02 Narex
User questions about BT02 Narex
0 question about this device. Answer the ones you know or ask your own.
Ask a new question about this device
Download the instructions for your Radio in PDF format for free! Find your manual BT02 - Narex and take your electronic device back in hand. On this page are published all the documents necessary for the use of your device. BT02 by Narex.
USER MANUAL BT02 Narex
Original instructions for use (EN) 12
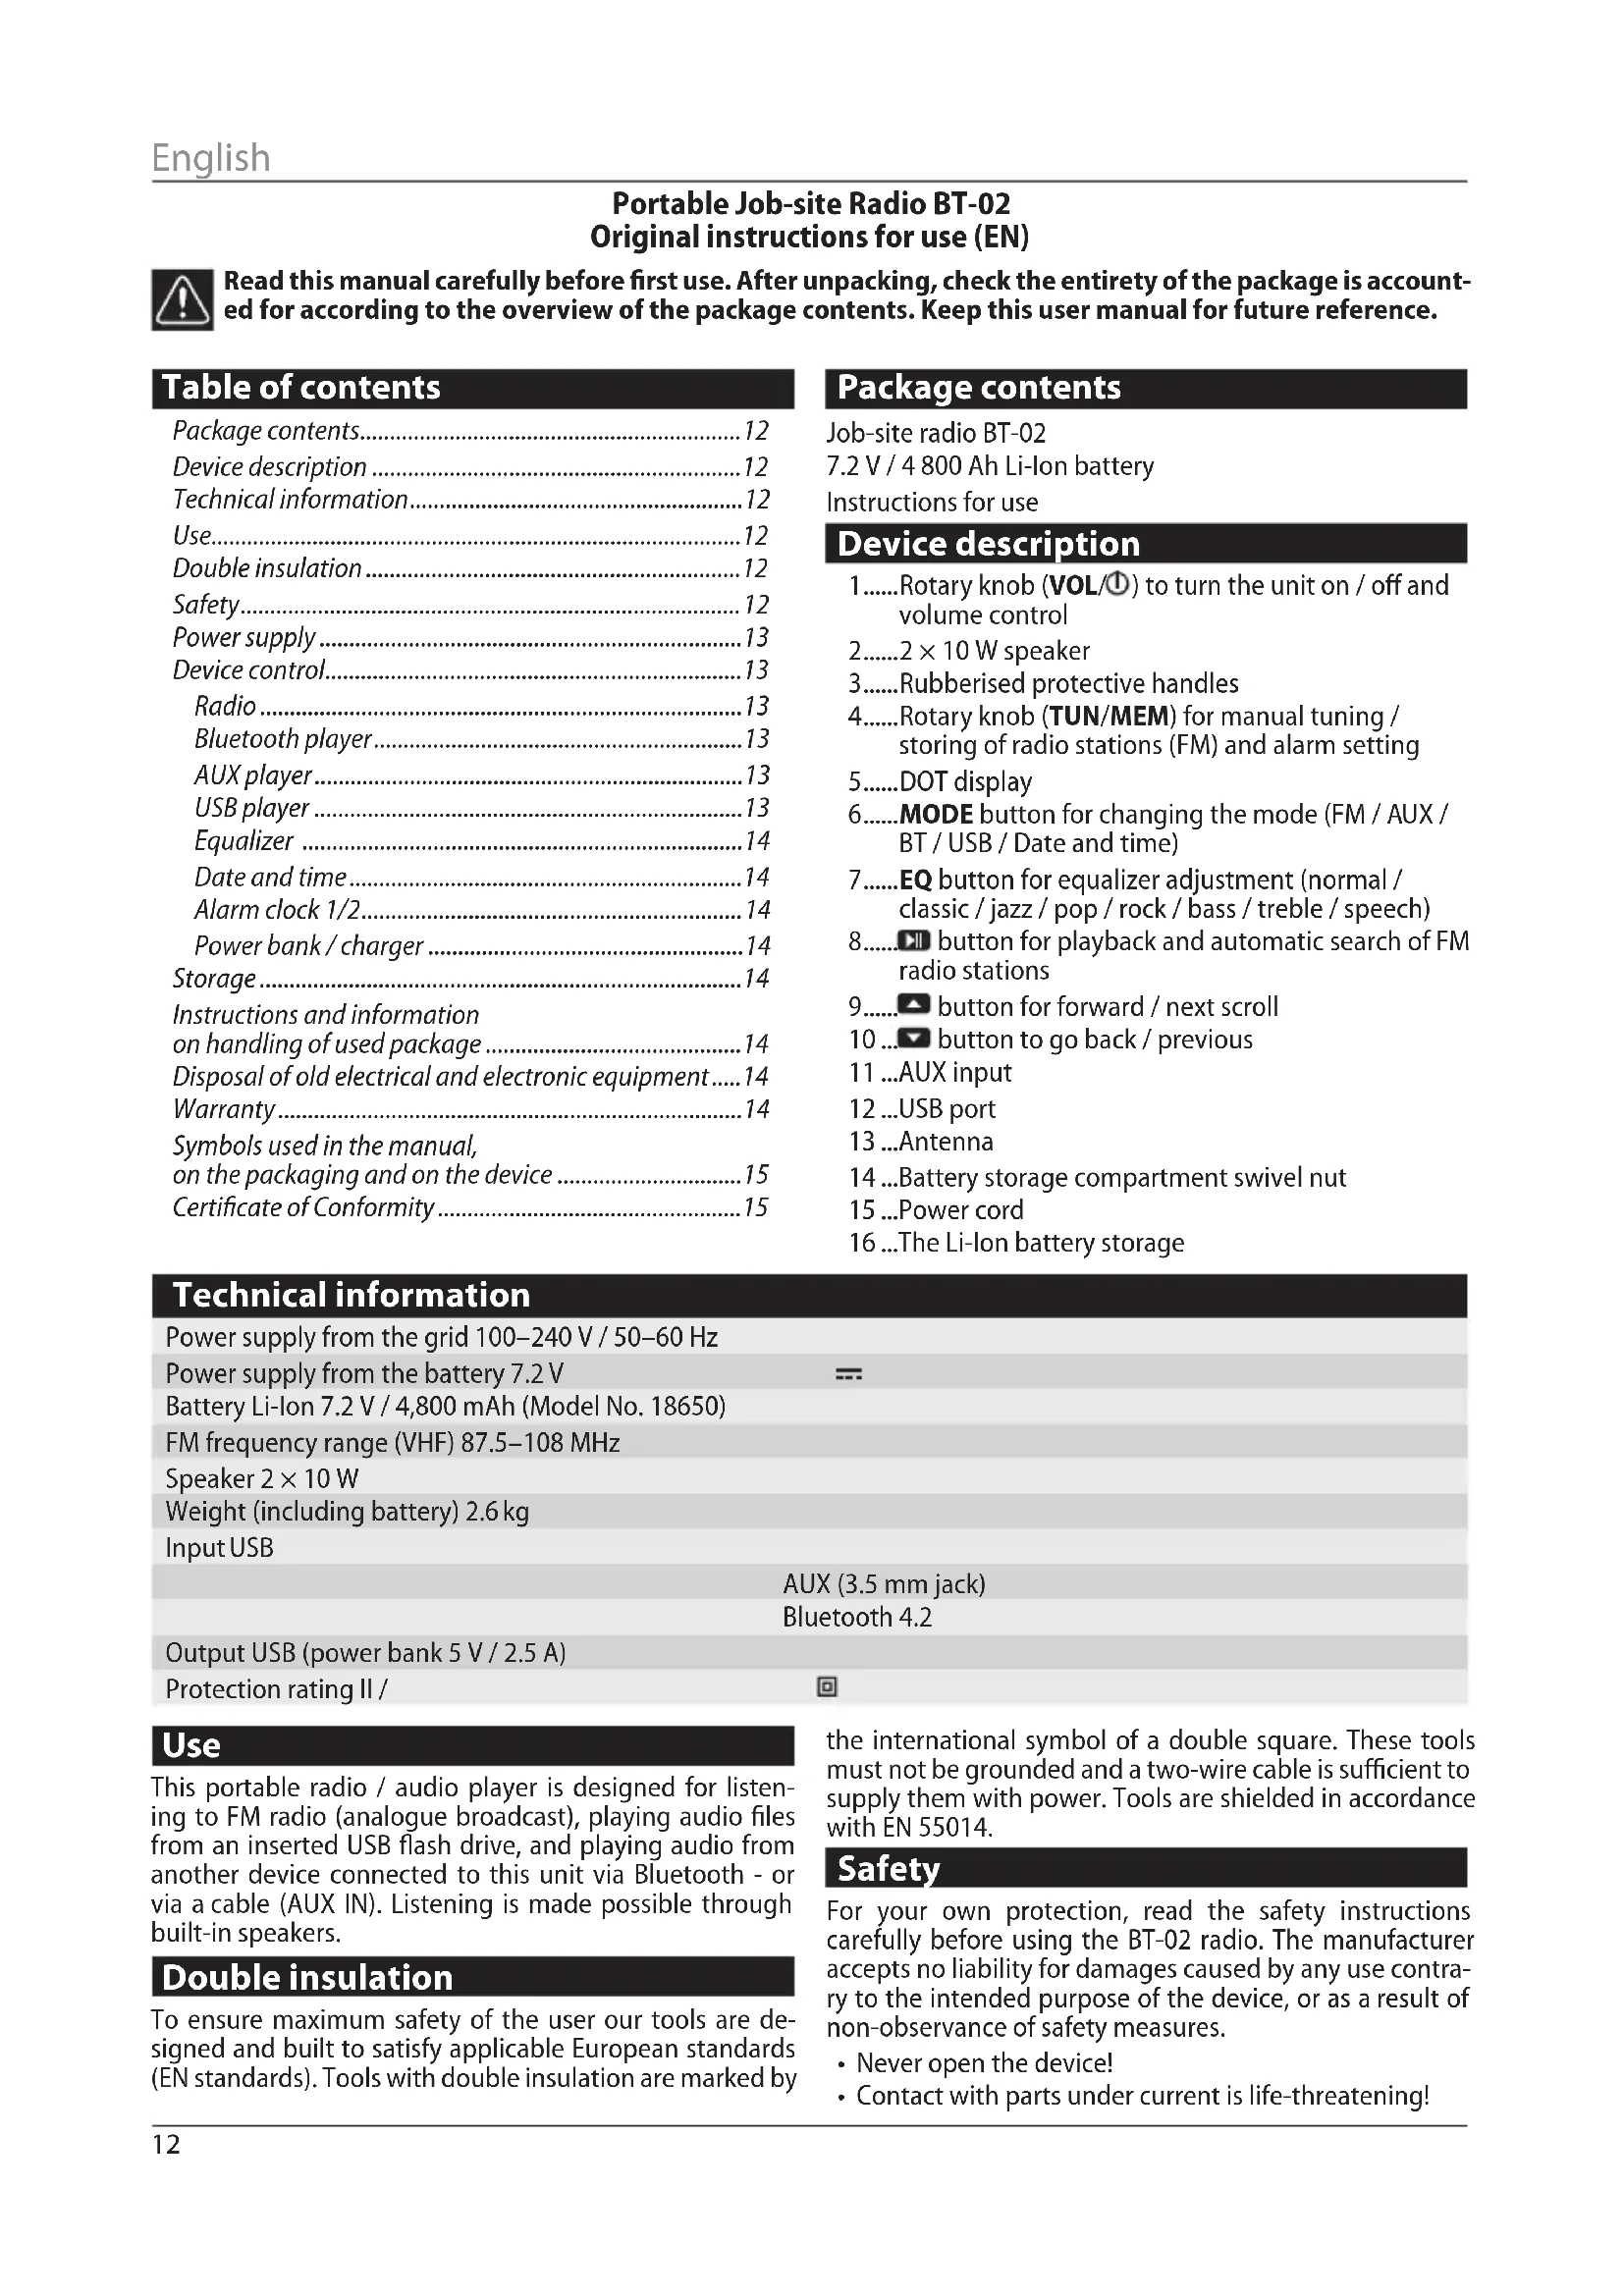
Portable Job-site Radio BT-02
Original instructions for use (EN)

Read this manual carefully before first use. After unpacking, check the entirety of the package is accounted for according to the overview of the package contents. Keep this user manual for future reference.
Table of contents
Package contents. 12
Device description 12
Technical information. 12
Use. 12
Double insulation. 12
Safety 12
Power supply 13
Device control. 13
Radio 13
Bluetooth player. 13
AUX player 13
USB player 13
Equalizer 14
Date and time. 14
Alarm clock 1/2. 14
Power bank / charger 14
Storage 14
Instructions and information
on handling of used package 14
Disposal of old electrical and electronic equipment.....14
Warranty. 14
Symbols used in the manual,
on the packaging and on the device 15
Certificate of Conformity 15
Package contents
Job-site radio BT-02
7.2 V / 4800 Ah Li-Ion battery
Instructions for use
Device description
1.....Rotary knob (VOL/0) to turn the unit on / off and volume control
2..... 2× 10 W speaker
3.....Rubberised protective handles
4.....Rotary knob (TUN/MEM) for manual tuning / storing of radio stations (FM) and alarm setting
5.....DOT display
6....MODE button for changing the mode (FM / AUX / BT / USB / Date and time)
7.....EQ button for equalizer adjustment (normal / classic / jazz / pop / rock / bass / treble / speech)
8..... button for playback and automatic search of FM radio stations
9..... button for forward / next scroll
10... button to go back / previous
11...AUX input
12...USB port
13...Antenna
14...Battery storage compartment swivel nut
15...Power cord
16...The Li-Ion battery storage
Technical information
Power supply from the grid 100-240 V / 50-60 Hz
Power supply from the battery 7.2V
Battery Li-Ion 7.2 V/4,800 mAh (Model No.18650)
FM frequency range (VHF) 87.5-108 MHz
Speaker 2 × 10 W
Weight (including battery) 2.6kg
Input USB
Output USB (power bank 5 V / 2.5 A)
Protection rating II /
AUX (3.5 mm jack)
Bluetooth 4.2

Use
This portable radio / audio player is designed for listening to FM radio (analogue broadcast), playing audio files from an inserted USB flash drive, and playing audio from another device connected to this unit via Bluetooth - or via a cable (AUX IN). Listening is made possible through built-in speakers.
Double insulation
To ensure maximum safety of the user our tools are designed and built to satisfy applicable European standards (EN standards). Tools with double insulation are marked by
the international symbol of a double square. These tools must not be grounded and a two-wire cable is sufficient to supply them with power. Tools are shielded in accordance with EN 55014.
Safety
For your own protection, read the safety instructions carefully before using the BT-02 radio. The manufacturer accepts no liability for damages caused by any use contrary to the intended purpose of the device, or as a result of non-observation of safety measures.
- Never open the device!
-
Contact with parts under current is life-threatening!
-
Any necessary repairs or adjustments may be carried out by trained personnel only.
- After lengthy transport in cold environments, during the subsequent transition to a warm environment do not switch on the device immediately, but wait for the temperature to equalize.
- Do not expose the device to heat sources which would heat it beyond the normal temperature.
- In the event of an obvious malfunction of the device, e.g. visible smoke or odour, significant malfunction or damage to the cover, switch off the device and contact a service provider.
- The power cord must not be plugged in if the power supply is defective or if the device is otherwise damaged.
- Do not listen to music or the radio at a high volume. This could lead to permanent hearing damage.
- Use the device only with batteries that are approved for the device.
Power supply
- For operation without a power cord, use the built-in Li-ON battery located in the battery compartment (14). This battery is charged automatically when the device is connected to a power supply with the power cable (15).
- Use the power cord (15) for connecting to a power supply.
Device control
- Switching the device on / off and volume control Briefly press the VOL/ button (1) to start the device. Briefly press the button again to switch the device off (switch to STAND-BY mode).
Increase the volume level by turning the VOL/ knob clockwise and decrease it by turning the knob counterclockwise.
The Volume Level is shown on the device display.
Warning: The display always goes out shortly after being lit up. To switch it on again, briefly press any button.
2. Changing the device mode
By pressing the MODE button (6) repeatedly, you can switch between the individual modes of the device:
FM radio
BT Bluetooth player
AUX playback from an external source connected by cable
USB playback from a USB drive
TIME date and time display
Radio
Press the MODE button (6) repeatedly to switch the device to FM mode.
1. Manual search for radio stations
In radio mode (the text Radio mode will appear on the display), find the frequency of the desired radio station by turning the TUN/MEM (4) knob. You can then press and hold the TUN/MEM button to store the tuned radio station in the first free position of the device memory, or reposition the selected device memory position. The number of the stored position in the device memory is indicated on the display by the letter CH and the position number.
2. Automatic search for radio stations
In radio mode (Radio mode appears on the display), press the button (8). The device will start scanning for radio frequencies (the text Scanning appears on the display). After finding the first strong radio signal, the device will store this radio station in position CH1 and then continue to search for other radio frequencies. Any subsequent radio stations will be stored in the next available memory position of the device. When the search is completed, the radio will switch to the first memory position.
3. Selecting a stored radio station
In radio mode (the text Radio mode appears on the display), scroll through the memory positions by pressing the button (9) repeatedly for scrolling in ascending order, or by continuously pressing the button (10) for scrolling through the memory in descending order.
4. Deletion of stored radio stations
To delete all stored radio station positions, press and hold the MODE button (6) until the text delete current appears on the display.
Bluetooth player
Press the MODE button (6) repeatedly to switch the device to the BT mode.
1. Pairing with a Bluetooth device
Turn on the Bluetooth device search feature on your phone and search for the Bluetooth pairing name: (BT-02). Enable pairing on your phone.
2. Playback
After a successful pairing, the text "Connected" will appear on the device display and the device will automatically start playing the songs found on the phone.
To play / pause music, press the button (8).
To scroll through the playlist, repeatedly press the button (9), or alternatively the button (10).
3. Range
The connection range of a Bluetooth device is up to 30 meters in an open space, and about 10m in a built-up area.
AUX player
Press the MODE button (6) repeatedly to switch the device to the AUX mode.
1. Connecting to an external playback source
Connect to an external device with an audio cable with a JACK 3.5 connector to the AUX input socket (11) on the back of the device.
2. Playback
In AUX mode, you can only control the volume on the device!
USB player
Press the MODE button (6) repeatedly to switch the device to the USB mode.
1. Connecting the USB drive
To play songs, connect a USB disc (flash drive) to the USB port (12) on the back of the device. The disc must be formatted with the FAT32 file system. Only MP3 and WMA songs can be played.
After inserting the USB disc, the unit automatically starts scanning the storage of the connected USB disc (the text scanning... is displayed). If the device finds MP3 or WMA files, it switches to USB player mode (the text USB is displayed), loads all music, and starts playing the first file on
English
the playlist. If the device does not find a playable file, it resets to the last mode used.
2. Playback
To play / pause music, press the button (8). To scroll through the playlist, repeatedly press the button (9), or alternatively the button (10).
Equalizer
Press the EQ button (7) to switch between the individual sound settings - normal / classic / jazz / pop / rock / bass / treble / speech. The selected mode is displayed as text on the display.
Date and time
Press the MODE button (6) repeatedly to switch the device to the TIME mode.
1. Date and time settings
Press and hold the MODE button (6) to switch to the date and time setting (the text Set time will appear on the display) until the digits at the clock position start flashing. By repeatedly pressing the (9) or 0) buttons, or by turning the VOL/1) knob, set the desired hour.
To switch to the minute or seconds setting, briefly press the button (8).
After pressing the button (8) again, the device will switch to the date setting (the text Set date appears on the display). Set the date in the same fashion as the time setting. The format of the displayed date is YYYY-MM-DD.
To exit the date and time setting mode, briefly press the MODE button (6).
Alarm clock 1/2
Press the MODE button (6) repeatedly to switch the device to the TIME mode.
1. Alarm settings
Briefly press the clock in order to switch to the 1st alarm setting (the text Alarm1 set will appear on the display). Briefly press the clock again to switch to the 2nd alarm setting (the text Alarm2 set will appear on the display). The digits at the clock position will start flashing.
By repeatedly pressing the (9) or 0) buttons, or by turning the VOL/1) knob, set the desired hour.
To switch to the minute setting, briefly press the button (8).
After pressing the button (8) again, the text OFF or HE will start flashing. By repeatedly pressing the )or (10) button, or by turning the VOL/1) knob, set the text ON to turn the alarm on and OFF to turn the alarm off.
To exit the alarm setting mode, briefly press the MODE button (6).
2. Turning off the alarm
The activated alarm emits a sharp beeping sound. To turn off the alarm, press the button (8).
Power bank / charger
1. Charging an external device
The USB port can be used to charge other devices, such as mobile phones, tablets and other electronic devices with a charging input of 5V / .2.5A .
External devices can only be charged when the device is switched on.
Storage
If stored while packaged, the device can be stored in a dry storage area without heating, if the temperature inside does not drop below -5^ .
If stored while unpackaged, the device can only be stored in a dry storehouse where the temperature does not drop below +5^ , and where there are no sudden changes in temperature.
Instructions and information on handling of used package
Dispose of used packaging materials at a municipal waste disposal site.
Disposal of old electrical and electronic equipment

This symbol on the products and/or accompanying documents means that used electrical and electronic products should not be mixed with general household waste. Return these products to desig
nated collection points for proper disposal, recovery and recycling. Alternatively, in some parts of the EU or other European countries, you may return your products to your local retailer when purchasing a new product equivalent. By ensuring this product is disposed of correctly, you will prevent potential negative consequences for the environment and for human health, which could otherwise be caused by inappropriate disposal of this product. Contact your local authority or the nearest collection point for further details. Improper disposal of this type of waste may result in penalties in accordance with national regulations.
Warranty
Our devices come with a warranty for material or production defects in accordance with the legal regulations of the given country, for a period of no shorter than 12 months. In EU countries, the warranty period is 24 months for private use exclusively(proven by an invoice or bill of delivery).
Damage caused by natural wear and tear, overloading, improper handling, damage caused by the user or by use contrary to the operating manual, or damage already known at the time of purchase is excluded from the warranty.
Returns can only be accepted if the device is sent back to the supplier or a NAREX authorised service centre in a non-dismantled state. Store and keep the operating manual, safety instructions, list of spare parts and proof of purchase. If not kept, the manufacturer's current warranty terms always apply.
Note
Due to constant research and development, the manufacturer reserves the right to change the technical information stated here.
Symbols used in the manual, on the packaging and on the device

Notice!

Double Insulation

Does not belong in municipal waste!

Indoors only

Direct current

Bluetooth, compatible with any device equipped with Bluetooth technology max. 4.2

Audio system (speakers) - 2 × 10 W

Impact resistance

USB input - audio files in MP3 and WMA format
USB output - Power bank

Dot display

Li-Ion battery 7.2 V / 4,800 mAh / up to 8 hours playback

Splash protection, completely dustproof
Certificate of Conformity
We declare that the device meets requirements of the following standards and directives.
Safety:
Directive 2014/53/EU
Electromagnetic compatibility:
EN 61000-4-2
EN 61000-4-3
Directive 2014/30/EU
Directive 2014/53/EU
RoHS:
Directive 2011/65/EU
Place of storage of the technical documentation:
470 01 Ceska Lipa CEO of the company
May 1, 2020
Double isolation. 24
Sécurité 25
Alimentation 25
UukbdauaucnoJb308aHbIX
34
Fapamur 35
Cumbolbl,ucnonb3yeMbte8pyko0o0cmbe,
Ha ynaokoeke u Ha ycmpoicmee 35
Cepmuukam coombemombure 35
CopexHmoe ynaKOBKn
Pa6oyn paIIOnpneMnK BT-02
JIITN-NOHHbIaKKymyIaTOp7,2B/4800MA·u.
PykoBOCTBO NO 3KcIIpyTaUIN
OnncaHne yCtpoNCTBa
1.....BpaauoaaCkONka(VOL/Днla BKNIOUeHn / BblKNUOeHn yCTpOcTb n perynipOBaHn rPOMKOCTN
2.....PepnoDyKTop 2x10Bt
3....Ppope3HHeHHbe npedeoxpaHTeNbHbte 3aXnMb
4.....BpaauoiaacKhoNka (TUN/MEM) InypuHoi Hactpoikn / coxpaHeHH paIIOCTaHcN (FM) n Ha- cTpoIK 6yDnIbHnKa
5....ToueHbI dncnnei
6.....KhONka MODE nIy n3MeHnpeXmua (FM/AUX/ BT/USB/DatauBpeMa)
7.....KhONka EQ nla HacTpoNk npexnma KBaJau3epa (normal / classic / jazz / pop / rock / bass / treble / speech)
8.....KhONkaIДЯBOCINPOUN3BedeHnN aBTOMaTNUecko- ro noncka paAnocTaHcN FM
9.....KhONka Dnna nepexoDa Bnepei / cneyuoua
10...KhONka DnI nepexOHa3aI /npelbIyuaI
11...BxoAUX
12.....Ioprt USB
13....AHTeHHa
14.....Bpaaiaoouaera raKa OTeJeHnnaAkkymyITopa
15...Ka6eJIb nITaHnIa
16....OTdeneHne IJnIuNIOHHOro aKKymyIaTopa
TexHnueckne daHHbIe
Питане OTлкгпческо сети 100-240B/50-60Ф
Ttahne oT akymyjatopa 7,2B
AkkymyIaTOp IuTn-IOHbI 7,2 B/4800 mA·. (MoJeB N° 18650)
Дианэзончсгт FM (YKB) 87,5-108 M
PepoJyKtop 2×10BT
Bec (cakymyIporom) 2,6Kr
BxoI USB
AUX (pa3bem 3,5 MM)
Bluetooth 4.2
BbIXoI USB (nopTaTnBHe 3apJHoe yctpoiCTBO 5 B/2,5 A)
Klaacc3aunTbI/
MN EBPOEnckmCtAnDapTAMn (HopMaMEN EN).YCTPOINCTBA C DBOHHO H3OJLcNey O6o3HaueHbMeKdyHApOdHbIM CUMBOIOM DBOHORO KBaIpaTa. TaKe yCTPOINCTBA He DOJIKNbI 3a3eMJIeHb, IN JIN NOIKJIIOUeHnI DOCTaTOUHO DByXuJIbHOrKa6eIa.3aUHTa annapaTOB OT NOMEX BblONHeHa corlaCHO EN 55014.
Ppmmehne
3TOT nepenocho paonnpmHnK/aydnopponpbrBaTeNb npedha3hauhen InnpocnyuBnHa npaononepeaH hacctotax FM (ahanoroboe BeuaHne), Bocnpoun3BeHnA ayuOphiNOB C BheuHero USB-phiH-NakOnnteN, Bocnpoun3BeHnA ayuNoC uHoro yCTpoiCTBa, noKnUoHeHHoro K 3TOMy yCTpoiCTBy nocpeCTBom Bluetooth nn c nomoubko Ka6eJRA (AUX IN). PocnyuBnHne ocuueCTBnEeTcR nocpeCTBOM BCTpoehhbx penpOdykTopoB.
ДовнаиЗолаць.
B ceJax MaKcMmAbHoi 6e3OnaCHOCTn NObbOBeTEn HaAn annapatbckOHCTpyuPobAHb B COOTBETCTBUN C DeIcTByUoN
Be30nacchoctb
B cenx Baew Co6ctBeHHo 6e0nacHcTn nepei BbOOM padonnpemHnka BT-02 B kcnnyatauio 06ctoTeIbHO 03HaKOMbTEcb C npabunama TxHKn 6e0nacHcTn. PpOn3BOdntHe npHHMaet Ha ce6a OTBeTcBeHHocTb 3a yuep6, BO3HNkwn BCneCTBne nCNOb3OBaHn yCTpoNCTBa He no
Ha3NaueHnIO NII BCJIeCTBne HecO6JIoDeHnRA TexHnKn 6e30- NaCHOCTN.
- He BCKpbBaIte yctpoIcTBO!
KoHTaKT C DeTajIyMn, HaxOJaUIMMCs IOD HanpJxKeHEm, onaceH dIg Jx3Hn!
Heo6xOJHMOE BMeWateJBCTBO pa3peWaeTcra npoBoiNb ToIbKO oByeHHOMy nepcoHaIy. - PnI DInTeBHO TpaHcnpTnPOBKe BXoJOnHbIX yCNoBnIyx C NoCJIeDyUOIM NepExoDM B TeNIOe NOMEueHne HE BKIOuAte YeYCTPOINCTBO cpa3y, DoXdNTecb BbIPaBHNBaHnIa TempepaTyp.
He noDBepraTe yCTpoINCTBO DeIeCTBIO NCTOCHIKOB TeNla, KOToPbIe MOrY HarPeTb Ero Do TEMpePaTypbI, BbIXoJaUe 3a paMkn O6bIuHOrO IcNoJIb3OBaHnI.
B Cnyae AHBH HeNCnpaBHOCHTu yCTpoiCTBa, BO3HNKHOBeHH 3anaxa Hn DbIMa, HenpaBnIbHOro FyHKUHOHPOBaHH NIN NOBpeXJeHH KOpNyCa BbIKIOUHTe yCTpoiCTBON O6paTntEcB MaCTepCKyIO.
He BkIIOaJIte cTeBOI Ka6eIb Bpo3ETKy,ecII 6NOK nTAHnHEncCnpaBeHnn Ha yCTpOJcTBe BNHb INHbIE NOBpeXKeHn.
He cnyaTe My3bIky nnn paadnoonepeDaun npn BbICOKo IrpomKoCTn. 3To MoKeT npNBecTu K yCTOuHBOMy NOBpeX- DeHIO cLyxa.
IcnoB3yTe yCTpoiCTBO TOnbKO CaKKymJrTopAMn, Oo6peHHbIMn dner 3TOrO yCTpoiCTBa.
NtTaHne
1.ДЯэКСПИУATAUIN 6e3 Ka6eYI NITAHN IICNOLB3yInTe BCTPOEHHbI IINTH-NOHHBI aKKMyJrTOp,paCNOLOXKeH HbI B OTCeKe IJIa AKKMyJrTOpa (14).3TOt aKKMyJrTOp ABTomATuYeCKn 3apxKaETc npi NOKJIIOUeHN yCTpoI CTBa K 3JIeKTPnueckO CEu C NOMOUBIO Ka6eYI NITAHN (15).
2.ДяЗклуataunCпнтанemOTэнektprueckoI cetn nCnoIb3yIteKa6eIb nITaHnI (15).
ynpabJIeHne yCTpoIcTBOM
1. BkIIOueHHe/BbIKIOueHHe yCTpoIcTba n peryIuPoBaHne rPOMKoCTn
KopOTKnM HaxaTneM KhoNk VOL(1) Bbl BkIIOUHTe yCTpOJCTBO. IOBTOPbHbIM KOpOTKm HaxaTneM KhoNk Bbl yCTpOJCTBO BbIKIOUHTe (nepeBeTe B peKm STAND-BY).
BpaueHne KhoNKn VOL/ no yacoBoN CTpeJIke NOBbIaAeT yPOBeHrPOMKoCTn, a BpaueHne npOTNB yacoBOJ CTpeKNyPOBeH rPOMKOCTn CHNXaET.
YpOBeHb rPOMKoCTn Volume Level OTo6paXaETcHa nCnnnee yctpoNCTBa.
PpeynpekJeHHe: DnCnneupe3 HeKOTOpoe BpemnaocBKNIOUeHnI NOraChET. Iraero NOBtOHO BKNIOUeHnIKoPOTKO HAXMITE NIO6yIO KONKy.
BT Bluetooth-npounpbIbATEnb
AUX BOCnpoU3BeDeHHe N3 BHeUHrO UCTOuHnKa, NOKNIUeHHoro Ka6eJem
USB Bocnpon3BedeHne c USB-dncka
2.ABToMaTnuecknNONCKpaNocTaHcN
B pexnme paanonpneHnka (Ha nncnnee noaBntc TeKCT Radio mode) haxmte KhONky 8. YcTpoiCTBO BKnIOHT npocmoTp paiaouactOT (Ha nncnnee noaBNTc TeKCT Scanning). Nocne obnapykeHnepBoro cnIbHoro paiaocnHana OHO coxpaHt paiaocTaHnIO Ha nO3uHn CH1, a 3aTEM npoDolXnT npocMoTp paiaouacToT. KaJdA cNeIyoUaer paiaoctaHn6yDet COxpaHeHa H cNeIyUeIe IOn3uHn naMaTn yCTPOHCTBa. Nocne 3abepeHnHnnpocMoTp paiaonnpieMHNKepeKIOuHTcHnepByIO No3uHn NaMRTn.
3. Bb6op coxpaHeHHo paHocTaHm
B pexkme paadnnpneMHnka (Ha dncnnee noaBntcTeKCT Radio mode) NOBTOPOUUMCRA HxKaTneM KHOKN 9) NepexoNTe MExdy OTdEnbHbIMN O3NUJMAu NaMAtN BOCXoJaIeN NOcNeOBATeJIbHOCTN IIN NocNeOBATeJIbHbIM HaKaTneM KHONK 0) -B HNCxoJaIeN NOcNeOBATeJIbHOCTN.
4. ydaenehme coxpanehnbbix paanoctaun
Iy ydaJIeHnB Bcex coXpaHeHHbIX NO3uNp paIIOCTaHcN HaxMnte KhONky MODE(6) u ypeKINBaIte ee HaxaToI Do Tex nOp, noka Ha dncnnee He noRbTcRA TeKT delete current.
Bluetooth-npourpblbTeIb
IobTOpraUOuIMcHaaKaTneM KHOIpK MODE (6) nepeKluOnuTe yCTpOINCTBO BpeKIM BT.
1. CoeHHeHne c Bluetooth-ycTpoiCTBOM
BkIIOUHTe B TeNefoHe yHKUNIO noncKa Bluetooth-ycTPOINCTB nHaHnTe Ha3BaHne Bluetooth-ycTPOINCTBa dInr coEHNHeHHa: (BT-02).Pa3peuHTe coEHNHeHBe BAWeM TeNefoHe.
2. Bocnpoun3BedeHne
Iocne ycneuHoro coeHHHeHa dncnnee ycTpoNCTBa nOBnBnTc TeKCT 巧 OKnIOUeHO" (Connected), nycTpoNCTBO hauHET aBtOMaTuueckn BOCnpOn3BOoNTb 3aIncaHHyO B TeNeOHe My3bIKy.
Дя BOCPON3BeDEHnA/NpnoCTaHOBKn My3bIKn HaxMnte KhoNky (8).
ДлпnpocmoTpca cnNcKa npOn3BeDeHn NOBtOpHo HaxMaTe KhoNky (9) nnn 0).
3. Paunyc JeCTBnA
PaIyuc noKIOUeyHn Bluteoth-yCTpoiCTBa coCTaBJIeT Do 30 MePoB Ha OTKpyITOM npocTaHCTBe n npu6JI. 10 M B noMeueHn.
AUX-npounrpbIBaTeJIb
IINKBNdaunu NcnoJb3OBaHHbIX 3NeKtpnuecknx np6opob IN 3NeKtpoHnKn
3TOT CIMBOJHa N3dEINX IINB CONPBOIDTeNBHOJ DOKyMeHTaUIN O3HaayeT, YTO INCNOJB3OBAHHBie 3JIeKTPnueCKne U 3JIeKTPoHHbIe yCTpoiCTBaHEpa3peWaaETCBb6PacbIBaTB O6bUHbIE 6bITOBbIEOTXObl. IIN npABInbHOJ NIKBUNaCIN, BOCpON3BOCDCTBa Hnepepa6OTKn CdAbaTe 3TN N3dENN B ONpeDEnHbIe c6OpHbIe NYkTbI. B HeKOToPbIX CTpaHax EC INN DpyRnx EBpOencknx CTpaHax Bbl Takke Moxete BepHytCBOn N3dENN MeCTHom npOaNBy npn NOKynKe NDo6HOHO HOBOHO NIKBUNaCneN 3TOrO N3dENN Bbl NOMoxete CoXPaHNTb CEHNbIe npnpOHNbIepecypcBn CNOC6CTByeTE npEDynpeKDeHNIO BO3MOXHO HerATUBHOBO3dEINCTBnHA OKpyKaIOUyO CpeDyN 3DPoOBBe YENoBEka, OBCNOBHeHORO HePpABInbHOJ NIKBUNaCneN OTXODOB. Boone NOpPo6HyIO NHΦOpMaunIO Bbl Moxete NOyUnrB MecTHOM oprahe Bnactn INN 6bnKaIWeM c6OpHOM NyHKte. B Cnyuae HEPpABInbHOJ YTNl3aUIN OTXODOB 3TOrO BNDA MOYB COOTBeTCTBNC HAIOHOJIhHBIMn HOPMaTINBHbIMn AKTaMn HAnaratbcg WTPaΦbl.
RapaHTy
Mbnpedocabnem rapaHTno Ha haun MaunHbHa dekeKTbMaTePnAa nn 3aBOckne dekeKTb B COOTBcTbn C NOJIOxehnMM 3aKHOdaTeJIbCTBa daHHoC TpaHb, Ho HA cPOKe He Mehee 12 MecraueB. B CTpaHax Ebpocio3a rapaHTnHbICpOK coCTabnre 24 Mecraa B Cnyuae yactHoro NcNoIb3oBAHN (NOITBepkdaetc CteOM-kaKTypO nn HAKnaHoi).
TapaHTnHe pacnpocpTaHReTcHa yUep6, BO3HKnUn npn eCTeTBEHOM n3HOce, nepepy3Ke, HEnpaBunbHOM o6paueHHN, INJ Xe yUep6, BO3HKnUn NO BnHE NOnb3OBaTeJI ININ npn IcNoB3OBaHm C Heco6bIIODeHNEM HnCTpyKUnn IO nC- POIb3OBaHIO, INJ Xe yUep6, BO3HKnUn B CBy3N C DeEkeKToM, KOTOpBb 6bl n3BeCTeH BO BpeMa nOKyPkN.
PeKJaMaaJMy MoKeT 6bIb np3HaHa TOnbKO B TOM Cnyuae, ecIn yCTpOINCTBO B Hepa3o6paHHOM BNDE OTOcnaHO NOCTaBUNky INN B aBOTOp3OBaHHbI CepBnCHbI CEHTP KOMNaHIM «NAREX》. CoxpaHInTe nHCTpyKunIO no 06CnykBaHHU, yKa3aHnNo ToTexnke 6e3OpanCHOCTn, CNICOK 3aHacteN I DOkymeHT O NOKynke. B npoTHBHom Cnyuae 6yDyT DeiCTBOBaTaDaHHbIe AKTyAJIbHbIe ycNOBn rapaHTnnpON3BOIDNTenJ.
PpimueaHne
CyueTOM noCToHHbIX nCCneIOBaHn I pa3pa60TK npOn3-BOJNTeB OCTaBnReT 3a CO6O II paBO BHeCEHn N3MeHeHn B yKa3aHHbIe 3dEcB TEXHnueCKNe daHHbIe.
CnMBOJIbI,NCNoJIb3YeMbIE BpyKOBoDCTBe,Ha yNaKOBKe n Ha yCTpOJCTBe

PpeynpejdeHne!

Довинагиэлся.

He OTHOCITcK 6bIToBbIM OTXoMa!

IcnoB3yIe TOJIbKO B 3aKpbITbIX NOMEueHnIX

IOCTOHHbI TOK

Bluetooth, COBmctnmbi CIO6bIM yCTpoCTBOM, OchaueHHbIM TexHONorne BluTooth B Bepcnn MaKc.4.2

Aynocntema (penpoykTopb) - 2x10BT

UCTOUIBOCTB Kyapam

BxOJ USB -aynnofoaaib B opMaTe MP3 u WMA BbxoJ USB - npTaTnBHOe 3apAHOe yctpoiCTBO

Toeuehny nnne

JITHIN-NOHHbI aKKyMylTOp 7,2 B/4800 MA-y./ npoJXHTeJIbHOCTb BOCpON3BedeHn do 8a-COB

3aunTa ot 6pb3r A6coJIIOTHo nbIeHepOnHuaembI
CepTuΦuKaT COOTBeTtOITBua
3aBnAEM, yTO 3TOT cTAHOK yIOBJeTBOPRe Tpe6oBaHn HJXeepNBedeHHbIX CTAHdapTOB INIpeKTHB.
Be3onachocTB:
Директва 2014/53/EU
3JIeKtpomarHHTHaCobMeCTUMOCTb:
EN 61000-4-2
EN 61000-4-3
Dinpektiva 2014/30/EU
Dunpektna 2014/53/EU
RoHS:
DunpektuBa 2011/65/EU
MecToXpaHeHnTexHnueCKoDOKyMeHTaUN:
Budzik (alarm) 1/2. 38
PowerBank / tadowarka. 38
Przechowywanie 38
The current list of authorized service centres can be found at our website www.narex.cz, section "Service Centres".
- Portable Job-site Radio BT-02
- Original instructions for use (EN)
- Table of contents
- Package contents
- Device description
- Technical information
- Use
- Double insulation
- Safety
- Power supply
- Device control
- Changing the device mode
- Radio
- Manual search for radio stations
- Automatic search for radio stations
- Selecting a stored radio station
- Deletion of stored radio stations
- Bluetooth player
- Pairing with a Bluetooth device
- Playback
- Range
- AUX player
- Connecting to an external playback source
- USB player
- Connecting the USB drive
- English
- Equalizer
- Date and time
- Date and time settings
- Alarm clock 1/2
- Alarm settings
- Turning off the alarm
- Power bank / charger
- Charging an external device
- Storage
- Instructions and information on handling of used package
- Disposal of old electrical and electronic equipment
- Warranty
- Note
- Symbols used in the manual, on the packaging and on the device
- Certificate of Conformity
- Safety:
- Electromagnetic compatibility:
- RoHS:
- CopexHmoe ynaKOBKn
- OnncaHne yCtpoNCTBa
- TexHnueckne daHHbIe
- Ppmmehne
- ДовнаиЗолаць.
- Be30nacchoctb
- NtTaHne
- ynpabJIeHne yCTpoIcTBOM
- BkIIOueHHe/BbIKIOueHHe yCTpoIcTba n peryIuPoBaHne rPOMKoCTn
- 2.ABToMaTnuecknNONCKpaNocTaHcN
- Bb6op coxpaHeHHo paHocTaHm
- ydaenehme coxpanehnbbix paanoctaun
- Bluetooth-npourpblbTeIb
- CoeHHeHne c Bluetooth-ycTpoiCTBOM
- Bocnpoun3BedeHne
- Paunyc JeCTBnA
- AUX-npounrpbIBaTeJIb
- IINKBNdaunu NcnoJb3OBaHHbIX 3NeKtpnuecknx np6opob IN 3NeKtpoHnKn
- RapaHTy
- PpimueaHne
- CnMBOJIbI,NCNoJIb3YeMbIE BpyKOBoDCTBe,Ha yNaKOBKe n Ha yCTpOJCTBe
- CepTuΦuKaT COOTBeTtOITBua
- Be3onachocTB:
- 3JIeKtpomarHHTHaCobMeCTUMOCTb:
Brand : Narex
Model : BT02
Category : Radio