MWS900125 - Grinder Meister Craft - Free user manual and instructions
Find the device manual for free MWS900125 Meister Craft in PDF.
Document temporarily unavailable
The manual is currently being transferred to our new server. It will be accessible again in a few hours. Thank you for your patience.
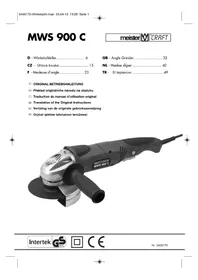
| Product type | Angle grinder |
| Brand | Meister Craft |
| Model | MWS900125 |
| Rated power input | 900 W |
| Power supply | 230 V ~ / 50 Hz |
| No-load speed | 11000 min⁻¹ |
| Wheel diameter | 125 mm |
| Spindle thread | M14 |
| Cable length | 300 cm |
| Weight | 2.31 kg |
| Protection class | II (double insulation) |
| Sound pressure level (L_PA) | 91 dB(A) |
| Sound power level (L_WA) | 102 dB(A) |
| Hand-arm vibration (a_h,AG) | 5.29 m/s² |
| Intended use | Sanding and cutting of steel, concrete, stone, bronze and aluminum |
| Included components | Grinder, auxiliary handle, assembly tool, cutting guard, grinding guard, instruction manual, warranty certificate |
| Safety | Two-button switch (on/off), spindle lock, adjustable guard |
| Maintenance | Clean with a damp cloth, do not use solvents, blow out ventilation slots regularly |
| Warranty | Subject to manufacturer's conditions |
Frequently Asked Questions - MWS900125 Meister Craft
User questions about MWS900125 Meister Craft
0 question about this device. Answer the ones you know or ask your own.
Ask a new question about this device
Download the instructions for your Grinder in PDF format for free! Find your manual MWS900125 - Meister Craft and take your electronic device back in hand. On this page are published all the documents necessary for the use of your device. MWS900125 by Meister Craft.