BWS 500 C - Grinder Meister Craft - Free user manual and instructions
Find the device manual for free BWS 500 C Meister Craft in PDF.
Document temporarily unavailable
The manual is currently being transferred to our new server. It will be accessible again in a few hours. Thank you for your patience.
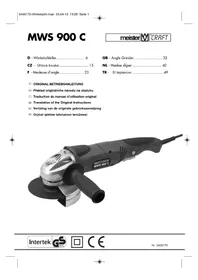
| Product type | Angle grinder (grinder) |
| Brand | Meister Craft |
| Model | BWS 500 C |
| Weight | 1.5 kg |
| Power supply | 230 V~ / 50 Hz |
| Rated power input | 500 W |
| No-load speed | 11000 min⁻¹ |
| Protection class | II (double insulation) |
| Maximum grinding wheel size | Diameter 115 mm |
| Spindle thread | M14 |
| Cable length | 200 cm |
| Main functions | Sanding, rough grinding, and cutting of steel, concrete, stone, bronze, aluminum |
| Maintenance and cleaning | Clean with a damp cloth (no solvent), blow out ventilation slots, replace carbon brushes by a specialist |
| Safety | Wear goggles and hearing protection, use auxiliary handle and protective guard, keep children away |
| Spare parts and repairability | Accessories available (discs, guards), repairs by Meister after-sales service |
| General information | Brand Meister Craft, model BWS 500 C, non-stationary domestic use |
Frequently Asked Questions - BWS 500 C Meister Craft
User questions about BWS 500 C Meister Craft
0 question about this device. Answer the ones you know or ask your own.
Ask a new question about this device
Download the instructions for your Grinder in PDF format for free! Find your manual BWS 500 C - Meister Craft and take your electronic device back in hand. On this page are published all the documents necessary for the use of your device. BWS 500 C by Meister Craft.