MCM4100GB - Food Processor BOSCH - Free user manual and instructions
Find the device manual for free MCM4100GB BOSCH in PDF.
Frequently Asked Questions - MCM4100GB BOSCH
Download the instructions for your Food Processor in PDF format for free! Find your manual MCM4100GB - BOSCH and take your electronic device back in hand. On this page are published all the documents necessary for the use of your device. MCM4100GB by BOSCH.
USER MANUAL MCM4100GB BOSCH
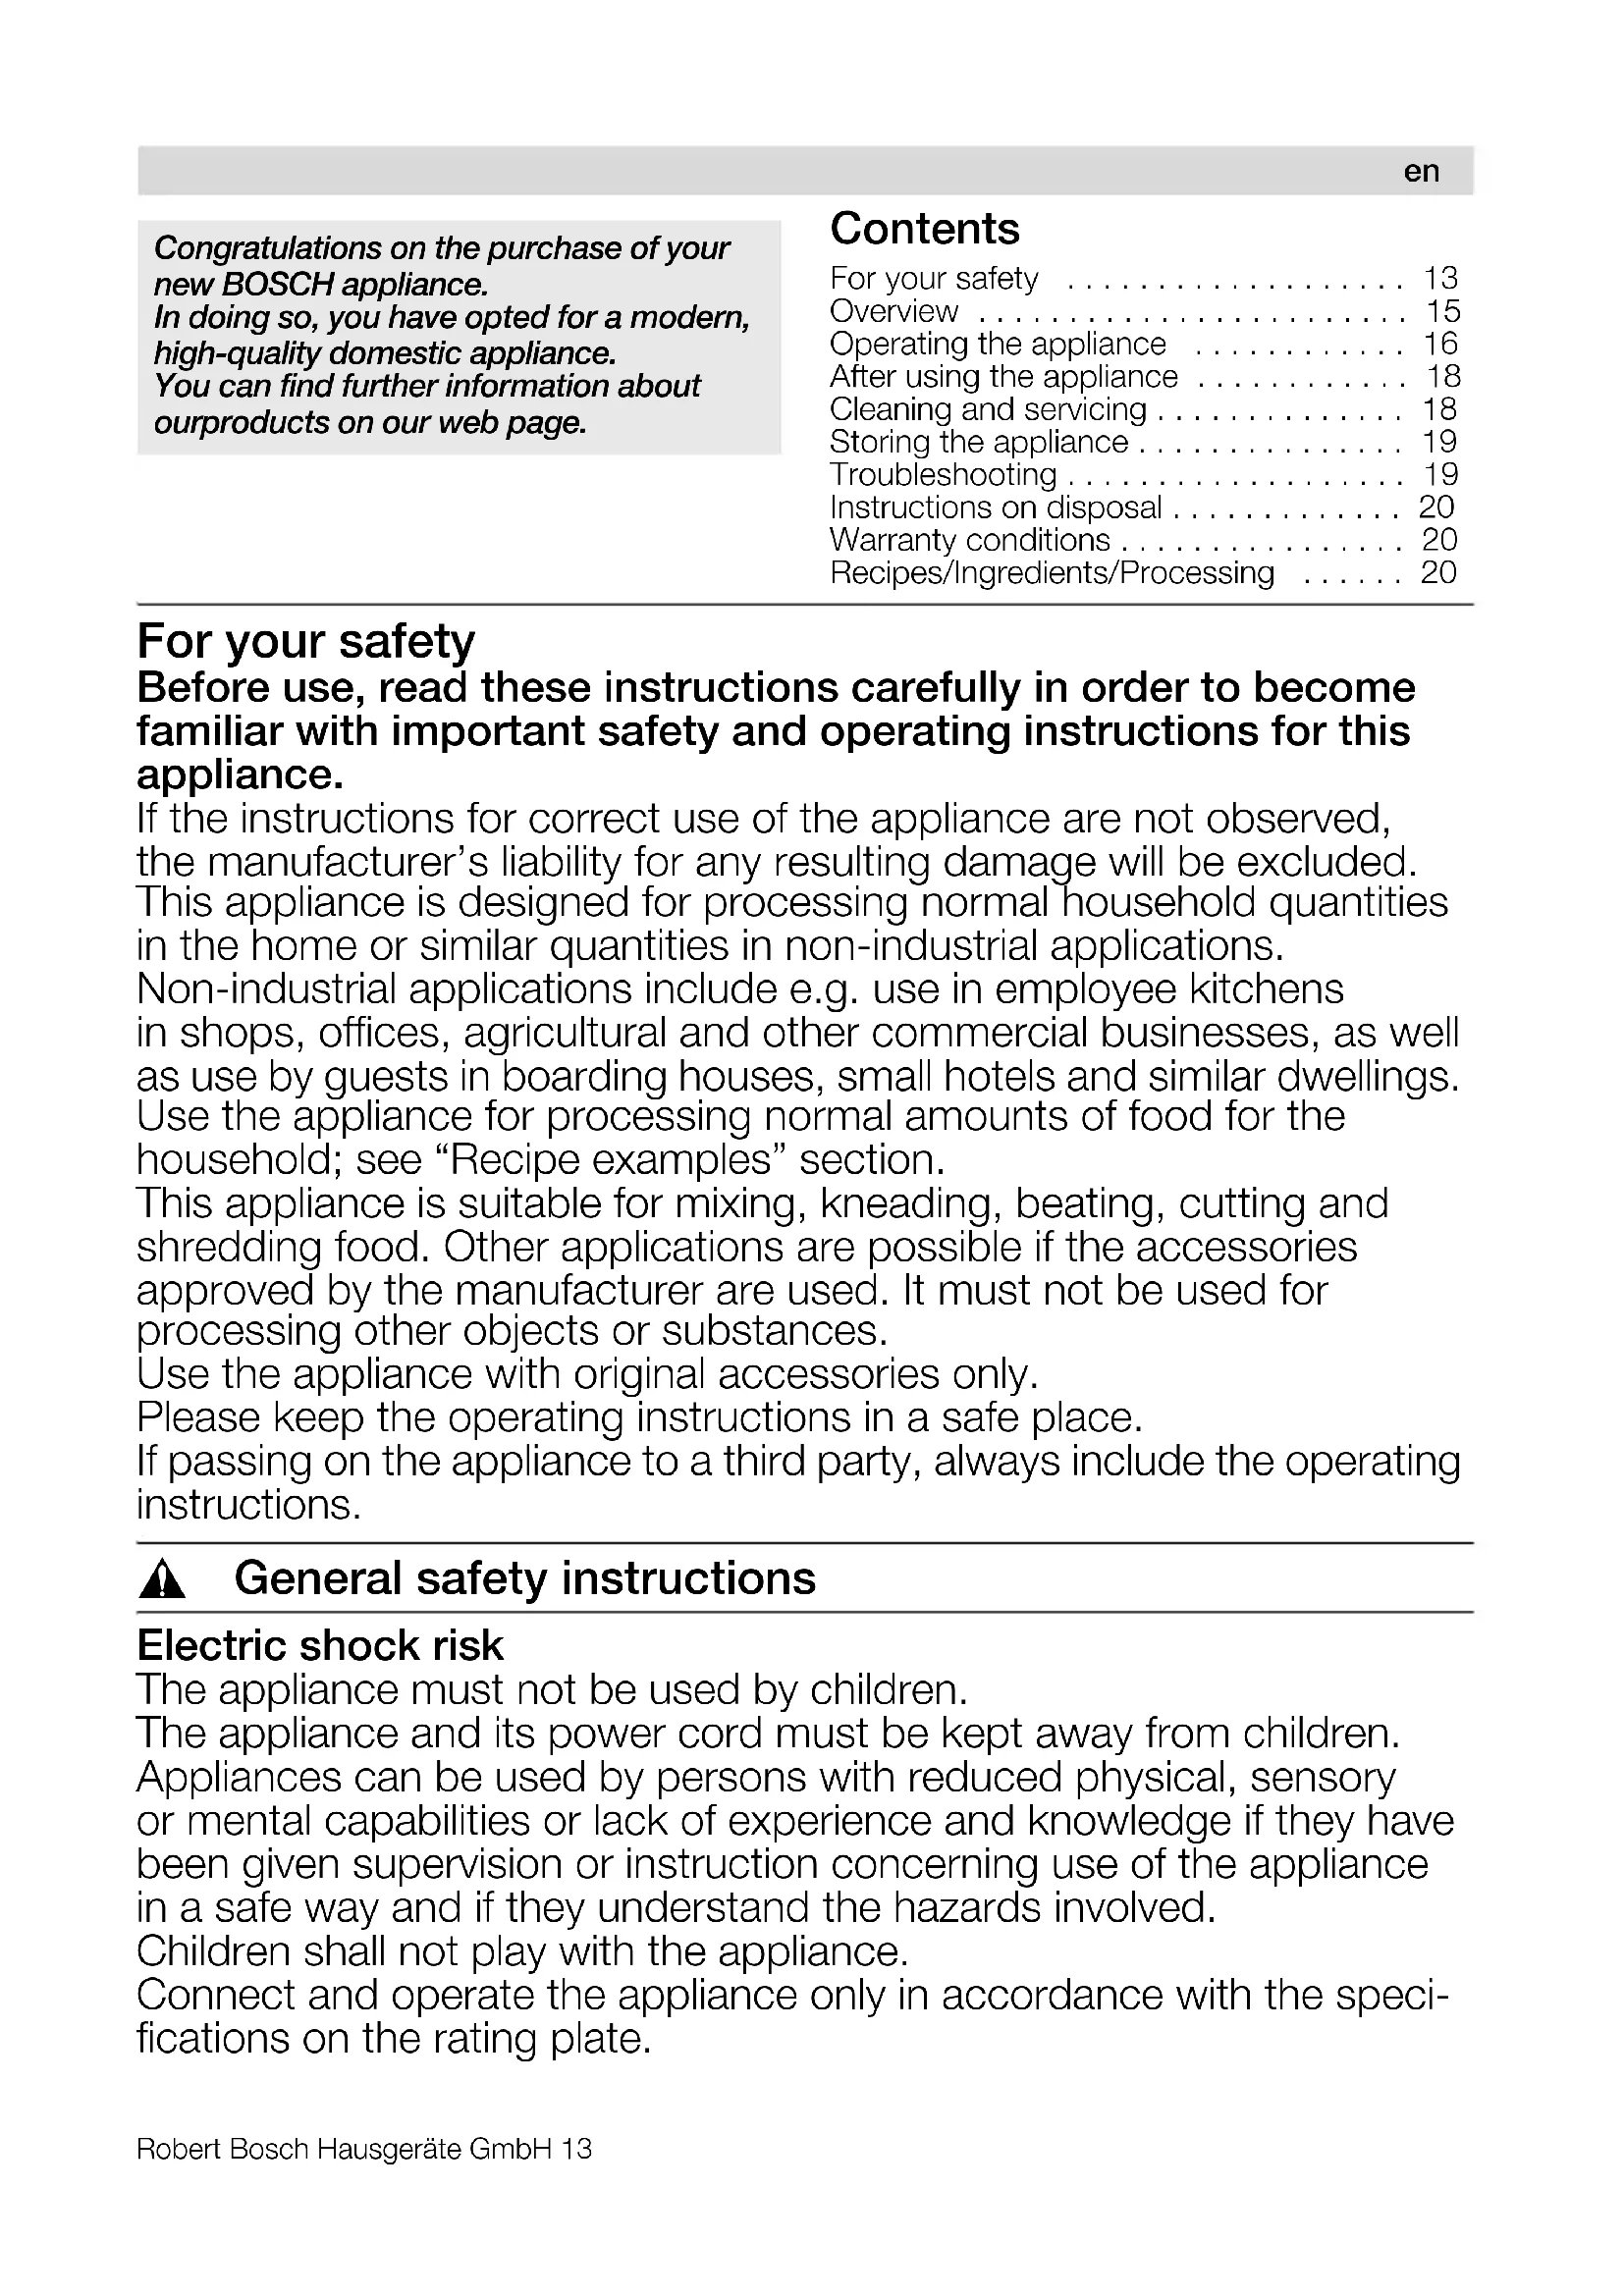
- Änderungen vorbehalten.Robert Bosch Hausgeräte GmbH 13 Contents For your safety p. 13
- Overview p. 15
- Operating the appliance p. 16
- After using the appliance p. 18
- Cleaning and servicing p. 18
- Storing the appliance p. 19
- Troubleshooting p. 19
- Instructions on disposal p. 20
- Warranty conditions p. 20
- Recipes/Ingredients/Processing For your safety Before use, read these instructions carefully in order to become familiar with important safety and operating instructions for this appliance. If the instructions for correct use of the appliance are not observed, the manufacturer’s liability for any resulting damage will be excluded. This appliance is designed for processing normal household quantities in the home or similar quantities in non-industrial applications. Non-industrial applications include e.g. use in employee kitchens in shops, offices, agricultural and other commercial businesses, as well as use by guests in boarding houses, small hotels and similar dwellings. Use the appliance for processing normal amounts of food for the household; see “Recipe examples” section. This appliance is suitable for mixing, kneading, beating, cutting and shredding food. Other applications are possible if the accessories approved by the manufacturer are used. It must not be used for processing other objects or substances. Use the appliance with original accessories only. Please keep the operating instructions in a safe place. If passing on the appliance to a third party, always include the operating instructions. , General safety instructions Electric shock risk The appliance must not be used by children. The appliance and its power cord must be kept away from children. Appliances can be used by persons with reduced physical, sensory or mental capabilities or lack of experience and knowledge if they have been given supervision or instruction concerning use of the appliance in a safe way and if they understand the hazards involved. Children shall not play with the appliance. Connect and operate the appliance only in accordance with the speci- fications on the rating plate. p. 20
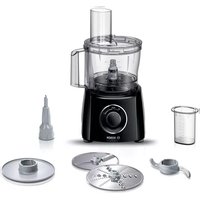
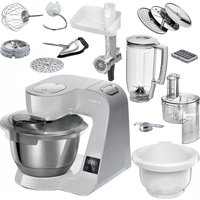
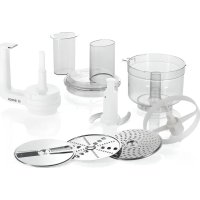
`çåÖê~íìä~íáçåë=çå=íÜÉ=éìêÅÜ~ëÉ=çÑ=óçìê= åÉï=_lp`e=~ééäá~åÅÉK få=ÇçáåÖ=ëçI=óçì=Ü~îÉ=çéíÉÇ=Ñçê=~=ãçÇÉêåI= ÜáÖÜJèì~äáíó=ÇçãÉëíáÅ=~ééäá~åÅÉK= vçì=Å~å=ÑáåÇ=ÑìêíÜÉê=áåÑçêã~íáçå=~Ä çìí= çìê éêçÇìÅíë=çå=çìê=ïÉÄ=é~ÖÉK14 Robert Bosch Hausgeräte GmbH Do not use the appliance if the power cord and/or appliance are damaged. Always disconnect the appliance from the supply if it is left unattended and before assembling, disassembling or cleaning. Do not place the power cord over sharp edges or hot surfaces. To prevent injury, a damaged power cord must be replaced by the manufacturer or his customer service or a similarly qualified person. Only our customer service may repair the appliance. , Safety instructions for this appliance Risk of injury Electric shock risk If the power is interrupted, the appliance remains switched on and restarts when the power is restored. Change accessories and tools only when the appliance is at a standstill (rotary switch on 0/off) and the mains plug has been pulled out. Never immerse the base unit in liquids or place under running water and do not clean in the dishwasher. Before rectifying a fault, pull out the mains plug. Risk of injury from the rotating tools! While the appliance is operating, never place fingers in the mixing bowl. Always use the pusher (7a) for adding ingredients. After switching off, the drive continues running for a short time. Change tools only when the drive is at a standstill. Risk of injury from sharp blades/rotating drive! Never place fingers in the attached blender! Blender will not operate until the lid has been screwed on tight. Do not remove/attach the blender until the drive is at a standstill. Risk of injury from sharp blades! Exercise particular caution when handling the attachments! Note shape and location of the insert when inserting it into the carrier disc. Take hold of carrier disc or chipper disc by the designated recessed grips only. Do not place fingers in the feed tube. Only use the pusher when adding more ingredients. Grip the universal blade by the edge of the plastic handle only. When not in use, always put the universal blade back into the acces- sories drawer. Do not touch blender blades with bare hands. Clean them with a brush. Risk of scalding! If processing hot liquids, steam escapes through the funnel in the lid. Add a max. 0.4 litres of hot or frothing liquid. Risk of injury! Never assemble blender on the base unit. enRobert Bosch Hausgeräte GmbH 15 , Explanation of the symbols on the appliance or accessory Follow the instructions in the operating instructions. Caution! Rotating blades. Caution! Rotating tools. Do not place fingers in the feed tube. The operating instructions describe several models, see also overview of models (Fig. Differences are identified.The appliance requires no maintenance. Overview Please fold out the illustrated pages.Base unit Fig. 1 Rotary switchA MCM41..:0/off = Stop = Instantaneous switching at maximum speed, hold switch for required blending duration.Settings 1–2, Operating speed: = low speed – slow, = high speed – fast.B MCM42..:0/off = Stop = Instantaneous switching at maximum speed, hold switch for required blending duration. = Operating speed steplessly adjustable from low to high speed.2 On/Off display (MCM42.. only)Is lit while the appliance is operating (rotary switch on or ).Flashes if the appliance has been operated incorrectly, the electronic fuse has tripped or the appliance is defective – see section “Troubleshooting”.3Drive4 Accessories drawer (Fig. To open the drawer, push the button on the underside of the appliance and pull out the drawer. To pull out the drawer completely tilt slightly upwards and pull out. When inserting the drawer, tilt slightly upwards and then push in all the way.Keep the accessories drawer closed while working with the appliance.5 Cord storeBowl with accessories6Bowl 7Lid 7a Pusher7b Pusher insert8 Drive shaftTools9 Tool holder9a Universal blade9b Whipping (beating) disc9c Kneading hook10 Carrier disc for disc inserts10a Slicing attachment – coarse (A)10b Slicing attachment – fine (B)10c Shredding attachment – coarse (C)10d Shredding attachment – fine (D)11 Chipper disc (E) (some models)12 Citrus press13 Juice centrifuge (some models)14 Universal cutter(some models)When using the accessories, follow the separate operating instructions for this accessory.Blender15 Blender jug16 Lid 16a Funnel 16b Refill opening en16 Robert Bosch Hausgeräte GmbH Operation Before operating the appliance and acces- sories for the first time, clean thoroughly; see “Cleaning and servicing”. Preparation Place the base unit on a smooth, clean surface. Pull cord out of the cord store to the required length. Insert the mains plug. Keep the accessories drawer closed while working with the appliance. Bowl with accessories/tools Universal blade (9a) For cutting, chopping and stirring. Whipping (Beating) disc (9b) for cream, egg white, mayonnaise. Kneading hook (9c) for kneading dough and mixing-in ingredients that ought not be cut (e.g. raisins and chocolate chips). Fig.
Attach the bowl (arrow on bowl on dot on the appliance) and rotate as far as possible in a clockwise direction. Press the drive shaft into the tool holder until it locks into position. Inserting tools: – Insert tool holder into the bowl. – Insert universal blade, whisking disc or kneading hook into the tool holder and release. Add ingredients. Attach lid with pusher (match arrow on lid on dot on bowl) and rotate in a clockwise direction. Lid lug must be located fully in the slot in the bowl handle. Set the rotary switch to the desired setting. To add more ingredients, set the rotary switch to 0/off. Remove the pusher and add ingredients through the feed tube. Add liquids through the pusher. Pusher insert can be used as a measuring jug. Cutting attachments (10a–10d) Slicing attachment – coarse (A) Set rotary switch to low speed for slicing: cucumbers, carrots. Slicing attachment – fine (B) Set rotary switch to high speed for slicing: cucumbers, carrots.
-5a)! Attach the carrier disc to the drive shaft. or: Attach chipper disc to the drive shaft. Attach lid with pusher (match arrow on lid to arrow on bowl) and rotate in a clockwise direction. Lid lug must be located fully in the slot in the bowl handle. Set the rotary switch to the desired setting. Fill with contents which are to be sliced or shredded. When adding contents which are to be sliced or shredded, apply only light pres- sure to the pusher. Remove the pusher and add ingredients through the feed tube. Add long and thin contents using the pusher. t~êåáåÖ> bãéíó=íÜÉ=Äçïä=ÄÉÑçêÉ=áí=ÄÉÅçãÉë=ëç=Ñìää=íÜ~í= íÜÉ=ëäáÅÉÇ=çê=Öê~íÉÇ=ÅçåíÉåíë=êÉ~ÅÜ=íÜÉ=Å~êêáÉê= ÇáëÅ=çê=íÜÉ=ÅÜáééÉê=ÇáëÅK Citrus press (12) Fig. for pressing the juice out of citrus fruits, e.g. oranges, grapefruits, lemons. Attach the bowl (arrow on bowl on dot on the appliance) and rotate as far as possible in a clockwise direction. Insert drive shaft into the bowl. Attach the citrus press to the drive shaft (arrow on citrus press on arrow on the bowl) and rotate in a clockwise direction. The lug on the strainer basket must be located fully in the slot in the bowl handle. Attach and press on pressing cone. To extract juice from the fruits, set the rotary switch to low speed and press the fruit onto the pressing cone. t~êåáåÖ> kçíÉ=íÜÉ=äÉîÉä=áå=íÜÉ=ÄçïäK= j~ñK=èì~åíáíóW=RMM=ãäK= bãéíó=íÜÉ=Äçïä=ïáíÜçìí=ÇÉä~óK Juice centrifuge (13) Fig. For squeezing the juice out of pip fruits (e.g. apples, pears), berries, pitted stone fruits, vegetables (e.g. carrots, tomatoes). Attach the bowl (arrow on bowl on dot on the appliance) and rotate as far as possible in a clockwise direction. Insert drive shaft into the bowl. Screw on the grater with the filter basket as far as possible in a clockwise direction. Attach lid for juice centrifuge and rotate in a clockwise direction. Lid lug must be located fully in the slot in the bowl handle. Turn the rotary switch to a low speed setting. Add fruit or vegetables through the fill tube and only gently push forward with the pusher. Cut beforehand if necessary. After processing, set the rotary switch briefly to high speed and leave the appli- ance running until all the fruit pulp has been squeezed out. t~êåáåÖ> kçíÉ=íÜÉ=äÉîÉä=áå=íÜÉ=ÄçïäK=j~ñáãìã=éêçÅÉëJ ëáåÖ=èì~åíáíóW=ORM=Ö=Ñêìáí=çê=îÉÖÉí~ÄäÉëK
remove the funnel and gradually add solid ingredients through the refill opening
pour liquid ingredients through the funnel. After using the appliance Set the rotary switch to 0/off. Remove mains plug. Remove tool or accessory according to the following description. Clean all parts, see “Cleaning and servicing”. Remove the bowl with accessories/tools: Rotate the lid in an anti-clockwise direction and remove. Remove tool: – Take tool holder together with universal blade, whisking disc or kneading hook out of the bowl. Remove the tools from the tool holder. – Grip the carrier disc or the chipper disc by the recessed grips and lift out of the bowl. – Turn the carrier disc over and carefully press out the insert from the underside
Rotate the bowl in an anti-clockwise direction and remove. Remove the citrus press Unscrew the citrus press and remove the bowl. Remove the juice centrifuge: Rotate the lid on the juicer in an anti- clockwise direction and remove. Take the grater out of the bowl. Remove the bowl. Remove the blender: Rotate the blender in an anti-clockwise direction and remove. Rotate the lid in an anti-clockwise direction and remove. Tip: It is recommended to clean the blender immediately after use see “Cleaning and servicing”. Cleaning and servicing t~êåáåÖ> pìêÑ~ÅÉë=ã~ó=ÄÉ=Ç~ã~ÖÉÇK= aç=åçí=ìëÉ=~Äê~ëáîÉ=ÅäÉ~åáåÖ=~ÖÉåíëK Note: If processing e.g. carrots and red cabbage, the plastic parts will become discoloured by a red film which can be removed with a few drops of cooking oil. Cleaning the base unit Remove mains plug. Wipe the base unit with a damp cloth. If required, use a little detergent. Then dry the base unit. Rinse the accessories drawer under running water and leave to dry. Do not clean in the dishwasher!
for several seconds. Pour out the water and rinse the blender with clean water. Taking the blender apart Fig.
Upon the wings, rotate the blade insert in an anti-clockwise direction. The blade insert is released. Take blade insert out and remove sealing ring. Putting the blender together Apply sealing ring on blade insert. Insert blade insert from below into blender jug. Firmly screw on the blade insert by the wings in a clockwise direction. Rotate the blade insert at least until a wing covers the mark on the blender jug (position –> Fig. 6). Cleaning the citrus press All parts are dishwasher-proof. It is recommen- ded to rinse the pressing cone immediately after use on all sides under running water. Doing so prevents residue from drying on. Cleaning the juice centrifuge Fig. To clean the juice centrifuge remove the filter basket from the disc holder. Pre-rinse parts under running water. Carefully clean the slats of the filter basket so as not to damage them. Storing the appliance Fig. Remove mains plug. Stow the cord in the cord store. Stow the tools in the accessories drawer. Attach the bowl. Troubleshooting Base unit Fault: Appliance does not work. Possible cause: The appliance was overloaded (e.g. tool jammed by food) and the electronic fuse has tripped. Remedial action: Set the rotary switch to 0/off. Remove mains plug. Eliminate the cause of the overload. Switch the appliance on again.
oáëâ=çÑ=áåàìêó=Ñêçã=ëÜ~êé=Ää~ÇÉë> dêáé=íÜÉ=ìåáîÉêë~ä=Ää~ÇÉ=Äó=íÜÉ=ÉÇÖÉ=çÑ=íÜÉ= éä~ëíáÅ=Ü~åÇäÉ=çåäóK= tÜÉå=åçí=áå=ìëÉI=~äï~óë=éìí=íÜÉ=ìåáîÉêë~ä= Ää~ÇÉ=Ä~Åâ=áåíç=íÜÉ=~ÅÅÉëëçêáÉë=Çê~ïÉêK oáëâ=çÑ=áåàìêó=Ñêçã=ëÜ~êé=Ää~ÇÉë> aç=åçí=íçìÅÜ=ÄäÉåÇÉê=Ää~ÇÉë=ïáíÜ=Ä~êÉ= Ü~åÇëK=`äÉ~å=íÜÉã=ïáíÜ=~=ÄêìëÜK oáëâ=çÑ=áåàìêó> kÉîÉê=~ëëÉãÄäÉ=ÄäÉåÇÉê=çå=íÜÉ=Ä~ëÉ=ìåáíK Note: Take all accessory parts out of the bowl and/or blender before use. Only insert the parts needed. oáëâ=çÑ=áåàìêó> _ÉÑçêÉ=êÉÅíáÑóáåÖ=~=Ñ~ìäíI=éìää=çìí=íÜÉ=ã~áåë= éäìÖK Important information for MCM42.. The Operating indicator flashes if the appli- ance has been operated incorrectly or the electronic fuse has tripped or the appliance is defective.20 Robert Bosch Hausgeräte GmbH Possible cause: An attempt was made to attach the bowl or blender to the appliance while switched on. Remedial action: Set the rotary switch to 0/off. Attach the bowl or blender. Switch the appliance on again. Accessories Fault: Appliance does not start. Possible cause: Accessory not correctly attached. Remedial action: Set the rotary switch to 0/off. Attach accessory according to the appropriate instructions in this manual. Instructions on disposal This appliance has been identified in accordance with the European directive 2012/19/EC on Waste Electrical and Electronic Equipment – WEEE. The Directive paves the way for effective EU-wide withdrawal and utilization of waste appliances. Please ask your dealer or inquire at your local authority about current means of disposal. Warranty conditions The guarantee conditions for this appliance are as defined by our representative in the country in which it is sold. Details regarding these conditions can be obtained from the dealer from whom the appliance was purchased. The bill of sale or receipt must be produced when making any claim under the terms of this guarantee. Recipes/Ingredients/Processing
Important information If the fault cannot be eliminated, please contact customer service. Tool Speed Time Recipes/Ingredients/Processing low/high approx. 1–2 min Yeast dough Max. 500 g flour 25 g yeast or 1 packet of dried yeast 225 ml lukewarm milk 1 egg 1 pinch of salt 80 g sugar 60 g fat (lukewarm) Graded rind of half a lemon Add all ingredients (except the milk) to the bowl. Set rotary switch to a low speed for 10 seconds. Add milk and mix at high speed. Ingredients should be at the same temperature. When the dough has a smooth appearance, place in a warm location. M Onions, garlic Amount: from 1 onion, quartered, up to 300 g from 1 clove of garlic up to 300 g Process the onion/garlic until it has been chopped to the required size. high Meat, liver (for mince, steak tartare, etc.) Amount: 50 g–500 g Remove bones, gristle and sinews. Dice the meat. Making sausage meat, stuffing and pâté: Put meat (beef, pork, veal, poultry, or even fish, etc.) together with other ingredients and spices into the bowl and mix into adough.Robert Bosch Hausgeräte GmbH 21
Tool Speed Time Recipes/Ingredients/Processing high approx.