
ESB5830 - Blender ELECTROLUX - Free user manual and instructions
Find the device manual for free ESB5830 ELECTROLUX in PDF.
| Brand | Electrolux |
| Model | ESB5830 |
| Product type | Blender |
| Functions | Mixing, Pulse, Ice Crush |
| Speeds | Multiple speeds with rotary selector |
| Bowl capacity | Approximately 1.5 L (estimate) |
| Bowl material | Glass or plastic (depending on model) |
| Knife | Stainless steel blades, removable |
| Lid | With filling opening and measuring cap |
| Cord storage | Under the appliance |
| Non-slip feet | Yes |
| Cleaning | Bowl, lid and measuring cap dishwasher safe; motor unit with damp cloth |
| Safety | Very sharp blades, do not immerse motor unit, do not blend boiling liquids (max 90°C), automatic stop after 2 min of heavy load |
| Recommended use | Blending, smoothies, soups, milkshakes, ice crushing |
| Included accessories | Bowl, lid, measuring cap, knife, sealing ring |
| Power supply | 220-240 V, 50-60 Hz (estimate) |
| Weight | Approximately 2 kg (estimate) |
| Dimensions (L x W x H) | Approximately 20 x 18 x 40 cm (estimate) |
| Warranty | 2 years (standard) |
| Recycling | Take to a collection point or Electrolux customer service |
Frequently Asked Questions - ESB5830 ELECTROLUX
User questions about ESB5830 ELECTROLUX
0 question about this device. Answer the ones you know or ask your own.
Ask a new question about this device
Download the instructions for your Blender in PDF format for free! Find your manual ESB5830 - ELECTROLUX and take your electronic device back in hand. On this page are published all the documents necessary for the use of your device. ESB5830 by ELECTROLUX.
USER MANUAL ESB5830 ELECTROLUX
BG BPOWUPAC HNCTPYKUN
CZ NAVOD KPOUZITI
WE'RE THINKING OF YOU
Thank you for purchasing an Electrolux appliance. You've chosen a product that brings with it decades of professional experience and innovation. Ingenious and stylish, it has been designed with you in mind. So whenever you use it, you can be safe in the knowledge that you'll get great results every time.
Welcome to Electrolux.
Visit our website to:

Get usage advice, brochures, trouble shooter, service information: www.electrolux.com

Register your product for better service: www.electrolux.com/productregistration

Buy accessories and consumables for your appliance: www.electrolux.com/shop
CUSTOMER CARE AND SERVICE
When contacting Service, ensure that you have the following data available:
- Model Number
- PNC number
- Serial number
The information can be found on the rating plate.
ENGLISH
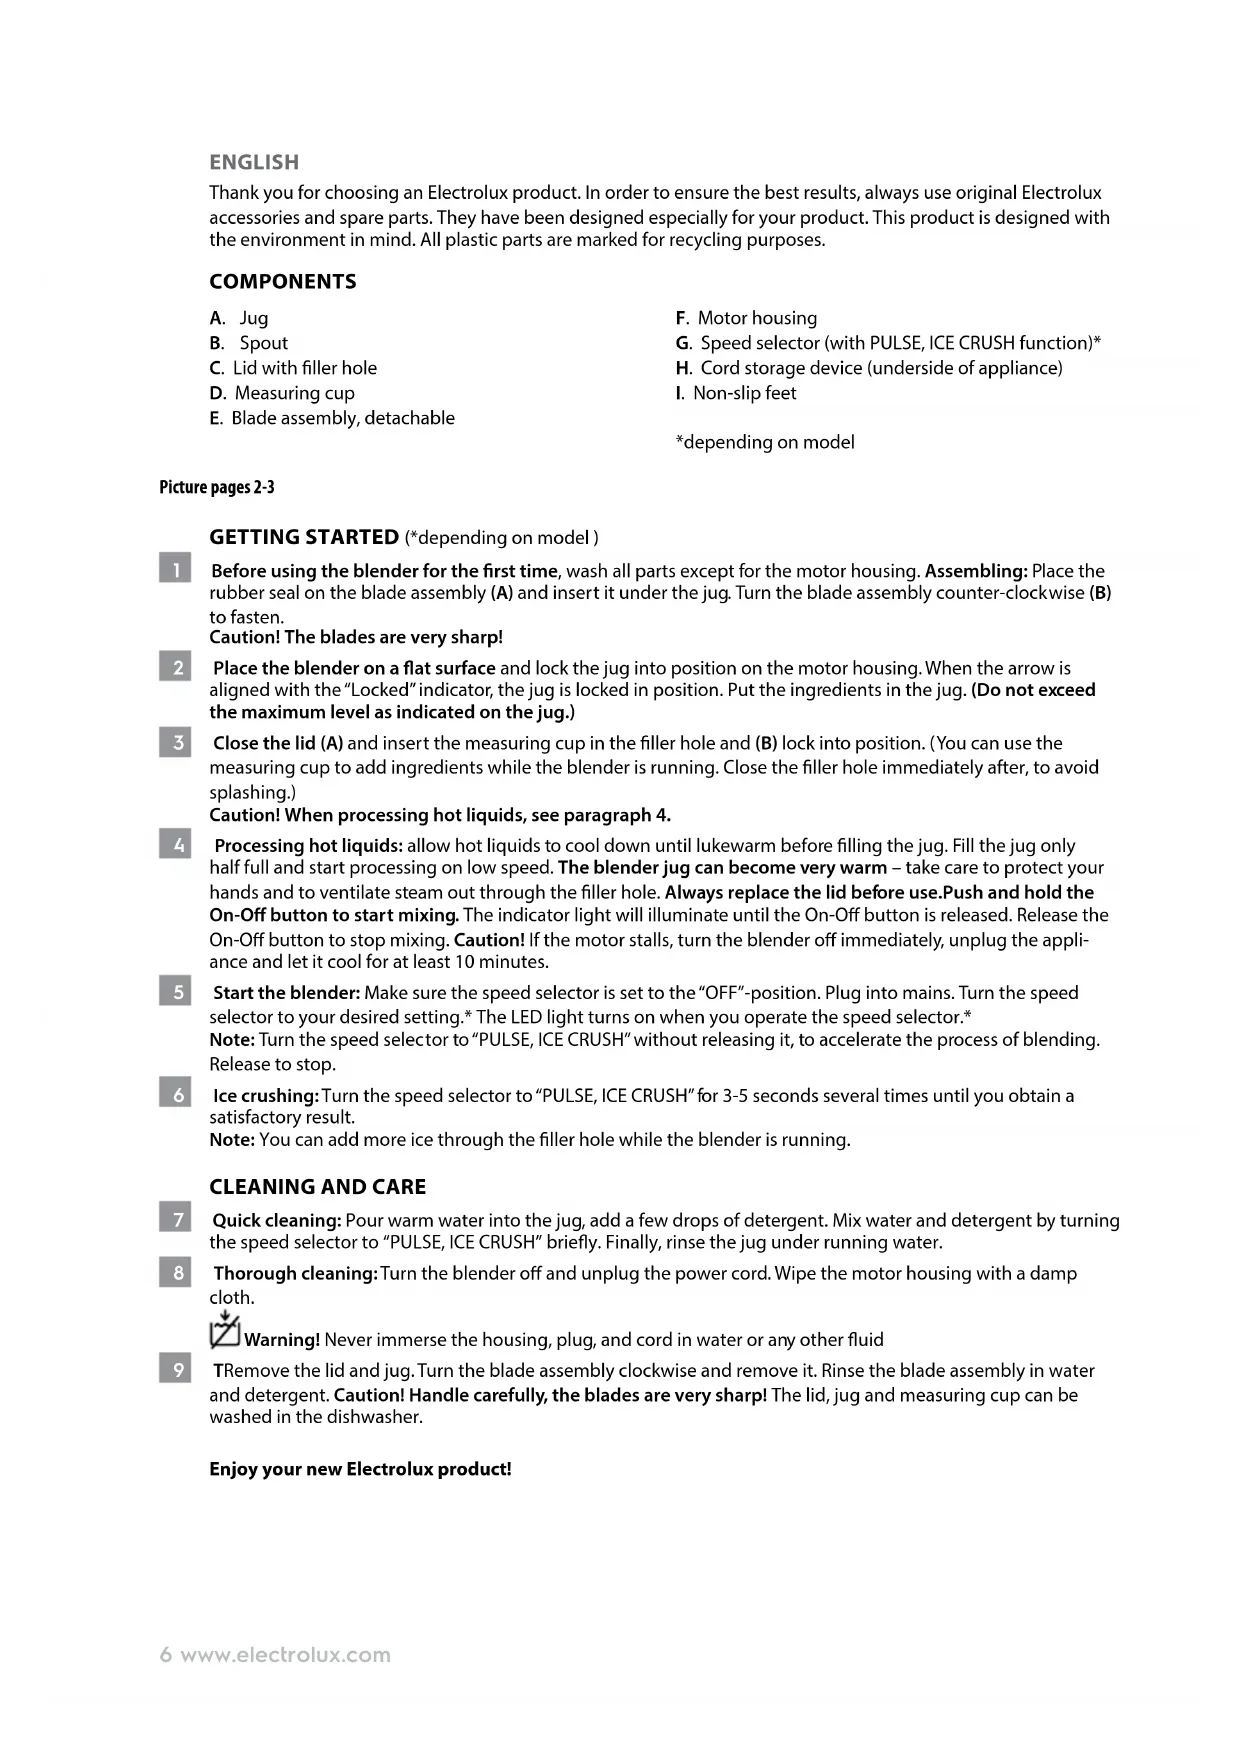
Thank you for choosing an Electrolux product. In order to ensure the best results, always use original Electrolux accessories and spare parts. They have been designed especially for your product. This product is designed with the environment in mind. All plastic parts are marked for recycling purposes.
COMPONENTS
A. Jug
F. Motor housing
B. Spout
G. Speed selector (with PULSE, ICE CRUSH function)*
C. Lid with filler hole
H. Cord storage device (underside of appliance)
D. Measuring cup
E. Blade assembly, detachable
I. Non-slip feet
*depending on model
Picture pages 2-3
GETTING STARTED (*depending on model)
Before using the blender for the first time, wash all parts except for the motor housing. Assembling: Place the rubber seal on the blade assembly (A) and insert it under the jug. Turn the blade assembly counter-clockwise (B) to fasten.
Caution! The blades are very sharp!
2 Place the blender on a flat surface and lock the jug into position on the motor housing. When the arrow is aligned with the "Locked" indicator, the jug is locked in position. Put the ingredients in the jug. (Do not exceed the maximum level as indicated on the jug.)
3 Close the lid (A) and insert the measuring cup in the filler hole and (B) lock into position. (You can use the measuring cup to add ingredients while the blender is running. Close the filler hole immediately after, to avoid splashing.)
Caution! When processing hot liquids, see paragraph 4.
4 Processing hot liquids: allow hot liquids to cool down until lukewarm before filling the jug. Fill the jug only half full and start processing on low speed. The blender jug can become very warm - take care to protect your hands and to ventilate steam out through the filler hole. Always replace the lid before use. Push and hold the On-Off button to start mixing. The indicator light will illuminate until the On-Off button is released. Release the On-Off button to stop mixing. Caution! If the motor stalls, turn the blender off immediately, unplug the appliance and let it cool for at least 10 minutes.
5 Start the blender: Make sure the speed selector is set to the "OFF"-position. Plug into mains. Turn the speed selector to your desired setting. The LED light turns on when you operate the speed selector. Note: Turn the speed selector to "PULSE, ICE CRUSH" without releasing it, to accelerate the process of blending. Release to stop.
Ice crushing: Turn the speed selector to "PULSE, ICE CRUSH" for 3-5 seconds several times until you obtain a satisfactory result.
Note: You can add more ice through the filler hole while the blender is running.
CLEANING AND CARE
Quick cleaning: Pour warm water into the jug, add a few drops of detergent. Mix water and detergent by turning the speed selector to "PULSE, ICE CRUSH" briefly. Finally, rinse the jug under running water.
8 Thorough cleaning:Turn the blender off and unplug the power cord. Wipe the motor housing with a damp cloth.

Warning! Never immerse the housing, plug, and cord in water or any other fluid
9 Remove the lid and jug. Turn the blade assembly clockwise and remove it. Rinse the blade assembly in water and detergent. Caution! Handle carefully, the blades are very sharp! The lid, jug and measuring cup can be washed in the dishwasher.
Enjoy your new Electrolux product!
SAFETY ADVICE
Read the following instruction carefully before using the appliance for the first time.
- This appliance shall not be used by children. Keep the appliance and its cord out of reach of children. Appliances can be used by persons with reduced physical, sensory or mental capabilities or lack of experience and knowledge if they have been given supervision or instruction concerning use of the appliance in a safe way and if they understand the hazards involved. Children shall not play with the appliance.
- The appliance may only be connected to a power supply whose voltage and frequency comply with the specifications on the rating plate!
- Never use or pick up the appliance if
- the supply cord is damaged,
- the housing is damaged.
- If the appliance or the supply cord is damaged, it must be replaced by the manufacturer, its service agent or similarly qualified person, in order to avoid hazard.
- Always place the appliance on a flat, level surface.
- Always disconnect the appliance from the supply if it is left unattended and before assembling, disassembling or cleaning.
- Never touch the blades or inserts with your hand or any tools while the appliance is plugged in.
- The blades and inserts are very sharp! Danger of injury! Caution when assembling, disassembling after use or when cleaning! Ensure that the appliance is disconnected from the mains supply.
Do not immerse the appliance in water or any other liquid. - Do not let the blender run for more than 2 minutes at a time using heavy loads. After running for 2 minutes with heavy loads, the blender should be left to cool for at least 10 minutes.
- Do not exceed the maximum filling volume as indicated on the appliances.
- Never process boiling liquids (max 90^ ).
- Do not use this appliance to stir paint. Danger, could result in an explosion!
- Never operate appliance without lid.
- Do not let the power cord touch hot surfaces or hang over edge of table or counter.
- Never use accessories or parts made by other manufactures not recommended or sold; may cause a risk of injury to persons.
- The appliance can not be used for blending or grinding hard and dry substance, except for ice cubes.
- Keep hands and utensils out of the blender during operation to reduce the risk of severe injury to persons or damage to the blender.
- Ensure that the blender is switched off before removing it from the stand.
-
This appliance is intended for domestic use only. The manufacturer cannot accept any liability for possible damage caused by improper or incorrect use.
-
This appliances is intended to be used in household and similar applications such as:
-
staff kitchen areas in shops, offices and others working environments;
-farm houses; - by clients in hotels, motels and other residential type environments;
- bed and breakfast type environments.
RECIPES
| MAXIMUM PROCESSING TIME WITH HEAVY LOAD |
| 2 min |
| WHISKING/WHIPPING QUANTITIES AND PROCESSING TIMES | ||||
| Ingredients Quantity Time Speed | ||||
| Cream 200-400 g 50~60 sec 1 | ||||
| Note: The temperature of the cream should be between 4 and 8 Degree Celsius. | ||||
| RECOMMENDED BLENDING SPEED | |||||
| Recipe Ingredients Quantity Time Speed | |||||
| Pureeing raw vegetables | Carrots 20~80 g | 20~30 sec 8 | |||
| Potatos | 20~80 | g | |||
| Onions 20~80 g | |||||
| Water | 60~160 | g | |||
| Strawberries margaritas (Cocktail) | Tequila 240 ml | ≤120 sec | 8 | ||
| Triple sec | 60 | ml | |||
| Frozen strawberries | 225 | g | |||
| Frozen Lemonade concentrate | 145 | g | |||
| Ice cubes | 150 | g | |||
| Pineapple-apricots Smoothie | Pineapple in slices | 250 | g | ≤120 sec | 8 |
| Dried Apricots | 40 | g | |||
| Yoghurt | 300 | g | |||
| Milkshake | Milk | 150-300 | ml | 20~30 sec 4 | |
| Vanilla Ice cream | 200-400 | g | |||
| Banana | 1/4 - 1/2 pcs | ||||
| Chocolate syrup | 30-60 | g | |||
| Potato leek soup Leek | Potatoes | 300 | g | 50~60 sec 4 | |
| 300 | g | ||||
| Water | 600 | g | |||
| Pancake (Batters) | Wheat flour | 150 | g | 40~50 sec 4 | |
| Salt | 1 | Pinch | |||
| Eggs | 3 | pcs | |||
| Milk | 250 | ml | |||
| Water | 140 | ml | |||
| Butter | 50 | g | |||
CHOPPING QUANTITIES AND PROCESSING TIMES
| Ingredients Quantity Quality Time | Quality Time | Quality Time Speed | |||||||
| Bread crumbs 100-200 g | Coarse | 3 sec | PulseMedium | 3~5 sec | Fine | 5~10 sec Pulse | |||
| Almonds 100-200 g | 3 sec 3~5 sec | 5~10 sec | |||||||
| Peppar | 20-100 g 3 sec 5 sec | 5~10 sec Pulse | |||||||
TROUBLESHOOTING
| SYMPTOM | CAUSE | SOLUTION |
| The blender does not switch on. | Components are not fixed properly. | Check if all the components are properly locked into position. |
| The speed selector is not on the right position. | Choose the appropriate speed. To use PULSE function, make sure the speed selector is on PULSE position. | |
| The jug is overfilled. | Empty the jug so you do not exceed the maximum level. | |
| The plug is not properly connected to the power outlet. | Check the connection of the plug to the outlet or try another outlet. | |
| Power outage. | Wait until power outage is over. | |
| Functional problem. | Contact authorized service. |
DISPOSAL

This symbol on the product indicates that this product contains a battery which shall not be disposed with normal household waste.

This symbol on the product or on its packaging indicates that the product may not be treated as household waste. To recycle your product, please take it to an official collection point or to an Electrolux service center that can remove and recycle the battery and electric parts in a safe and professional way. Follow your country's rules for the separate collection of electrical products and rechargeable batteries.
Electrolux reserves the right to change products, information and specifications without notice.
FRANÇAIS
RENGJØRING OG VEDLIKEHOLD
7 Rask rengjoring: Hell varmt vann i muggen, og tilsett et par draper oppvaskmiddel. Bland vann og oppvaskmiddel ved a dreie hastighetsvelgeren til "PULSE, ICE CRUSH" (PULS, ISHAKKING) et kort oyeblikk. Skyll muggen i rennende vann.
8 Grundig rengjoring: Sla av blenderen og trekk ut ledningen. Tork av motorhuset med en fuktig klut.
Advarsell Motorhuset, stopselet ell strmledningen ma aldri senkes ned i vann eller annen vaeske.
MEPbI INPEIOCTOPOXHOCTN
Ipeed nepBbIM npMHeHem yctpoiCTBa BHMaTeIbHO npOHTe cJeDuOnyU OHCTpyKcIIO.
-Данhoe yctpoiCTBO He npedHa3HaeHo IJIy NCNoIb3OBAHnI DeTbMn.Дepxnte yctpoiCTBO n Ka6eJIb NITAHnB H HeIOCTyINHom IJIa DeTeN MeCTe.Дanhoe yCTpoiCTBO pa3pe7aeTcR NcNoIb3OBAtB IINaM C OrpaHnueHHbIMN Φn3NueCKIMN, CeHCOPHbIMN UymCTBeHHbIMN BO3MOXHOCTaMn, a TaKKe IINaM C Hn3KIM YPOBHE M 3HaHnI N OblTa, eCIn OHN HaxoJATcR NOd Ha6JIIODeHnEM INI pOwII INHCTpyKTaX N O npaBnJaM 6e3OnaCHO r NoCNoIb3OBAHnI DaHHoro yCTpoiCTBa n YacHnI INCTeNeHb COpJxHeHHbIX C 3TUM OnaCHOCTe. He no3BOJaiTe DeTAM INrPaTb C DaHHbIM YCTpoiCTBOM.
- YCTPOICTBO MOXHO BKNIOUaTb TOIbKO B PO3ETKY CETN CHAnpJKeHNEM N YaCTOTOn, COOTBETCTBYUOIMM Ta6NJUeKTEXHnueCKNX DaHHbIX!
He noIb3yIteCb yCTpoiCTBOM npn NOBpeKdHnn shHypa nITaHna nn KOpnyca.
B ceJax 6e3oNaCHOCTn NOBpeXdEHHbIe yCTpoiCTBO NIN UHyp NTaHn DaJIKHbI 6bITb 3aMeHeHbI pON3BOOnTeJIeM, aReHTOM IO O6CnyXnBaHNIO NIN dpyrIM KBAInOuNpOBAHHbIM CneuaJIACTOM.
Bcerda cTaBbTe yctpoiCTBO Ha poBHyIO rOpN30HTaIbHyIO NOBepXHOCTb.
Bcerda otKJIouaTe yCTpoNcTBO OT cETn, OCTabNJa erO 6e3 npncMoTpa, n nepePa360pKo, c6OpKo n uNcTKoN.
He npikacaiTecb KJIe3BnAM N BCTaBKam pykAmn IIN HNCTpyMeHToM, eCIn yCTpoCTBO BKIOUyeHO B Cetb.
- Je3BnI n Hacaikn oueHb octpblc! Bo3MoXHa TpaBMa! Co6JIouaIte octopoxKHOCTb npi c6OpKe n pa36OpKe nOcIe pa60TbI n npi YnCTke! Y6eINTEcb, YTO yCTpoICTBO BvIKIOUeHO n3 CETn.
He norpykaTe yctpoiCTBO B BOy nHny KnKoCTb.
- Пи тяжелов harpy3ke He дolyckaite pa60Tu 6JIeHepa dOJIbIe 2 MInHyT He npepbIBHO. Поспе pa60tBI B TeueHne 2 MInHyT NOd TЯжелов harpy3KoB 6JIeHepy cIeIyET DaTb OCTbITb He MeHee 10 MInHyT.
He 3anonHnre o6bem 60nbwe yka3aHHoro Ha yctpoiCTBax.
- Hn B Koem cnyuae He o6pa6aTbIBaIe KInJaIe XInIkoCTn (TeMnepaTypa He DoJXHa npEByIaTb 90°C).
- He noIb3yItecb yCTpoIcTBOM dIa nepeMeuBaHnKpaCKn. 3To MoKeT npNBecTu K B3pbIBy!
He noIb3yIteCb yCTpoIcTBOM 6e3 KpbIuKn.
He donyckaTe cOpnKoCHOBHna Ka6eI NHTAHN C rOpAUM NOBepxHOCTaMn, a TaKKe He octabJrTe erO CBncaUoUm CO cToJa nn pa6Oye NOBepxHOCTn.
He nCnoJIb3yIte IOnOJIHInTeIbHbIe npHaIaJIeXHOCTn IIN 3aIaChbIe qACTn CTOpOHHX npoIzBOJnteIe, KOTOpblE He 6blI IN peKOMeHNIOBaHbI K nCNoJIb3OBAHnIO IIN pOJaXe; 3TO MoXeT npNBecTI K TpaBMam.
-Данhoe yctpoiCTBO He npedHa3HaueHo IJIЯ n3MeIbYeHnЯ n pa3MaJIbIBaHnЯ KaKHX-JIN60 TBepDbix u cyxnx BeIeCTB, KpOme Ky6NKOB JbJa.
CobnOaIe octopoknoctb npn pa6ote c 6neHepom, He kacaTecb ero peKyux qactei n CTeIte 3a TeM, YTO6bl B pa6oTuOuN 6neHep He IOnaJI KxOHhBie pnp6Opbl. HecobJeHHe 3Tnx Tpe6OBaHm MoKeT npNBecTN K NOBpeXdEHNIO 6NeHepa n cepbe3HbIM TpaBMam.
- Ipeed tem kaK cHrtb yawc noCTabKn, ybeuTecb, yTo 6neHep otKIOUeH.
JaHHe yCTPOIcTBo IpeHa3HaueHo IJIa IcNoB3OBAHnA TObKO B DoMaunHX ycIOBnX. 3rTOBnteJIb He HecET OTBeTCTBeHHOCTn 3a BO3MOxHbIyUep6 OT He npabunbHOJ KcNpyatauIN.
-Данн布局пгборпгднэчендябltOBOrOиСхжeroCHHМпрMuHeHn,HaNPmep: -nomeшених,Clyxkaux KxHЯmДлЯобслwxBaIOUeRo nepcoHaIaB MaRa3HHax, oФисaxИндугnx pa6oUnx MeCTax;
-BceIbCKNXKINbIXD0MaX;
-ДлЯ ИСПОЛБ3OBaHЯ КЛМЕHTAMN OTeJIe, MOTEJIe N ДPyгИХ Мecт поЖиBaHЯ;
-B MUNH-ROCTINHuaX Tnna «HoUner 3aBtpaK»
PECENTbl
MAKCMAJbHOB BPEM PA6OTbI Pn BVICOKO HAPY3KE
2 MNH
KOLIYECTBO IN BPEMBAHIN
Share more of our thinking at www.electrolux.com
electrolux.com/shop Electrolux Floor Care AB

- WE'RE THINKING OF YOU
- CUSTOMER CARE AND SERVICE
- ENGLISH
- COMPONENTS
- Picture pages 2-3
- GETTING STARTED (*depending on model)
- CLEANING AND CARE
- SAFETY ADVICE
- Read the following instruction carefully before using the appliance for the first time.
- DISPOSAL
- FRANÇAIS
- RENGJØRING OG VEDLIKEHOLD
- MEPbI INPEIOCTOPOXHOCTN
- Ipeed nepBbIM npMHeHem yctpoiCTBa BHMaTeIbHO npOHTe cJeDuOnyU OHCTpyKcIIO.
- PECENTbl
- MAKCMAJbHOB BPEM PA6OTbI Pn BVICOKO HAPY3KE
- KOLIYECTBO IN BPEMBAHIN
Brand : ELECTROLUX
Model : ESB5830
Category : Blender