C31MINIDOCK4KPD - Other computer accessories i-TEC - Free user manual and instructions
Find the device manual for free C31MINIDOCK4KPD i-TEC in PDF.
Frequently Asked Questions - C31MINIDOCK4KPD i-TEC
User questions about C31MINIDOCK4KPD i-TEC
0 question about this device. Answer the ones you know or ask your own.
Ask a new question about this device
Download the instructions for your Other computer accessories in PDF format for free! Find your manual C31MINIDOCK4KPD - i-TEC and take your electronic device back in hand. On this page are published all the documents necessary for the use of your device. C31MINIDOCK4KPD by i-TEC.
USER MANUAL C31MINIDOCK4KPD i-TEC
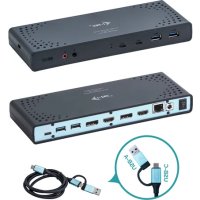
i-tec USB-C 4K Mini Docking Station
1x 4K HDMI, 1x Giga LAN, 2x USB-A 3.0, 1x USB-C, 1x USB-C Power Delivery/Data
(GB) User's manual
Thank you for purchasing the i-tec USB-C 4K Mini Docking Station that will allow you to connect your favourite devices via single USB-C connector to a laptop, a tablet, a PC or a smartphone with a USB-C port. It offers 1x HDMI 4K port, 2x USB-A 3.0 port, 1x Ethernet GLAN RJ-45 port, 1x USB-C port and 1x USB-C Power Delivery / Data port.
TERMINOLOGY
- Interface / port / connector / input / slot - a place where two devices are physically connected.
- Chipset - a semiconductor device in a laptop, tablet, PC, controlling the function of a port.
- USB-C - is a new symmetric connector and standard. It allows faster charging, energizing, double-function (a host but also a guest), support for alternative modes (DisplayPort, MHL, Thunderbolt).
- Alternative modes (Alt modes) - special modes for USB-C connector, which can be supported. Currently the most popular ones include DisplayPort / DockPort, MHL, Thunderbolt. Devices with this feature of the connector and the cable allow transmission of images and at the same time preserve other functions of a connector (for data transfers and charging).
- DisplayPort /DockPort Alt mode - this mode allows transmission of images over USB-C connector and a cable.
- USB-C Power Delivery / Data (USB-C PD / Data) - optional property of the USB-C connector. A connector with this support can charge and be charged at the same time and it supports loads from 10W to 100W (depending on profiles 1-5). When connected to the data device (e.g. USB-C HUB / Ethernet) it serves as an additional data port.
- USB 3.1 / 3.0 / 2.0 - a standard for USB interface / port for connection of various USB devices. Various USB devices can be connected to the docking station or adapter using the USB interface type A. USB type B is used for connecting the docking station or adapter to laptop, tablet, PC.
- HDMI - a standard for digital graphical interface / port for connection of monitors and other graphical display devices.
Audio - designation for audio input (microphone) or output (earphones / loudspeakers) devices.
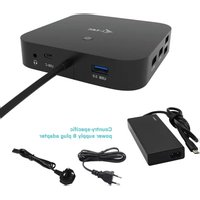
PACKAGE CONTENTS
- i-tec USB-C Mini Docking Station with cable (15 cm)
Travel Pouch
Quick Start
SPECIFICATION
- Graphic interface: 1x HDMI, max. resolution 4K 3840x2160@30Hz; for connecting a HDMI monitor
Mode: Extend, Mirror and Primary Display
Supported colors 16/32 bit - 1x USB-C 3.1 (Gen. 1) port for connecting to a data devices via USB-C connector, high-speed data transmission up to 5 Gbps
- 2x USB-A 3.0 port for connecting USB 3.1/3.0/2.0 devices and high-speed data transmission up to 5 Gbps
- 1x USB-C Power Delivery / Data Port - Power Delivery with the profile 4 (max. 60W) for charging laptops, tablets or smartphones with support for Power Delivery. To this port you can connect an original or a universal AC power adapter with USB-C connector, it ensures the constant charging of your laptop, tablet or smartphone during your work. This port also enables data tranfer, therefor can be used to connect modern data devices with USB-C connector (e.g. Ethernet adapter, USB Flash Drive...) However the port does not enable video tranfer.
- 1x Ethernet GLAN RJ-45 port for fast network and Internet access with Gigabit Ethernet connection, it supports speeds of 10/100/1000Mbps
- 1x integrated USB-C 3.1 cable for connecting the docking station to laptop, tablet, PC or smartphone
- Powered through USB bus (no power adapter is needed) or through USB-C PD / Data port
-
Chipset: VL101 & VL813 & PS176 & RTL8153
-
OS: Requires USB-C interface with "DisplayPort Alternate Mode" and „Power Delivery“ support (not all devices / systems with USB-C interface supports the standard) or Thunderbolt 3 port - Windows 10 32/64bit, Mac OS X, Chrome OS and Android 6 (Google) with Intel Broadwell Processor and R51 and higher
Product dimensions: 133 × 56 × 15 ~mm
Product weight: 83 g
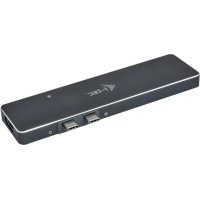
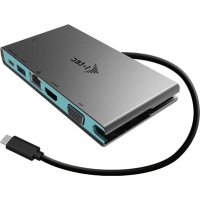
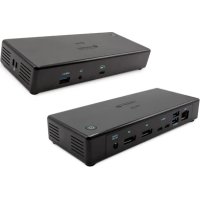
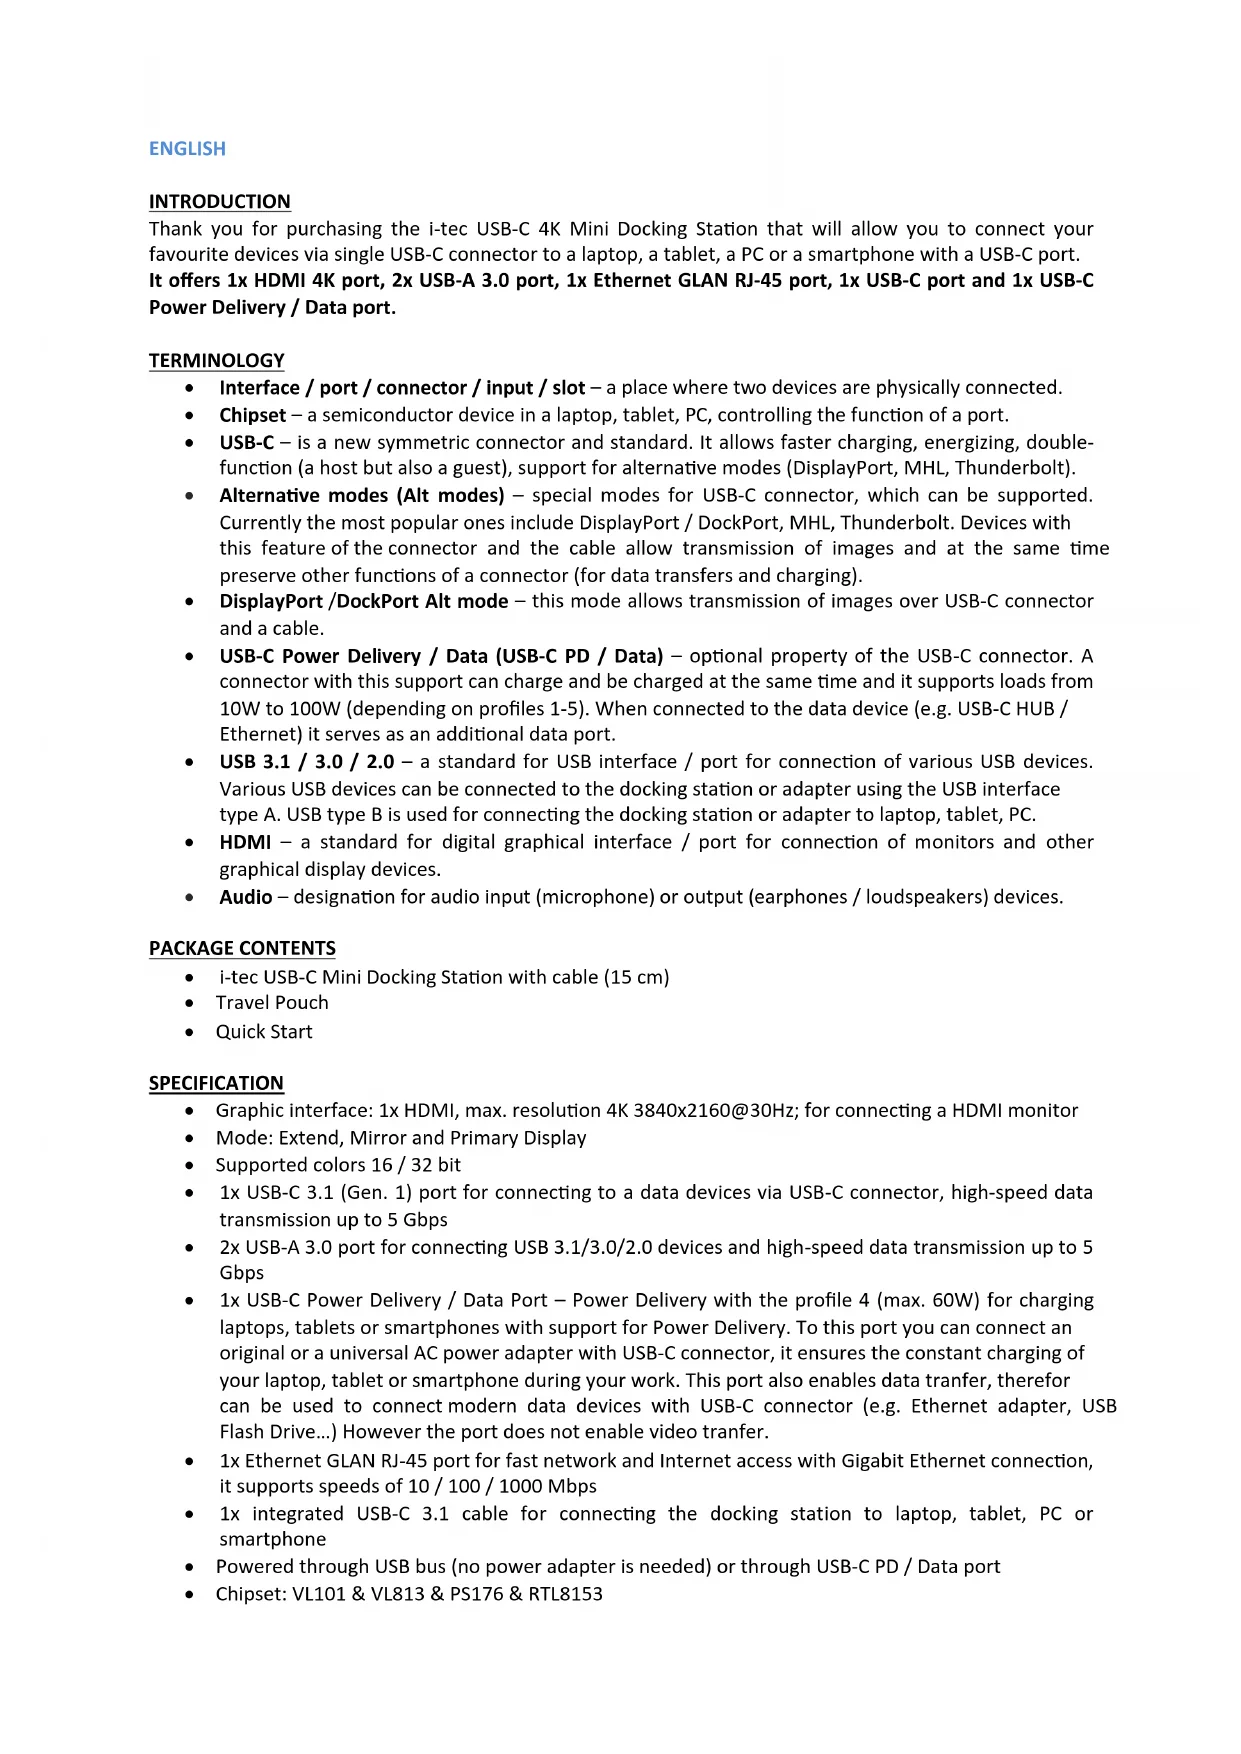
DESCRIPTION OF THE DOCKING STATION
- USB-C Power Delivery / Data port
2.HDMI port
3.2x USB-A 3.0 port - USB-C port
- Ethernet GLAN RJ-45 port
- Connecting cable with USB-C connector
SYSTEM REQUIREMENTS
Hardware requirements: laptop, tablet, PC, smartphone with OS Windows, Mac or Google with a free port USB-C
Operating system: Windows 10, Mac OS X, Google (Chrome OS and Android 6) with latest updates
CAUTION! After connecting, the drivers for the docking station are installed automatically from the system. Before installation make sure that your system has installed the latest drivers for your device and updated BIOS.
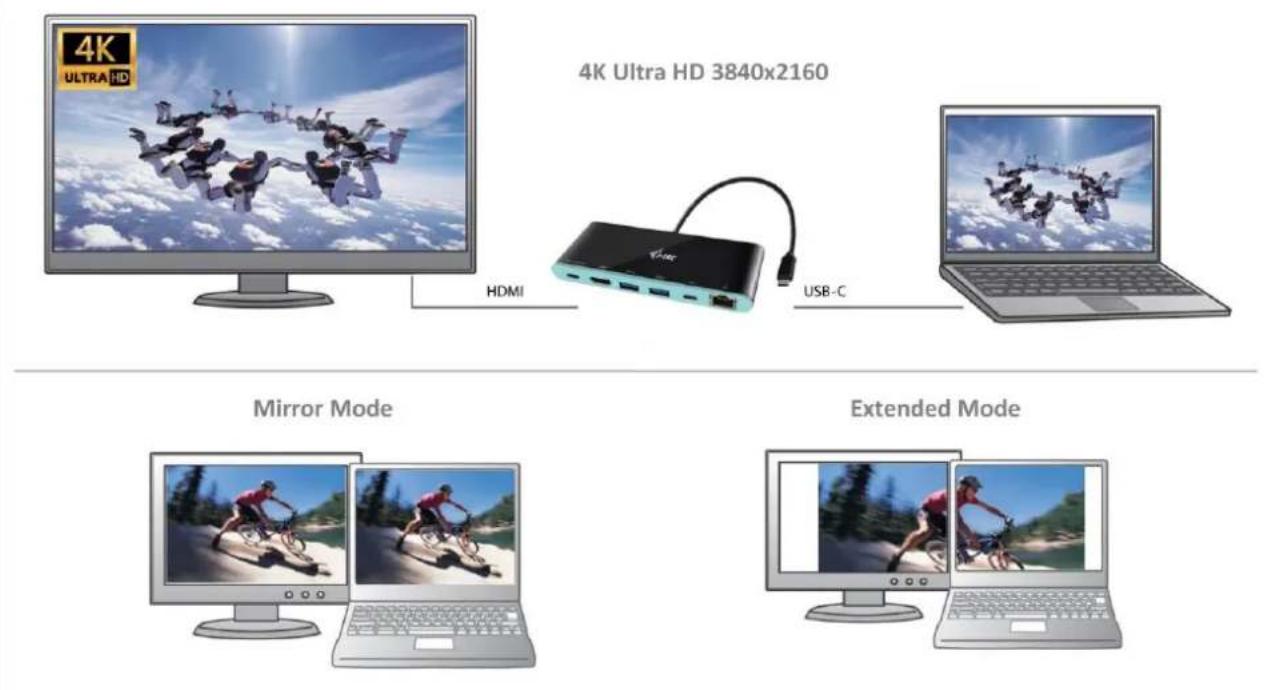
CONNECTING AN HDMI MONITOR
The docking station is equipped with 1x HDMI 4K Ultra HD port for connection of an external monitor or beamer with an HDMI interface. For displaying your images you can use modern plasma or LCD monitors and TVs. The graphic chip, which is the heart of the docking station, supports up to 4K resolution 3840x2160px. Connect the monitor to the docking station using a high-quality HDMI cable. During installation of an additional monitor the screen of the notebook, tablet or PC can flicker which is a standard condition.
CONNECTING TO THE LAN
You can use the GLAN RJ-45 port for connecting to the Ethernet to a router / switch and to the internet, it supports speeds of 10 / 100 / 1000 Mbps.
CONNECTING USB DEVICES
You can use the USB-C Power Delivery / Data port, USB-C port and USB 3.0 ports for connecting your keyboard, mouse, external hard drive, printer and other devices or you can use it for connection of an USB HUB by which you will gain some more free USB ports. In this case we recommend using a HUB with an external power source. If the connected device is not charged or does not work, connect the original / external USB-C power adaptor to the power connector of the parent notebook / Mac / smartphone / tablet or USB-C Power Delivery port on the docking station.
Notes for using the USB-C port:
Fully compatible devices / systems (Alt Mode & Power Delivery)
USB-C is a new standard with a large diversity of uses, while the information on compatibility is complex. Some USB-C devices / systems support Alt Mode video output, while other devices do not. Some can be energized and charged from USB-C Power Delivery, while other devices do not. Devices / systems currently supporting both Alt Mode and Power Delivery include for example MacBook Retina 12" 2015/2016, Chromebook Pixel 2015 and Dell XPS 13" 9350 / 15" 9550.
Partially compatible devices (supporting either Alt Mode or Power Delivery, but not both)
Many current USB-C devices that support Alt Mode video output do not support charging from USB-C Power Delivery. These devices still need their original power adaptors for charging. On the other hand, some USB-C phones or tablets can be charged from Power Delivery, but most of them do not support Alt Mode video output.
Non-compatible devices / systems
The docking station uses new functions introduced with USB 3.1 and as such the USB-C Power Delivery is not backward compatible with USB 3.0 / 2.0 for charging of older devices. Further, the USB-A 3.0/2.0 (Male) converters to USB-C (Female) for connecting USB-C devices in USB-A 3.0 ports of the docking station are not compatible either. Most current phones and tablets with the USB-C port do not support Alt Mode video output and some do not support USB-C Power Delivery. Check the compatibility with this technology in the device documentation or contact the device manufacturer. Lenovo Yoga 900 is not compatible with the i-tec USB-C Travel Docking Station. No phones and tablets with the Android OS currently support Alt Mode video output. Currently, ASMMedia USB 3.1 controllers do not support Alt Mode video output.
CHARGING THROUGH POWER DELIVERY
Apple New MacBook, Windows 10 devices with a USB-C port or Chromebook Pixels etc.
The docking station offers USB-C Power Delivery / Data port, designed for energizing of the connected "parent" device using the original power adapter and for charging of devices connected through the USB ports. If you no need charging your devices through Power Delivery, you can use the port for data transfer.
CHARGING
The docking station supports charging of the connected USB mobile devices such as smart phones, e-book readers, multimedia players, navigation devices, and tablets. Simply connect the device that you want to charge using the original cable to the USB port of the docking station. If the device is not charged or does not work, connect the original USB-C power adapter to the USB-C port of the docking station.
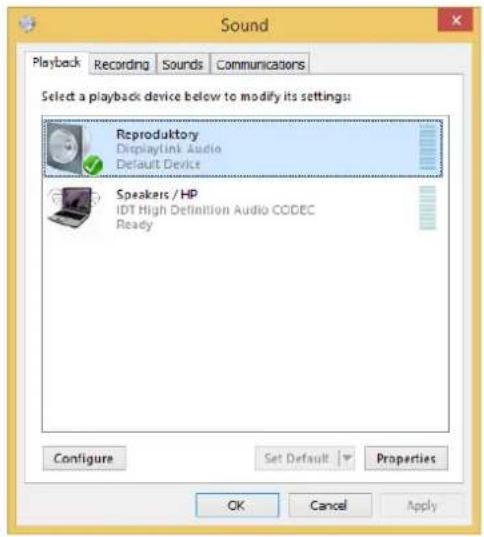
AUDIO
Audio output devices, for listening through HDMI, need to be set / verified here: System Preferences-Sound-Output - select HDMI Audio Device.
Setting the audio output device to both the earphones and the monitor simultaneously can be done in Open-Applications-Utilities-Audio settings MIDI.app - click on ^ + ^ on the left at the bottom - Create device with multiple outputs and select the desired outputs from the offered options on the Device with multiple outputs.
Note: The majority of problems with the docking station and the connected peripheral devices can be solved by disconnecting the USB-C cable of the docking station from the USB-C port of the PC / Mac / smartphone and reconnecting after approximately 10 s.
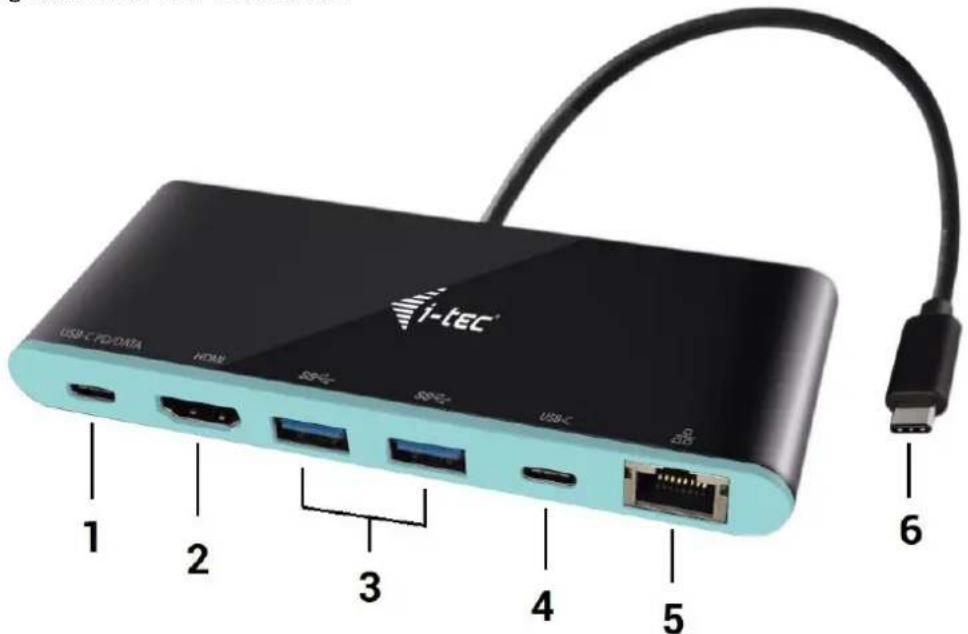
USING IN WINDOWS OS
Advanced configuration for the graphics - after connecting the monitor and after clicking on the settings for "Image Resolution" in Windows you can select the monitor you want to use.
Note: By clicking on the second monitor and moving it you can position this monitor as required relative to the original monitor of your laptop / tablet / PC.
Now you can set Extend and Mirror mode:
a) for the Mirror mode: on the monitor select the 2nd Monitor, select Several monitors Mirror this display OK.
b) for the Extend mode: on the monitor select the 2nd Monitor, select Several monitors Extend this display OK.
Audio settings - this will allow audio settings in the Control Panels Audio.
Notes on using:
The Standby/Hibernate mode and the Video port - after the activation of the laptop / tablet / PC from the Standby/Hibernate mode the primary (original) monitor is displayed, for this reason we recommend using the monitor that is integrated with the laptop / tablet / PC as the primary monitor so that you can log on to the system again.
The Mirror mode - the additional monitor takes on the parameters of the original monitor in the system, i.e., if you select the Mirror mode and the original monitor resolution is 1280x1024 then the screen will be displayed on the additional monitor with a resolution of max. 1280x1024 (even if you set a higher resolution).
CAUTION! Use and set the monitors in accordance with the user manual, i.e., using a monitor with the resolution lower than the settings on the HDMI port can damage the monitor (e.g., for a monitor with max. resolution 1024x768 do not set the resolution value 1280x960 and higher on the HDMI port)!
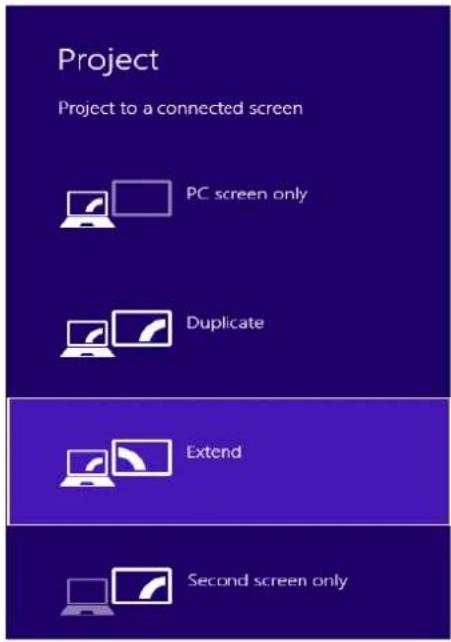
Pressing the keys „Windows“ + P you can also easily control the monitors – for using a monitor in Win 10 you can select: Computer screen only, Mirror, Extend, Second screen only.
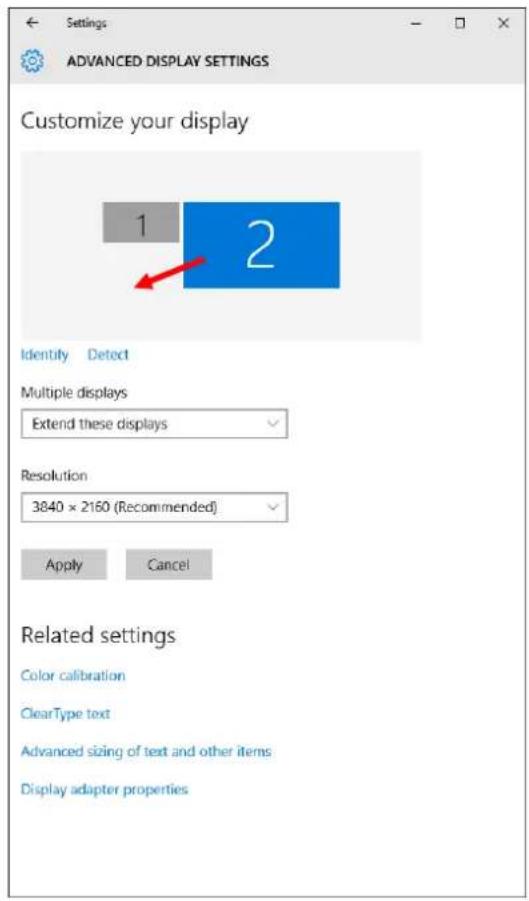
USING IN MAC OS X
CAUTION! Before installation make sure that your Mac has installed the latest OS for your device. Installation of the drivers in Mac OS X is automatic.
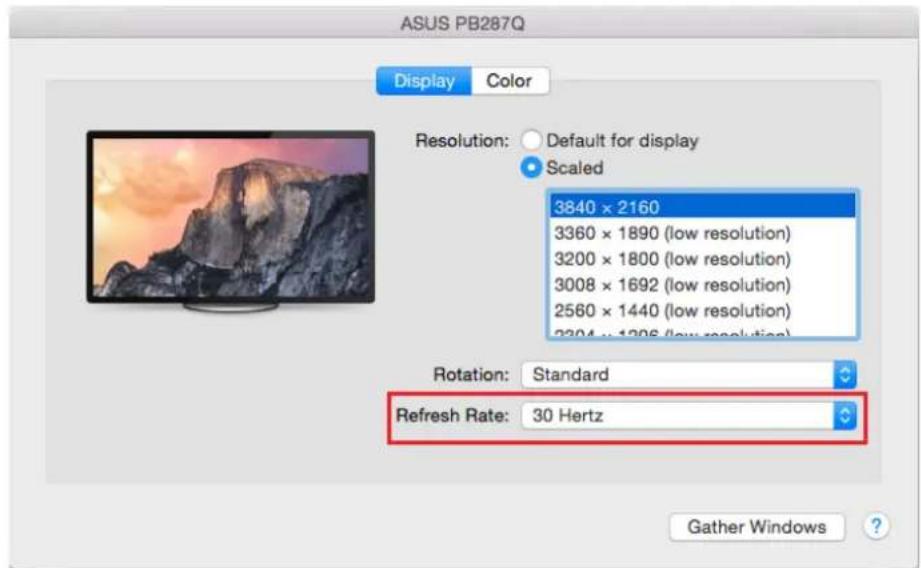
After connecting the monitor the screen on your Mac will glimmer, which is a standard condition, and after stabilization it is possible to perform standard setting of the monitor here: System Preferences-Displays.
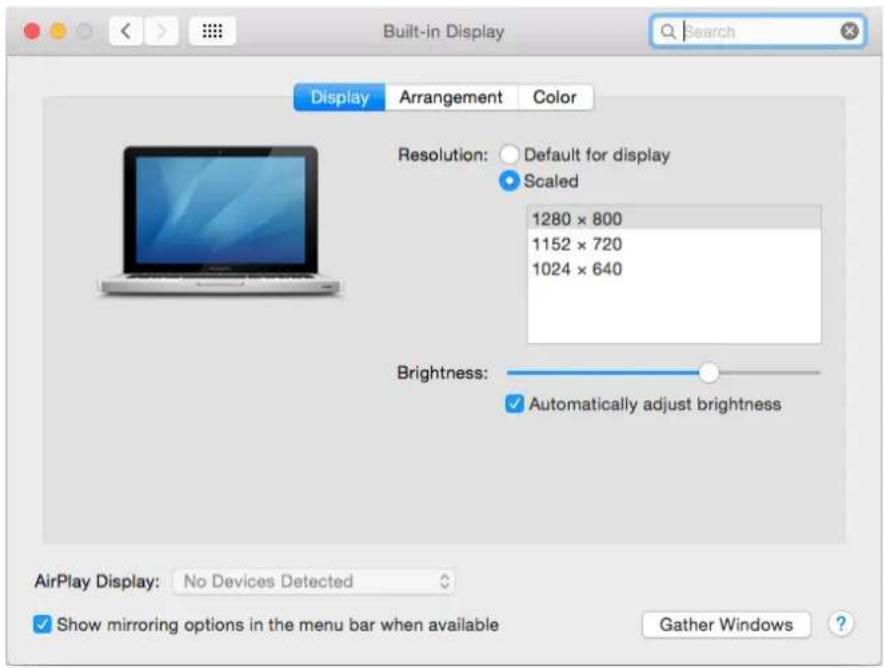
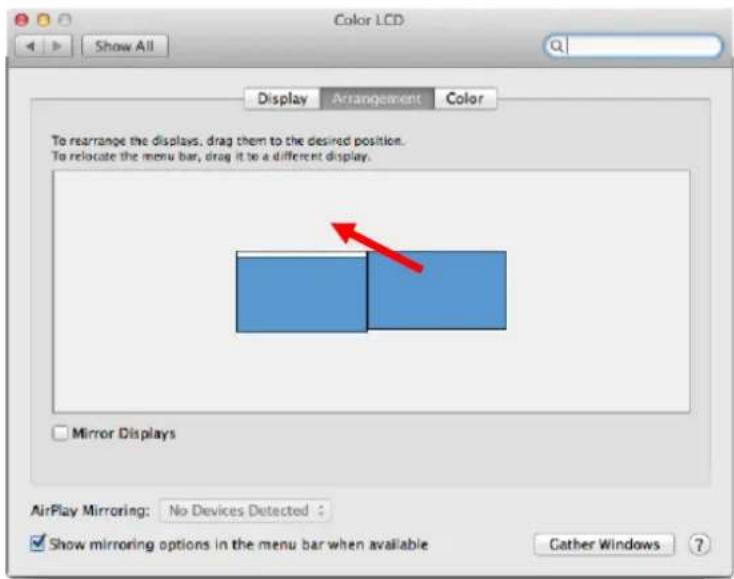
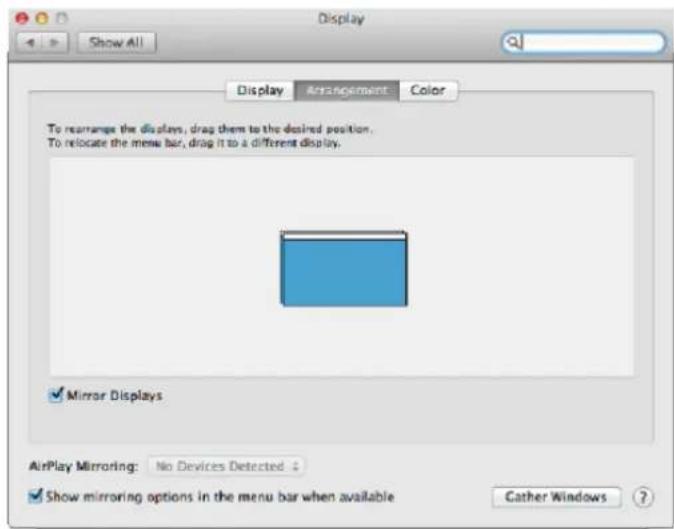
Click on Arrangement and in the default mode (Expanded desktop) click on the new monitor and drag it as necessary vis-à-vis the Mac monitor. If you select Mirror displays the mode will change to Mirror (the resolution of the monitors will be automatically adjusted according to their parameters and the highest possible resolution will be set on both monitors). By cancelling the Mirror displays option you will return to the Expanded desktop mode.
Expanded desktop mode: The arrow indicates the possible position of the connected monitor vis-à-vis the Mac monitor.
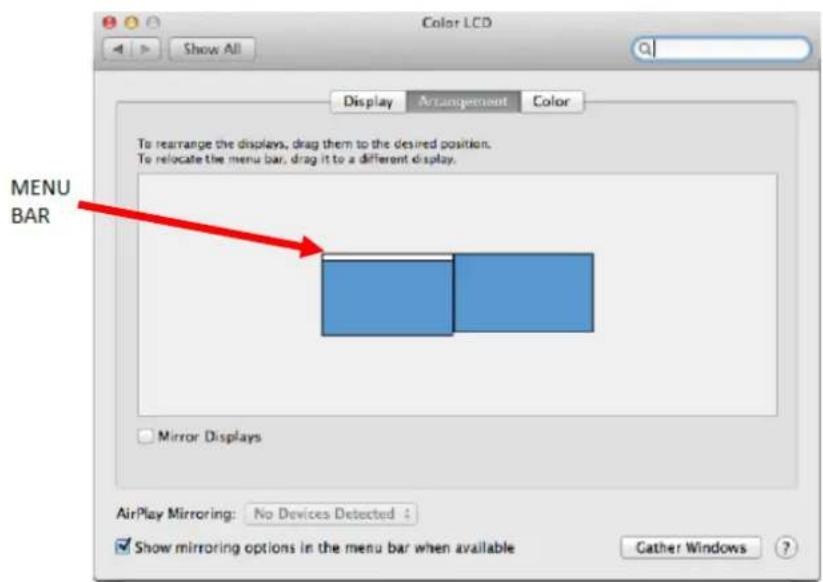
In the Expanded desktop mode you can choose the Main monitor by dragging the Menu Bar.
Mirror mode: This mode can only be used if supported by the Mac.
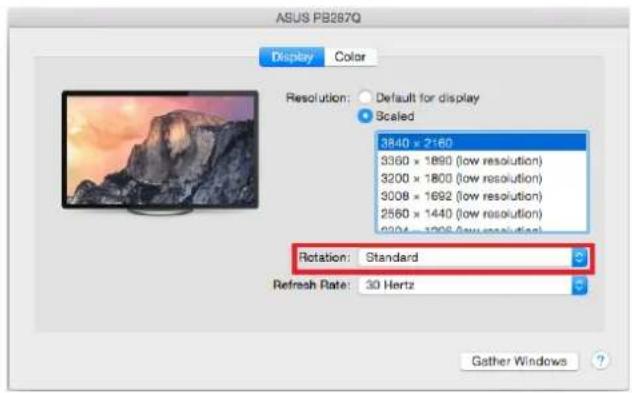
Click on Gather Windows: using this option you can choose the settings of the corresponding monitor - Scaled (offers available resolutions), Rotation (Standard, 90^ , 180^ and 270^ ) and Refresh rate (if offered).

Notes for using the docking station with monitors:
Working on the connected monitor when the Mac monitor is closed is possible with the power supply from the grid (there are some limitations when using a HDMI monitor on older versions of Mac). When the power supply is from the battery, the use of a HDMI monitor is limited by the Mac (in some situations in case of problems with displaying it is possible to use the method described in the following paragraph).
Most problems with renewing the screen on the connected monitor after hibernation of the Mac, after usingscreensaver, after restarting the Mac, after turning the Mac OFF / ON can be solved by disconnecting the USB-C cable of the docking station from the USB-C port on the Mac and reconnecting it after approximately 10 s. Please wait for completion of connection of all peripherals.
SAFETY INSTRUCTIONS
- Do not expose to extreme temperatures and air humidity.
Use the device on flat surfaces - you will prevent it from slipping and falling to the ground. - Save the user manual for a possible use later.
In cooperation with the service department:
- Check functionality after falling to water or to the ground.
- Check functionality when the cover is broken.
- Send the device back if it does not work in accordance with the user manual.
FREQUENTLY ASKED QUESTIONS
Question: What are the requirements for the primary graphic cards to be used with the graphic chipsets in the i-tech graphic adapters and docking stations?
Answer: Graphic chipsets are secondary (additional) graphic cards in the PC. For their function they need to have an installed primary graphic card. Windows 10 and later: In these operating system the graphic controller works only in connection with the primary graphic cards: Intel, NVidia, ATI/AMD, VIA. It cannot work with the SiS or Matrox graphic cards.
Question: Can I get more detailed information on the problems related to the USB-C docking station?
Answer: Of course, you can contact our technical help: support@itecproduct.com
Question: The device does not charge an Apple / Samsung tablet.
Answer: If the connected device is not charged or does not work, connect the original / external USB-C power adaptor to the power connector of the parent laptop / Mac / smartphone / tablet or USB-C port on the docking station for support of charging. Unfortunately despite the European standard on unification of the power supply devices some companies protect their products by allowing charging these products only with the original / licensed power adaptor through the USB-C port.