
Beep & Park Vision - Rear Camera Valeo - Free user manual and instructions
Find the device manual for free Beep & Park Vision Valeo in PDF.
| Product type | Rear view camera with parking assistance system |
| Brand | Valeo |
| Model | Beep & Park Vision |
| Power supply | 9-16 V DC |
| Static current (ECU) | ≤ 25 mA |
| Static current (display) | ≤ 110 mA |
| Operating current (ECU) | ≤ 250 mA |
| Operating current (display) | ≤ 250 mA |
| Detection range | 0.10 to 2.50 m |
| Display range | 0.30 to 2.50 m |
| Alarm volume | 70-90 dB |
| Operating temperature (system) | -40°C to +85°C |
| Camera type | CMOS |
| Video standard | PAL |
| Camera resolution | 640 x 480 pixels, 450 TV lines |
| Minimum illumination | 1 lux |
| Camera viewing angle | 110° (H) x 90° (V) |
| Display type | TFT 3" (16:9) |
| Display resolution | 400 x 240 pixels (96,000 pixels) |
| Approvals | E-mark, CE, ROHS |
| Main functions | Wide-angle view, adjustable audible alert, parking assistance lines, brightness/contrast/color settings, saving settings when power off, sensor self-diagnosis |
| Maintenance | Clean the lens with an alcohol-dampened cloth, protect from sharp objects, check sealing |
| Safety | Professional installation recommended, check sensor position before drilling, does not replace driver attention |
| Spare parts | Sensors available in the Valeo range |
| Accessories included | Angle correction rings |
| Compatibility | PAL, pulsed reverse signal, towbar compatible |
Frequently Asked Questions - Beep & Park Vision Valeo
User questions about Beep & Park Vision Valeo
0 question about this device. Answer the ones you know or ask your own.
Ask a new question about this device
Download the instructions for your Rear Camera in PDF format for free! Find your manual Beep & Park Vision - Valeo and take your electronic device back in hand. On this page are published all the documents necessary for the use of your device. Beep & Park Vision by Valeo.
USER MANUAL Beep & Park Vision Valeo
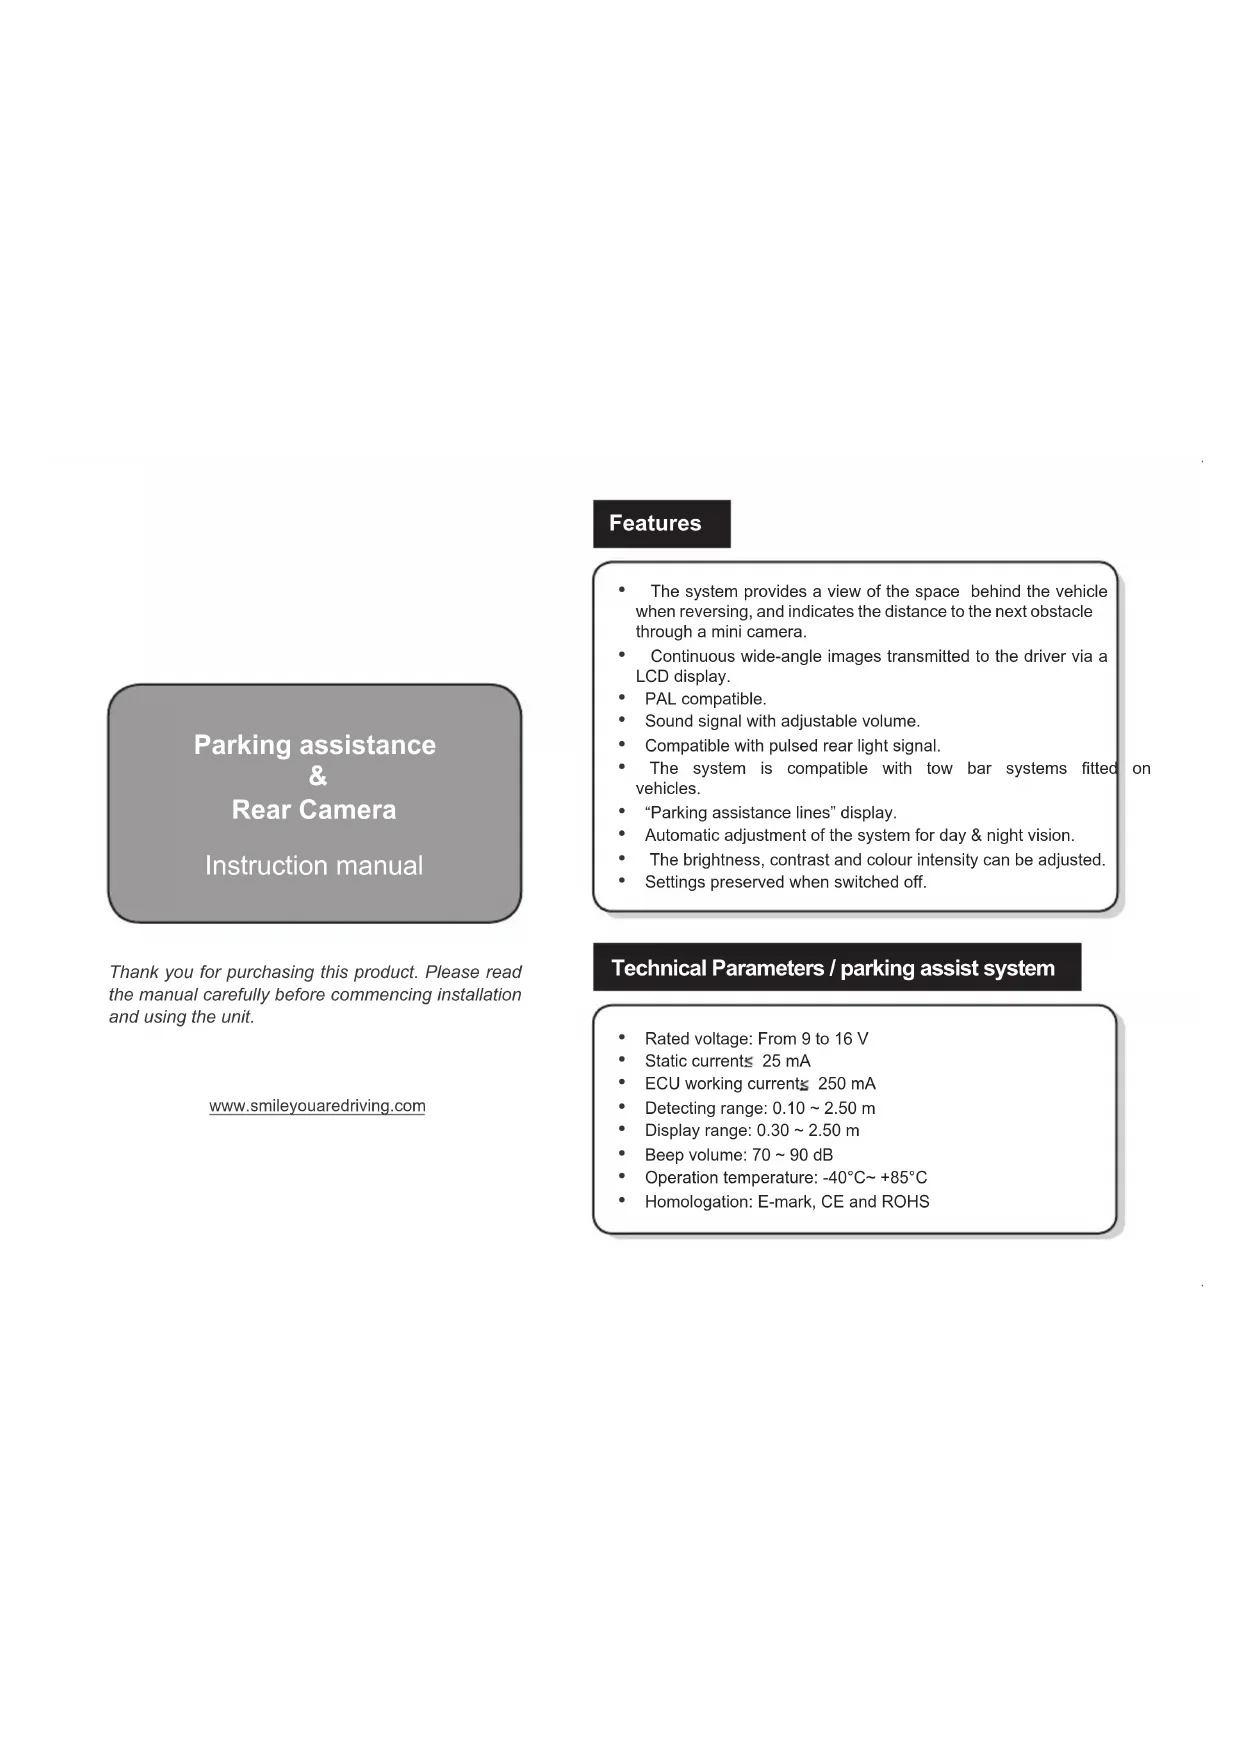
Parking assistance &
Rear Camera
Instruction manual
Thank you for purchasing this product. Please read the manual carefully before commencing installation and using the unit.
www.smileyouaredriving.com
Features
- The system provides a view of the space behind the vehicle when reversing, and indicates the distance to the next obstacle through a mini camera.
- Continuous wide-angle images transmitted to the driver via a LCD display.
PAL compatible.
Sound signal with adjustable volume. - Compatible with pulsed rear light signal.
The system is compatible with tow bar systems fitted vehicles.
"Parking assistance lines" display.
Automatic adjustment of the system for day & night vision.
The brightness, contrast and colour intensity can be adjusted. - Settings preserved when switched off.
on
Technical Parameters / parking assist system
Rated voltage: From 9 to 16V
Static currents 25 mA
ECU working currents 250 mA
- Detecting range: 0.10 2.50 m
Display range: 0.30 2.50m
- Beep volume: 70 90 dB
Operation temperature: -40^ +85^
Homologation: E-mark, CE and ROHS
Technical Parameters / Rearview camera
Type/Mode: CMOS camera
Video standard: PAL
Voltage: DC 12V
Picture element: 640 (H) x 480 (V)
Horizontal resolution: 450 TV lines
Minimum illuminations ≤ 1 Lux
View angle: 110^× 90^ (HxV)
Operation temperature: Camera -30^ +80^
Technical Parameters / Display
Type: TFT screen
Size:3" (16:9)
Display format: 400(H)× 240(V)
Number of pixels: 96000
Video mode: NTSC/PAL
Working currents 250 mA
Static current ≤ 110 mA
Working temperature: -20^ +60^


No reset necessary
Caution
It is recommended that installation is carried out by an approved professional auto technician.
It is strongly advised to check the position of the sensors before the definitive drilling of the holes.
- beep&park®/vision™ helps provide assistance when reversing and parking. Driving skills, such as slowing down, use of mirrors etc. are always essential.
- You may have to replace the adapter ring (included in the kit) around the sensor in order to obtain the required inclination in the range of +/- 5^ after installation on the vehicle bumper.
- The angle of the camera should be adjusted using the angle correction rings provided.
- To ensure clear view, please keep the camera lens clean and keep it away from sharp items.
- If you wish to connect the system to an original navigation system, please refer to your auto technician.
- Please ensure waterproofness of the camera in case it would be fitted outside the bumper.
Self diagnosis
This system is equipped with a self-diagnosis of sensors:
- When the reverse gear is selected, the system automatically tests the 4 rear sensors.
- If all of the sensors are working, the system beeps once.
- If there is a problem with any of the sensors, the system beeps 3 times.
- Check that sensors are properly fitted.
- In case of crash, you can replace the concerned sensor by one available in the Valeo spare parts offer.
Troubleshooting
There is no image on the display:
- Is the power supply wire connected correctly?
- Is the ignition turned to ACC ON?
- Is the reverse gear selected?
- Are all wire connections correct?
- Check the correct function setting of the display.
Image on the display without selecting the reverse gear:
Check whether the power wire of ECU is connected to the reverse light wire.
The display indicates a defective sensor:
- Check whether the sensor surface is clean.
- Check whether the sensor wires are plugged in the ECU properly.
- Check whether the sensor wires are damaged or not.
The object position does not correspond to the correct indicator on the display:
Are the sensor cables connected to the control unit (ECU) in the correct order e.g. A.B?
You would like to change the volume of the sound signal:
Adjust the volume to a certain level.
6 When reverse gear is selected, 0.5m or 0.6m is shown on the display:
- There are obstacles within 0.6m
- Are sensors mounted too low or detecting the ground?
- Check whether the sensor is installed upside down.
- Unplug 1 sensor at a time to check for response.
7 Blurred image or poor quality image on the display:
- Check whether there is dirt or water on the lens of the camera.
- Clean the lens with a lint with alcohol, and then dry it with a clean cloth.
- Is there enough power supply provided to the ECU?
- The brightness, contrast and colour intensity can be adjusted.
8 Once reverse gear is selected, a sound signal is triggered when there is no obstacle behind the vehicle:
- Check that requested height of sensors fitted on the bumper from the floor is respected (between 45 and 60~cm
- Check that requested angle of sensors fitted on the bumper is respected. If necessary, use the angle correction rings for the installation.
- Check that requested distance between sensors on the bumper is respected (< or = 45cm)
- Check that the sensor is not installed upside-down.

- Unplug one sensor at a time to identify the cause of the anomaly.
911nce reverse gear is selected, an obstacle behind the vehicle is not detected by the system:
- Check that requested height of sensors fitted on the bumper from the floor is respected (between 45 and 60~cm
- Check that requested angle of sensors fitted on the bumper is respected. If necessary, use the angle correction rings for the installation.
- Check that requested distance between sensors on the bumper is respected (< or = 45cm)
- Check that the sensor is not installed upside-down.

- Unplug one sensor at a time to identify the cause of the anomaly.
10 The parking assistance lines are not parallel to the ground or the parking space:
- Check that the camera is between 45 and 60~cm above the ground.
- Check that the camera is at the right angle for an obstacle 2.5m away, displaying the obstacle in the center of the screen. If necessary, correct the angle using adapter rings.
- Adjust according to the six configurations proposed.
- Turn the camera on its axis to line up with the horizon.
The distances represented by the parking assistance lines do not correspond to the values displayed:
- Check that the camera is between 45 and 60~cm above the ground.
- Check that the camera is at the right angle for an obstacle 2.5m away, displaying the obstacle in the center of the screen. If necessary, correct the angle using adapter rings.
- Adjust according to the six configurations proposed.
- Turn the camera on its axis to line up with the horizon.

Step by step installation
False detection may occur in such cases:
Automotive technology, naturally

Valeo Service | 70, rue Pleyel | 93285 Saint-Denis Cedex
Valeo Service SAS au capital de 12 900 000 € - RCS Bobigny 306 486 408
- Parking assistance &
- Rear Camera
- Instruction manual
- Features
- Technical Parameters / parking assist system
- Technical Parameters / Rearview camera
- Technical Parameters / Display
- Caution
- Self diagnosis
- Troubleshooting
- 911nce reverse gear is selected, an obstacle behind the vehicle is not detected by the system:
- The parking assistance lines are not parallel to the ground or the parking space:
- The distances represented by the parking assistance lines do not correspond to the values displayed:
Brand : Valeo
Model : Beep & Park Vision
Category : Rear Camera