Striker Slim - Vacuum Cleaner TAURUS - Free user manual and instructions
Find the device manual for free Striker Slim TAURUS in PDF.
Download the instructions for your Vacuum Cleaner in PDF format for free! Find your manual Striker Slim - TAURUS and take your electronic device back in hand. On this page are published all the documents necessary for the use of your device. Striker Slim by TAURUS.
USER MANUAL Striker Slim TAURUS
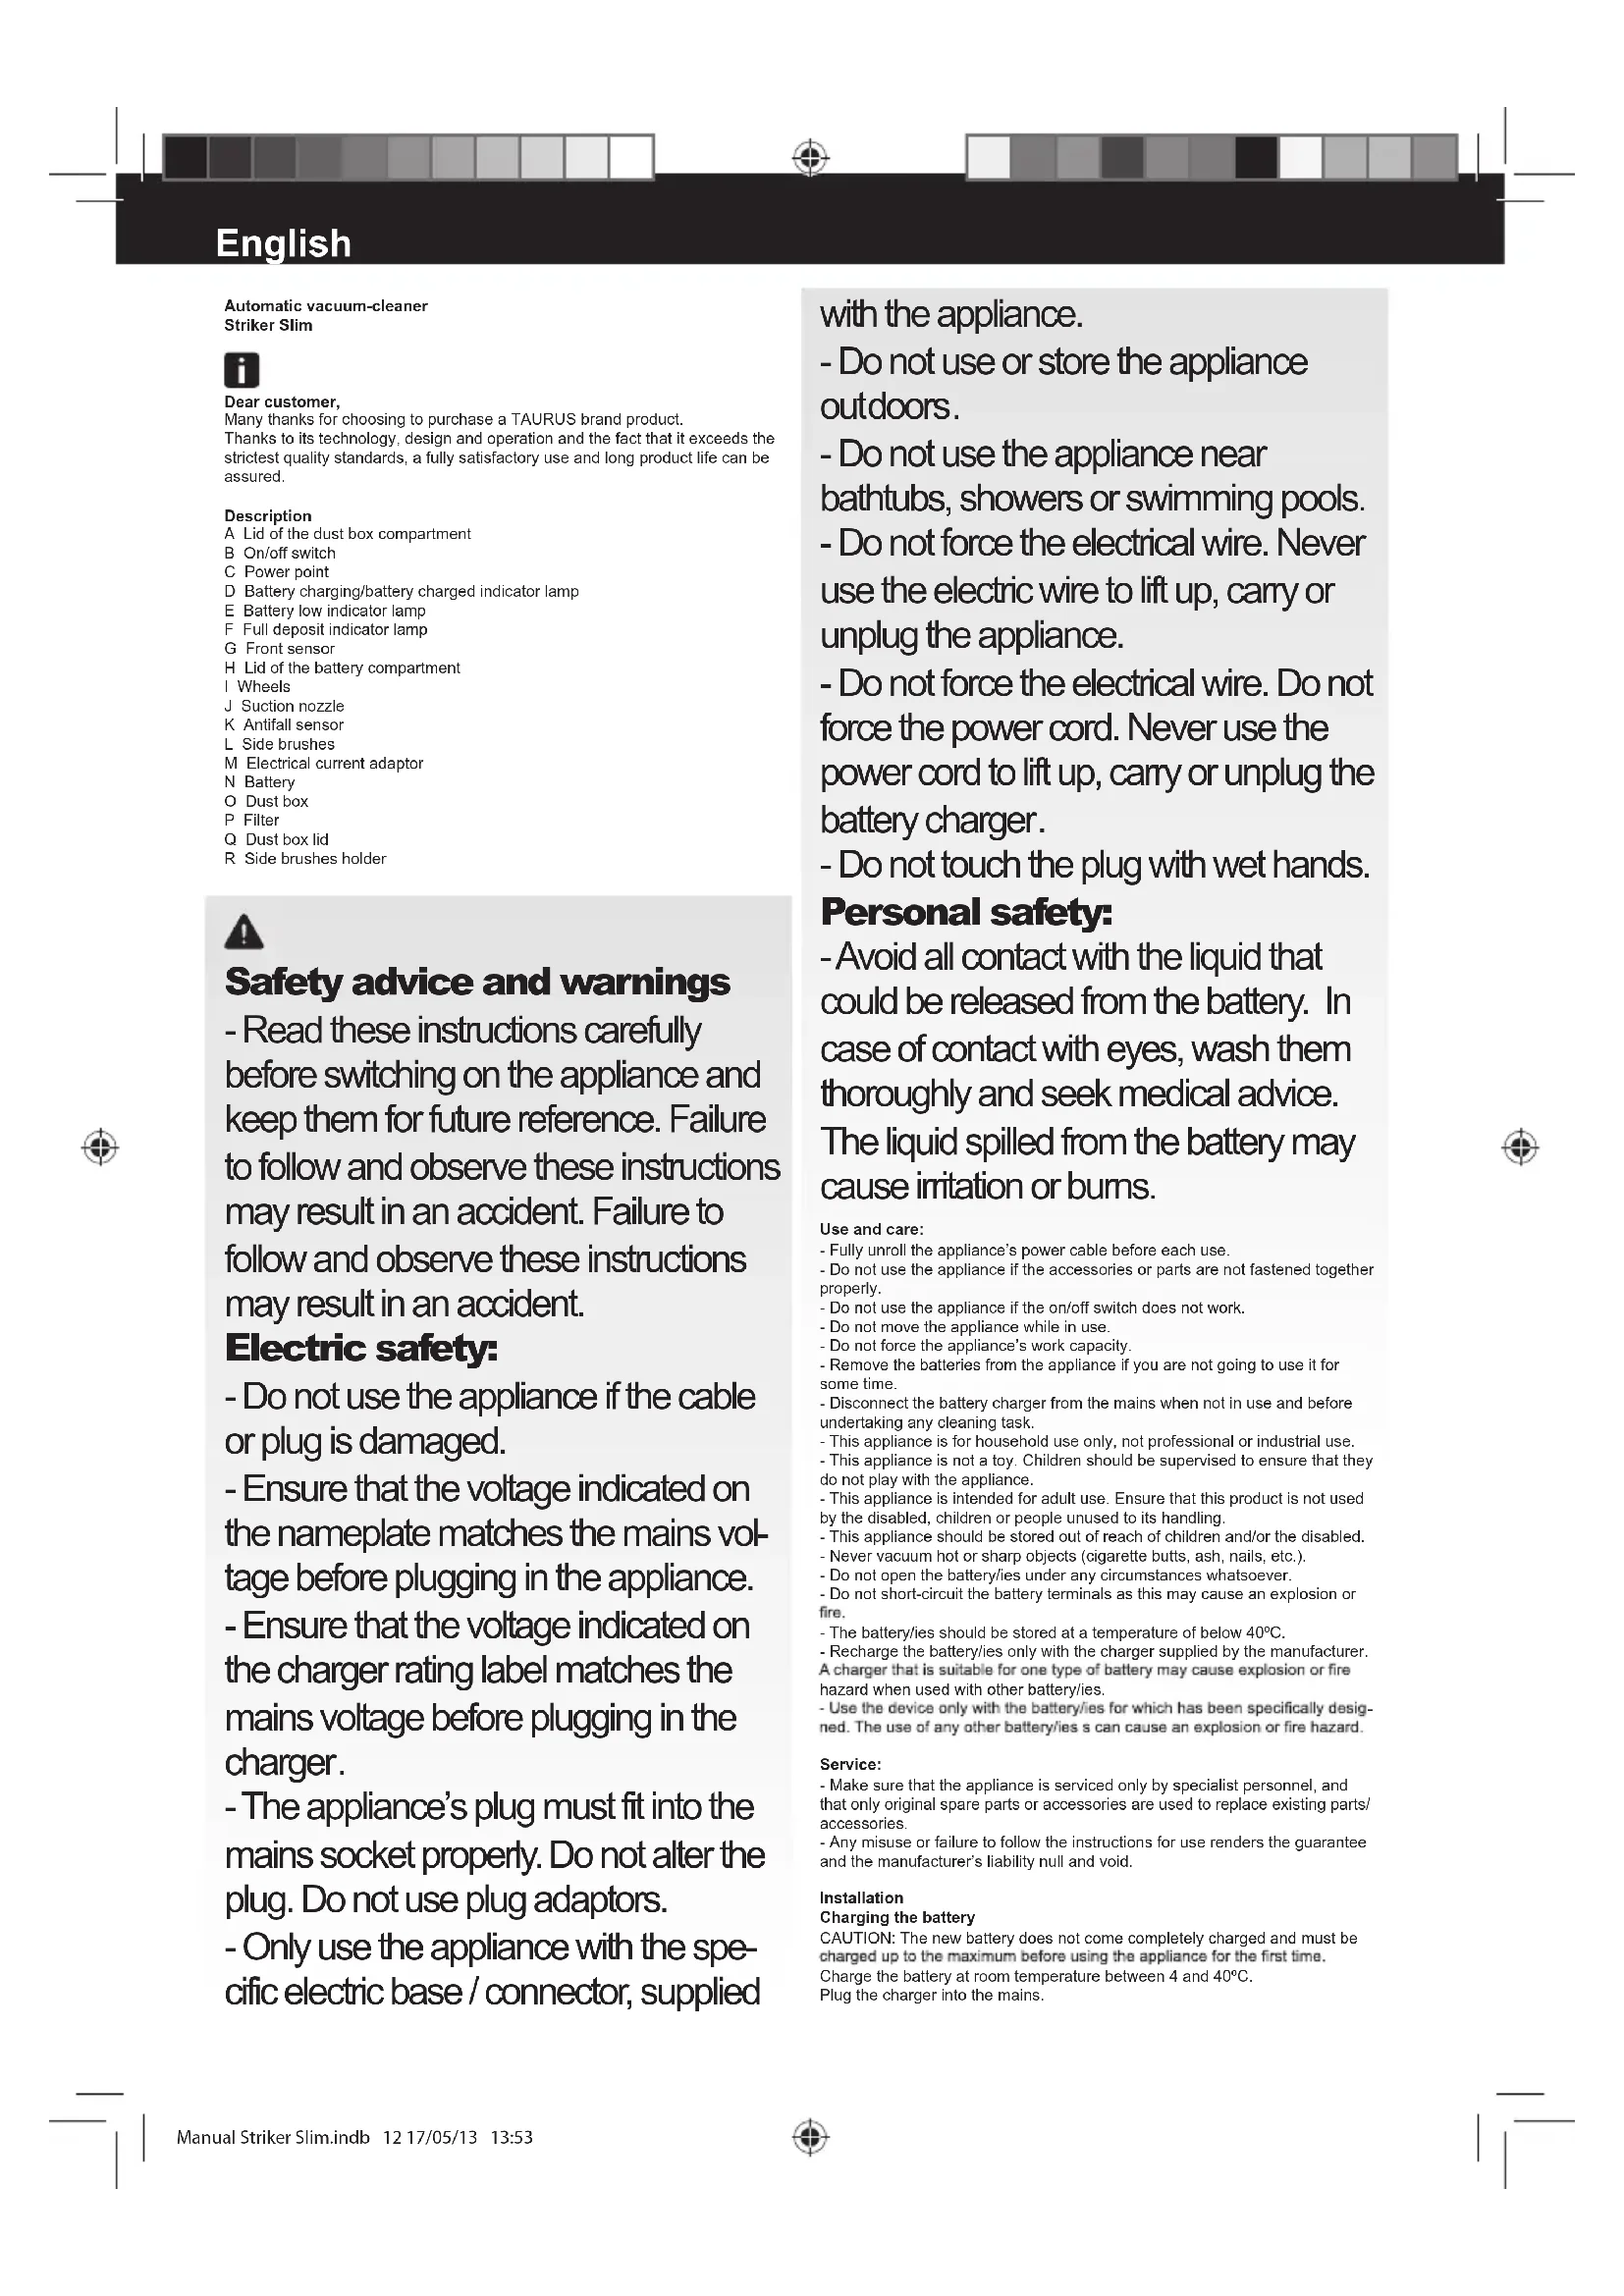
Service: - Make sure that the appliance is serviced only by specialist personnel, and that only original spare parts or accessories are used to replace existing parts/ accessories. - Any misuse or failure to follow the instructions for use renders the guarantee and the manufacturer’s liability null and void. Installation Charging the battery CAUTION: The new battery does not come completely charged and must be Charge the battery at room temperature between 4 and 40ºC. Plug the charger into the mains. Manual Striker Slim.indb 12 17/05/13 13:53During charging, the battery charging/battery full indicator lamp will pulse. Once the battery is completely charged, the battery charging/battery charged indicator lamp will remain green (D). Approximately 4 hours are needed for a complete charge of the battery. Never attempt to over-charge the battery. Assembling the battery/s - CAUTION: During the handling of batteries, do not touch both poles at the same time, as this will provoke the partial discharge of the stocked energy therefore affecting longevity. - Make sure the on/off switch is in the “0” position before installing the batteries. - Remove the cover of the battery compartment. - Put the battery in its compartment, respecting the polarity (Fig. 1). - Close the cover of the battery compartment. Assembling the side brushes: Place the side brush on the side brushes holder. Press until you hear a click. (Fig.2) Instructions for use Before use: - Before using this product for the rst time, it is important to make a full charge of batteries. Use: - Turn the appliance on using the on/off switch. - The appliance will begin to function automatically until its batteries run out. - While the appliance is operating the battery charging/battery charged and battery low indicator lamps will alternate. - When the batteries are low, the red battery low indicator lamp will light up. - When the deposit is full, the full deposit indicator lamp will come on and the deposit must be emptied. - When using the robot on a dark surface, set the height sensors at Position 2 or 3 (Fig. 3). Once you have nished using the appliance: - Turn the appliance off, using the on/off switch. Cleaning - Disconnect the appliance from the mains and let it cool before undertaking any cleaning task. - Disconnect the charger from the mains and let it cool before undertaking any cleaning task. - Remove the battery before starting any cleaning operation. - Clean the equipment with a damp cloth with a few drops of washing-up liquid and then dry. - Do not use solvents, or products with an acid or base pH such as bleach, or abrasive products, for cleaning the appliance. - Do not let water or any other liquid get into the air vents to avoid damage to the inner parts of the appliance. - Do not submerge the appliance in water or any other liquid, or place it under a running tap. - Never submerge the connector in water or any other liquid or place it under running water. Emptying the dust box: - Empty the dust box each time after use. - Open the lid of the dust box. (Fig.4) - Disconnect the dust box from the appliance. - Open the dust box emptying lid and empty its contents into a suitable rubbish bin (Fig.5) - Check the condition of the dust box lter and replace it. - Close the lid of the dust box. - Attach the dust box to the appliance. Changing the lters: - It is recommended that the dust box lter should be changed every three months. - To remove lters: - Open the lid of the dust box. (Fig. 4) - Disconnect the dust box from the appliance. - Open the dust box emptying lid and remove the dust box lter from its bracket. (Fig.5) - To reassemble the lter, proceed with the above instructions, in reverse order. Changing side brushes: - To remove the side brushes. - Pull the bristles of the brush until it disengages from the side brush assembly. (Fig.6) - To install side brushes, proceed with the above instructions in reverse order. Supplies: Supplies can be acquired from distributors and authorised establishments (such as lters, etc.) for your appliance model. Always use original supplies, designed specically for your appliance model. Anomalies and repair Problem Probable cause Solution 1 The low battery indicator lamp is lit. The battery is low. The appliance has been lifted. Recharge the battery. 2 The robot has not started. The on/off button is in the “0” position. The dust box lter is badly tted. Operate the robot’s on/off button. Fit the dust box lter correctly.
The battery charged indicator continues to pulse after 48 hours of charging. During the charging process, the current has been cut off, so the appliance has not been charged properly. Repeat the charging process. 4 The side brushes are deformed. They are worn out. Remove the side brushes and soak them in hot water to recover their usage shape. 5 The robot does not start up. The battery is incorrectly tted. The battery is too low. Fit the battery correctly. Charge the batteries of the appliance.
The appliance goes in circles and never in a straight line. There may be problems with the wheels. Contact our customer service department to repair them.
During the rst time of using the appliance, its autonomy is lower than normal. The battery has not completely recovered its charge. Repeat the charging process.