
CB 331 - Food Processor BOMANN - Free user manual and instructions
Find the device manual for free CB 331 BOMANN in PDF.
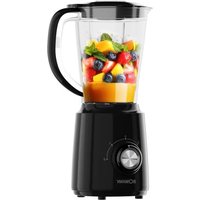
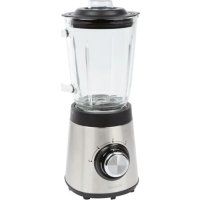
| Product type | Food processor |
| Brand | Bomann |
| Model | CB 331 |
| Power supply | 230 V / 50 Hz |
| Mixing bowl capacity | 1.25 liters |
| Container capacity | 1.5 liters |
| Dimensions (approx.) | 20 x 20 x 30 cm |
| Weight (approx.) | 3 kg |
| Number of speeds | 2 (continuous) + pulse |
| Main functions | Mix, grate, slice, chop |
| Included accessories | Mixing bowl, container, lids, metal and plastic blades, grating and slicing accessories, tool holder, pusher, spatula |
| Blade material | Stainless steel (metal blades) and plastic (plastic blades) |
| Safety | Double safety system: motor only operates if container and bowl are properly locked |
| Care and cleaning | Tool holder and mixing bowl hand washable; other parts dishwasher safe; clean with a damp cloth |
| Warranty | 24 months (upon presentation of receipt) |
| Replacement parts and repairability | Defective accessories replaced individually; post-warranty repairs for a fee by a specialist |
| Color | White (as shown) |
| Control type | Rotary switch with pulse and continuous positions |
| Usage | Household use only |
Frequently Asked Questions - CB 331 BOMANN
User questions about CB 331 BOMANN
0 question about this device. Answer the ones you know or ask your own.
Ask a new question about this device
Download the instructions for your Food Processor in PDF format for free! Find your manual CB 331 - BOMANN and take your electronic device back in hand. On this page are published all the documents necessary for the use of your device. CB 331 by BOMANN.
USER MANUAL CB 331 BOMANN
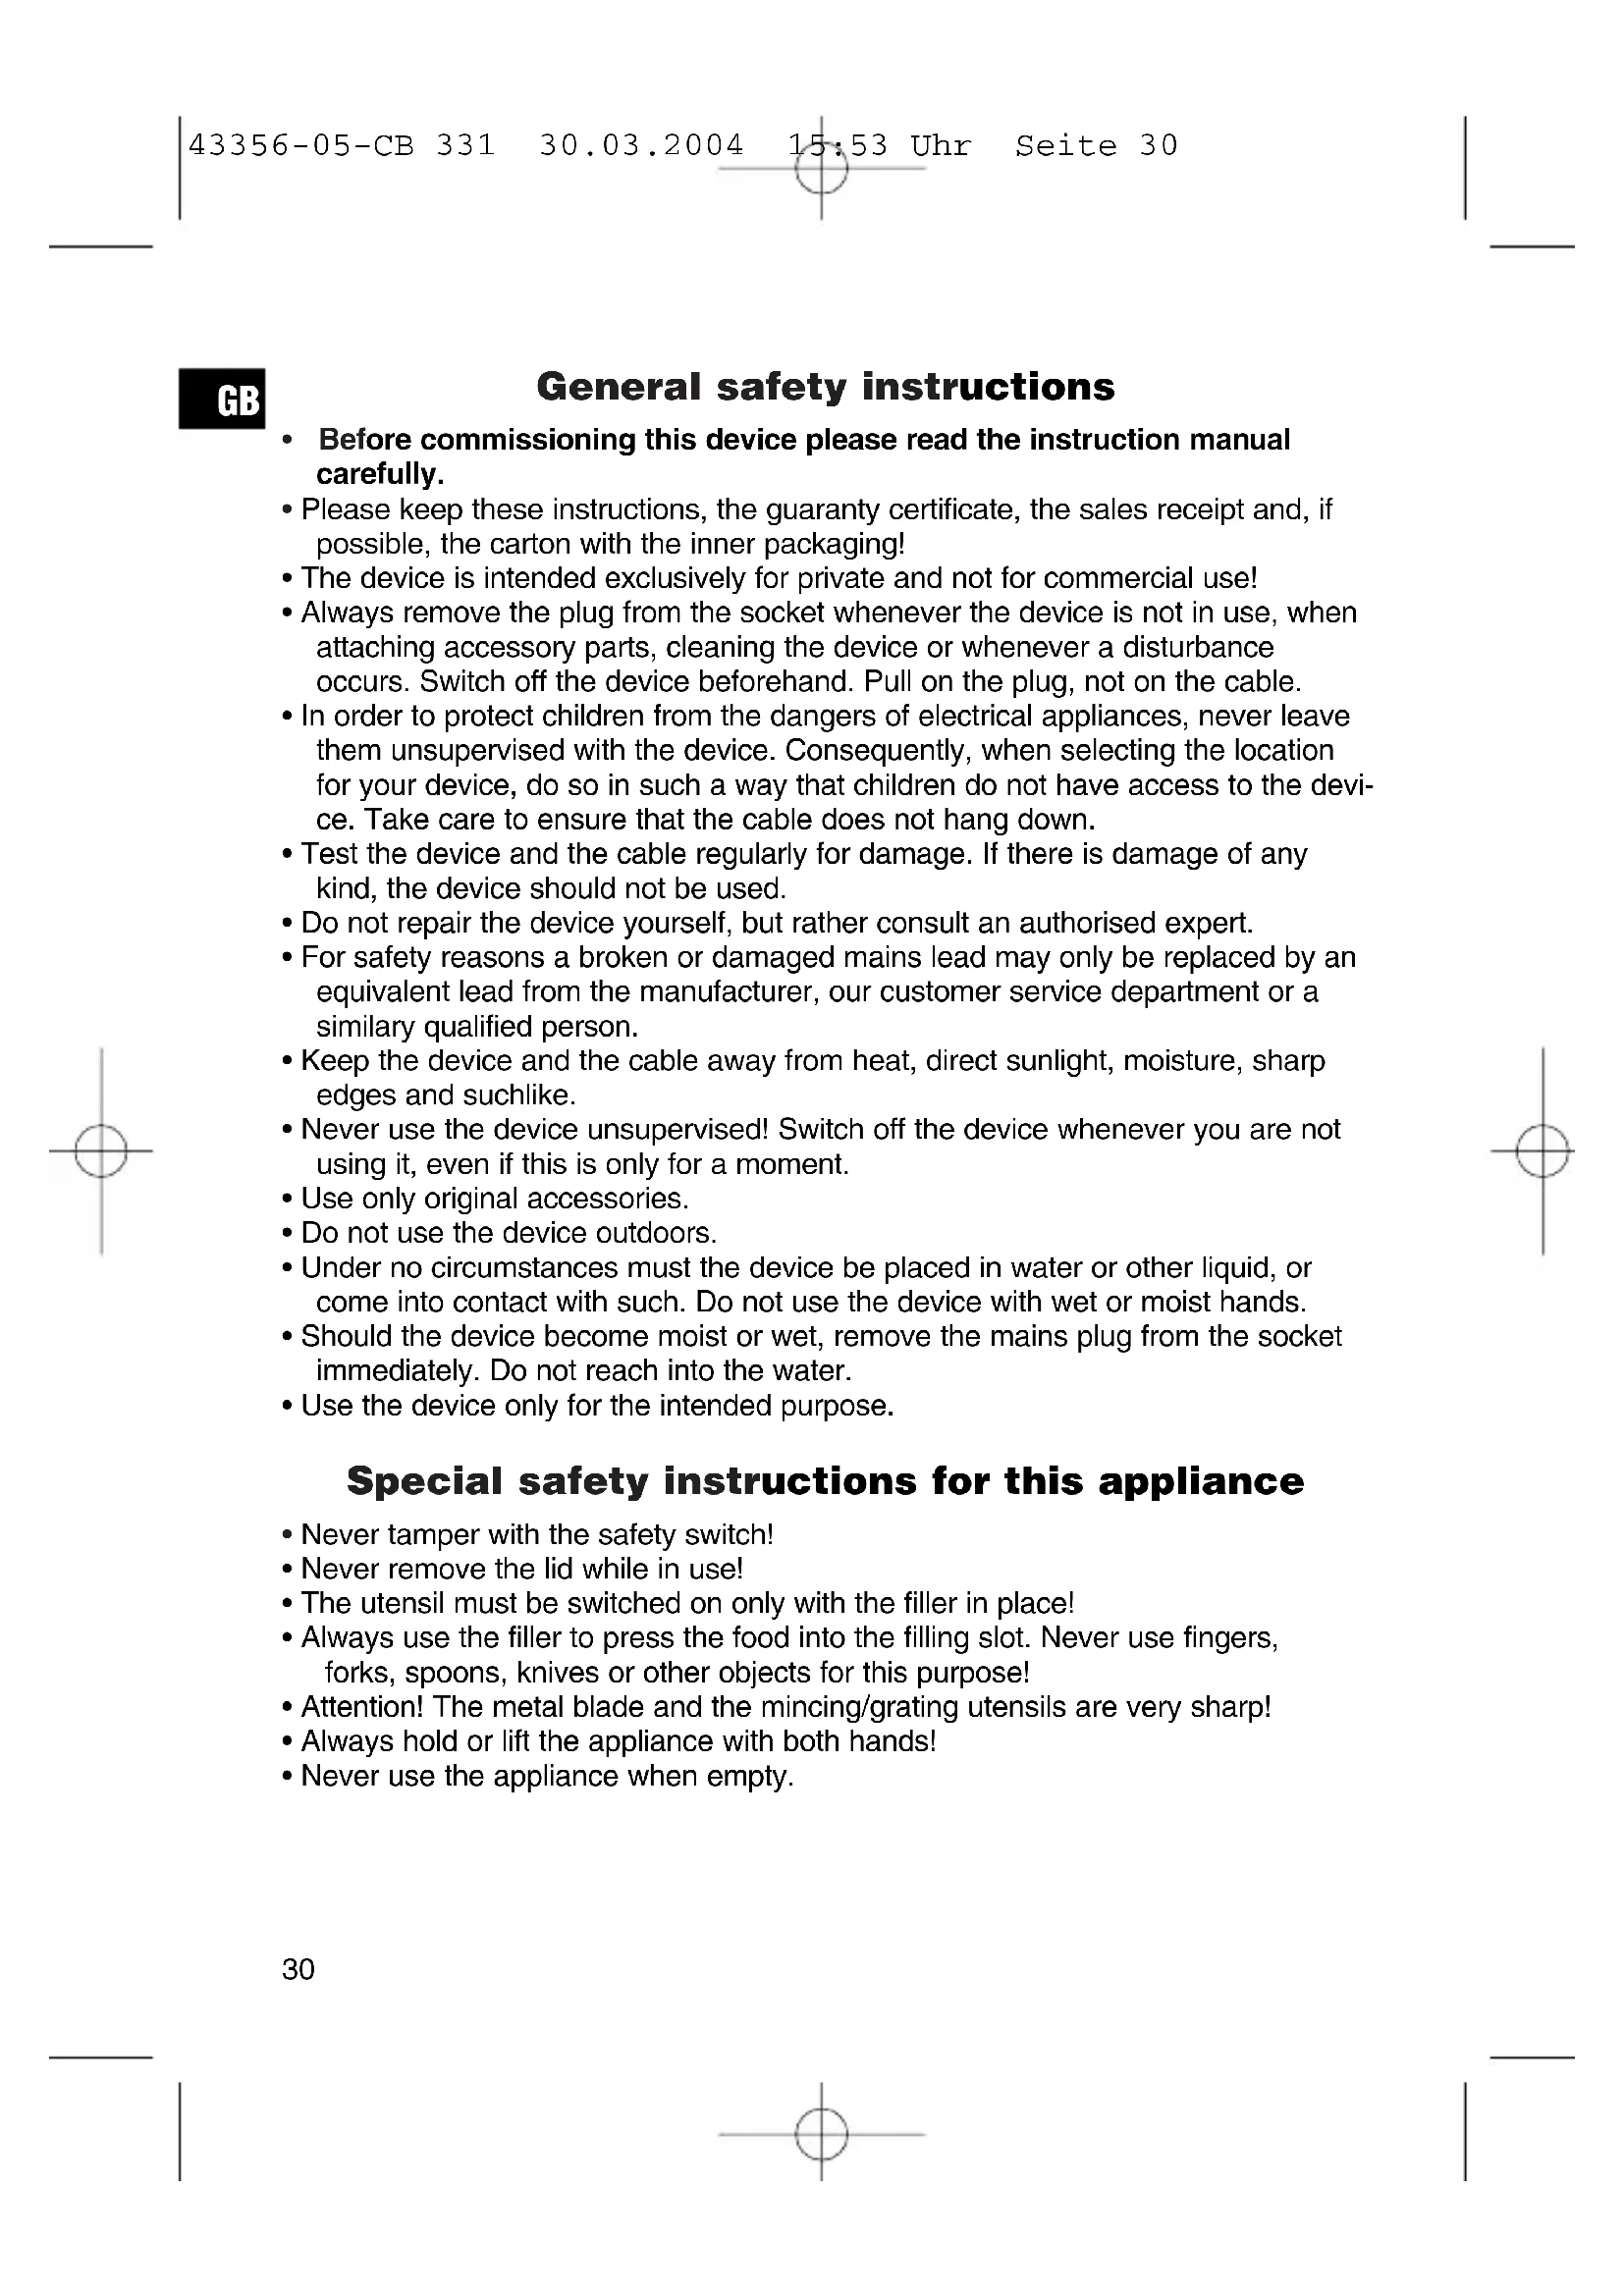
General safety instructions
- Before commissioning this device please read the instruction manual carefully.
- Please keep these instructions, the guaranty certificate, the sales receipt and, if possible, the carton with the inner packaging!
- The device is intended exclusively for private and not for commercial use!
- Always remove the plug from the socket whenever the device is not in use, when attaching accessory parts, cleaning the device or whenever a disturbance occurs. Switch off the device beforehand. Pull on the plug, not on the cable.
- In order to protect children from the dangers of electrical appliances, never leave them unsupervised with the device. Consequently, when selecting the location for your device, do so in such a way that children do not have access to the device. Take care to ensure that the cable does not hang down.
- Test the device and the cable regularly for damage. If there is damage of any kind, the device should not be used.
- Do not repair the device yourself, but rather consult an authorised expert.
- For safety reasons a broken or damaged mains lead may only be replaced by an equivalent lead from the manufacturer, our customer service department or a similar qualified person.
- Keep the device and the cable away from heat, direct sunlight, moisture, sharp edges and suchlike.
- Never use the device unsupervised! Switch off the device whenever you are not using it, even if this is only for a moment.
- Use only original accessories.
- Do not use the device outdoors.
- Under no circumstances must the device be placed in water or other liquid, or come into contact with such. Do not use the device with wet or moist hands.
- Should the device become moist or wet, remove the mains plug from the socket immediately. Do not reach into the water.
- Use the device only for the intended purpose.
Special safety instructions for this appliance
- Never tamper with the safety switch!
- Never remove the lid while in use!
- The utensil must be switched on only with the filler in place!
- Always use the filler to press the food into the filling slot. Never use fingers, forks, spoons, knives or other objects for this purpose!
- Attention! The metal blade and the mincing/grating utensils are very sharp!
- Always hold or lift the appliance with both hands!
- Never use the appliance when empty.
Operation of machine
GB
Overview of components
1 Utensil switch 11 Grater utensil
2 Kitchen machine, basis appliance 12 Cutting utensil
3 Mixer vessel 13 Grater/Cutting utensil holder
4 Mixer vessel lid with filling slot 14 Utensil holder
5 Filling slot seal 15 Metal blade
6 Lid locking device 16 Plastic blade
7 Filling slot 17 Filler
8 Mixing bowl lid 18 Spatula
9 Mixing bowl driveshaft 19 Mixer lid
10 Mixing bowl
Assembly of mixing bowl and lid
Please all parts before using for the first time (see „Cleaning").
- The mixing bowl (10) is to be placed on the basis appliance so that the handle point to the front. Turn the mixing bowl counterclockwise until it snaps into position. The left mark of the mixing bowl now matches the mark on the basis appliance.
- Mount the utensil holder (14) on the driveshaft (9).
- Mount the desired utensil (see the description below) until it locks into place on the utensil holder (14).
- The lid of the mixing bowl (8) is to be placed on the mixing bowl so that the right arrow on the lid matches up with the upper mark on the basis appliance. Turn the lid counterclockwise until the tip on the lid slides into safety locking slot and snaps into place. The left mark of the lid now matches up with the upper mark of the basis appliance. Turn the lid clockwise to open resp. remove it.
- Mount the mixer (3) or the lid (19) on the basis appliance so that the arrow points to the circular mark on the basis appliance. Turn the Mixer (3) or the lid counterclockwise until the arrow points towards the upper mark (full circle) of the basis appliance.
Double safety system: the motor can only be switched, when the lid snaps correctly into position on the mixing bowl and the mixer vessel or the lid (19) are mounted properly. The lid of the mixing bowl and the mixer vessel can be removed only, when the appliance is switched off.
Blender function:
- The blender bowl must be mounted as described in paragraph 4 (without utensil).
- Chop the food to be mixed into small pieces.
- Fill the blender (3) with the food to be mixed (max. 1.25 l). Never fill with hot food or hard ingredients such as potatoes, ice, coffee beans, nuts, and so on.
GB
- Fit the lid (4) with the filling slot facing backwards and pointed upwards. Lock it into place by turning counterclockwise.
- Close the filling slot seal (5).
- Mount the blender bowl (3) as described in paragraph 4.
- Extra ingredients (e.g. seasoning) can also be added through the filling slot in the blender lid. Switch off the appliance.
- Open the filling slot seal (5): turn it counterclockwise. Close the filling slot seal: turn clockwise.
- Once you are finished, open the lid and hold it so that the lid's pouring opening is facing outwards.
Blender bowl:
- The lid of the blender (19) must be mounted as described in paragraph 5.
- Place the utensil holder (14) on the driveshaft.
- Mount the desired utensil on the utensil holder.
- Press the metal blade (15) or the plastic blade (16) down.
- When using the grater/cutter utensils (11/12) the utensil holder (13) must be placed so that the insert's hole is located in the center.
- Never use more than one utensil at a time.
- Place the mixing bowl lid (8) as described in paragraph 4.
- Use the filler (17) to press the food (max. 1.5 l) into the filling slot. Exert a sufficient degree of pressure on the filler. The appliance must be switched on only with the filler (17) mounted into place.
Putting into function
- Connect the appliance to a 230 V/50Hz socket.
- Interval switching: turn the appliance switch several times to the left in brief and regular intervals. By doing so, the result of the operation can be checked gradually.
- Continuous use: set the speed regulator on position 1 or 2 .
Cleaning
- Unplug the equipment before cleaning!
- Never use sharp objects for cleaning!
- Never use abrasive detergents!
- Use a moist towel to clean the outside of the basis appliance.
- In case of intensely colored foods (e.g. carrots), the plastic parts can be discoloured: clean them with oil.
- If necessary, remove all the remaining large pieces of food with a brush before washing.
- The utensil holder (14) and the blender (3) are to be washed by hand. All other parts can be cleaned in the dishwasher.
This appliance conforms with the CE directives for radio interference suppression and low-voltage safety and has been built to meet current safety requirements. Subject to technical changes without prior notice!
GB
Guarantee
We undertake to guarantee the appliance sold by our company for 24 months as of the date of purchase (cash receipt).
During the life of the warranty we shall provide for the repair or replacement of the appliance owing to material or manufacturing defects absolutely free of charge.
Proof for the warranty is provided by the purchase document. The replacement and repair will not be performed free of charge without this proof of purchase.
Should the warranty be valid, please consign the complete appliance in its original packing together with the cash receipt to your local dealer.
You are not entitled to the replacement of the appliance owing to broken glass parts and faulty accessories. However, said parts will be replaced free of charge. In this case only the faulty accessory needs to be ordered without sending back the whole appliance!
The cleaning, servicing and replacement of wear parts are not covered by this warranty and hence are to be paid for.
The warranty is terminated in case of handling on the part of Third parties.
After the warranty
Once the warranty has expired, repairs can be carried out by specialized technicians or repair services against the payment of the service.
PL
Iop rapaHTIO He IonoaIoT: YnCTka, TexOCMOTp NIn 3ameHa TpyuXcR DeTaJIe np6opa, OHI DeLaIoTcra 3a DONoHnTeJbHyO ONNaTy.
TapaHTnA TepaETc npB BCKpyITn np6opa IOCTOPHHM NLIaMNI.
ПО OKOHЧАнг rapaHTиN
IIO nCTeHn Cpoka rapaHTn npi6Op MOxHO cDaTb Ha peMOHT B CneuaJIu3nPoBaHHbIMaRa3IN IIN peMOHTHyO MaCTepCKyIO 3a ONlaTy.
GR
Evikc odnyic aaoaiaac
Aiaaote npoeekik aute c tio nyiec xepiouw npiv ano tnv apxikn 0e aeitoupyia nC oukeu.
- DuλaTe kαnou kaλa TIC obnyiec aute c μaζ i e to eyypafo TnC
- Eyyunons, tnv anodεiEη πλnpωμnc kai kata duvatotnta μaζ i to kouti TnC
- OUKεuaiaç TnC OUKεuNC kai tny eωτερικ οUOKεuaia!
H ouakeun aut npoopicetai anokkietika kai mvo yia iowtikouc okonouc kal oxi yia enayylambdaatikex pnoieic.
ByaTe navtoTe Tov peuatoanTnC oukeunc ano Tnv npia Tou nAektpikou ppuatoC, otav dev xnpoiomoeite nEov tn ouokun, enionc otav thetve va eapuoote diapop a Eaaptma ta enaw otn ouakeun, otav thetve va tvkaiot, no tav npokuie iia Tic nepiTTwoic autc cdev enipenetai va bpioke Tal n ouokeun katw ano nAektpikn taon. Mn ByaTe Tov peuatoanTnC ouokunc ano Tnv npica Tou nAektpikou ppuatoC, tpaewvtaC Tov ano To kalwio tou.
- Ia Tny npoostaoia naiodov ano kivduvouc nAektponnEiac, nou mnpoei va npokuoyau no nAektpikec ouokuec, mV aHvTe note va aeitoupye i ouokeu oac autn xwpi c EITnponom. TonoeTEITE evka toutou tn ouokeu oac oE eva katalno pockai kata teio tpno, otve a uOpouv ta naia va eAthouv oE enaohmTn ouokun. Npooexe Tnionc, wote to kaawio tnC ouokuenc va mnv Kpeetai eAeUepa npoc ta katw.
- Eλέγχετε Καλώδιο και ηι Σουκεύη κατὰ τακτιὰ δίαστήματa για ην διπιστωροῦ πιθανών φθόρών. Mia συοκεύη, η onοία napουσιαζει βλάβες καθε εἰδους, δεν επιρέπεται va μαίνει σε λειτουργία.
Mny epiopovttn ouokouaocmoav aaa anuuvte,ao npapakaloue,otc nepintwoeic autc c evav xouoiootnevo tixtoxviin.
Eva xaalaouevo kaawdo eintpenei tva avtikataotatai e eva vokaiwio tn c iiaac noiotntac movo ano to epyooatao kataokcun ts oukeunc n ao eva oepic tou epyootaiou kataokcunc n ao eva npoofo e Tnv anapaittn ikavotnta, yia va anofoxbouv oxetikoi Kivovol.
Tnpeite Tn oukeun oac kai To kalwio Tnc paia ano nepioxec, onou npokuntie yaln 0epkoopaia, exovtac nTv enionc npootateu evn ano aen nlaikn aktivoBoia, uypia, aixnpes c akuec kai alla napopoia eukivoua oneia.
Mn xpoiopoioite note tn ouokcun oac xomegaovn eintnpnon! 2bnvTe navtoTe tn ouokcun oac, otav dev tn xpoaiopoieite ni, akopa kal OTnv npintwn, kata Tnv onoia n diakontns aleitoupyiac tnc ouokcun dcapkei movo eva miKpOxpviko diaotma.
Xpnoiopoioie tae anokkietikakai mvo yvnoia eapntmuata kau vtaaaktkia yia tn oukeun oac.
Mnv afnvTe va aeitoupyei n ouokekun oac autn oe unaiOpiouc xwpouc.


Brand : BOMANN
Model : CB 331
Category : Food Processor